Have you ever dreamed of having a sturdy, beautiful bookshelf that perfectly fits your space and style? Making a real bookshelf yourself is easier than you think.
Imagine the satisfaction of building something with your own hands—something that holds your favorite books and adds charm to your room. In this guide, you’ll discover simple steps to create a bookshelf that looks great and lasts for years. Keep reading, and by the end, you’ll be ready to start your own project with confidence.
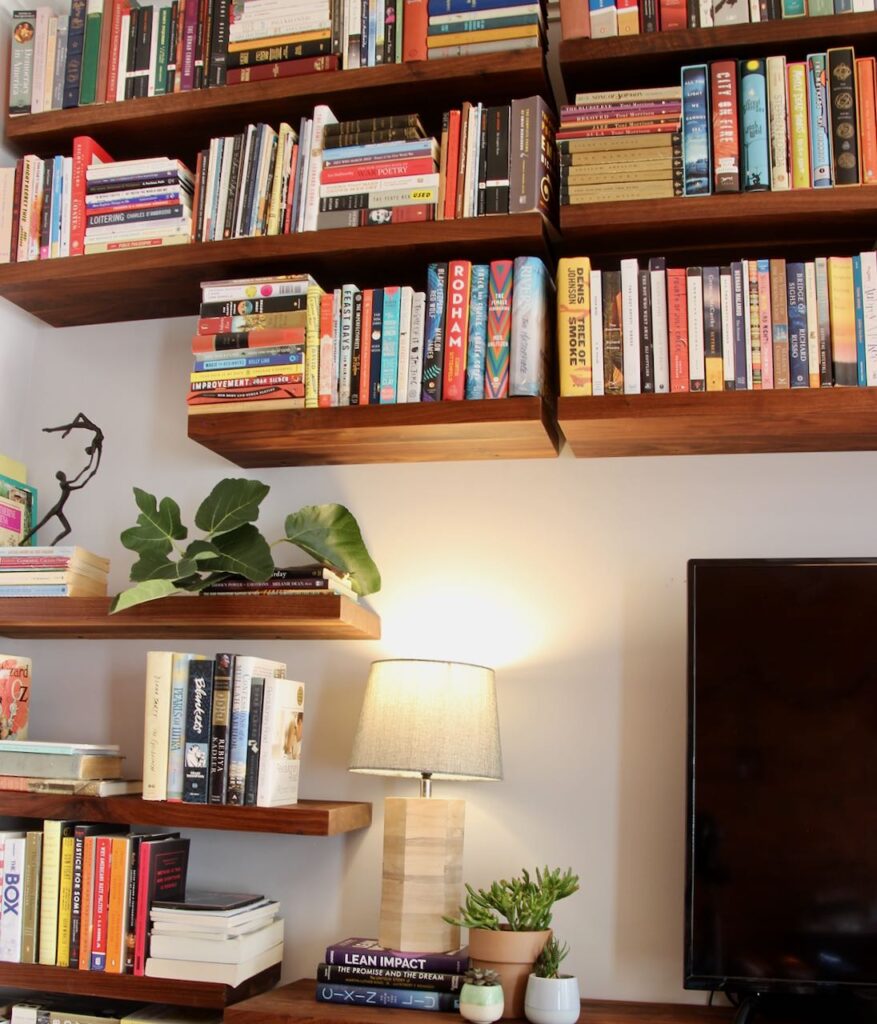
Your perfect bookshelf is just a few steps away.

Credit: aprettyfix.com
Choosing The Right Materials
Choosing the right materials is key to building a strong bookshelf. The materials affect the look, strength, and cost of your project. Picking good wood and tools makes the process smoother. This section helps you decide what to use for a real bookshelf.
Types Of Wood For Bookshelves
Wood type changes the shelf’s weight and durability. Pine is soft, light, and easy to cut. It is cheaper but may dent easily. Oak is hard and strong. It holds heavy books without bending. Maple is smooth and looks nice when finished. It costs more but lasts long. Plywood is a cheaper option. It is made from thin wood layers glued together. It resists warping but may need edging. Choose wood based on budget and shelf use.
Essential Tools Needed
Having the right tools makes building easy and safe. A saw cuts wood to size. A drill helps put screws in fast. Sandpaper smooths rough edges and surfaces. A tape measure checks wood length precisely. Wood glue adds extra strength to joints. Clamps hold pieces while glue dries. Screwdrivers tighten screws securely. Safety glasses protect your eyes during work. These tools ensure your bookshelf is sturdy and neat.
Planning Your Bookshelf Design
Planning your bookshelf design is the first step to build a sturdy, attractive piece. It helps you avoid mistakes and saves time and money. Good planning means measuring your space carefully and choosing a design that fits your style and needs.
Measuring Space And Dimensions
Start by measuring the wall or area where you want the bookshelf. Use a tape measure and write down the height, width, and depth. Check for any obstacles like power outlets or vents. Think about how many books or items you want to store.
Measure the size of your books too. This helps decide shelf height and depth. Leave some extra space for bigger books or decorations. Keep in mind the room’s flow so the bookshelf does not block doors or windows.
Simple Design Ideas
Choose a simple design that matches your room’s look. A classic rectangular shape works well in most spaces. Open shelves make books easy to see and access. Closed shelves protect dust-sensitive items.
Consider adding adjustable shelves for flexibility. Use wood or plywood for a warm, natural feel. Paint or stain the bookshelf to fit your color scheme. Simple brackets or built-in supports keep shelves strong.
Cutting And Preparing Wood
Cutting and preparing wood is an important step in making a real bookshelf. This part shapes the wood to the right size and form. It also makes sure the wood is smooth and safe to handle. Proper preparation helps the bookshelf look neat and last longer.
Safety Tips For Cutting
Always wear safety goggles to protect your eyes from wood chips. Use gloves to keep your hands safe. Make sure the cutting tool is sharp and in good condition. Work on a stable surface to avoid slips. Keep your fingers away from the blade at all times. Take breaks to stay focused and avoid mistakes.
Sanding And Smoothing Edges
Use sandpaper or a sanding block to smooth all cut edges. Start with coarse sandpaper to remove roughness. Then, switch to fine sandpaper for a smooth finish. Sand in the direction of the wood grain to avoid scratches. Check all edges with your hand to feel for rough spots. Smooth edges prevent splinters and help the paint or stain stick better.

Credit: aprettyfix.com
Assembling The Bookshelf
Finishing touches give your bookshelf a polished, complete look. They protect the wood and enhance its beauty. Choosing the right finish can highlight the wood’s natural grain or add color. This step also helps your bookshelf last longer and resist damage. Below are key finishing options to consider.
Painting And Staining Options
Painting offers a wide range of colors. It can match any room style or theme. Use a primer first to help paint stick better. Staining keeps the wood’s natural look visible. It darkens or changes the wood tone without hiding the grain. Choose a stain that complements your room’s decor. Both paint and stain need even, smooth coats for best results.
Adding Protective Coating
A protective coating seals the wood surface. It guards against scratches, water, and dirt. Polyurethane is a popular choice. It comes in matte, satin, and glossy finishes. Apply thin layers and let each dry fully before the next. Wax or oil finishes offer a natural feel but less protection. Choose a coating based on how much use your bookshelf will get.
Finishing Touches
Maintaining your bookshelf keeps it strong and looking good for years. Simple care steps protect your investment and your books. This section covers easy ways to care for your bookshelf.
Cleaning And Care
Dust your bookshelf often to stop dirt buildup. Use a soft cloth or a feather duster. Avoid wet cloths; moisture can damage wood surfaces. For deeper cleaning, use a wood cleaner made for furniture. Clean shelves gently to keep the finish smooth. Check for dust behind books and on corners. Keeping the shelf clean helps prevent scratches and stains.
Preventing Damage
Place your bookshelf away from direct sunlight. Sun can fade the wood color over time. Avoid placing shelves near heaters or air conditioners. Sudden temperature changes can cause wood to crack. Use coasters or mats under heavy items to stop dents. Don’t overload shelves; heavy weight can bend them. Secure the bookshelf to the wall to stop tipping. Small steps protect your bookshelf from common harm.
Credit: southhousedesigns.com
Frequently Asked Questions
What Materials Are Needed To Make A Real Bookshelf?
To make a real bookshelf, you need wood boards, screws, a drill, measuring tape, sandpaper, and wood glue. Choose sturdy wood like pine or oak for durability. Finishing items like paint or varnish enhance the look and protect the wood.
How Long Does It Take To Build A Real Bookshelf?
Building a real bookshelf typically takes 2 to 4 hours. The time depends on your skill level and design complexity. Preparation, cutting, assembly, and finishing all affect the total time required.
What Tools Are Essential For Bookshelf Construction?
Essential tools include a saw, drill, screwdriver, measuring tape, level, and clamps. These tools help you measure accurately, cut precisely, and assemble securely. Having the right tools ensures a sturdy and professional-looking bookshelf.
How Do I Ensure My Bookshelf Is Stable And Strong?
Use quality wood and proper joinery techniques like screws and wood glue. Reinforce shelves with brackets or supports if needed. Check for level surfaces and secure all connections tightly for maximum stability.
Conclusion
Building a real bookshelf takes time and patience. You can create a sturdy and useful piece with simple tools. Follow each step carefully and measure twice before cutting. Choose wood that fits your style and space. Enjoy the process as much as the finished shelf.
Your books will have a perfect home soon. Keep practicing to improve your woodworking skills. Making your own furniture feels rewarding and fun. Try different designs next time to challenge yourself. Start today and watch your room transform.