Are you ready to create something useful and beautiful for your home? Making a wood bookshelf might sound tricky, but with the right steps, you can build one yourself.
Imagine having a sturdy, custom shelf that holds your favorite books and adds charm to your space. In this guide, you’ll learn simple tips and clear instructions to make your own wood bookshelf, even if you’ve never worked with wood before.
Keep reading, and by the end, you’ll have the confidence to bring your project to life!
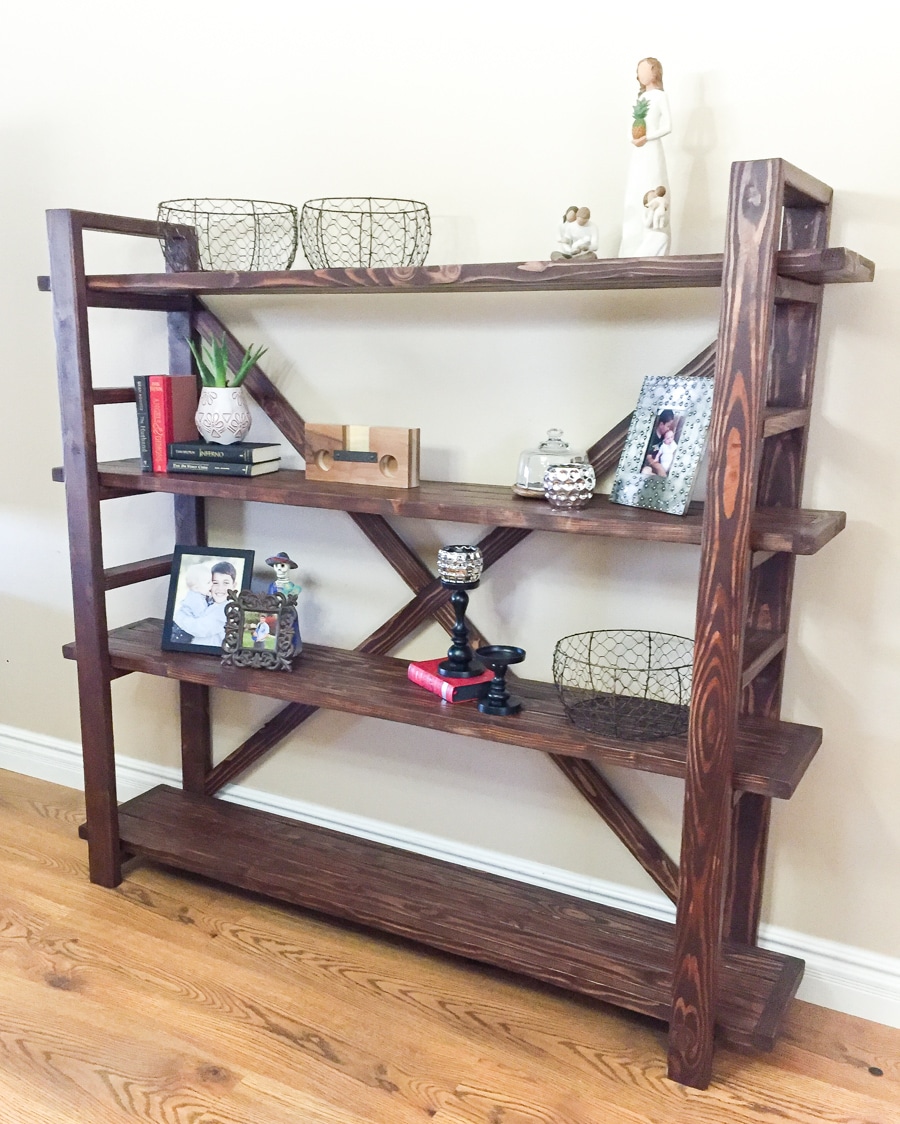
Credit: jenwoodhouse.com
Materials And Tools Needed
Building a wood bookshelf needs careful planning. Choosing the right materials and tools ensures your project goes smoothly. This part covers what wood and tools you need. Also, it explains the safety gear for protection.
Choosing The Right Wood
Select wood that is strong and easy to work with. Pine is soft and affordable for beginners. Oak and maple offer durability and a nice finish. Avoid wood with many knots or cracks. Measure your shelf size before buying wood. This helps to get the right amount without waste.
Essential Tools List
You will need a few basic tools to build your bookshelf. A saw cuts the wood to size. A drill makes holes for screws. Sandpaper smooths rough edges and surfaces. A screwdriver helps to fasten screws tightly. A tape measure checks dimensions precisely. A carpenter’s square ensures right angles for shelves.
Safety Gear
Safety is important during woodworking. Wear safety glasses to protect your eyes from dust and splinters. Use ear protection if you use loud tools. Gloves protect your hands from sharp edges and splinters. Work in a clean, well-lit area to avoid accidents. Take breaks to stay alert and focused.
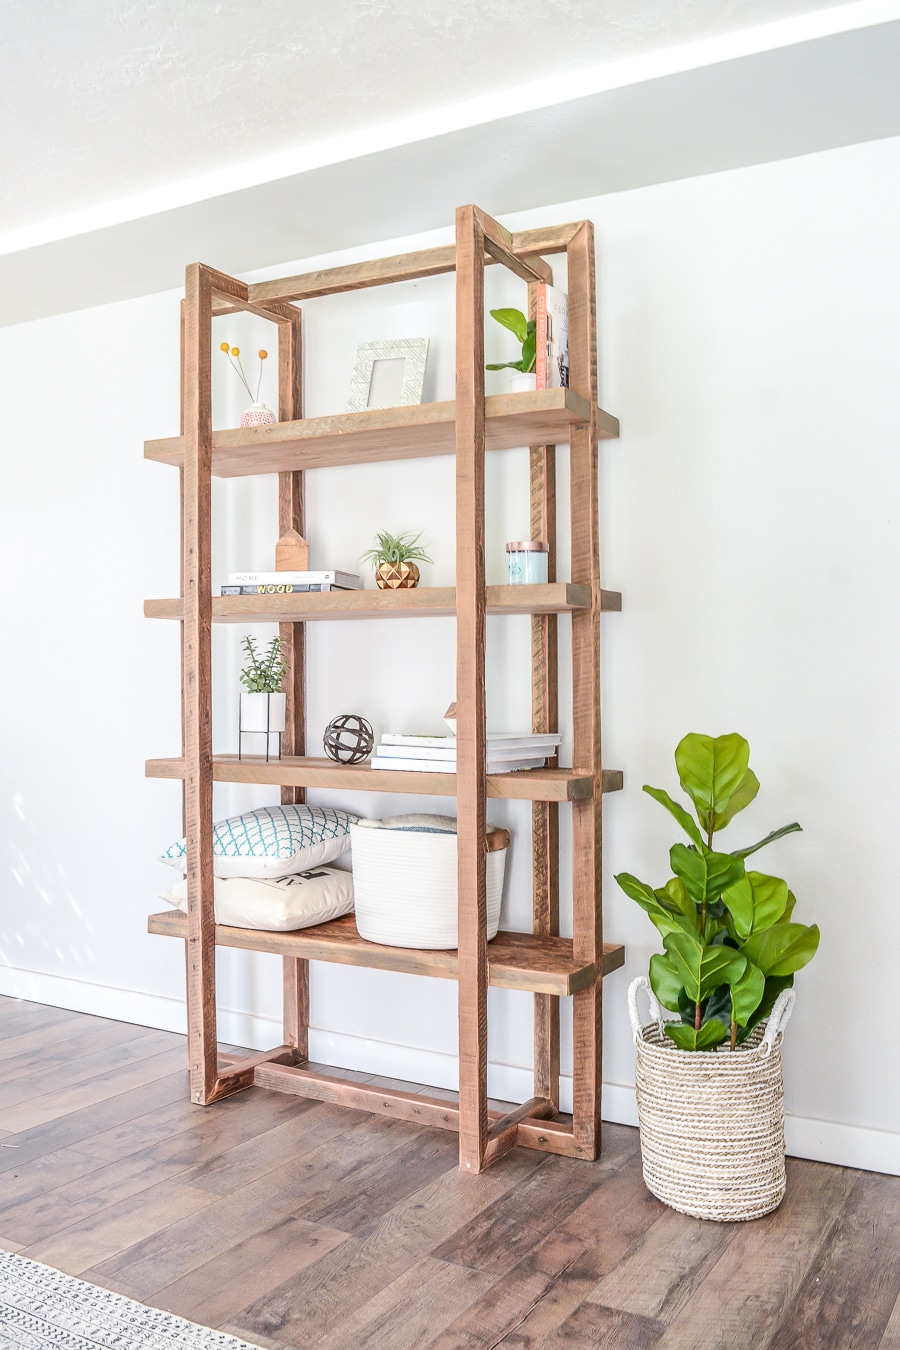
Credit: jenwoodhouse.com
Planning Your Bookshelf
Planning your bookshelf is the first step to building a strong and useful piece. Careful thought saves time and materials. It ensures the shelf fits your space and holds your books well.
Consider the room size and how many books you want to store. Think about the style that matches your home. Planning makes building easier and your shelf more beautiful.
Measuring Space And Dimensions
Measure the wall or corner where the bookshelf will go. Write down the height, width, and depth. Check for any obstacles like vents or outlets. This helps avoid mistakes and fits the shelf perfectly.
Think about the shelf height. Books come in different sizes. Plan for tall books and small ones. Add extra space for decorations or future books.
Designing The Shelf Layout
Decide how many shelves you want. More shelves hold more books but need strong support. Space shelves evenly or vary heights for different book sizes. Sketch your design on paper or use a simple app.
Consider shelf thickness. Thick shelves hold heavy books better. Add side and back panels for extra strength. Plan for open or closed shelves depending on your style.
Selecting Finishes And Style
Choose wood type and color to match your room. Pine is cheap and easy to work with. Oak and maple are stronger but cost more. Pick a finish that protects wood and looks nice.
Think about painting or staining. Paint adds color and hides flaws. Stain shows natural wood grain and feels warm. Decide on a style: modern, rustic, or classic. This guides your finish and design choices.
Cutting The Wood
Cutting the wood is a key step in building a sturdy bookshelf. This step shapes each piece to fit together well. Accurate cuts ensure the bookshelf stands strong and looks neat. Taking time here saves effort later.
Marking Measurements
Start by measuring each board carefully. Use a tape measure to get exact lengths. Mark lines with a pencil on the wood. Double-check each measurement before cutting. Clear marks guide your saw and keep cuts straight.
Using A Saw Safely
Choose the right saw for your wood type. Hold the saw firmly and cut along the pencil lines. Wear safety glasses to protect your eyes from dust. Keep fingers away from the blade at all times. Slow, steady cuts give cleaner edges and better control.
Sanding Edges
After cutting, rough edges need smoothing. Use sandpaper or a sanding block for this task. Sand all cut surfaces until they feel smooth. This step prevents splinters and helps paint or finish stick better. Take your time to get smooth, even edges.
Assembling The Frame
Assembling the frame is the first big step in making your wood bookshelf. This part gives the bookshelf its shape and strength. Take your time to ensure all parts fit well. A solid frame keeps the bookshelf steady and durable.
Joining The Side Panels
Start by placing the two side panels upright. Use wood glue along the edges where they will meet other pieces. Align the panels carefully to keep the frame straight. Secure the panels with screws or nails for extra strength. Double-check the corners to keep them square.
Attaching Shelves
Measure the space between the side panels for each shelf. Mark the spots where you will attach shelves. Apply wood glue on the edges of the shelves. Fit each shelf into place, pressing firmly. Use screws or brackets to hold the shelves securely. Make sure shelves are level before fixing them.
Ensuring Stability
Check the frame for any wobbling or loose parts. Tighten screws or add more nails if needed. Add corner braces inside the frame for extra support. Sand any rough edges to avoid splinters. A stable frame prevents the bookshelf from tipping or breaking.
Finishing Touches
Finishing touches bring your wood bookshelf to life. They protect the wood and add style. A good finish makes your bookshelf last longer. It also makes the wood look better and feel smooth. Let’s explore the key steps to finish your project well.
Applying Stain Or Paint
Choose a stain to bring out the wood grain. Stains come in many colors, from light to dark. Use a brush or cloth to apply the stain evenly. Wipe off extra stain to avoid blotches. Let it dry completely before moving to the next step.
Painting offers a bold look and covers wood grain. Use a primer first for better paint hold. Apply paint in thin, even coats with a brush or roller. Allow each coat to dry before adding another. This helps avoid drips and uneven color.
Sealing The Wood
Sealing protects the wood from water and scratches. Polyurethane is a popular choice for sealing. Apply it with a clean brush in thin layers. Sand lightly between coats with fine sandpaper. This creates a smooth, tough surface that lasts long.
Other sealers include varnish, lacquer, and shellac. Each offers different looks and protection levels. Choose one that fits your project’s style and use. Proper sealing keeps your bookshelf looking new for years.
Adding Decorative Elements
Decorative touches personalize your bookshelf. Add trim or molding for a classic look. Attach metal brackets or corner protectors for style and strength. Consider stenciling or decals for a unique design.
Small knobs or handles can also enhance the look. Choose elements that match your room’s theme. These little details make your bookshelf stand out and feel special.
Maintenance Tips
Maintaining your wood bookshelf is important to keep it looking great and lasting long. Regular care helps protect the wood and preserve its natural beauty. Simple steps can make a big difference in its durability.
Cleaning The Bookshelf
Dust the bookshelf often using a soft cloth. Avoid using wet cloths that can damage the wood. Use a dry or slightly damp microfiber cloth to remove dirt. Clean spills quickly to stop stains. Avoid harsh chemicals that strip the wood finish.
Preventing Damage
Place the bookshelf away from direct sunlight to prevent fading. Keep it in a dry room to avoid warping. Use coasters under plants or drinks to stop water marks. Avoid placing heavy items on thin shelves. Use felt pads under objects to prevent scratches.
Repairing Minor Issues
Fix small scratches with wood polish or a touch-up marker. Use wood filler to fill small holes or dents. Sand lightly before applying any finish for a smooth look. Tighten loose screws to keep the shelf stable. Replace broken parts quickly to avoid further damage.
.jpg)
Credit: themerrythought.com
Frequently Asked Questions
What Materials Are Needed To Make A Wood Bookshelf?
You need wood planks, screws, wood glue, sandpaper, and a drill. Optional items include wood stain or paint and brackets for extra support.
How Do I Choose The Right Wood For A Bookshelf?
Choose hardwoods like oak or maple for durability. Softwoods like pine are cheaper but less sturdy. Consider your budget and desired finish.
What Tools Are Essential For Building A Wood Bookshelf?
Essential tools include a saw, drill, screwdriver, measuring tape, and level. Sandpaper and clamps also help achieve smooth, secure assembly.
How Long Does It Take To Build A Wood Bookshelf?
Building a bookshelf typically takes 4 to 6 hours. Time varies by design complexity and your woodworking experience.
Conclusion
Building a wood bookshelf can be simple and fun. You only need basic tools and some wood. Follow each step carefully, and take your time. A handmade bookshelf adds charm to any room. Plus, it gives you a sense of pride.
Try different designs to fit your space. Keep safety in mind while working. Soon, you will enjoy your new, sturdy shelf. Start your project today and see the results!
