Looking for a smart way to organize your entryway or bedroom? Imagine having a stylish coat rack with a shelf that not only keeps your jackets and bags in order but also gives you extra space for keys, hats, or decorations.
You don’t need to spend a fortune or wait for delivery. In this guide, you’ll discover simple steps to create your very own coat rack with a shelf. It’s easier than you think, and the result will make your space both functional and inviting.
Ready to get started and transform your clutter into calm? Let’s dive in!
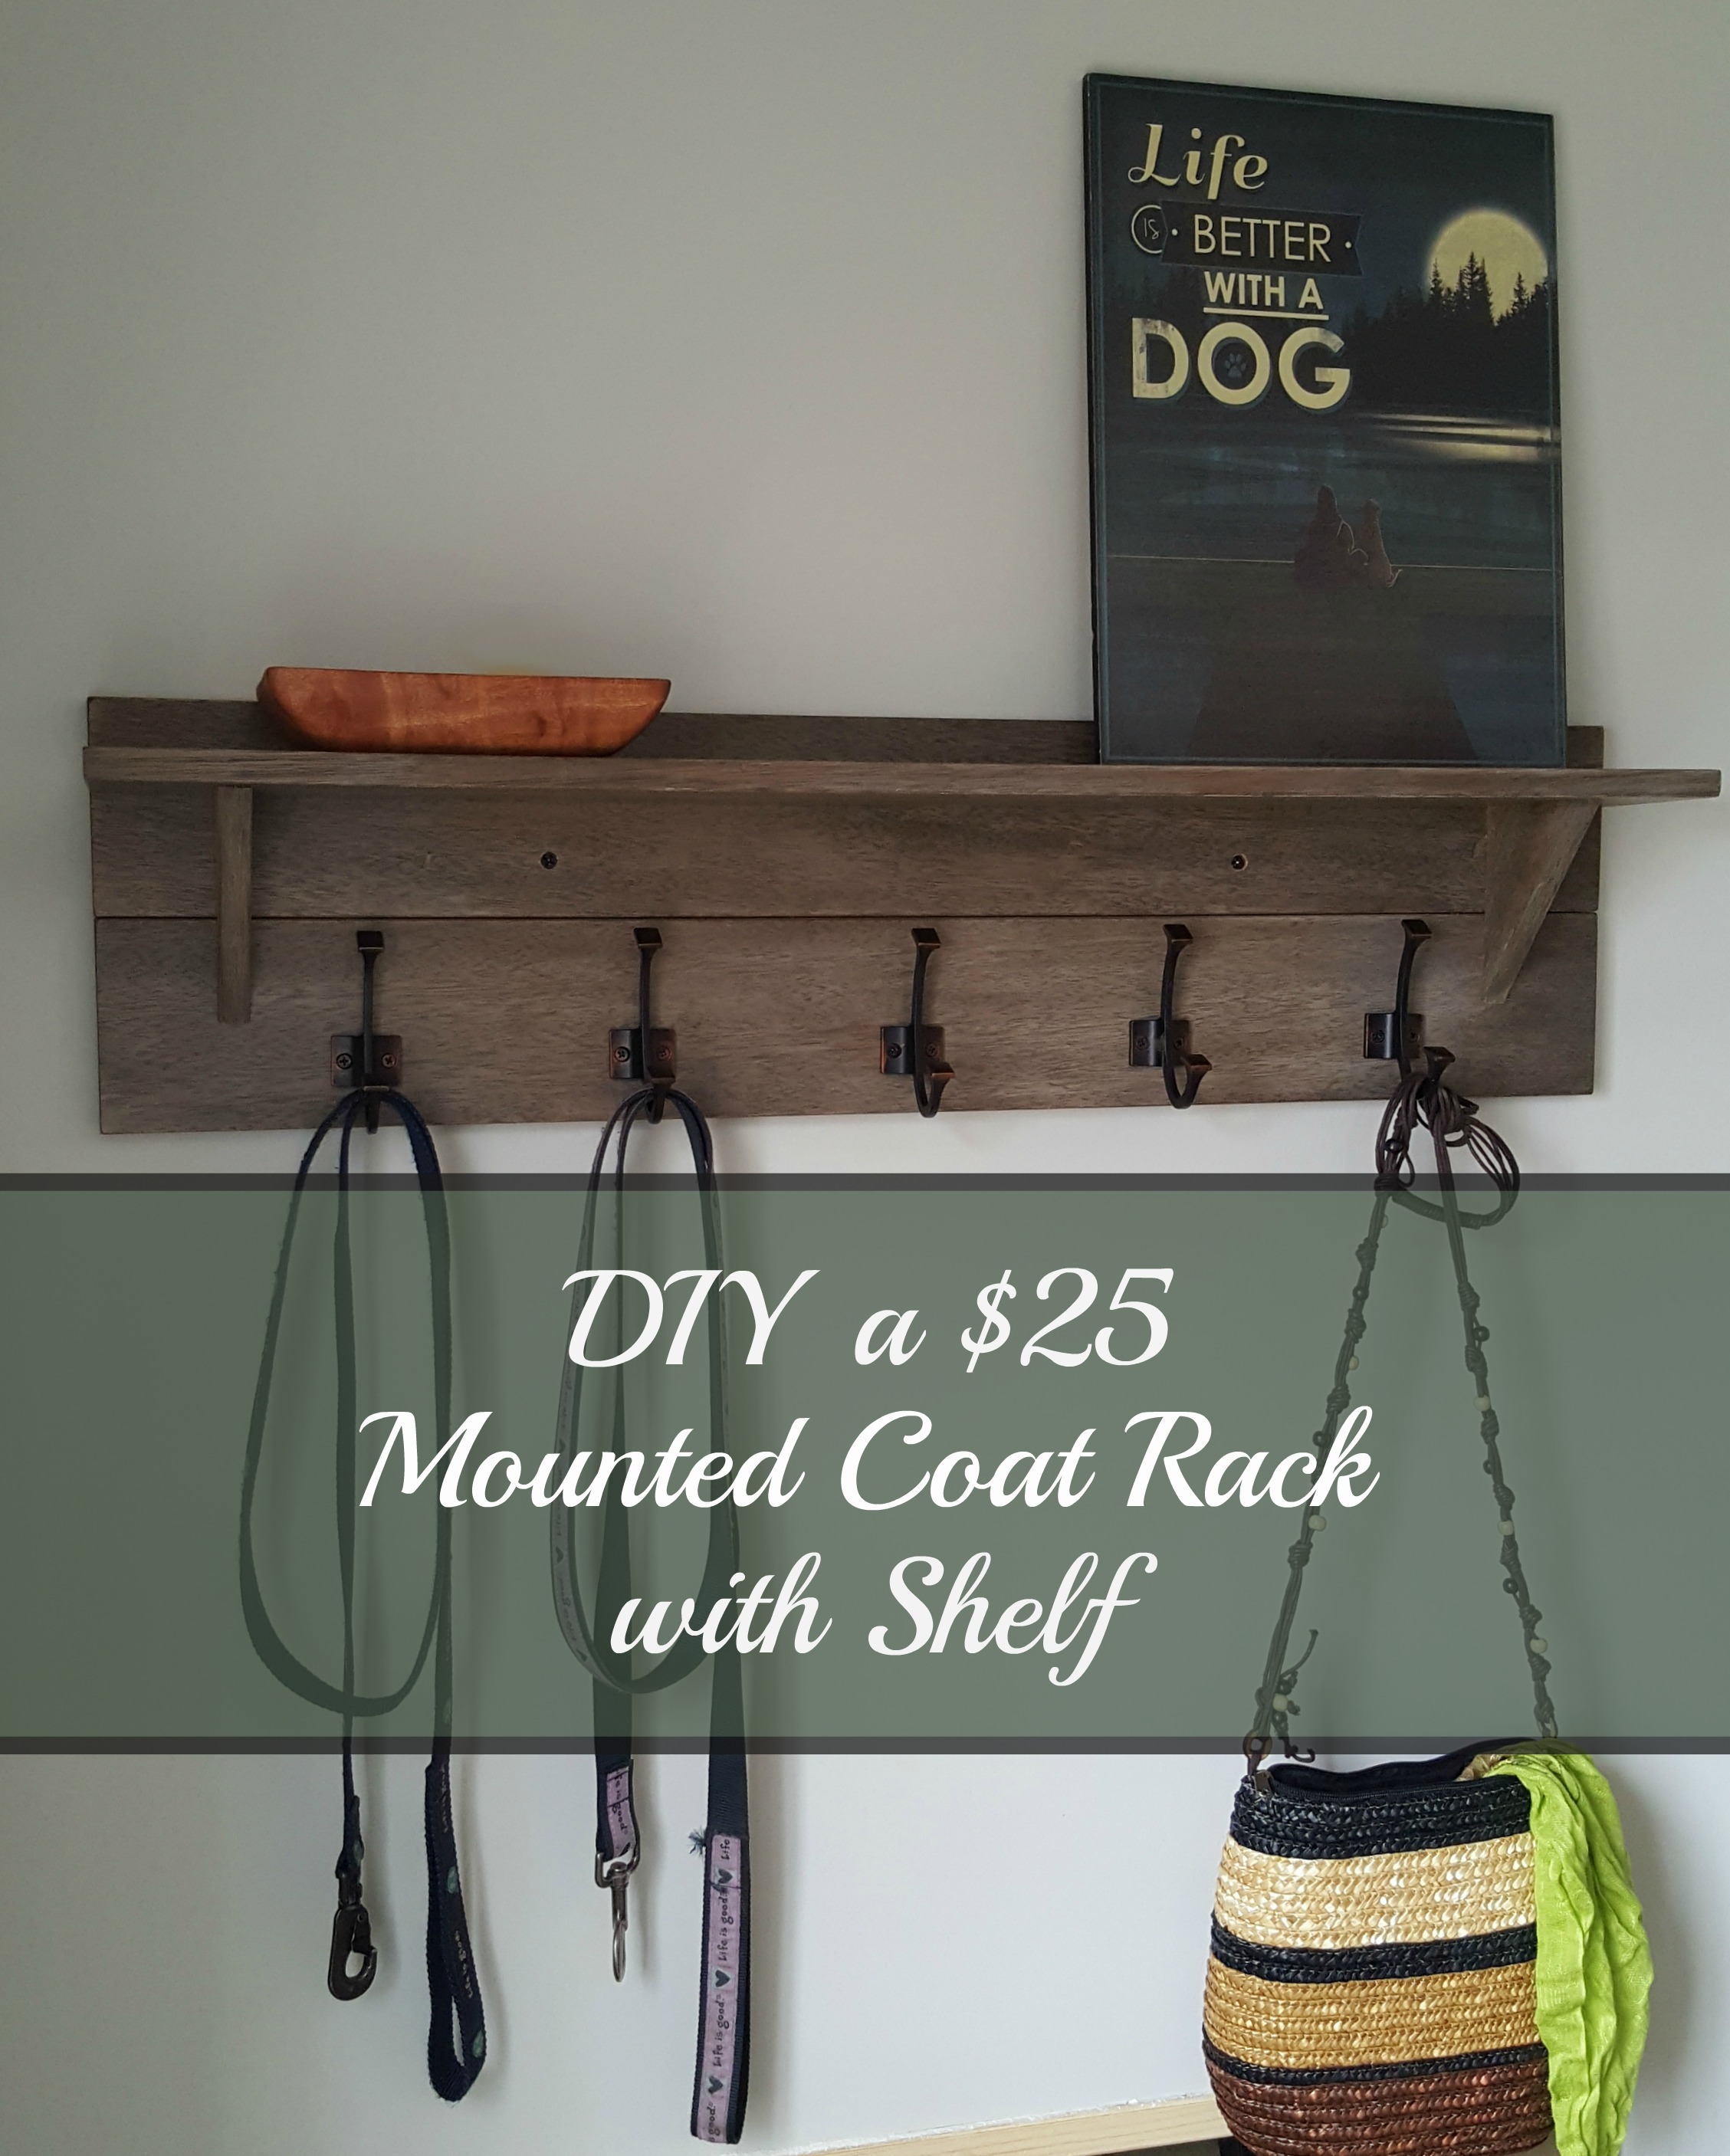
Credit: turtlesandtails.blogspot.com
Materials Needed
To build a coat rack with a shelf, gather all materials first. Having the right supplies makes the project smooth and fun. Organize materials before starting to save time and effort.
Wood Selection
Choose wood that is strong and easy to work with. Pine, oak, or cedar are good choices. Pick a wood piece thick enough to hold coats and items on the shelf. Smooth wood reduces splinters and looks better when finished.
Hardware And Tools
Get screws, hooks, and wall anchors for mounting. Use sturdy hooks that can hold heavy coats. Prepare tools like a drill, screwdriver, measuring tape, and level. Sandpaper helps smooth edges and surfaces for safety.
Finishing Supplies
Pick paint, stain, or varnish to protect and style the wood. Use a brush or cloth for easy application. Finish helps wood last longer and resist dirt. Choose a finish that matches your room’s decor.
Choosing The Right Design
Choosing the right design for your coat rack with a shelf is important. It affects how well the rack fits your space and meets your needs. A good design makes your room look tidy and organized. It also helps you store coats and other items easily. Think about what suits your home best before you start building.
Space Considerations
Measure the wall space where you want to place the coat rack. Choose a size that fits well without crowding the room. Small spaces need compact racks with fewer hooks. Bigger areas can hold larger racks with more storage options. Also, think about the height. Make sure everyone can reach the hooks easily.
Style Options
Pick a style that matches your home’s look. Simple wooden racks suit rustic or traditional rooms. Metal racks fit modern or industrial designs. You can also find racks with a mix of materials for a unique look. Choose colors that blend well with your walls and furniture. The style should feel natural in your space.
Functionality Features
Think about what you want to store on the rack. Hooks are for coats, bags, and hats. Shelves hold smaller items like gloves or keys. Some racks have baskets or drawers for extra storage. Choose features that make your daily routine easier. A good design keeps everything in its place and easy to find.
Step-by-step Assembly
Assembling a coat rack with a shelf is a simple project anyone can complete. Follow these steps carefully to build a sturdy and stylish rack. Each step is easy to understand and helps you create a useful piece for your home.
Cutting The Wood
Start by measuring the wood pieces you need. Cut the wood to size using a saw. Make sure edges are smooth and even. Sand the cut pieces to avoid splinters. Proper cutting ensures your rack fits together well.
Building The Frame
Next, join the wood pieces to make the frame. Use screws or nails to connect the parts. Check that the frame is square and stable. Tighten all fasteners to keep it strong. A solid frame supports the shelf and hooks perfectly.
Attaching The Shelf
Place the shelf board on top of the frame. Align it carefully before securing. Use screws to attach the shelf firmly. Confirm the shelf is level and steady. The shelf adds extra storage and style to your rack.
Installing Hooks
Mark where you want the hooks on the frame. Drill small holes for the hooks to fit. Screw in each hook securely by hand or with a tool. Space hooks evenly for balanced use. Hooks make it easy to hang coats and bags.

Credit: www.reddit.com
Finishing Touches
Finishing touches give your coat rack a polished look and protect it. This step improves the shelf’s feel and extends its life. You will prepare the wood, add color, and protect it from damage. Each step is simple but important for a strong, neat finish.
Sanding And Smoothing
Start by sanding the entire coat rack. Use fine-grit sandpaper to smooth rough spots. Sand edges and corners carefully to avoid splinters. Wipe dust off with a clean cloth before moving on. Smooth surfaces help paint or stain stick better.
Painting Or Staining
Choose paint or stain based on your room style. Paint gives bright, solid colors and hides wood grain. Stain shows the natural wood beauty with a soft tint. Apply thin, even coats and let each dry fully. This avoids drips and creates a clean finish.
Sealing For Durability
Seal the coat rack with a clear finish to protect it. Use polyurethane or varnish for strong protection against water and scratches. Apply two or three thin coats, letting each dry well. Sealing keeps your coat rack looking good for years.
Mounting And Placement Tips
Mounting and placement are key to making your coat rack with shelf work well. Proper mounting keeps it strong and safe. Smart placement makes it easy to use every day.
Follow clear steps for mounting. Choose the right spot in your home. Keep safety and stability in mind to avoid accidents.
Wall Mounting Techniques
Find wall studs using a stud finder. Mark the spots for screws. Use screws and anchors for heavy loads. Drill pilot holes to avoid wood splitting. Tighten screws firmly but do not overdo it. Check the rack’s level before fixing it fully.
Best Locations For Use
Place the rack near the front door or hallway. Keep it easy to reach for all family members. Avoid blocking windows or walkways. Mount it at a height comfortable for hanging coats and bags. Consider a spot with good lighting.
Safety And Stability
Use strong screws and wall anchors. Test the rack’s strength by adding weight slowly. Avoid mounting on weak drywall alone. Check the shelf and hooks often for loose parts. Keep sharp edges smooth or covered. Ensure the rack does not wobble or tilt.
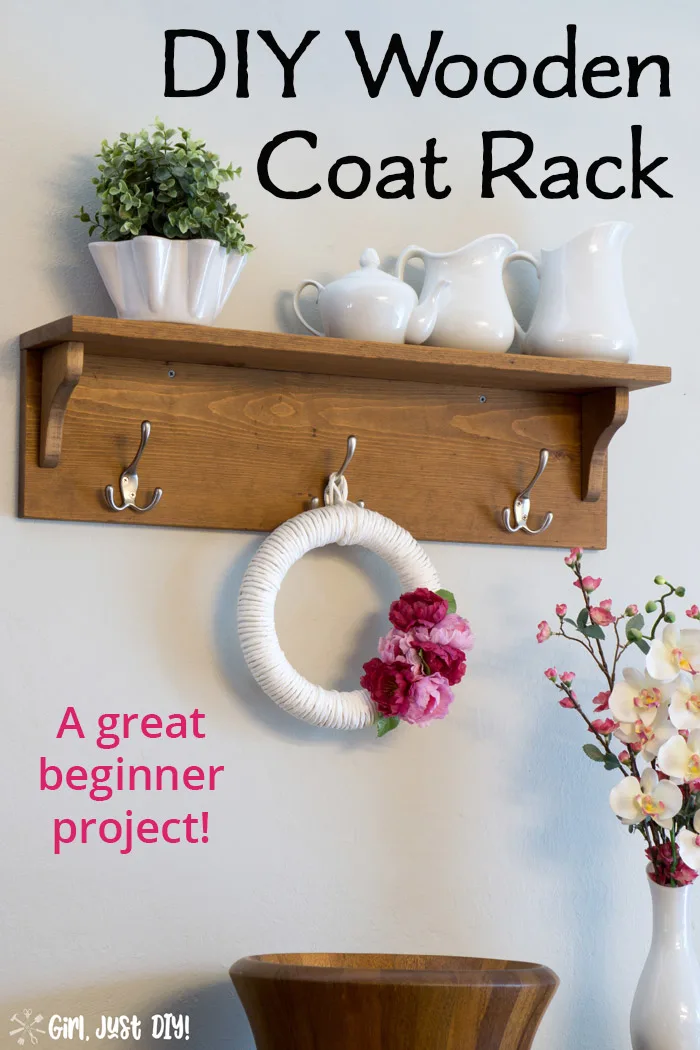
Credit: www.girljustdiy.com
Maintenance And Care
Maintaining your coat rack with a shelf keeps it looking good and working well. Regular care prevents damage and makes it last longer. Simple steps can protect your rack from wear and tear. Follow these tips to keep it neat and sturdy.
Cleaning Tips
Dust the coat rack often using a soft cloth. Wipe the shelf gently to remove dirt and spills. Use mild soap and water for sticky spots. Dry the rack completely to avoid water damage. Avoid harsh chemicals that can harm the finish.
Repairing Wear And Tear
Check the rack for loose screws or nails regularly. Tighten any hardware that feels wobbly. Fill small scratches with wood filler or touch-up markers. Sand rough edges gently to prevent splinters. Replace broken hooks or parts quickly to keep it safe.
Extending Shelf Life
Keep the rack away from direct sunlight to avoid fading. Avoid placing very heavy items on the shelf. Use protective pads under heavy objects to reduce pressure. Reapply wood polish or sealant once a year. Store the rack indoors to protect it from moisture.
Creative Customizations
Creative customizations make your coat rack with shelf unique and practical. Simple changes can improve both style and function. You can personalize your rack to fit your space and needs. These ideas help you create a piece that feels like yours.
Adding Personal Touches
Paint the coat rack in your favorite color. Use stencils or hand-paint patterns for a custom look. Attach name tags or labels to hooks for family members. Small details make the rack stand out and feel special.
Incorporating Additional Storage
Add small baskets or boxes on the shelf for keys and mail. Install extra hooks below for bags or scarves. Use pegboards behind the rack to hang tools or accessories. More storage helps keep things neat and easy to find.
Using Decorative Elements
Attach decorative knobs or vintage handles to the hooks. Place small plants or candles on the shelf for warmth. Use washi tape or decals to add patterns without painting. These touches bring charm and character to your coat rack.
Frequently Asked Questions
How Do I Choose Materials For A Coat Rack With Shelf?
Select sturdy wood like pine or oak for durability. Use metal brackets for strong support. Choose finishes that match your decor and resist wear.
What Tools Are Needed To Build A Coat Rack With Shelf?
You’ll need a saw, drill, screwdriver, measuring tape, level, and sanding paper. These tools help cut, assemble, and finish your coat rack efficiently.
How To Mount A Coat Rack With Shelf On Drywall?
Use wall anchors or toggle bolts for secure mounting. Locate studs with a stud finder for extra stability. Ensure the rack is level before tightening screws.
Can I Customize The Coat Rack Shelf Size?
Yes, adjust shelf length and depth to fit your space. Measure the wall area before cutting. Custom sizes improve functionality and aesthetics.
Conclusion
Building a coat rack with a shelf adds style and function to any space. This project saves money and fits your needs well. You can use simple tools and easy steps to create it. A sturdy rack keeps coats organized and shelves hold small items.
Enjoy your new, useful piece that you made yourself. Try different designs to match your home style. Small efforts bring great rewards in home decor. Start your project today and see the difference!
