Are you tired of searching for the perfect bookshelf that fits your space and style? What if you could create one yourself—quickly, easily, and without breaking the bank?
Building your own bookshelf at home is simpler than you think. Imagine having a custom piece that holds your favorite books, shows off your style, and gives your room a fresh look. Keep reading, and you’ll discover step-by-step how to make an easy bookshelf that suits your needs perfectly.
Your dream bookshelf is just a few simple steps away!
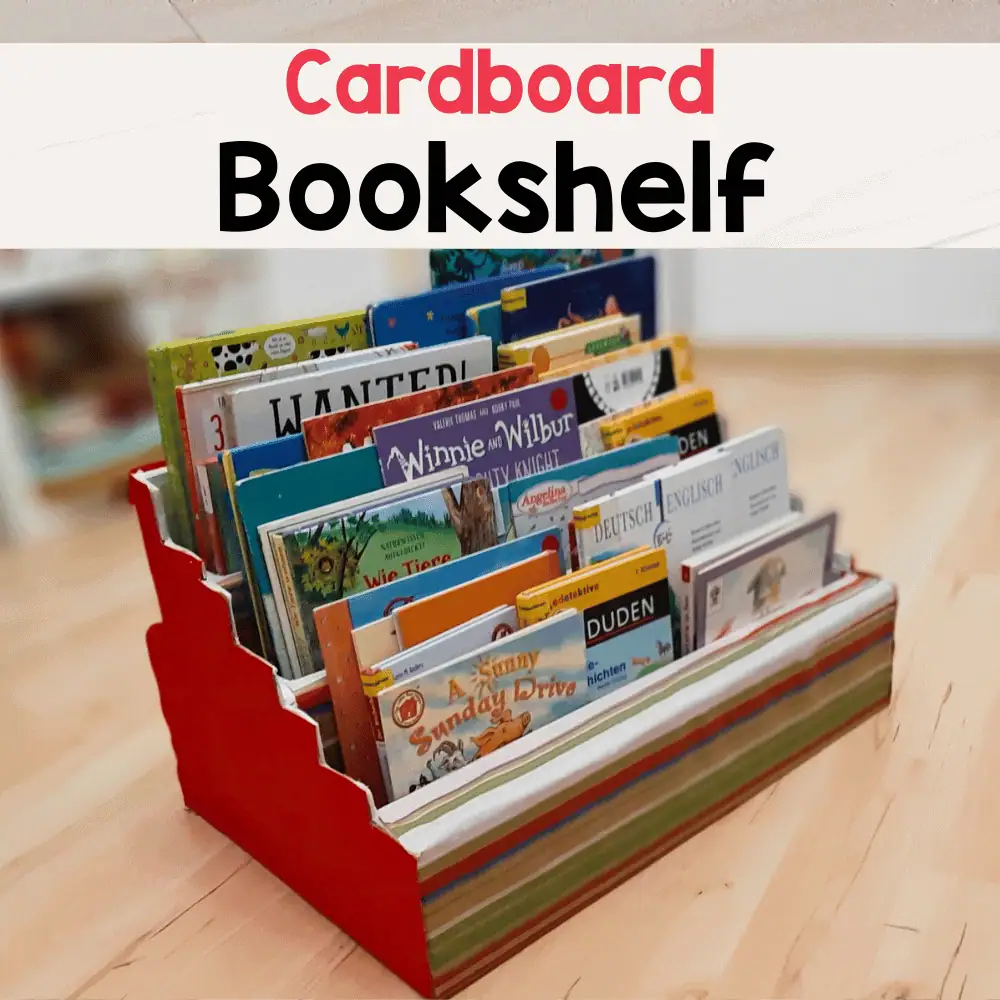
Credit: www.littleladoo.com
Materials Needed
Making a bookshelf at home is simple when you have the right materials. Choosing good materials helps your bookshelf last longer and look better. This section explains the wood, tools, and supplies you need.
Wood Selection
Choose wood that is strong and easy to work with. Pine and plywood are good choices for beginners. Pine is light and cheap. Plywood is smooth and sturdy. Avoid soft or weak wood. Wood boards should be straight and free of cracks.
Tools Required
You need basic tools for cutting and assembling the wood. A handsaw or electric saw works well for cutting. A drill helps make holes for screws. Sandpaper smooths rough edges. A screwdriver tightens screws. A measuring tape ensures accurate cuts. A pencil marks where to cut or drill.
Additional Supplies
Besides wood and tools, gather some extra supplies. Screws hold the pieces together. Wood glue adds extra strength. Paint or varnish protects the wood and makes it look nice. Brushes or rollers help apply paint evenly. Safety gear like gloves and goggles keeps you safe during work.
Credit: jenwoodhouse.com
Planning Your Bookshelf
Planning is the first step to build a bookshelf at home. It helps you make a clear idea of what you want. A good plan saves time and material. It also makes your project easier and more fun.
Think about where you want to place your bookshelf. Consider the space and how much you need to store. This will guide your choices on size, style, and shape.
Choosing The Size
Decide how tall and wide your bookshelf should be. Measure the space on your wall or floor. Think about how many books or items you want to store. Choose a size that fits the space and your needs. Avoid making it too big or too small.
Design Styles
Pick a style that matches your room. Simple and modern designs are easy to build. Classic wooden shelves add warmth and charm. Open shelves show off your items. Closed shelves hide clutter. Choose what looks best and fits your skill level.
Measuring And Marking
Use a tape measure for accuracy. Mark the wood pieces before cutting. Double-check all measurements to avoid mistakes. Clear marks help you cut straight and fit pieces well. Take your time with this step for the best results.
Cutting The Wood
Cutting the wood is a key step in making a bookshelf at home. It shapes the pieces to the right size and form. Proper cutting ensures your bookshelf fits well and looks neat. Use the right tools and follow safe methods to cut wood accurately. Take your time and check measurements twice. This will help avoid mistakes and save materials.
Safe Cutting Techniques
Always wear safety goggles to protect your eyes from dust and chips. Use ear protection if your tools are loud. Keep your hands clear of the blade. Hold the wood firmly to stop it from moving. Work on a stable surface to avoid slips. Follow the tool’s instructions carefully. Never rush while cutting wood. Safety comes first in every step.
Cutting To Size
Measure your wood pieces twice before cutting. Mark the cut lines clearly with a pencil. Use a saw that matches your wood type and thickness. Straight cuts make assembly easier and stronger. Cut slowly to keep the edges clean. Check each piece after cutting to confirm the size. Adjust if needed before moving on.
Sanding Edges
After cutting, the edges may be rough or sharp. Sand the edges with medium-grit sandpaper to smooth them. Sand in the direction of the wood grain for a better finish. This step prevents splinters and gives a polished look. Wipe the dust off before assembling the shelf. Smooth edges improve the shelf’s safety and appearance.
Assembling The Bookshelf
Assembling your bookshelf is the step where everything comes together. It is important to follow each step carefully to build a sturdy and useful shelf. This part focuses on connecting the parts and making sure the shelf stands strong.
Joining The Pieces
Start by placing the side panels upright. Fit the shelves between the sides. Make sure the edges align properly. Use clamps to hold parts together. This keeps the pieces steady while you work. Check that all shelves sit level. Proper joining prevents gaps and weak spots.
Using Screws And Nails
Choose screws or nails based on your tools. Screws give a stronger hold for wood. Pre-drill holes to avoid splitting the wood. Drive screws straight and deep into the wood. Nails can be used for quick fixes. Hammer gently to avoid damaging the wood. Secure all corners and shelves firmly.
Ensuring Stability
Stand the bookshelf up carefully. Gently shake it to test strength. Tighten screws if the shelf wobbles. Add corner braces for extra support if needed. Place the shelf against a wall for safety. Use wall anchors to prevent tipping. Stability keeps your books safe and organized.
Finishing Touches
Finishing touches make your bookshelf look complete and neat. They protect the wood and add style. Small details improve the overall look. A well-finished bookshelf fits perfectly in your home.
Painting And Staining
Choose paint or stain to match your room’s style. Paint gives bright, solid colors. Stain shows the wood’s natural patterns. Apply thin, even coats for best results. Let each coat dry before adding the next. Sand lightly between coats for smoothness.
Adding Decorative Elements
Decorative elements add charm and personality. Use stickers, stencils, or small wood trims. Add metal handles or corner brackets for a rustic look. Keep decorations simple to avoid clutter. These small touches make your shelf unique and inviting.
Protective Coating
Protect your shelf with a clear coat. Use polyurethane or varnish for a strong finish. This layer guards against scratches and spills. Apply with a brush in thin layers. Allow each layer to dry fully before the next. A protective coat keeps your shelf looking new longer.
:max_bytes(150000):strip_icc()/dominiquegebruinsta-35b11dd4f037417980649e06e17c4027.jpg)
Credit: www.thespruce.com
Tips For Styling Your Bookshelf
Styling your bookshelf can change the whole look of your room. A well-styled bookshelf shows your taste and keeps your space neat. Simple tips can help you arrange books and items beautifully. These ideas make your shelf both useful and attractive.
Arranging Books Creatively
Place books both vertically and horizontally to add interest. Group books by color for a bright, neat look. Mix tall and short books to create balance. Use some books as stands for small decor pieces.
Incorporating Decor Items
Add small plants to bring life and color. Use photo frames or art pieces to show personality. Place candles or small sculptures for texture. Keep decor items spread out to avoid clutter.
Maintaining Organization
Keep books in easy reach for daily use. Use baskets or boxes to hold small items. Regularly remove dust to keep the shelf clean. Stick to a system so your shelf stays tidy over time.
Frequently Asked Questions
What Materials Are Needed To Make An Easy Bookshelf At Home?
To make a simple bookshelf, you need wood panels, screws, a drill, sandpaper, and paint or varnish. Measuring tape and a saw are also essential tools. These materials help create a sturdy and attractive bookshelf without professional skills.
How Long Does It Take To Build A Homemade Bookshelf?
Building an easy bookshelf typically takes 2 to 4 hours. This depends on your experience and the complexity of the design. Simple shelves with basic tools require less time and effort, making it a quick DIY project for beginners.
Can I Customize The Size Of My Homemade Bookshelf?
Yes, you can customize the bookshelf size to fit your space. Measure the area where you want to place it. Adjust the wood panel dimensions accordingly. Custom sizing ensures the bookshelf fits perfectly and meets your storage needs.
Is Woodworking Experience Necessary To Build A Bookshelf?
No, basic woodworking skills are enough to make an easy bookshelf. Many simple designs use straightforward cuts and assembly. Beginners can follow step-by-step guides and videos to complete the project successfully.
Conclusion
Making a bookshelf at home is simple and fun. You only need basic tools and materials. Follow the steps carefully and take your time. You will enjoy having a new place for your books. Plus, it saves money compared to buying one.
Try different styles to fit your space. Build your own bookshelf and add a personal touch to your room. It feels good to create something useful with your hands. Start today and see how easy it can be!
