Are you looking to give your old bookshelf a fresh, stylish makeover without spending a lot of money? Modge Podge is your secret weapon.
It’s an easy and fun way to add personality and protect your shelves at the same time. In this guide, you’ll discover simple steps to transform your bookshelf into a unique piece that reflects your style. Ready to turn something plain into something amazing?
Keep reading, and you’ll learn exactly how to do it!
Choosing The Right Supplies
Choosing the right supplies is the first step to a successful Modge Podge bookshelf project. The right materials make your work easier and give better results. You need to pick the right type of Modge Podge, brushes, and tools. Also, setting up your workspace properly helps you stay organized and clean.
Selecting Modge Podge Types
Modge Podge comes in many types. Matte finish gives a smooth, flat look. Gloss finish adds shine and makes colors pop. Outdoor Modge Podge protects against weather damage. Choose one that fits your style and needs. For bookshelves, the matte or gloss types work well. Use outdoor type only for shelves exposed to moisture.
Picking Brushes And Tools
Use soft brushes to avoid streaks. Foam brushes help spread Modge Podge evenly. A medium-sized brush covers large surfaces fast. Small brushes are good for edges and corners. Have a clean cloth or sponge ready to wipe mistakes. Avoid old or stiff brushes; they can ruin the finish.
Preparing Your Workspace
Work in a well-ventilated area to avoid fumes. Cover your surface with newspaper or plastic sheet. Keep all supplies within reach to save time. Have paper towels ready for spills. Make sure your shelf is clean and dry before starting. Clear space helps you work faster and neater.

Credit: www.instructables.com
Preparing The Bookshelf
Preparing the bookshelf is the first step to a smooth Mod Podge project. It helps the glue stick well and the finish look neat. Careful preparation also protects the wood and keeps your project lasting longer.
Start by making sure the surface is clean and smooth. Fix any damage and create a good base with primer. Each step makes the final result better and stronger.
Cleaning And Sanding
Remove dust, dirt, and old polish from the bookshelf. Use a soft cloth with mild soap and water. Let it dry fully before sanding.
Sand the surface lightly with fine-grit sandpaper. This removes rough spots and old paint. Sanding helps Mod Podge stick better and gives a smooth finish.
Repairing Imperfections
Look for cracks, holes, or dents on the bookshelf. Fill small holes with wood filler or putty. Use a putty knife to spread it evenly.
Let the filler dry completely. Sand the filled areas smooth to match the surface. This step makes the surface even and ready for painting or gluing.
Priming The Surface
Apply a coat of primer to the bookshelf. Primer seals the wood and blocks stains from showing through. It also improves the glue’s grip on the surface.
Use a brush or roller for an even coat. Let the primer dry fully before moving to the next step. Proper priming ensures a clean and lasting finish.
Cutting And Arranging Paper
Cutting and arranging paper is a key step in Mod Podge projects. It gives your bookshelf a fresh, unique look. Careful cutting and smart arranging help your design stand out and last longer. This part needs patience and a clear plan to avoid mistakes.
Start by choosing the right paper patterns and designs. Then, measure and cut your paper carefully. Finally, plan how to place the paper on your shelves for the best effect.
Choosing Patterns And Designs
Select patterns that match your room style. Use simple designs for a clean look. Bright or bold patterns add energy to a plain space. Mix small and large prints for variety. Choose paper that feels sturdy and easy to work with.
Measuring And Cutting Paper
Measure each shelf area precisely. Use a ruler and pencil for straight lines. Cut paper slightly bigger than the shelf size. This helps cover edges well. Trim extra paper after gluing for a neat finish. Use sharp scissors or a craft knife for clean cuts.
Planning Layout On Shelves
Lay paper pieces on shelves without glue first. Move them around to find the best fit. Match patterns at edges for a smooth look. Leave space for shelf borders if needed. Take a photo of your layout to remember the plan. This avoids surprises when gluing the paper down.
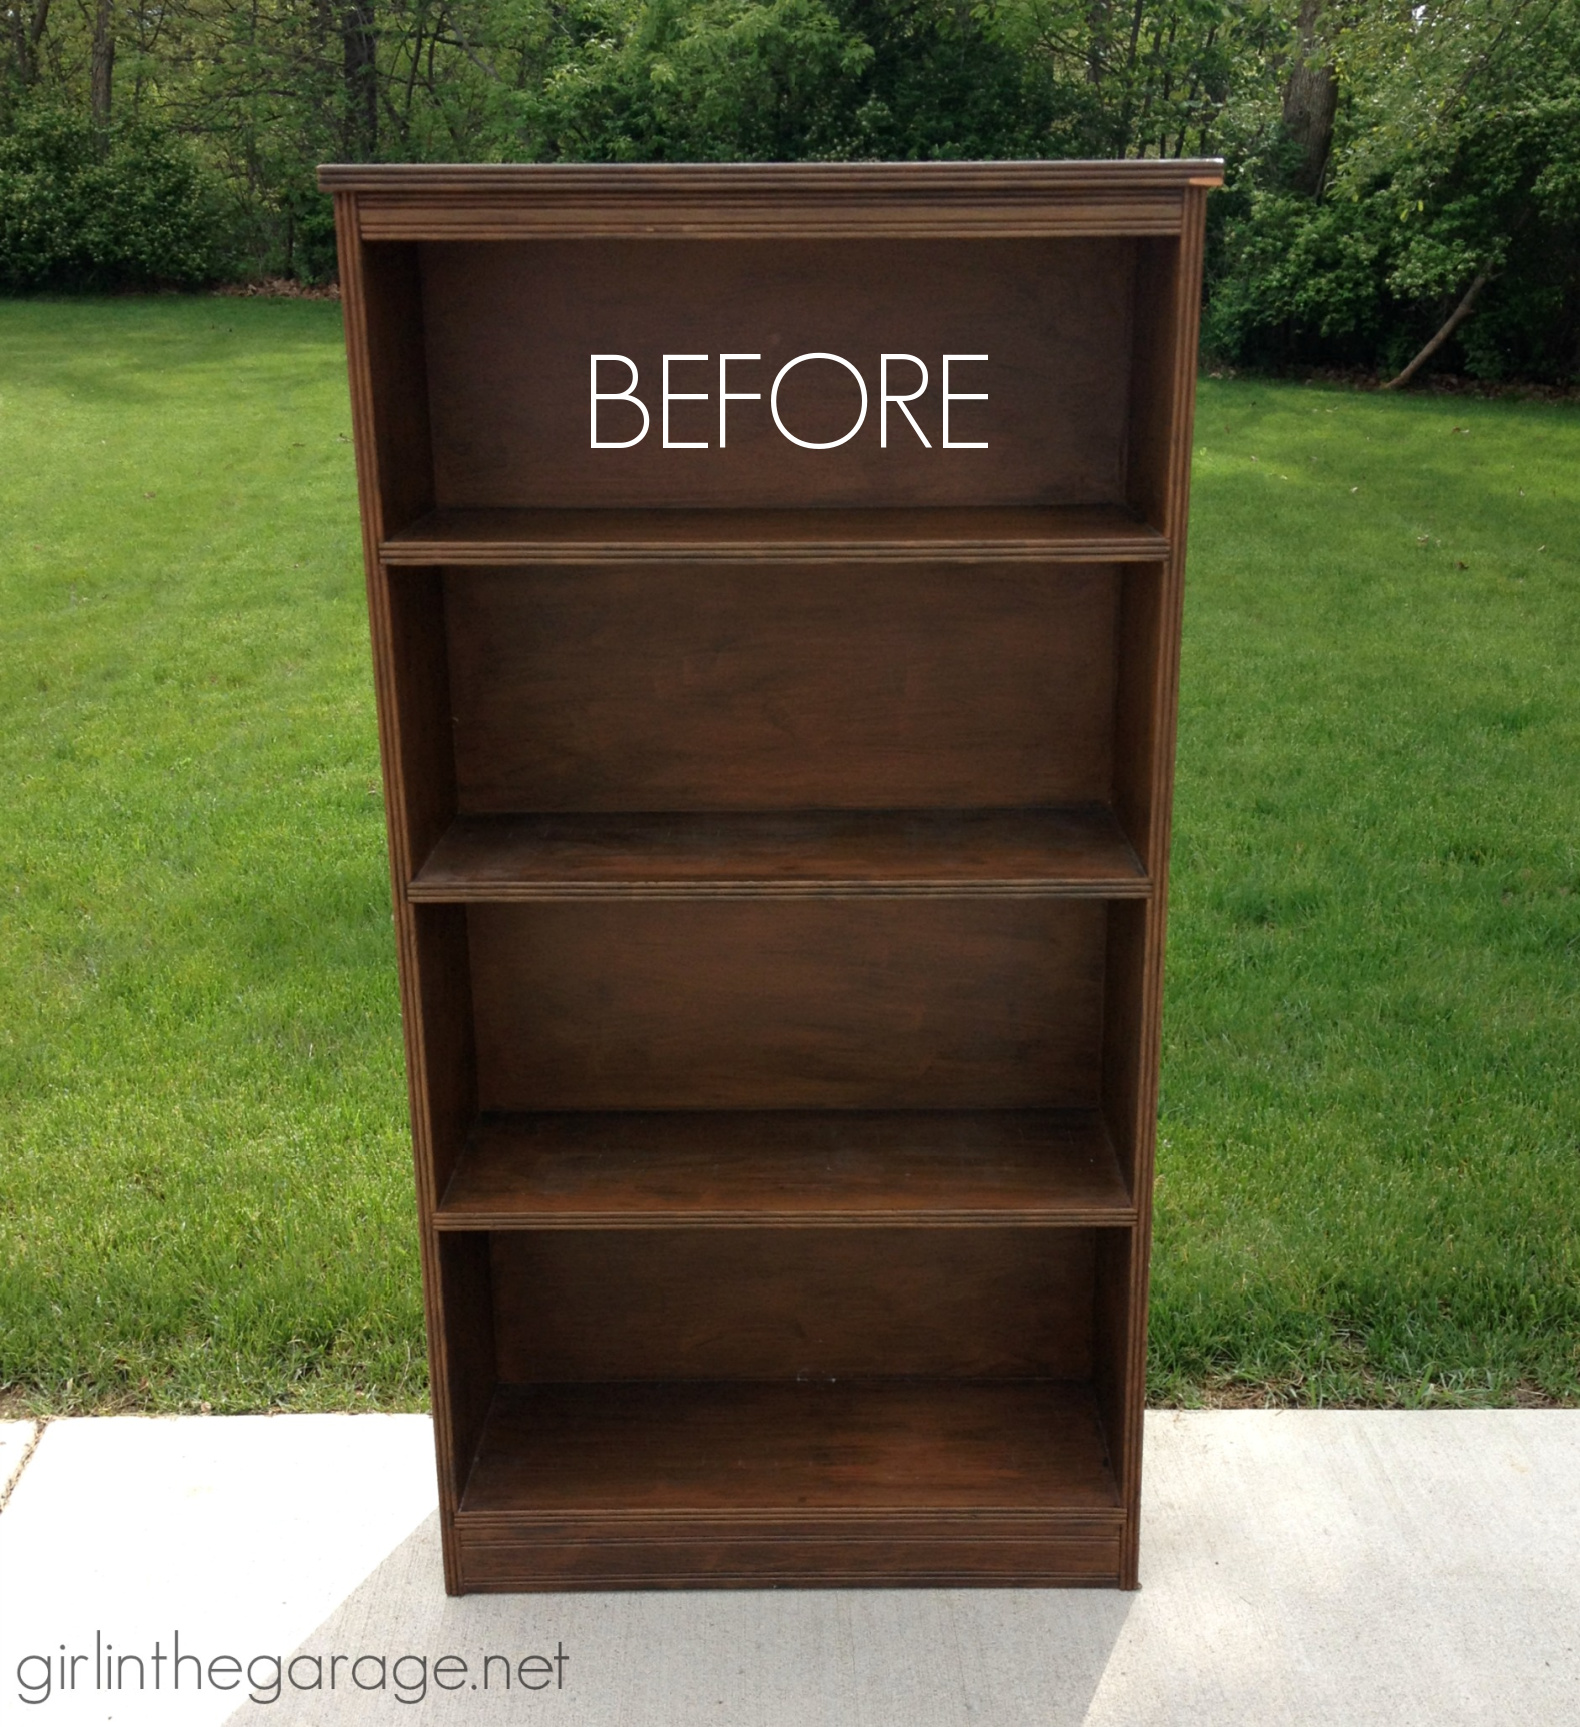
Credit: girlinthegarage.net
Applying Modge Podge
Applying Mod Podge to a bookshelf is a simple process that changes its look and protects the surface. It creates a smooth, sealed finish that lasts. Careful application ensures the best results. Follow these steps to apply Mod Podge correctly and achieve a beautiful finish.
First Coat Application
Start by cleaning the bookshelf surface. Use a dry cloth to remove dust and dirt. Stir the Mod Podge gently before use. Apply the first coat with a flat brush or sponge. Spread it evenly in thin layers. Cover the entire surface without leaving gaps. Work quickly but carefully to avoid streaks.
Smoothing Out Air Bubbles
Air bubbles can form under the Mod Podge layer. Use a soft brush to smooth them out gently. Brush in one direction to push bubbles away. If bubbles persist, lightly press them with a clean cloth. Avoid over-brushing, which can cause streaks. Smooth surface means better adhesion and finish.
Layering And Drying Times
Allow the first coat to dry completely, about 15-20 minutes. Add a second coat for better protection and shine. Apply the second coat as you did the first. Wait longer between coats if the weather is humid. Two or three thin coats give the best results. Let the final layer dry for at least 24 hours before use.
Sealing And Finishing
Sealing and finishing your Mod Podge bookshelf protects your hard work. This step makes the surface strong and long-lasting. It also gives a smooth, polished look. Proper sealing stops moisture and dirt from damaging your project.
Adding Protective Coats
Apply thin layers of Mod Podge or clear sealer over the entire bookshelf. Use a clean brush or foam applicator to avoid streaks. Let each coat dry fully before adding the next. Usually, two to three coats offer good protection. This builds a tough, water-resistant surface.
Drying And Curing
Let the sealed bookshelf dry in a dust-free area. Drying times vary, but wait at least 24 hours. For the best strength, allow the finish to cure for 72 hours. Avoid placing items on the shelf until fully cured. This ensures the finish hardens and lasts longer.
Final Touches And Maintenance Tips
Lightly sand the surface with fine sandpaper for a smooth finish. Wipe away any dust before use. Clean the bookshelf gently with a damp cloth. Avoid harsh chemicals or scrubbing. Regular dusting helps keep the finish bright and fresh.
Creative Ideas For Modge Podged Bookshelves
Modge Podging a bookshelf lets you add personality and style. It transforms plain shelves into unique pieces. You can use many materials and designs. This makes each bookshelf special and fun to create.
Try different ideas to make your bookshelf stand out. Use simple tools and your favorite patterns. The result will brighten any room and show your creativity.
Using Fabric Or Photos
Cover shelves with colorful fabric for a soft look. Cut fabric to fit each shelf perfectly. Apply Modge Podge to glue and seal the fabric. Photos also work well. Use pictures of places, people, or art. Arrange them in a collage style. Seal the photos with Modge Podge to protect them. Both options add a personal touch to your shelf.
Incorporating Stencils And Decals
Use stencils to paint patterns on the shelves. Simple shapes or letters create interesting designs. Apply Modge Podge over the stencil for a smooth finish. Decals are easy to stick on and remove. Choose fun or elegant designs to match your room. Seal decals with Modge Podge to keep them in place. This method adds detail without much effort.
Mixing Colors And Textures
Combine bright colors and different textures for a bold look. Paint some shelves in solid colors. Cover others with textured paper or fabric. Use Modge Podge to blend these elements smoothly. This mix creates depth and visual interest. Change colors to fit your style or season. It makes your bookshelf lively and unique.
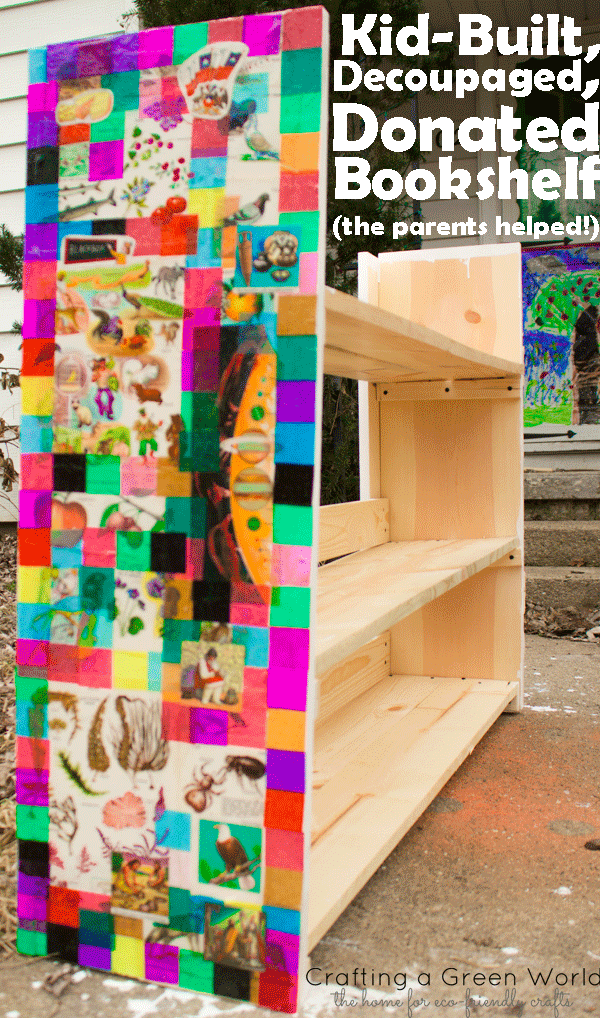
Credit: craftingagreenworld.com
Frequently Asked Questions
What Materials Do I Need To Modge Podge A Bookshelf?
You need Modge Podge glue, a paintbrush, decorative paper or fabric, scissors, and a clean bookshelf. Optional items include a sanding block and sealer for durability.
How Do I Prepare The Bookshelf Before Modge Podging?
Clean the bookshelf thoroughly and sand rough spots lightly. This ensures better adhesion and a smooth finish for your Modge Podge project.
Can I Use Modge Podge On Painted Bookshelves?
Yes, Modge Podge works well on painted surfaces. Just ensure the paint is fully dry and clean before applying the glue.
How Long Does Modge Podge Take To Dry On A Bookshelf?
Modge Podge usually dries to the touch within 15-20 minutes. Full curing takes 24 hours for a durable, long-lasting finish.
Conclusion
Modge Podging a bookshelf adds charm and protects its surface. You can refresh old shelves with just a few steps. Choose your favorite paper or fabric for a unique look. Apply glue evenly and smooth out air bubbles carefully. Let each layer dry fully before adding the next.
This simple craft brings personality to any room. Try this project to create a shelf that stands out. Enjoy the fun and satisfaction of a handmade piece.
