Is your outdoor furniture looking old and rusty? You might think it’s time to replace it, but what if you could give it a fresh, new look instead?
Painting rusty outdoor furniture is easier than you think, and it can save you money while making your space look inviting again. In this guide, you’ll learn simple steps to transform your worn-out pieces into something beautiful and durable. Ready to bring your furniture back to life?
Keep reading, and you’ll discover how to do it right.
Assessing Rust Damage
Assessing rust damage is the first step before painting rusty outdoor furniture. It helps you understand how much work is needed. This step saves time and ensures a better finish. Knowing the rust condition guides you on tools and products to use.
Careful checking of the furniture surface reveals the extent of rust. This process also helps in deciding if the piece is worth restoring. A detailed assessment avoids surprises during cleaning and painting.
Identifying Rust Spots
Look closely at all areas of the furniture. Rust spots often appear as reddish-brown patches. Some spots might be small and hidden under dust or old paint. Use a brush or cloth to clean the surface gently. This reveals rust spots clearly. Check joints, legs, and corners carefully. These places gather moisture and rust faster.
Light rust feels rough but stays on the surface. Deep rust causes pitting or holes in the metal. Mark all rust spots to focus on them later. A thorough check makes sure no rust is missed.
Evaluating Furniture Condition
After finding rust spots, check the furniture’s overall condition. Test if the metal is strong or weak. Press or tap different parts gently. Soft or brittle areas may need repair or replacement. Look for broken or missing parts too. Rust damage can weaken the structure. Decide if fixing is possible or if replacement is better. Good condition means sanding and painting will work well. Poor condition needs extra care before painting.
Gathering Necessary Supplies
Before painting rusty outdoor furniture, gather all necessary supplies. Having the right materials helps ensure a smooth process. It saves time and prevents interruptions. Preparing well makes the project easier and more enjoyable.
Tools For Rust Removal
Rust must be removed before painting. Use wire brushes or sanding blocks to scrub the surface. Sandpaper with medium grit works well for small areas. For heavy rust, a power sander or a rust remover solution can help. Clean the furniture thoroughly after rust removal to remove dust and debris.
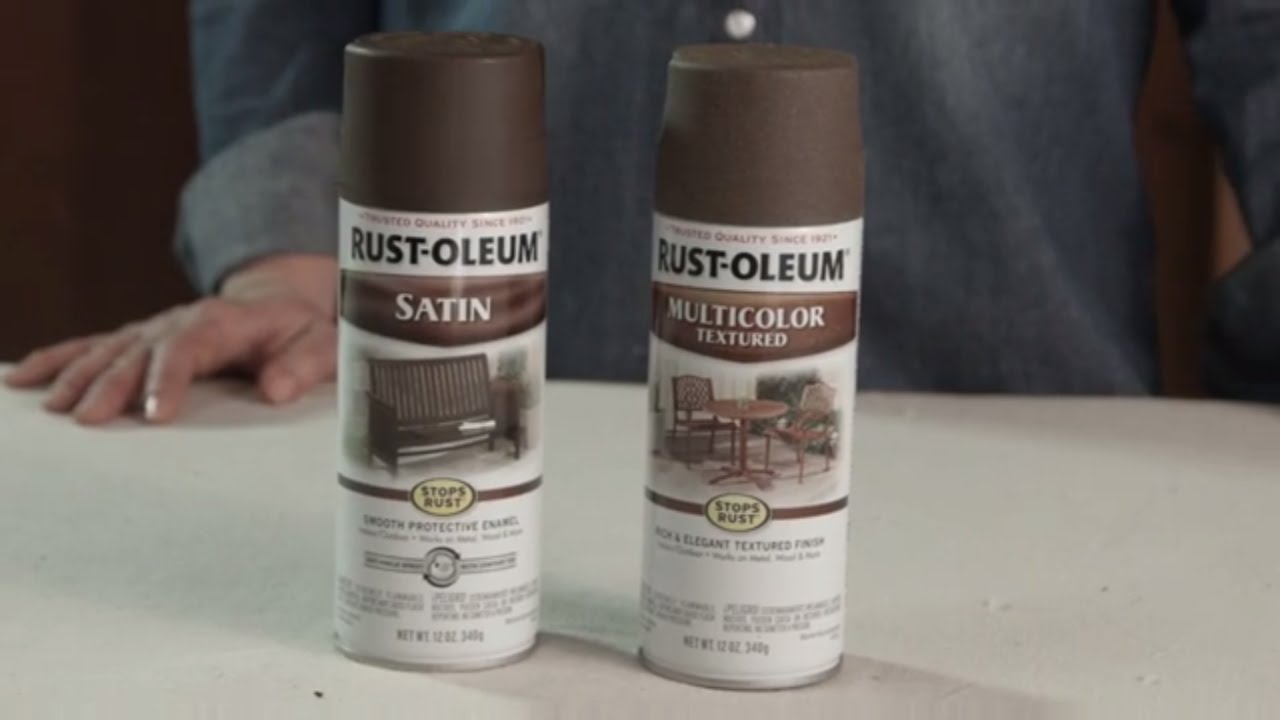
Choosing The Right Paint
Pick paint made for metal and outdoor use. Rust-inhibiting primers protect the metal and prevent future rust. Use spray paint or brush-on paint based on your comfort. Choose a color that matches your style and outdoor decor. Proper paint ensures long-lasting protection and a fresh look.
Protective Gear
Wear gloves to protect your hands from rust and chemicals. Use safety goggles to shield your eyes from dust and paint splashes. A mask helps avoid breathing in dust and paint fumes. Dress in old clothes or a protective apron to stay clean. Safety gear keeps you safe and comfortable during work.
Preparing The Furniture
Preparing rusty outdoor furniture is the first step to a fresh new look. This step makes sure the paint will stick well. It also helps the furniture last longer. Clean and smooth surfaces create a perfect base for painting.
Follow these simple steps to get your furniture ready. Each step removes dirt and rust. It also smooths the surface for a better finish.
Cleaning The Surface
Remove all dirt and grime from the furniture. Use soap, water, and a scrub brush. Rinse well and let it dry completely. Clean surfaces help paint stick better and last longer.
Removing Loose Rust
Scrape off loose rust with a wire brush or scraper. Make sure to get rid of all flaky rust. Loose rust can cause paint to peel later. Removing it gives a stronger base for painting.
Sanding For Smoothness
Sand the furniture using medium-grit sandpaper. This smooths rough spots and removes small rust patches. Wipe away dust with a cloth. A smooth surface helps the paint look even and neat.
Applying Rust Primer
Applying rust primer is a key step in painting rusty outdoor furniture. It stops rust from spreading. It also helps paint stick better and last longer. Without a good primer, paint can peel or chip quickly. The right primer protects metal and keeps your furniture looking great.
Selecting Primer Types
Choose a primer made for rusted metal. Rust converters turn rust into a paintable surface. Rust-inhibiting primers block oxygen and moisture. Oil-based primers work well on rusty spots. Water-based primers dry faster but may need more coats. Check the label to match the primer to your furniture type.
Proper Primer Application
Start with clean, dry furniture. Remove loose rust and dirt with a wire brush. Shake the primer can well before use. Apply thin, even coats with a brush or spray. Avoid thick layers that drip or run. Let each coat dry fully before adding another. Proper drying ensures strong rust protection and smooth paint finish.
Painting Techniques
Painting rusty outdoor furniture needs the right techniques to last long. The paint must cover well and resist weather damage. Using the proper methods makes the furniture look fresh and new. This section covers key painting techniques that protect and beautify rusty metal.
Choosing Paint Finish
Pick a paint finish that fits outdoor use. Glossy finishes shine and resist dirt easily. Satin finish offers a soft shine and hides imperfections. Matte finish looks natural but may show dirt more. Outdoor furniture needs paint that blocks rust and holds color well.
Brush Vs. Spray Application
Brush painting works well for small areas and detail work. It lets you control the paint thickness. Spraying covers large surfaces quickly and evenly. It reaches tight spots better than brushes. Clean the surface well before painting either way. Choose the method that suits your furniture size and shape.
Multiple Coats For Durability
Apply several thin coats for strong protection. Each layer adds to the paint’s strength and smoothness. Let each coat dry fully before adding another. Thin coats prevent drips and peeling. More layers mean better defense against rust and weather. This step keeps your furniture looking great longer.
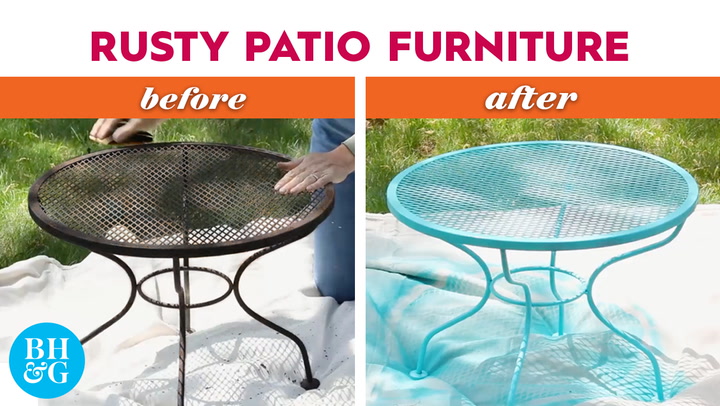
Credit: www.bhg.com
Drying And Curing
Drying and curing are key steps in painting rusty outdoor furniture. Proper drying stops dust and dirt from sticking. Curing makes the paint hard and long-lasting. Skipping these steps can cause peeling and rust return.
Follow these tips to ensure your paint job stays strong and looks great for years.
Optimal Drying Conditions
Dry your painted furniture in a dry, shady place. Avoid direct sunlight, which can dry paint too fast. Too much heat creates cracks and bubbles. Ideal temperature is between 50°F and 85°F (10°C to 29°C).
Keep furniture away from dust and wind. Light air movement helps drying but strong wind can cause debris to stick. Wait at least 1 to 2 hours before touching the surface.
Curing Time For Longevity
Curing takes longer than drying. It allows paint to fully harden and resist damage. Most outdoor paints need 7 to 30 days to cure properly.
During this time, avoid placing heavy items or exposing furniture to rain. Patience in curing gives a tough, weather-resistant finish. Check the paint label for exact curing times and follow them closely.
Maintenance Tips
Maintaining painted rusty outdoor furniture is key to keeping it looking fresh and lasting longer. Proper care stops rust from coming back and protects the paint job. Simple steps can save time and money on repairs and repainting.
Preventing Future Rust
Keep furniture dry as much as possible. Water speeds up rust formation. Cover pieces during rain or store them indoors in winter. Use rust-resistant paint made for metal surfaces. Check furniture often for small chips or scratches. Touch up paint spots quickly to block moisture.
Cleaning Painted Furniture
Use a soft brush or cloth to remove dirt and dust. Avoid harsh chemicals that can damage paint. Mild soap mixed with water works well. Rinse with clean water and dry thoroughly. Clean furniture regularly to stop grime build-up. This keeps paint bright and smooth.
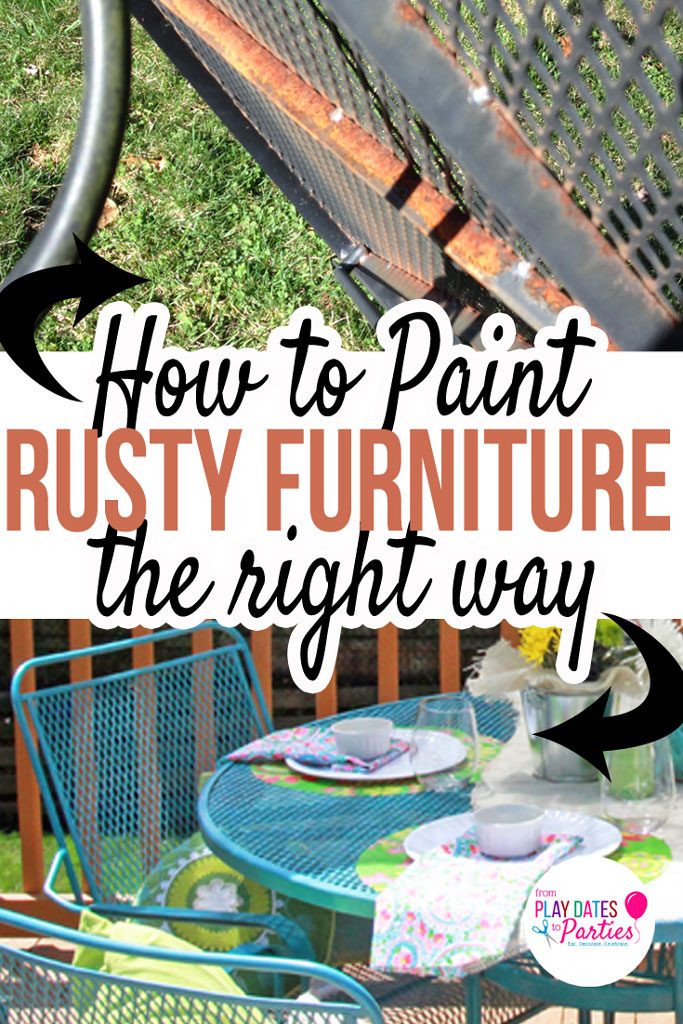
Credit: playdatesparties.com
Credit: www.youtube.com
Frequently Asked Questions
How Do I Prepare Rusty Outdoor Furniture For Painting?
Start by cleaning the furniture with soapy water to remove dirt. Use a wire brush or sandpaper to scrape off rust. Wipe the surface with a damp cloth and let it dry completely before painting.
What Type Of Paint Works Best On Rusty Metal Furniture?
Use rust-inhibiting spray paint or oil-based paint designed for metal. These paints prevent future rust and provide a durable, weather-resistant finish for outdoor furniture.
Can I Paint Outdoor Furniture Without Removing All The Rust?
It’s best to remove loose rust for better paint adhesion. Some rust converters can neutralize rust, allowing you to paint over it, but complete removal ensures longer-lasting results.
How Many Coats Of Paint Should I Apply On Rusty Furniture?
Apply two to three thin coats of paint for even coverage. Allow each coat to dry fully before applying the next to avoid peeling and ensure durability.
Conclusion
Rusty outdoor furniture can look fresh with the right steps. Clean the rust well before painting. Use paint made for metal to protect it. Let each layer dry fully for best results. Taking time makes your furniture last longer. Enjoy your renewed outdoor space with confidence.
Simple care keeps the paint looking good. Painting rusty furniture is easier than you think. Try these tips to bring new life outside.