Putting a bunk bed back together can feel like a big task, but it doesn’t have to be confusing or stressful. Whether you just moved or took it apart to clean, getting your bunk bed sturdy and safe again is important.
In this guide, you’ll find simple, clear steps that make the process easy to follow. By the end, you’ll have your bunk bed ready for a good night’s sleep—without the headache. Keep reading, and let’s get your bed back in shape quickly and safely.

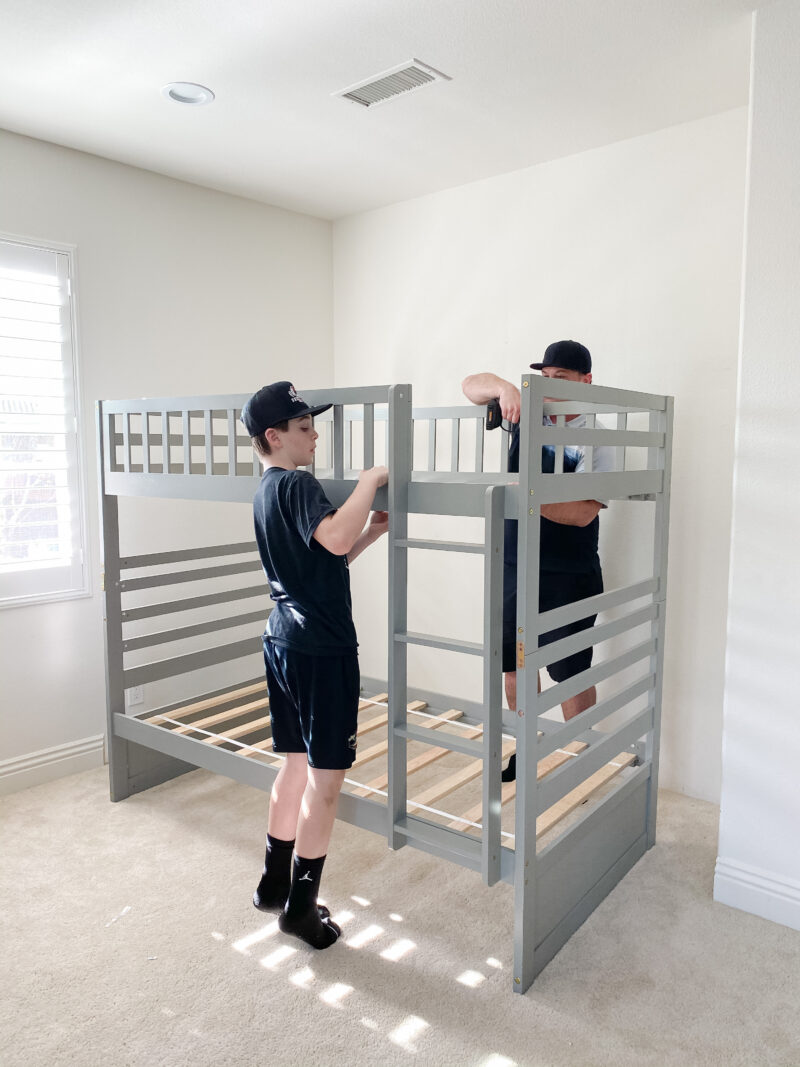
Credit: www.reinforcedbeds.co.uk
Gather Necessary Tools
Gathering the right tools helps make putting a bunk bed back together easier and faster. Having everything ready stops interruptions during assembly. It also keeps the process safe and smooth.
Prepare your workspace before starting. A clear area gives you enough room to move and work. Lay out the bed parts and tools side by side for easy access.
Basic Hand Tools
Start with simple hand tools. A screwdriver set with both flathead and Phillips tips is essential. An Allen wrench or hex key often fits bolts on bunk beds. A small hammer can help fit some parts snugly.
Power Tools
A cordless drill saves time and effort for screws. Use it carefully to avoid over-tightening bolts. Keep drill bits that match screw sizes on hand. Power tools speed up assembly but require caution.
Measuring Tools
A tape measure ensures all parts fit correctly. Check the bed frame dimensions before assembly. A level helps keep the bed balanced and safe. These tools guarantee a sturdy and even setup.
Safety Gear
Wear gloves to protect your hands from splinters. Safety glasses shield eyes from dust or debris. Use knee pads if you work on the floor for a long time. Safety gear prevents injuries during the job.
Organize Bed Components
Organizing the bed components is the first step in putting a bunk bed back together. Keeping parts neat saves time and avoids confusion. It also makes the assembly process smoother and faster.
Start by laying out all pieces in a clean, open space. Group similar parts together. This helps you find everything easily while building.
Sort Frames And Slats
Separate the bed frames from the slats. Frames are usually larger and heavier. Slats are long, thin boards that support the mattress.
Check each piece for damage or wear. Remove any broken parts before assembly. Place the frames on one side and the slats in another pile.
Identify Hardware Pieces
Collect all screws, bolts, nuts, and washers. Use a small container to hold these items. It prevents losing tiny hardware pieces.
Match the hardware to the instruction manual. Knowing which piece goes where helps during assembly. Set aside any extra or unused parts.
Assemble Bed Frame
Assembling the bed frame is the first key step in putting a bunk bed back together. This part creates the strong base needed for safety and comfort. The frame holds all pieces in place and supports the mattresses. Take your time to make sure each part fits correctly. A well-assembled frame keeps the bunk bed stable and secure.
Attach Side Rails
Start by connecting the side rails to the headboard and footboard. Line up the holes on the rails with the matching holes on the boards. Use the bolts or screws provided with your bed kit. Tighten them by hand first to avoid cross-threading. After all bolts are in place, use a wrench or screwdriver to secure them firmly. Check that the rails are even and straight before tightening completely.
Secure Headboard And Footboard
Next, attach the headboard and footboard to the side rails. These pieces form the ends of the bunk bed frame. Align their connectors carefully with the side rails. Insert the screws or bolts and tighten them by hand first. Use tools to fully secure the connections. Make sure the headboard and footboard stand upright and do not wobble. Proper fastening here prevents movement and keeps the bed safe.
Install Support Slats
Installing support slats is a key step in putting a bunk bed back together. These slats hold the mattress and provide stability. Proper placement keeps the bed safe and strong.
Support slats usually rest on ledges or brackets inside the bed frame. They must fit snugly without gaps or wobbling. This helps spread weight evenly across the bed.
Check The Slat Condition
Look at each slat carefully. Make sure none are cracked or bent. Weak slats can break under pressure. Replace any damaged slats before installing.
Place Slats Evenly
Space the slats evenly across the frame. Keep gaps small so the mattress stays firm. Uneven slats cause mattress sagging and discomfort.
Secure The Slats
Some bunk beds require screws or brackets to hold slats. Use the right tools and hardware to fix them. Loose slats can shift and create hazards.
Test The Support
Press down gently on the slats after installation. Check for movement or noise. Stable slats mean a secure bed frame ready for use.
Attach Guardrails And Ladder
Attaching the guardrails and ladder is a key step in rebuilding a bunk bed. These parts keep the bed safe and easy to use. Proper installation stops falls and helps children climb up and down with ease. Follow clear steps to position the guardrails and fix the ladder securely for a stable bunk bed.
Position Guardrails
Start by aligning the guardrails with the bed frame. Make sure they fit snugly on each side of the top bunk. Check that the guardrails cover enough space to prevent anyone from rolling off. Use screws or bolts to attach them firmly to the frame. Tighten all fasteners to avoid any loose parts. Double-check the guardrails for stability before moving on.
Fix Ladder Securely
Place the ladder in the spot designed by the bed’s frame. Hold it steady against the bunk bed. Attach the ladder using the provided screws or hooks. Ensure all screws are tight to avoid wobbling. Test the ladder by applying weight gently. It should feel solid and safe to climb. Secure the ladder well for easy access to the top bunk.

Credit: www.reinforcedbeds.co.uk
Check Stability And Safety
Checking the stability and safety of your bunk bed is very important. It ensures the bed is secure and safe to use. This step helps avoid accidents and keeps everyone safe. Take time to carefully check every part of the bed. Make sure it feels solid and strong before using it.
Tighten All Screws
Start by tightening every screw on the bunk bed. Loose screws can make the bed unstable. Use a screwdriver or wrench to turn each screw until it is snug. Do not over-tighten, as this can damage the wood or metal. Check screws on the frame, guardrails, and ladder. Make sure nothing moves or wiggles after tightening.
Test Bed Firmness
Press down on different parts of the bed to test firmness. Sit or gently bounce on the top and bottom bunks. The bed should not sway or creak loudly. Listen for any unusual noises that could mean loose parts. Check the ladder for firmness by climbing up and down slowly. A firm bed feels safe and solid under weight.
Add Mattresses And Bedding
Adding mattresses and bedding completes the bunk bed setup. It makes the bed ready for use. Proper placement ensures comfort and safety. Choose the right mattress size for each bunk. The bedding should fit well without slipping off. Clean bedding adds freshness and warmth.
Choose The Right Mattress
Select a mattress that fits the bunk bed frame perfectly. Measure the bed’s length and width before buying. Avoid mattresses that are too thick or too thin. A mattress too thick can reduce guardrail height. A mattress too thin may feel uncomfortable. Opt for firm support to keep sleepers safe.
Place Mattresses Carefully
Set each mattress flat and aligned on the bunk slats. Check that the mattress does not move easily. Secure it if needed with non-slip pads. Avoid gaps between the mattress and bed frame. Gaps can cause accidents or discomfort. Ensure the top bunk mattress is stable and secure.
Select Comfortable Bedding
Pick bedding that matches the mattress size. Sheets should fit snugly to prevent slipping. Use lightweight blankets or comforters for easy handling. Avoid heavy bedding on the top bunk to reduce risk. Choose breathable fabrics to improve sleep quality. Keep bedding clean and fresh to maintain hygiene.
Credit: athoughtfulplaceblog.com
Frequently Asked Questions
How Do I Start Reassembling A Bunk Bed?
Begin by organizing all parts and hardware. Read the instruction manual carefully. Assemble the bed frame first, ensuring all screws fit tightly. This method ensures stability and safety throughout the process.
What Tools Are Needed To Put A Bunk Bed Back Together?
Common tools include a screwdriver, Allen wrench, and a hammer. Check your bed’s manual for specific tools. Having the right tools makes assembly faster and more secure.
How Can I Ensure The Bunk Bed Is Safe?
Tighten all bolts securely and check for loose parts. Use safety rails for the top bunk. Regularly inspect the bed to maintain safety and prevent accidents.
Can I Put A Bunk Bed Back Together Alone?
Yes, but it’s easier and safer with two people. One can hold parts steady while the other assembles. This reduces the risk of injury and assembly errors.
Conclusion
Putting a bunk bed back together can feel simple and clear. Follow each step carefully to avoid mistakes. Check all parts fit tightly and safely. Take your time and work with patience. A well-assembled bed keeps kids safe and happy.
Keep instructions nearby for quick reference. Enjoy the space-saving and fun design of your bunk bed.