Are you wondering how to securely mount your coat rack without damaging your walls or risking it falling down? Choosing the right tools and materials can make all the difference between a sturdy rack and a frustrating mess.
You’ll discover exactly what to use to mount a coat rack safely and easily, no matter your wall type or coat rack design. Keep reading to find simple, practical tips that will save you time, effort, and hassle—so your coat rack stays put and your space stays neat.
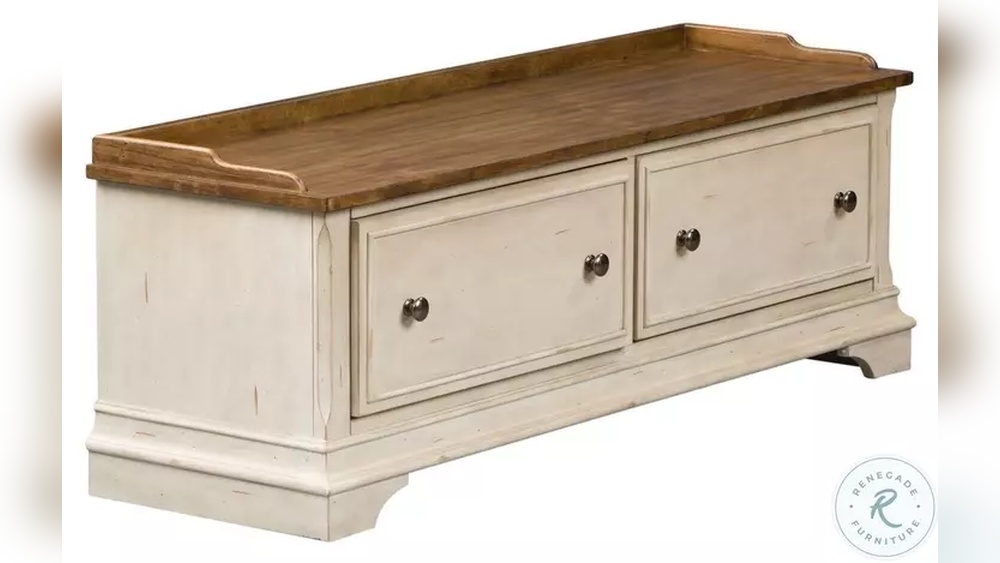
Credit: www.erinspain.com
Choosing The Right Mounting Hardware
Choosing the right mounting hardware for your coat rack is important. It keeps your rack secure and holds the weight of coats safely. Using the proper hardware prevents damage to walls and avoids accidents.
Different walls need different mounting tools. Knowing what to use helps you install the rack correctly and lastingly. Here are key points to consider for mounting your coat rack.
Types Of Mounting Screws
Mounting screws come in many sizes and types. Wood screws work well for wooden studs. Metal screws suit metal studs or anchors. Choose screws long enough to hold the weight but not too long to damage the wall.
Use screws with a flat or pan head for a clean fit. Avoid short or thin screws as they might loosen or break easily.
Anchors For Drywall
Drywall alone cannot hold heavy loads. Anchors spread the load and keep screws tight. Plastic anchors are common for light coats or small racks.
For heavier racks, use metal anchors. They grip the drywall better and prevent the rack from pulling out.
Using Toggle Bolts
Toggle bolts work well on hollow walls. They have wings that open behind the wall. This spreads the weight over a larger area.
Use toggle bolts for heavy racks or when no studs are available. They provide strong support and prevent wall damage.
Wall Studs Vs. Hollow Walls
Studs are wooden or metal beams behind walls. They offer the best support for mounting. Use a stud finder to locate these beams.
Mounting directly on studs holds more weight. Hollow walls need anchors or toggle bolts for support. Identifying your wall type ensures safe and secure installation.
Tools Needed For Installation
Mounting a coat rack securely needs the right tools. Using proper tools makes the installation easier and safer. It helps the coat rack hold heavy items without falling. Below are the key tools needed for this job.
Drills And Drill Bits
A drill speeds up making holes in walls. Choose the correct drill bit size for your wall type. Use masonry bits for brick or concrete walls. Wood bits work best for wooden walls. Drilling clean holes ensures strong anchor hold.
Levels And Measuring Tools
A level keeps the coat rack straight on the wall. Measuring tools help mark exact spots for drilling. Use a tape measure to find the right height. Mark spots lightly with a pencil before drilling. Straight and even racks look neat and professional.
Screwdrivers And Wrenches
Screwdrivers tighten screws to hold the rack firmly. Use a flathead or Phillips screwdriver based on screw type. Wrenches help tighten bolts on certain coat rack designs. Proper tightening prevents wobbling or falling.
Preparing The Wall
Preparing the wall is an important first step to mount a coat rack securely. It ensures the rack stays strong and holds weight without damage. Taking time to prepare helps avoid problems later.
Locating Studs
Studs are the wooden beams behind drywall. They provide strong support for heavy items. Use a stud finder tool to find their exact spots. Mark each stud clearly with a pencil. Mounting into studs keeps the coat rack stable and safe.
Marking Mounting Points
Decide where you want the coat rack on the wall. Measure and mark the spots for screws or hooks. Use a level to keep marks straight and even. Marking points carefully helps with easy and accurate mounting.
Checking For Obstacles Behind Walls
Look for pipes, wires, or cables behind the wall. Use a wire detector or stud finder with live wire detection. Avoid drilling into obstacles to prevent damage and danger. Knowing what is behind the wall keeps the mounting process safe.

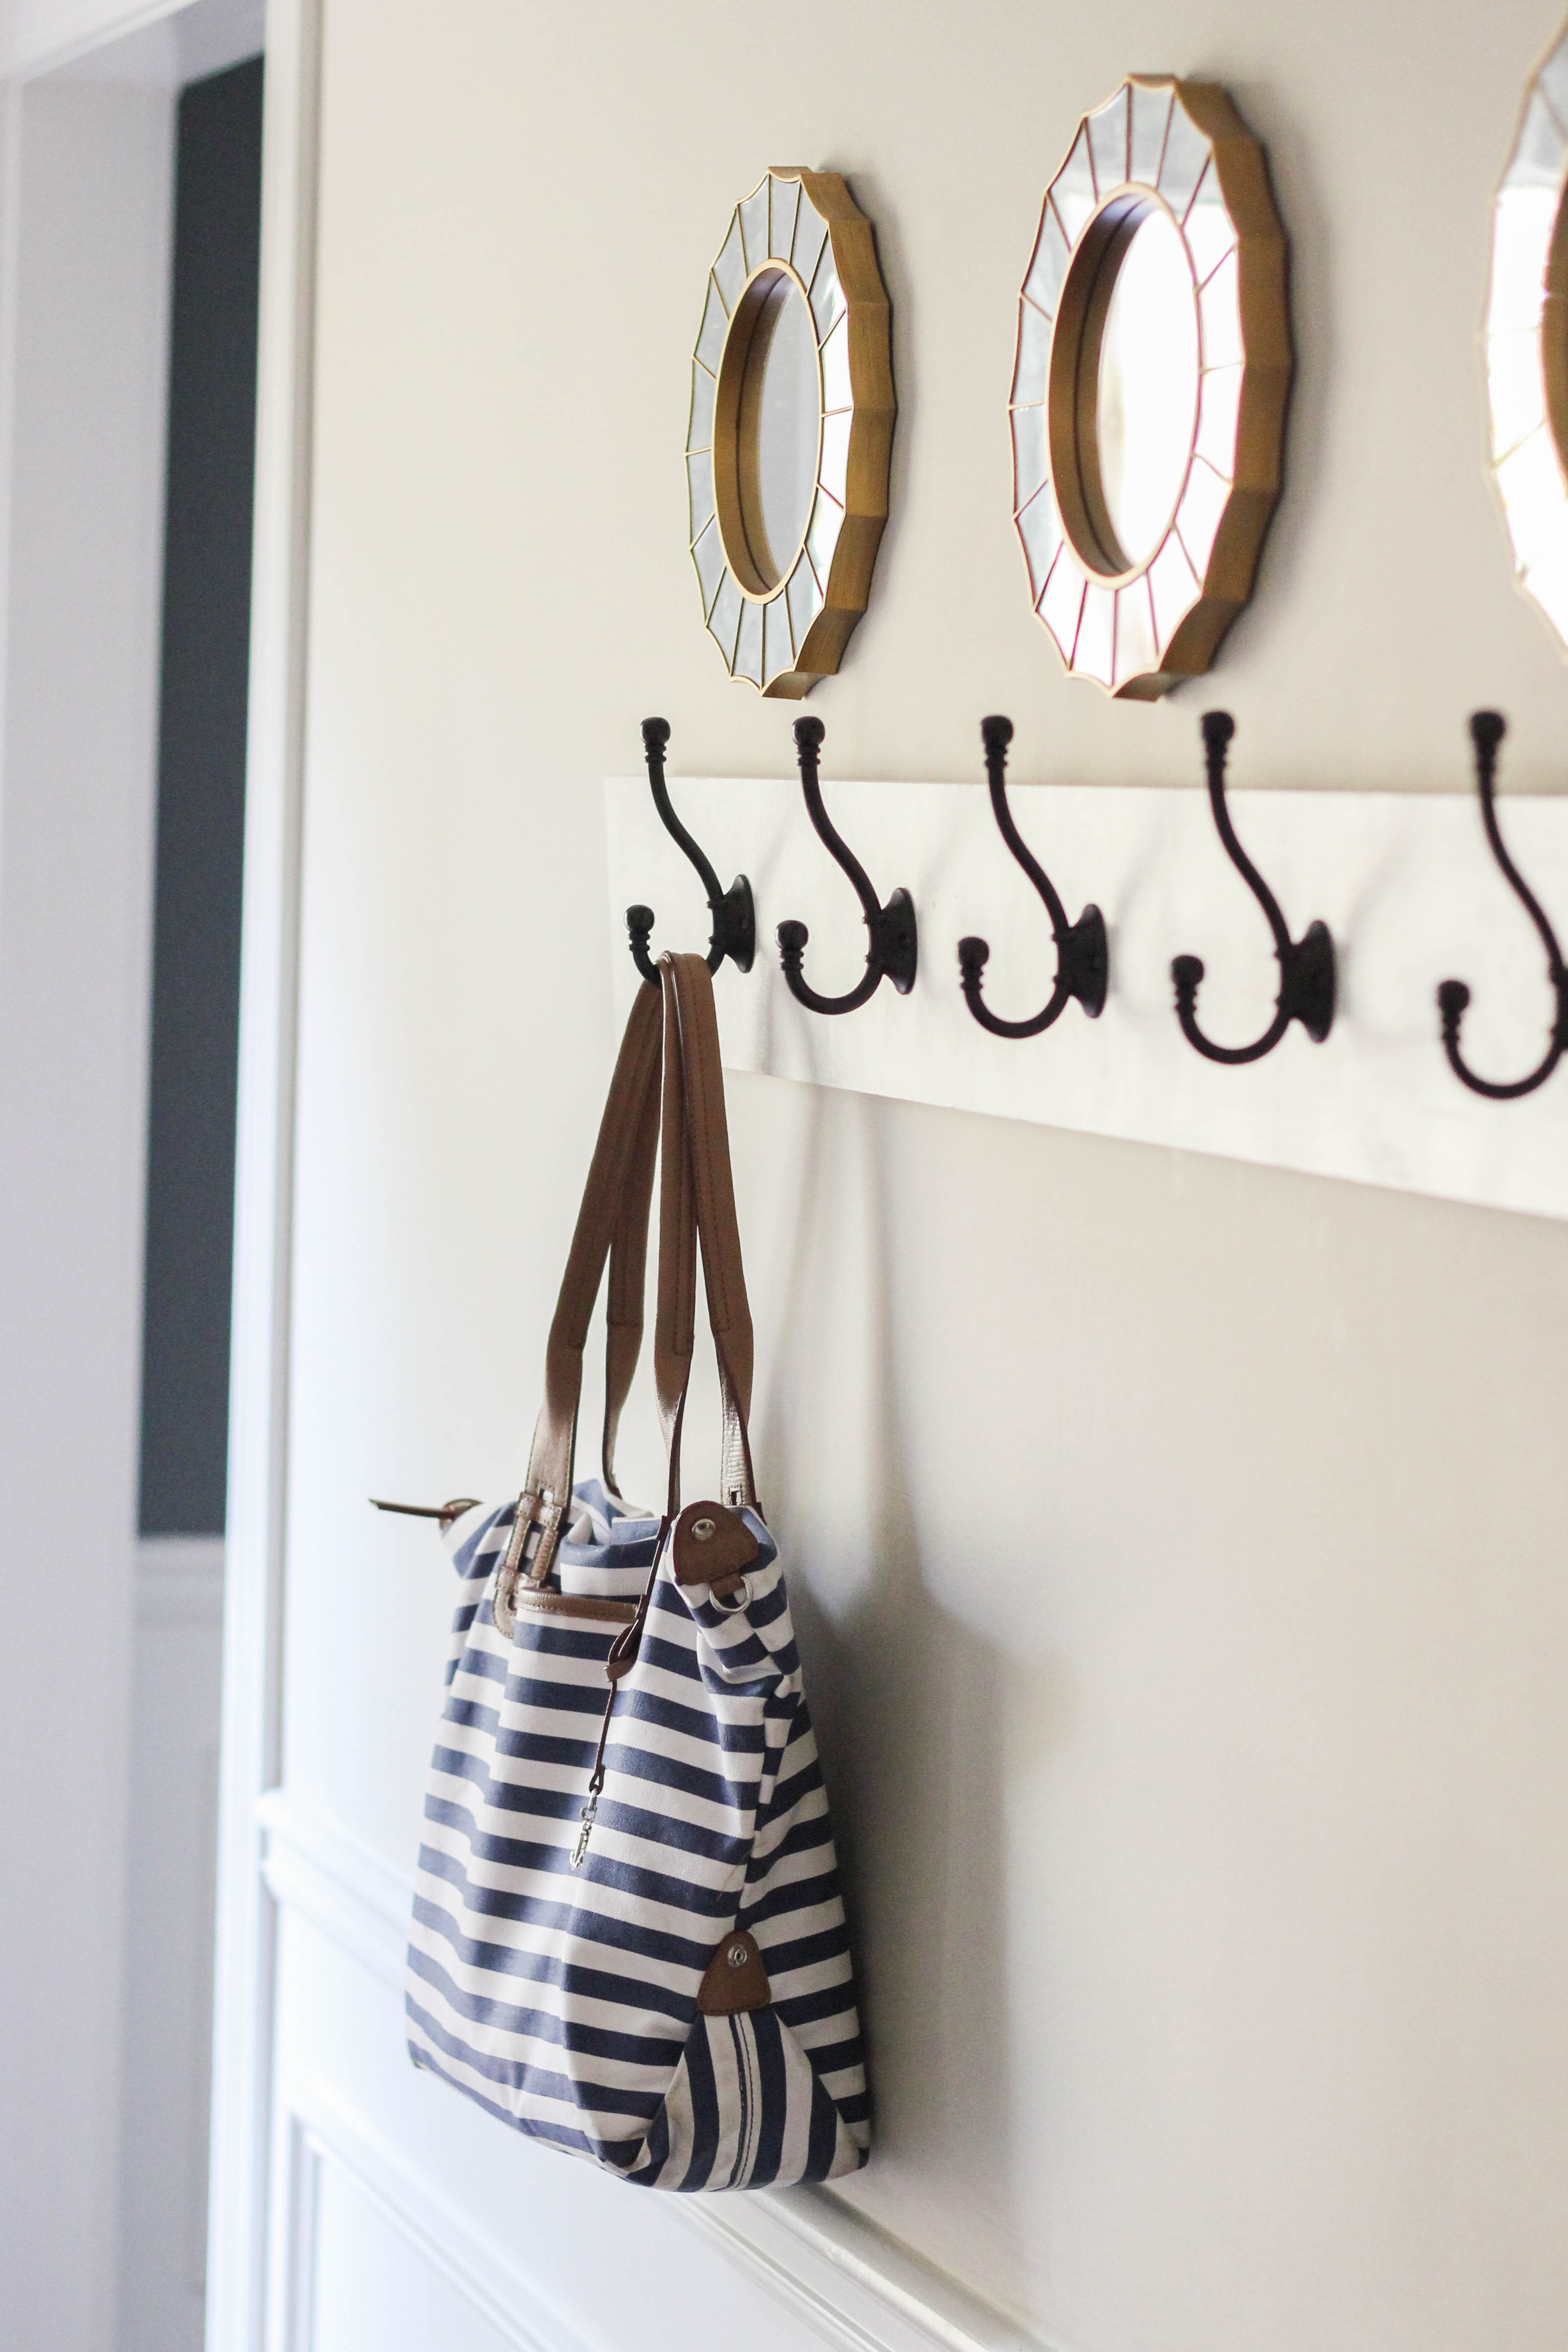
Credit: www.amazon.com
Step-by-step Installation Process
Mounting a coat rack correctly makes it strong and safe. Follow these clear steps to install your coat rack with ease. Each step helps you avoid damage to walls and ensures your rack holds well.
Drilling Pilot Holes
Start by marking where the screws will go. Use a pencil for accurate marks. Choose a drill bit smaller than your screws. Drill pilot holes at the marks gently. This prevents the wall from cracking.
Inserting Anchors
Push wall anchors into the pilot holes. Tap them lightly with a hammer if needed. Anchors keep screws tight in drywall or plaster. They stop the coat rack from falling under weight.
Attaching The Coat Rack
Hold the coat rack against the wall. Align its holes with the anchors. Insert screws through the rack into the anchors. Use a screwdriver to tighten screws firmly.
Securing And Testing Stability
Check the rack by pulling it gently. Make sure it feels steady and strong. Tighten screws more if the rack moves. Your coat rack is ready to hold coats safely.
Common Installation Mistakes To Avoid
Mounting a coat rack seems simple but many make common mistakes. These errors can cause damage or make the rack unsafe. Avoid these mistakes to ensure your coat rack stays secure and lasts long.
Ignoring Wall Material
Different walls need different mounting methods. Drywall cannot hold heavy weight alone. Brick and concrete require special anchors. Find out your wall type before drilling. Using the wrong method can cause the rack to fall.
Using Incorrect Hardware
Hardware must match the wall and rack weight. Small nails or weak screws will not hold well. Use strong anchors or screws designed for your wall type. Proper hardware ensures the rack stays fixed and safe.
Overloading The Rack
Coat racks have weight limits. Hanging too many heavy items can pull the rack off the wall. Check the rack’s weight capacity. Spread items evenly and avoid putting too much weight in one spot.
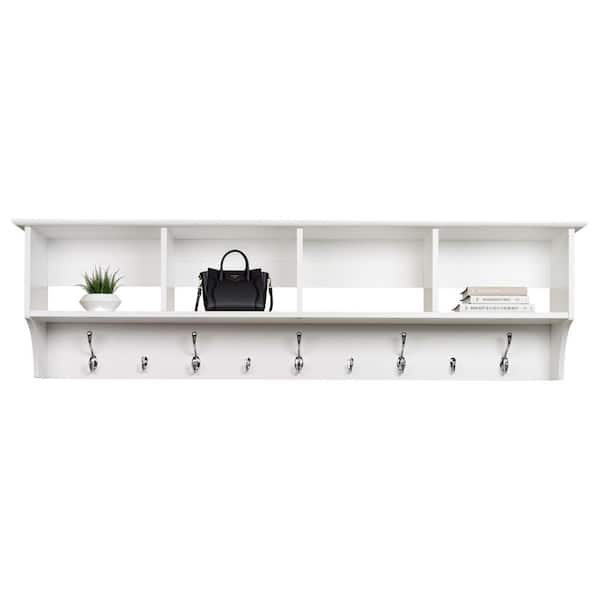
Credit: www.homedepot.com
Tips For Heavy-duty Coat Racks
Heavy-duty coat racks need a strong setup to hold many coats safely. Using the right mounting tips helps avoid damage to walls and keeps the rack stable. Focus on wall support, anchor strength, and weight spread for best results.
Reinforcing Wall Support
Find studs behind your wall for the strongest support. Use a stud finder to locate these wooden beams. Mount the rack directly into studs to hold more weight. If no studs are available, add a wooden board to the wall first. Attach the rack to this board for extra strength.
Choosing Stronger Anchors
Use heavy-duty anchors made for thick walls. Metal toggle bolts or molly bolts work well. Avoid plastic anchors as they may break under heavy loads. Pick anchors that match your wall type: drywall, plaster, or brick. Always check the weight rating on the anchor package.
Distributing Weight Evenly
Place hooks or pegs spaced evenly on the rack. This stops all weight from gathering in one spot. Spread heavy coats across different hooks to balance the load. Even weight helps keep the rack steady and safe. It also prevents the wall from cracking or holes from widening.
Frequently Asked Questions
What Type Of Anchors Work Best For Mounting Coat Racks?
Plastic anchors or metal toggle bolts work best for mounting coat racks. They provide strong support on drywall and prevent the rack from pulling out. Use anchors rated for the weight of your coat rack and the items it will hold.
Can I Mount A Coat Rack Directly Into Studs?
Yes, mounting directly into wall studs is ideal for maximum strength. Locate studs with a stud finder and use wood screws to secure the rack. This method ensures the rack can hold heavy coats without damage.
What Screw Size Is Recommended For Coat Rack Installation?
Use screws that are at least 1. 5 to 2 inches long for mounting coat racks. The screw thickness should match the wall anchors or fit snugly into studs. Proper screw size ensures a secure hold and prevents damage.
How Do I Mount A Coat Rack On Drywall Without Studs?
Use heavy-duty wall anchors such as toggle bolts or molly bolts. These anchors expand behind the drywall to provide strong support. Avoid using regular plastic anchors alone, as they may fail under weight.
Conclusion
Choosing the right tools to mount a coat rack makes all the difference. Use strong anchors or screws that fit your wall type. This helps keep the rack steady and safe. Remember to check the weight limit before hanging heavy items.
Taking a little time to prepare saves you from problems later. Mounting a coat rack properly keeps your space neat and organized. Simple steps lead to a sturdy and lasting setup. Enjoy your tidy home with a securely mounted coat rack!