Are your outdoor wooden furniture pieces looking worn or rough? Sanding them is the key to bringing back their smooth, fresh look—and it’s easier than you might think.
Whether you want to refresh a weathered table or prepare a chair for a new coat of paint, sanding helps you achieve a flawless finish. In this guide, you’ll discover simple steps to sand your outdoor wooden furniture like a pro.
Keep reading, and you’ll soon enjoy beautifully restored pieces that make your outdoor space shine.
Choosing The Right Sandpaper
Choosing the right sandpaper is key to sanding outdoor wooden furniture effectively. The right sandpaper smooths the wood without damaging it. It also prepares the surface for paint or stain. This choice depends on the wood type and the sanding stage.
Grit Levels And Their Uses
Sandpaper grit numbers show how rough or fine it is. Low numbers, like 40 or 60, are rough. Use them to remove old paint or rough patches. Medium grit, around 80 to 120, smooths the surface after rough sanding. Fine grit, from 150 to 220, finishes the wood before painting or staining. Use the right grit step by step for best results.
Materials For Outdoor Wood
Outdoor wood needs durable sandpaper. Aluminum oxide sandpaper lasts long and works well on hardwoods. Silicon carbide sandpaper is sharp and works well on softwoods and painted surfaces. Choose sandpaper that resists moisture to avoid quick wear. This choice helps keep the sanding process smooth and efficient.
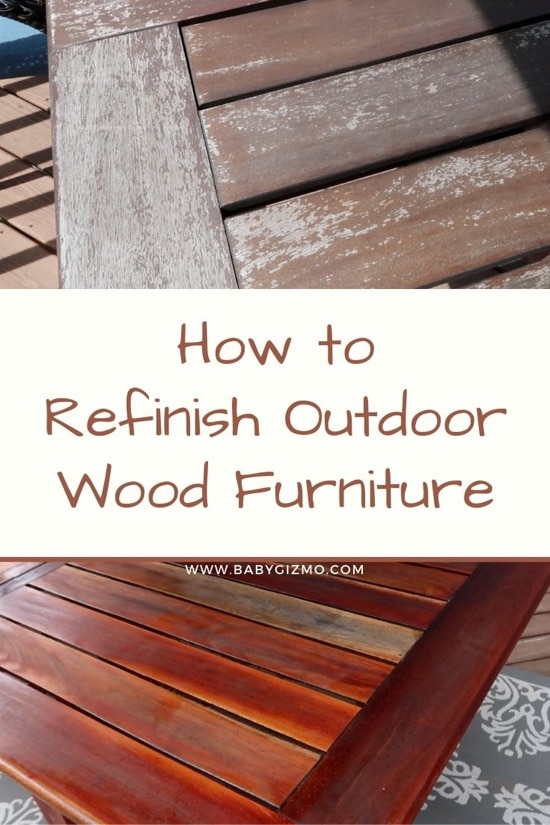
Credit: babygizmo.com
Preparing The Furniture
Preparing your outdoor wooden furniture is the first step to a smooth sanding process. Proper preparation helps remove dirt, old finishes, and protects you during work. This step sets the stage for a fresh, clean surface ready for sanding and refinishing.
Cleaning And Removing Old Finish
Start by cleaning the furniture thoroughly. Use a soft brush or cloth to remove dust and loose dirt. For tougher grime, use mild soap and water. Let the furniture dry completely before moving on.
Old paint or varnish must be removed. Use a chemical stripper or sand the surface lightly to take off the finish. This helps the new finish stick better and creates a smoother result.
Safety Measures And Workspace Setup
Work in a well-ventilated area to avoid breathing dust or fumes. Outdoor spaces or garages with open doors work best. Wear safety goggles and a dust mask to protect your eyes and lungs.
Set up your workspace by covering the ground with a drop cloth. This catches dust and debris, making cleanup easier. Keep tools organized and within reach to work efficiently and safely.
Sanding Techniques
Sanding is a key step in preparing outdoor wooden furniture. It smooths rough surfaces and removes old finishes. Proper sanding helps paint or stain stick better. Using the right techniques makes sanding easier and more effective. This section explains useful sanding methods for the best results.
Hand Sanding Tips
Hand sanding gives you control over delicate areas. Use a sanding block or wrap sandpaper around a wood block. Start with coarse grit to remove rough spots. Then switch to finer grit for a smooth finish. Sand in small, even strokes. Check your progress often to avoid over-sanding.
Using Power Sanders Effectively
Power sanders speed up the sanding process. Choose a random orbital sander for even sanding without marks. Hold the sander flat and move it in slow circles. Avoid pressing too hard; let the tool do the work. Change sandpaper grit as needed, starting coarse and finishing fine. Always wear safety gear to protect from dust.
Sanding With The Grain
Always sand in the direction of the wood grain. Sanding against the grain can cause scratches and damage. Follow the natural lines of the wood for a cleaner look. This technique helps the finish adhere better. Take your time to ensure smooth, even sanding across the surface.
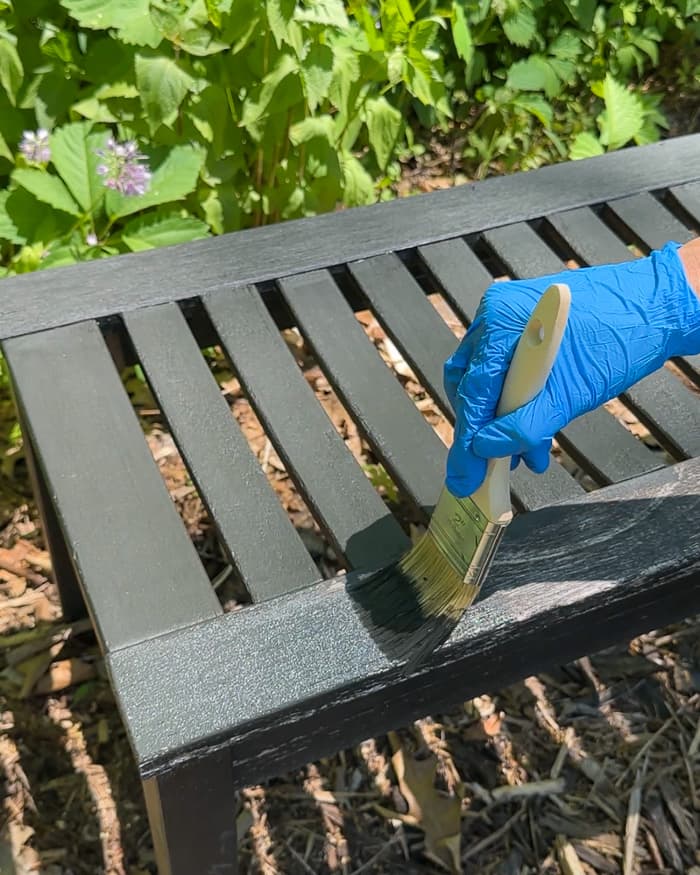
Credit: averageinspired.com
Dealing With Difficult Areas
Sanding outdoor wooden furniture can be tricky, especially in hard-to-reach spots. These areas need extra care to avoid damage while smoothing the wood. Taking time on difficult spots ensures a smooth and even finish.
Corners And Crevices
Corners and crevices often collect dirt and old paint. Use a small sanding sponge or a folded piece of sandpaper. Move gently to avoid rounding sharp edges. A detail sander or sanding sticks also work well. These tools fit tight spaces and remove rough patches carefully.
Repairing Surface Imperfections
Fill cracks and holes with wood filler before sanding. Let the filler dry fully to avoid uneven surfaces. Sand the repaired areas lightly to blend them with the wood. Use fine-grit sandpaper to prevent scratches. This step helps create a smooth and flawless surface for painting or staining.
Finishing Touches
Finishing touches are important to complete the sanding process well. They help prepare the wood for a smooth and lasting finish. Taking time at this stage improves the look and durability of your outdoor furniture.
Removing Dust And Debris
After sanding, dust covers the wood surface. Dust can stop paint or stain from sticking properly. Use a soft brush or cloth to wipe off dust. For best results, use a vacuum with a brush attachment. Make sure to clean all corners and crevices. A clean surface ensures a better finish.
Preparing For Staining Or Painting
Check the wood for any rough spots or leftover dust. Lightly sand again if needed. Use a damp cloth to remove fine dust. Let the wood dry completely before applying stain or paint. This step helps the wood absorb color evenly. Proper preparation prevents peeling and cracking later on.
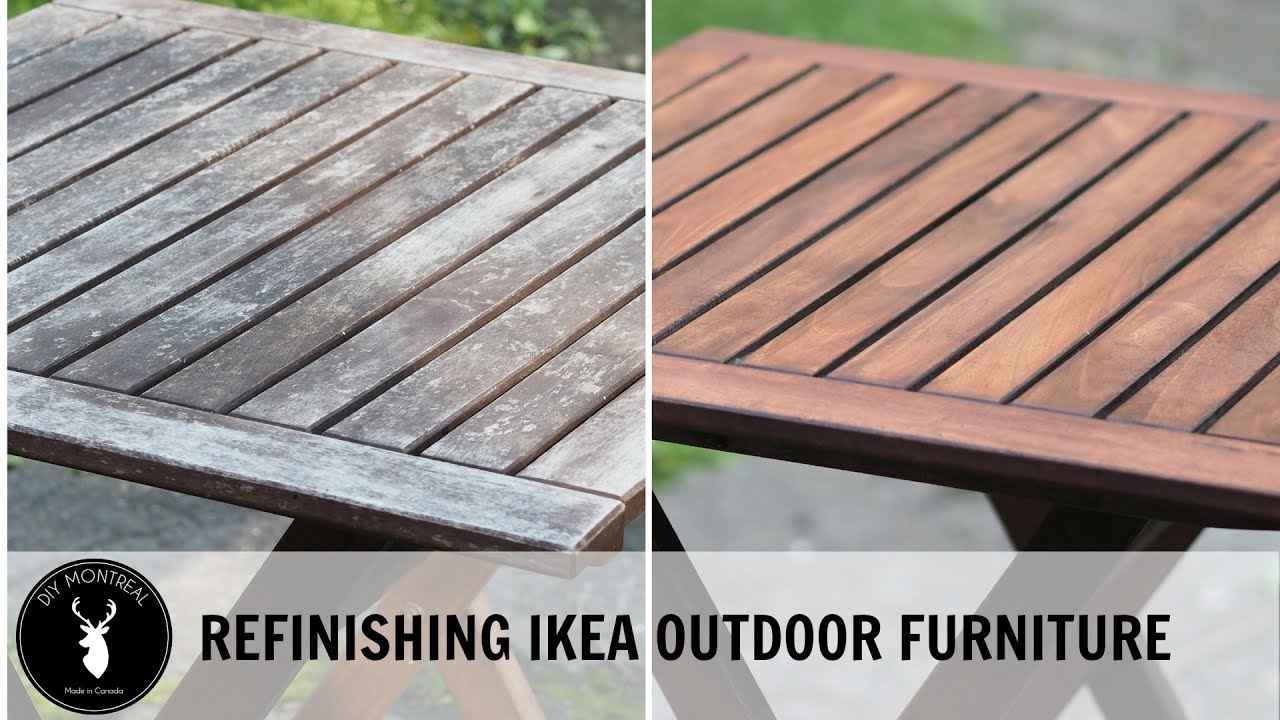
Credit: www.youtube.com
Frequently Asked Questions
What Grit Sandpaper Is Best For Outdoor Wood?
Start with 80- or 100-grit sandpaper to remove old finish. Then use 150- to 220-grit for smoothing. This sequence prevents damage and prepares wood for sealing or painting.
How To Avoid Dust While Sanding Outdoor Furniture?
Use a vacuum sander or attach a vacuum to your sander. Wear a dust mask and work in a well-ventilated area. This keeps your workspace clean and protects your lungs.
Should You Wet Wood Before Sanding Outdoor Furniture?
No, avoid wetting the wood before sanding. Sanding wet wood can cause swelling and uneven surfaces. Always sand dry wood for best results.
How Long Does Sanding Outdoor Wooden Furniture Take?
Sanding takes 1 to 3 hours depending on furniture size and condition. Larger, rougher pieces require more time. Proper sanding ensures a smooth, durable finish.
Conclusion
Sanding outdoor wooden furniture takes time and patience. Start with coarse sandpaper, then use finer grits for smoothness. Clean the surface often to see your progress. Sanding helps paint and stain stick better. It also removes old finishes and rough spots.
Take safety steps like wearing a mask and working outside. Your furniture will look fresh and last longer. A little effort goes a long way. Ready to enjoy your beautiful, smooth outdoor wood?


