
Are you looking to save space and add a fun sleeping solution to your home? Building a full over full bunk bed might be the perfect project for you.
Imagine having two roomy beds stacked safely, giving your kids or guests plenty of room without taking up extra floor space. In this guide, you’ll discover simple steps to create a sturdy, stylish bunk bed that fits your needs and budget.
Keep reading, and you’ll learn exactly how to make this smart addition to your home with confidence and ease.
Materials And Tools Needed
Building a full over full bunk bed requires the right materials and tools. Choosing quality items ensures safety and durability. This section lists everything needed to complete the project with ease.
Wood Selection
Use solid wood like pine, oak, or maple for strong frames. Avoid soft or weak wood to prevent breaks. Choose wood that is smooth and free of knots. Cut the wood into standard sizes for easier assembly.
Hardware And Fasteners
Get sturdy screws and bolts to hold the bed firmly. Use metal brackets for extra support at joints. Purchase washers and nuts to secure bolts tightly. Sandpaper and wood glue help finish and strengthen connections.
Essential Tools
A drill with various bits speeds up screwing and drilling. A saw is needed to cut wood pieces to size. Use a measuring tape and square for accurate cuts. A screwdriver, hammer, and wrench help with assembly tasks.
Planning Your Bunk Bed
Planning your full over full bunk bed is the first step to a successful project. It ensures you build a bed that fits perfectly and stays safe. Careful planning saves time and materials. It also helps you avoid common mistakes.
Measuring Space
Measure the room where the bunk bed will go. Note the height, width, and length of the area. Leave extra space for movement around the bed. Check the ceiling height to avoid head bumps. Measure doorways and stairs for bed parts delivery. Accurate measurements prevent surprises during assembly.
Design Considerations
Decide on the style and features of your bunk bed. Choose a design that fits your room’s look. Think about mattress size and thickness. Plan for storage options like shelves or drawers. Consider adding a ladder or stairs for easy access. Keep the design simple to save time and money.
Safety Features
Safety is key in bunk bed construction. Include guardrails on the top bunk to prevent falls. Use strong, sturdy materials for the frame. Ensure the ladder is secure and easy to climb. Check weight limits for both bunks. Avoid gaps that can trap children’s fingers or heads. Test the bed’s stability before use.
Cutting And Preparing Wood
Cutting and preparing wood is a key step in building a full over full bunk bed. This process shapes the wood pieces that form the bed’s frame and supports. Careful cutting and smoothing help the bed stay strong and safe. Proper preparation also makes assembly easier and faster.
Every cut must be precise. This ensures all parts fit well together. The wood should be smooth to avoid splinters and improve paint or stain finish. Following clear steps helps you create strong and neat parts for your bunk bed.
Measuring And Marking
Start by measuring the wood pieces for the bed frame. Use a tape measure for accuracy. Double-check all measurements to avoid mistakes. Mark the cut lines clearly with a pencil. Use a square tool to keep lines straight. Mark each piece carefully before cutting.
Cutting Techniques
Use a saw that fits your skill level and the wood type. A circular saw works well for straight cuts. Cut slowly and follow the marked lines. Keep the saw steady to avoid rough edges. Wear safety goggles and gloves to protect yourself. Clean up sawdust after each cut.
Sanding And Finishing
Sand all cut edges to remove splinters. Use medium grit sandpaper first, then fine grit for smoothness. Sand along the grain of the wood. Check edges for rough spots and sand again if needed. Finish with paint, stain, or sealant to protect the wood. Let the finish dry completely before assembly.

Credit: www.youtube.com
Building The Frame
Building the frame is the first big step in making your full over full bunk bed. A strong frame keeps the bed safe and stable. It holds all parts together and supports the weight. Careful measuring and cutting will help you create a perfect frame.
Use good quality wood to make the frame last long. Take your time to follow each step. A well-built frame makes the rest of the project easier and safer.
Assembling Side Rails
Start by cutting four side rails to the right length. These rails hold the mattress in place. Lay the rails flat on a clean surface. Attach the rails using wood screws and strong wood glue. Use a square to keep corners straight. Make sure the rails are firm and don’t wobble. This helps the bed stay safe.
Constructing Headboards And Footboards
Cut wood pieces for the headboards and footboards. They give the bed structure and style. Use vertical and horizontal boards for a sturdy design. Join the pieces with screws and glue. Check that the boards line up evenly. Sand the edges to avoid splinters. Strong headboards and footboards add support and look good.
Joining Frame Components
Now connect the side rails, headboards, and footboards. Use clamps to hold pieces together while screwing. Drill pilot holes to stop the wood from splitting. Attach the parts at right angles for strength. Double-check the frame for any loose parts. Tight joints make the bunk bed safe for use.
Installing Support Slats
Installing support slats is a key step in building a full over full bunk bed. These slats hold the mattress and give the bed strength. Proper installation keeps the bed safe and sturdy for use.
Each slat must fit well across the bed frame. The right spacing and secure attachment help prevent mattress sagging. This step ensures the bed lasts a long time without damage.
Spacing And Alignment
Place the slats evenly across the frame. Space them about 2 to 3 inches apart. This distance supports the mattress without gaps.
Align slats straight and flat. Check that they rest firmly on the frame edges. Misaligned slats can cause instability.
Securing Slats
Use screws or nails to fasten slats. Drill pilot holes first to avoid wood splitting. Tighten each fastener to hold slats firmly.
Make sure the slats do not move or shift. Loose slats create noise and reduce bed safety.
Reinforcement Tips
Add a center support beam under the slats for extra strength. This beam helps carry the mattress weight evenly.
Consider using thicker or wider slats for heavy mattresses. This adds durability and reduces wear over time.
Check all fasteners regularly. Tighten any loose screws to keep the bed solid and safe.
Credit: www.ana-white.com
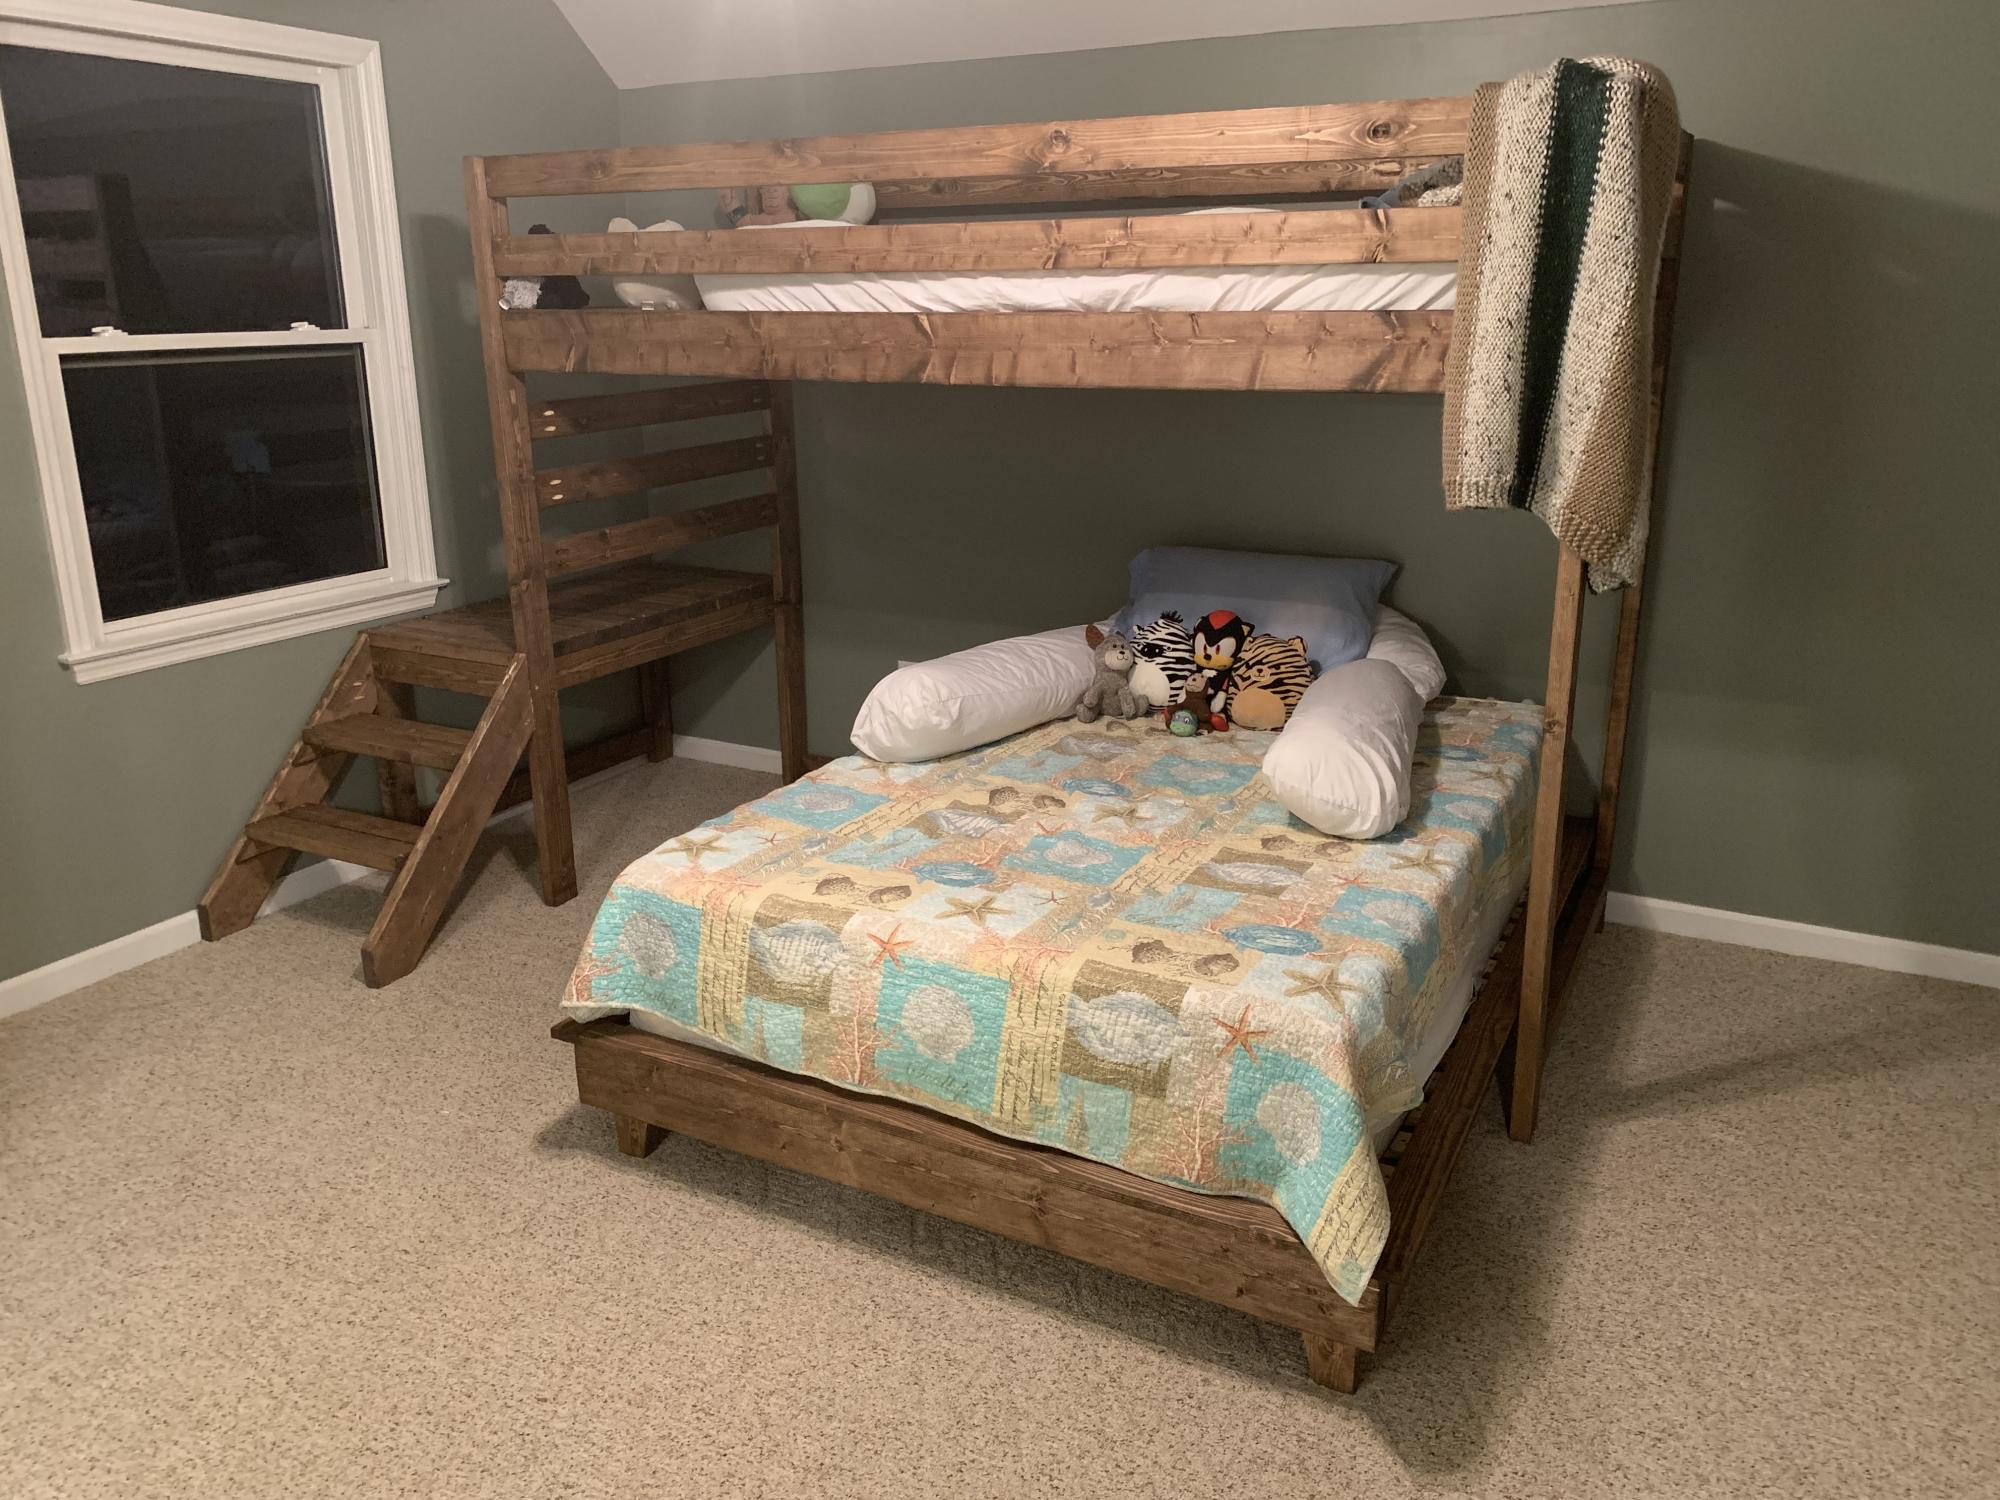
Adding Safety Rails And Ladder
Adding safety rails and a ladder is essential when building a full over full bunk bed. These parts keep the bed safe and easy to use. Safety rails prevent falls during sleep. A sturdy ladder helps kids climb up and down safely. Take your time to build and install these features carefully.
Building Guardrails
Start by measuring the sides of the top bunk. Cut wood pieces to fit these lengths. Use smooth, strong wood for guardrails. Make the rails tall enough to stop a child from rolling out. Attach vertical slats evenly along the rails for extra support. Sand all edges to avoid splinters and sharp corners.
Attaching The Ladder
Choose a ladder design that fits your bed frame. Cut and prepare the ladder pieces. Fix the ladder at a slight angle for easy climbing. Use screws or bolts to secure it firmly to the bed frame. Check the ladder steps are wide and strong. Ensure the ladder does not wobble or move.
Ensuring Stability
Double-check all screws and bolts are tight. Test the guardrails by pushing gently. Test the ladder by climbing slowly. Add extra support brackets if needed. Make sure the bed frame stays steady without shaking. Safety comes first in every step of the build.
Final Assembly And Finishing Touches
Final assembly and finishing touches bring your full over full bunk bed project to life. This step ensures the bed is strong, smooth, and safe. Careful work here gives your bunk bed a polished look and lasting strength.
Tightening Connections
Check every bolt, screw, and joint carefully. Use a wrench or screwdriver to make all connections tight. Loose parts can cause wobbling or unsafe conditions. Tighten slowly and evenly for best results. Do not over-tighten, or wood may crack. Make sure ladders and guardrails are secure as well.
Applying Paint Or Stain
Choose paint or stain that fits your room style. Use a brush or roller to apply thin, even coats. Let each coat dry fully before adding another. Paint protects the wood and adds color. Stain highlights the natural grain and gives a warm look. Finish with a clear sealant to protect from scratches and spills.
Final Safety Check
Inspect the entire bunk bed for sharp edges or rough spots. Sand any rough areas smooth to avoid splinters. Test the bed by pressing and shaking gently. Make sure the bed holds firm and does not move. Check the guardrails and ladder for stability. Confirm everything is safe before use.

Credit: www.amazon.com
Frequently Asked Questions
What Materials Are Needed For A Full Over Full Bunk Bed?
You need sturdy wood, screws, bolts, wood glue, sandpaper, and paint. Choose high-quality lumber for durability and safety. Proper materials ensure a strong and long-lasting bunk bed.
How Much Time Does Building A Full Over Full Bunk Bed Take?
Building a full over full bunk bed usually takes 2 to 3 days. This depends on your experience and tools. Allow extra time for drying paint or finish.
Is It Safe To Build A Full Over Full Bunk Bed Yourself?
Yes, if you follow safety guidelines and use quality materials. Ensure all joints are secure and guardrails are installed. Double-check stability before use to prevent accidents.
What Tools Are Essential For Making A Bunk Bed?
You need a drill, saw, screwdriver, measuring tape, level, and clamps. These tools help you cut, assemble, and secure parts accurately and safely.
Conclusion
Building a full over full bunk bed can save space and add comfort. Follow the steps carefully for a strong and safe bed. Use the right tools and materials to avoid problems. Take your time and check each part as you go.
This project can be fun and rewarding. Enjoy the new bed and the extra room it creates. Keep safety in mind for a lasting result. Your effort will pay off with a sturdy bunk bed.