Are you looking for a stylish way to organize your books without taking up too much floor space? A tall skinny bookshelf might be exactly what you need.
It fits perfectly in tight spots, adds height to any room, and keeps your favorite reads within easy reach. In this guide, you’ll discover simple steps to build your own tall skinny bookshelf, even if you have little experience with woodworking.
By the end, you’ll have a beautiful, custom piece that suits your style and space perfectly. Ready to create something practical and eye-catching? Let’s get started!
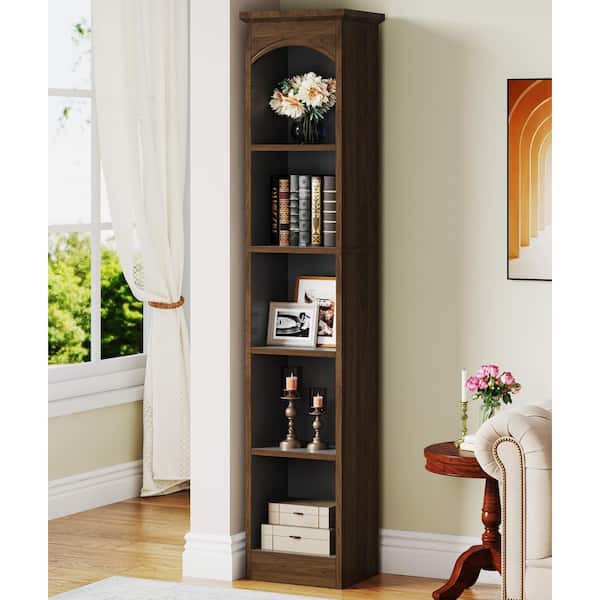
Credit: www.homedepot.com
Choosing The Right Materials
Choosing the right materials is key to building a tall skinny bookshelf that lasts. The materials affect the strength, look, and ease of construction. Picking the right wood and tools can make the project smoother and more enjoyable. This section helps you find good wood types and gather necessary supplies.
Selecting Wood Types
Wood choice impacts durability and appearance. Pine is soft and easy to cut. It costs less and works well for beginners. Oak is hard and strong. It resists dents and scratches better. Birch offers a smooth finish and looks neat. Plywood is stable and less likely to warp. Choose wood that fits your budget and style. Also, consider if you want a natural or painted finish. Thicker wood pieces add strength but weigh more. Thin boards save space but may need extra support.
Gathering Tools And Supplies
Prepare the right tools before starting. A saw is essential for cutting wood to size. A drill helps make holes for screws. Sandpaper smooths rough edges for a clean finish. Screws hold the pieces together firmly. Wood glue adds extra strength. A level ensures shelves sit straight. Measuring tape helps you get accurate cuts. Pencil marks where you need to cut or drill. Safety gear protects your hands and eyes. Having all tools ready saves time and stress.
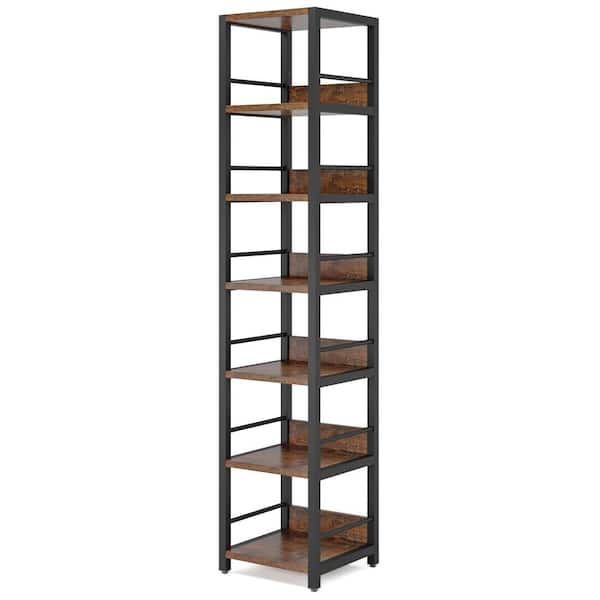
Credit: www.homedepot.com
Planning Your Bookshelf Design
Planning your bookshelf design is the first step to creating a tall, skinny bookshelf that fits perfectly. Careful planning saves time and materials. It helps you avoid mistakes and get the exact shelf you want.
Start by understanding the space where you want to place the bookshelf. Think about the height, width, and depth. Knowing these details guides your design choices.
Measuring Space And Dimensions
Use a tape measure to get the exact height, width, and depth of the space. Measure twice to be sure. Note any obstacles like vents or power outlets. These affect where the bookshelf can go. Keep clearance space for easy access and cleaning. Tall shelves need strong support, so consider the wall structure too.
Sketching The Blueprint
Draw a simple blueprint to visualize your bookshelf. Start with the overall shape and size. Add shelves and their spacing. Decide how many shelves you need for your books and items. Mark where screws and brackets will go. This plan helps keep your build steady and balanced. Use graph paper or a drawing app for neat lines. A clear blueprint makes building faster and easier.
Cutting And Preparing Wood Pieces
Cutting and preparing wood pieces is an important step in building a tall skinny bookshelf. It ensures the parts fit well and look good. Careful cutting makes the assembly easier and the finished shelf stronger.
Start by measuring and marking each wood piece precisely. This helps avoid mistakes and wasted material. After cutting, sanding smooths the edges. Smooth edges prevent splinters and give a clean finish.
Measuring And Marking Cuts
Use a tape measure for accurate dimensions. Mark each cut line clearly with a pencil. Double-check measurements before cutting. Mark all pieces to avoid confusion later. Straight lines help cuts stay neat and exact.
Sanding And Smoothing Edges
Use medium-grit sandpaper first to remove rough spots. Follow with fine-grit sandpaper for a smooth finish. Sand edges and surfaces evenly. Smooth wood feels better and looks more professional. Take time sanding; it improves the shelf’s quality.
Assembling The Frame
Assembling the frame is a key step in building your tall skinny bookshelf. This part gives the structure its strength and shape. Taking your time here makes the rest easier and safer. Clear steps and careful work will help your bookshelf last long and look neat.
Joining Side Panels
Start by placing the two side panels upright. Make sure they stand straight and parallel. Use clamps to hold them in place. Drill pilot holes to avoid splitting the wood. Then, join the panels using screws or dowels. Check the alignment with a square tool. Tighten the screws evenly for a strong bond. The side panels form the main support of the shelf.
Securing Shelves
Next, prepare the shelves for fitting. Mark the shelf positions on the side panels carefully. Use a level to keep shelves even. Drill pilot holes on each mark. Attach the shelves using screws or brackets. Make sure each shelf is secure and stable. Double-check the shelf level before final tightening. Properly fixed shelves hold your books safely and evenly.
Adding Finishing Touches
Adding finishing touches to your tall skinny bookshelf makes it look complete and neat. These final steps protect the wood and help the shelf stand strong. A smooth, nice finish also makes your bookshelf more attractive. Follow these easy tips to finish your project with style and care.
Painting Or Staining
Choose paint or stain that fits your room’s style. Paint gives bright, solid color and covers wood grain. Stain shows the wood’s natural beauty and texture. Use a brush or cloth to apply thin, even coats. Let each coat dry fully before adding another. This prevents drips and rough spots. Light sanding between coats helps create a smooth surface. Always work in a well-ventilated area for safety and better results.
Attaching Back Panel And Supports
The back panel adds strength and stops the shelf from wobbling. Cut the panel to fit the back exactly. Use small nails or screws to fix it to the frame. Make sure it is straight and tight. Supports under shelves help hold heavy books safely. Attach brackets or wooden cleats under each shelf with screws. Check the shelf is level and steady before use. These steps ensure your bookshelf stands firm for years.

Credit: www.amazon.com
Tips For Stability And Safety
Building a tall skinny bookshelf is rewarding but requires care for safety. Stability is key to prevent tipping and accidents. Using the right methods keeps the bookshelf steady and safe in your home.
Focus on anchoring and weight distribution. These tips help your bookshelf stay firm and last longer.
Anchoring To Walls
Attach the bookshelf to the wall for extra support. Use strong brackets or straps made for furniture. Secure them into wall studs, not just drywall. This prevents the shelf from tipping forward.
Check the anchors often to ensure they stay tight. This simple step greatly reduces accident risks, especially in homes with kids or pets.
Weight Distribution Advice
Place heavier items on the lower shelves. Keep lighter items near the top. This lowers the bookshelf’s center of gravity.
Do not overload any single shelf. Spread the weight evenly to avoid stress on the wood. Balanced weight makes the shelf more stable and safer.
Frequently Asked Questions
What Materials Are Needed For A Tall Skinny Bookshelf?
You need plywood or solid wood, wood screws, wood glue, sandpaper, paint or stain, and brackets for support. These materials ensure sturdy construction and a smooth finish for your tall skinny bookshelf.
How Do I Ensure Stability For A Tall Skinny Bookshelf?
Attach the bookshelf to the wall using brackets or anchors. Use a wide base or add cross braces to prevent tipping and improve stability.
What Are The Best Dimensions For A Skinny Bookshelf?
A typical skinny bookshelf is about 10-12 inches deep and 60-72 inches tall. Customize dimensions based on available space and storage needs.
Can I Customize Shelf Spacing For Different Book Sizes?
Yes, adjustable shelf brackets or fixed shelves at varied heights allow you to accommodate tall books, magazines, and decor items efficiently.
Conclusion
Building a tall skinny bookshelf can fit small spaces well. It saves room and holds many books or items. Use simple tools and follow steps carefully. Take your time to measure and assemble parts. This project gives a useful shelf for your home.
Enjoy your new bookshelf that looks neat and strong. Try different colors or finishes to match your style. Keep practicing woodworking to improve skills over time. Making furniture yourself feels rewarding and fun. Start your bookshelf project today and see the results!