Are you tired of cluttered spaces and books scattered everywhere? Imagine having a sturdy, stylish bookshelf you built yourself—tailored exactly to your space and taste.
Making your own bookshelf might sound tricky, but it’s easier than you think. In this guide, you’ll discover simple steps to create a beautiful bookshelf that holds your favorite reads and adds charm to your room. Ready to turn a pile of wood into something useful and unique?
Keep reading, and you’ll be surprised at how quickly you can bring your perfect bookshelf to life.
:max_bytes(150000):strip_icc()/4-513107d89a4a4071b0659d4d24152746.png)
Credit: www.lifewire.com
Choosing The Right Materials
Choosing the right materials is the first step to building a strong bookshelf. The materials affect the shelf’s look, strength, and cost. Picking good wood and tools makes the project easier and the final product better.
Types Of Wood For Bookshelves
Wood type matters for bookshelf durability and style. Pine is soft, easy to cut, and affordable. Oak is hard, strong, and has a nice grain pattern. Birch offers a smooth finish and good strength. MDF is cheap and smooth but less durable. Choose wood based on budget and shelf use.
Essential Tools Needed
Having the right tools helps build the shelf faster and safer. A saw cuts wood to the right size. A drill makes holes for screws. Sandpaper smooths rough edges. A screwdriver tightens screws. Clamps hold pieces together while glue dries. A tape measure ensures accurate cuts.
Planning Your Bookshelf Design
Planning your bookshelf design is the first step to a successful project. It helps you create a shelf that fits well and meets your needs. Thoughtful planning saves time and materials. It also ensures your bookshelf looks great and works perfectly in your space.
Measuring Your Space
Start by measuring the area where you want the bookshelf. Use a tape measure to get the width, height, and depth. Write down these numbers. Check for obstacles like power outlets or vents. Consider how much room you want to leave around the shelf.
Deciding On Size And Shelves
Choose the overall size based on your measurements. Think about the number of shelves you need. Decide the height between shelves to fit your books or items. Keep shelves strong enough to hold heavy books. Plan for style—open shelves or closed cabinets. Balance function and look for your perfect shelf design.
Cutting And Preparing Wood
Cutting and preparing wood is a key step in making a bookshelf. It shapes the wood pieces that will hold your books. This process needs care and accuracy. The right cuts and smooth edges make the shelf strong and neat. Preparing wood also helps avoid problems during assembly.
Marking And Measuring Cuts
Start by measuring the wood pieces you need. Use a tape measure for exact numbers. Mark the cutting lines with a pencil. Double-check each mark before cutting. Straight and clear marks guide your saw. This step helps avoid mistakes that waste wood. Accurate measuring means all parts fit well together.
Sanding And Finishing Edges
After cutting, the edges are often rough or splintered. Sand these edges with sandpaper or a sanding block. Sanding smooths the wood and removes sharp bits. It also helps paint or finish stick better. Take your time to sand evenly. Smooth edges give your bookshelf a clean, safe look.
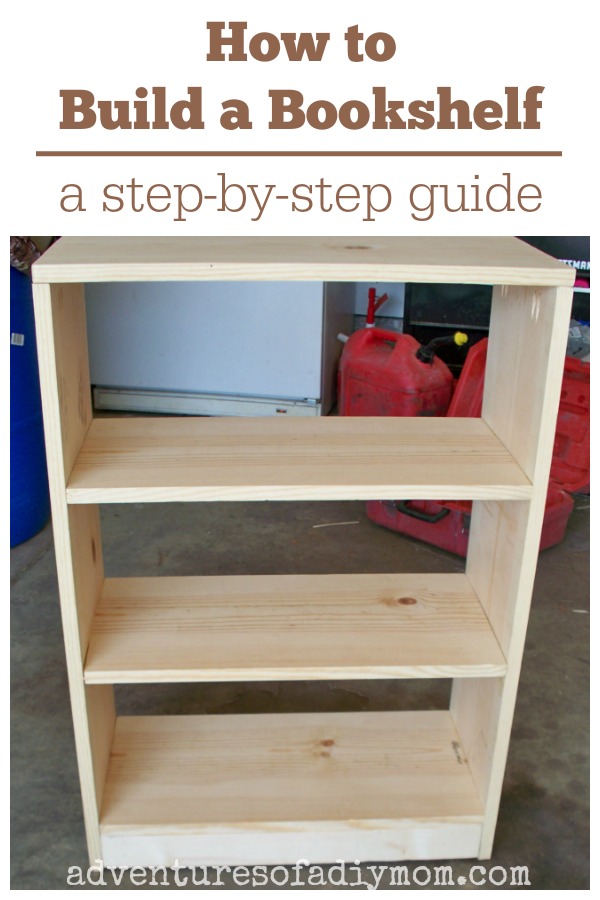
Credit: www.adventuresofadiymom.com
Assembling The Bookshelf
Assembling a bookshelf is the step where all parts come together. It needs care and attention. A well-assembled bookshelf will hold your books safely and last for years.
Follow clear steps to build a strong frame and attach shelves firmly. This ensures stability and good looks.
Building The Frame
Start with the side panels. Place them upright and parallel. Attach the top and bottom pieces between these panels. Use screws or nails to fix them tightly. Check for right angles with a carpenter’s square. This keeps the frame straight and strong. Do not rush this step. A solid frame supports the entire bookshelf.
Attaching Shelves Securely
Mark shelf positions on the side panels. Use a level to keep shelves even. Drill pilot holes to avoid wood splitting. Insert screws or brackets for strong support. Press shelves firmly into place. Double-check all shelves for sturdiness. Proper attachment prevents sagging and accidents.
Adding Finishing Touches
Adding finishing touches to your bookshelf enhances both its look and safety. These final steps bring your project together. They make the bookshelf ready for everyday use. Focus on painting or staining to match your room style. Also, secure the shelf with wall brackets. This prevents accidents and keeps your books safe.
Painting And Staining Options
Choose paint or stain based on your room’s design. Paint offers bright, solid colors for a fresh look. Stain highlights the wood’s natural beauty and grain. Use light coats for even coverage. Let each layer dry completely before adding the next. Sand lightly between coats for a smooth finish. Use a brush or a cloth for stain application. Pick a finish: matte, satin, or glossy. Each gives a different shine and feel. Proper finishing protects the wood from wear and damage.
Installing Wall Brackets For Safety
Wall brackets keep your bookshelf steady and secure. They stop it from tipping over, especially in busy homes. Attach brackets to wall studs for strong support. Use a drill to make holes in the shelf and wall. Screw the brackets tightly in place. Check the shelf’s stability after installation. Adjust if the shelf wobbles or feels loose. Safety brackets protect children and pets from accidents. They give peace of mind while you enjoy your new shelf.
Maintaining Your Bookshelf
Maintaining your bookshelf keeps it strong and looking great. Regular care helps your shelf last many years. Simple steps protect your investment and keep books safe.
Cleaning Tips
Dust your bookshelf often with a soft cloth. Avoid wet cloths on wood to stop damage. Use a dry or slightly damp cloth for glass shelves. Clean spills quickly to prevent stains. For wooden shelves, use a mild wood cleaner sparingly. Keep books and decorations dust-free too.
Repairing Common Issues
Loose screws can make shelves wobbly. Tighten screws regularly to keep stability. Small scratches on wood can be fixed with a wood marker. For deeper dents, use wood filler and sand lightly. If shelves sag, add extra support brackets. Fixing problems early stops bigger damage later.

Credit: www.infarrantlycreative.net
Frequently Asked Questions
What Materials Are Needed To Make A Bookshelf?
To make a bookshelf, you need wood boards, screws, wood glue, sandpaper, a saw, and a drill. Optional items include paint or stain for finishing. Choose quality materials for durability and appearance. Proper tools ensure precise cuts and assembly.
How Do You Measure For A Custom Bookshelf?
Measure the wall space where the bookshelf will go. Consider height, width, and depth. Account for shelf thickness and book sizes. Accurate measurements ensure the bookshelf fits perfectly and holds your items securely.
What Is The Easiest Way To Assemble A Bookshelf?
Start by cutting wood to size, then sand edges smooth. Assemble the frame using screws and wood glue for strength. Attach shelves evenly spaced. Finish with paint or stain. Follow step-by-step plans for simplicity and accuracy.
How Can I Make My Bookshelf Sturdy And Durable?
Use strong wood like oak or pine. Reinforce joints with wood glue and screws. Add a back panel for stability. Ensure shelves are well supported to hold heavy books. Proper assembly increases longevity and safety.
Conclusion
Building your own bookshelf can be simple and fun. Start with basic tools and clear steps. Take your time to measure and cut carefully. Secure each piece firmly for a strong shelf. Personalize it by choosing your favorite paint or stain.
A homemade bookshelf adds charm and saves money too. Enjoy your new space to organize books and treasures. Crafting something with your hands feels great. Keep practicing, and you will get better each time.