Are you looking to give your old bookshelf a fresh, new look? Restaining your bookshelf is a simple way to transform its appearance without buying a new one.
Whether your shelf is scratched, faded, or just outdated, you can bring back its beauty with the right steps. In this guide, you’ll learn exactly how to restain your bookshelf easily and confidently. Keep reading, and by the end, you’ll have all the tips you need to turn your worn-out shelf into a stunning centerpiece in your room.
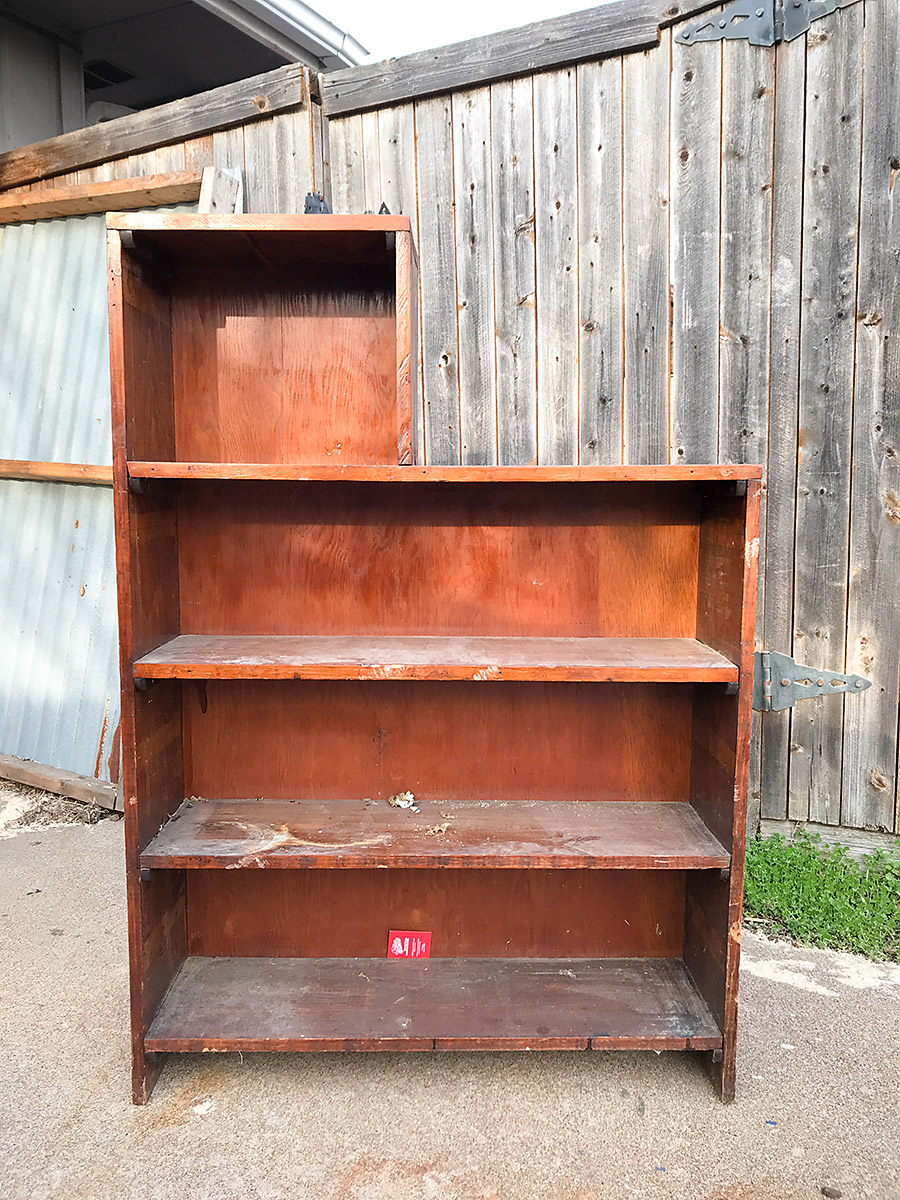
Credit: ourhandcraftedlife.com
Gathering Materials
Gathering the right materials is the first step to restain a bookshelf. Having all supplies ready saves time and helps the process go smoothly. This stage sets the foundation for a great finish. Choose carefully and prepare well.
Choosing The Right Stain
Select a stain that matches your bookshelf style and room decor. Consider the wood type and the color you want. Oil-based stains last longer but take more time to dry. Water-based stains dry fast and have less odor. Test the stain on a hidden spot to see the true color. Pick a stain that feels right for your project.
Essential Tools And Supplies
Gather these tools before starting your project. Sandpaper or a sanding block smooths the wood surface. Clean cloths help wipe dust and excess stain. Brushes or foam applicators spread the stain evenly. Gloves protect your hands from chemicals. A drop cloth keeps the workspace clean. Having these ready makes restaining easier and cleaner.
Preparing The Bookshelf
Preparing the bookshelf is an important first step before applying new stain. It helps the stain stick better and shows the wood’s true color. Proper preparation takes time but improves the final look. Follow these easy steps to get your bookshelf ready for restaining.
Removing Old Finish
Start by removing the old finish from the bookshelf. Use a chemical stripper or sandpaper for this task. Apply the stripper with a brush and wait a few minutes. Then, scrape off the softened finish with a plastic scraper. Be gentle to avoid damaging the wood. If you prefer, use coarse sandpaper to remove the finish by hand. This step clears the surface and exposes fresh wood.
Sanding Techniques
Sanding makes the wood smooth and ready for stain. Begin with medium-grit sandpaper to remove rough spots and scratches. Sand in the direction of the wood grain to avoid marks. After that, switch to fine-grit sandpaper for a smooth finish. Use a sanding block for flat areas and sandpaper sheets for corners. Clean off dust between sanding steps to see the wood clearly.
Cleaning The Surface
Cleaning the surface removes dust and oils that block stain absorption. Use a damp cloth or tack cloth to wipe down the entire bookshelf. Avoid soaking the wood; just wipe gently. Let the bookshelf dry completely before moving on. A clean surface helps the stain spread evenly and look natural.
Applying The Stain
Applying the stain to your bookshelf is a key step in the restaining process. This step changes the wood’s color and brings out its natural beauty. It also protects the wood and gives it a fresh look. Taking care with this step ensures a smooth, even finish.
Test Stain On Scrap Wood
Always test the stain on a small piece of scrap wood first. This helps you see the color before applying it to your bookshelf. The color may look different on actual wood. Testing prevents surprises and helps you choose the right shade.
Staining Methods
Use a brush, cloth, or sponge to apply the stain. Brushes work well for detailed areas and edges. Cloths or sponges give a smooth, even finish on flat surfaces. Apply the stain in the direction of the wood grain. Use light, even strokes to avoid blotches.
Managing Stain Drying Time
Let the stain dry completely before adding more coats. Drying time depends on the stain type and room temperature. Usually, wait 4 to 6 hours between coats. Avoid touching the wood until it is fully dry. Proper drying gives a clean, lasting finish.
Credit: simplepracticalbeautiful.com
Sealing And Protecting
Sealing and protecting your bookshelf is the final step in the restaining process. It keeps the wood safe from scratches, moisture, and dirt. A good sealant also enhances the color and shine of the stain. This step ensures your bookshelf looks great for years.
Selecting A Finish Coat
Choose a finish that matches your needs. Polyurethane offers strong protection and a shiny look. For a natural feel, try a wax or oil finish. Water-based finishes dry fast and do not yellow over time. Pick a finish that fits the room’s use and style.
Applying Sealant
Use a clean brush or cloth to apply the sealant evenly. Work in thin coats to avoid drips and bubbles. Follow the wood grain for a smooth finish. Let each coat dry before adding another layer. Usually, two or three coats give the best protection.
Drying And Curing Tips
Allow the sealant to dry in a dust-free place. Avoid touching the surface until it feels dry. Full curing can take several days, depending on the product. Keep the bookshelf away from heavy use during this time. Proper curing makes the finish hard and long-lasting.
Troubleshooting Common Issues
Restaining a bookshelf can sometimes bring unexpected problems. Small mistakes can affect the final look. Fixing these issues quickly keeps your project on track.
Below are common problems and easy solutions. Follow these tips for a smooth finish.
Fixing Uneven Stain
Uneven stain makes your bookshelf look patchy. It happens if the wood soaks stain differently. Use a clean cloth to rub the stain gently. This evens out color by removing extra stain. Let it dry and add another thin layer if needed.
Removing Stain Spots
Spots appear when stain drips or pools on the surface. Wipe fresh spills immediately with a cloth. For dry spots, use fine sandpaper lightly. Sand only the stained area. Be careful not to remove too much wood. After sanding, apply stain again evenly.
Preventing Brush Marks
Brush marks spoil the smooth look of your bookshelf. Use a high-quality brush with soft bristles. Always brush in the wood grain direction. Avoid pressing too hard or going over the same spot repeatedly. Work quickly but calmly to keep the stain smooth.
Maintenance Tips For Longevity
Restaining a bookshelf gives it a fresh, new look. To keep that look for years, proper care is important. Simple maintenance steps help protect the wood and finish. This section shares easy tips to make your bookshelf last longer.
Cleaning The Finished Bookshelf
Use a soft, dry cloth to dust your bookshelf often. Avoid wet or harsh cleaners, as they can damage the finish. For sticky spots, use a damp cloth with mild soap. Wipe gently and dry immediately. Regular cleaning keeps the wood healthy and bright.
Touching Up Wear And Tear
Scratches and small marks happen over time. Use a matching stain marker or wax stick to cover these spots. Apply lightly and blend with a soft cloth. For deeper damage, lightly sand the area and restain it. Regular touch-ups keep your bookshelf looking fresh.

Credit: ourhumbleabodeblog.com
Frequently Asked Questions
How Do I Prepare A Bookshelf For Restaining?
Start by removing all items and hardware from the bookshelf. Sand the surface to remove old finish and smooth imperfections. Clean dust and debris thoroughly before applying any stain. Proper preparation ensures the new stain adheres well and looks even.
What Type Of Stain Is Best For Bookshelves?
Oil-based stains provide deep color and durability, ideal for bookshelves. Water-based stains dry faster and have less odor, suitable for quick projects. Choose a stain that complements your room’s decor and offers protection against wear.
How Long Should I Wait Between Stain Coats?
Wait at least 4-6 hours between stain coats to allow proper drying. Check the manufacturer’s instructions, as drying times may vary. Applying multiple coats enhances color depth and finish quality without causing tackiness.
Can I Restain A Bookshelf Without Sanding?
Sanding is highly recommended to remove old finish and ensure stain adhesion. Without sanding, the new stain may peel or look uneven. For minor touch-ups, light sanding or cleaning might suffice, but full restaining needs sanding.
Conclusion
Restaining a bookshelf can bring new life to old wood. Take your time sanding and cleaning the surface well. Choose the right stain color that fits your space. Apply stain evenly and wipe off extra carefully. Let each coat dry fully before adding another.
A fresh finish makes your bookshelf look fresh and neat. Enjoy the satisfaction of a simple, creative project done right. Your bookshelf will stand out with a rich, warm glow. Try this easy process for a beautiful home update.