Looking for a simple way to organize your space and add a touch of charm to your home? Making your own wooden coat rack is the perfect project for you.
It’s easy, affordable, and lets you create something both useful and stylish. Imagine having a sturdy rack ready to hold your coats, hats, and bags – all made by your own hands. Ready to discover how you can build one step-by-step?
Keep reading, and you’ll be surprised at how simple and rewarding this project can be.
Choosing The Right Wood
Choosing the right wood is key to making a strong and beautiful coat rack. The wood type affects how long your rack lasts and how it looks. Some woods hold up better under weight and wear. Others have unique colors and patterns that add style. Picking the right wood helps your project succeed and gives it a nice finish.
Types Of Wood For Durability
Hardwoods like oak, maple, and walnut are very durable. They resist dents and scratches well. Softwoods like pine or cedar are easier to work with but may not last as long. Choose hardwood if you want a rack that holds heavy coats. Softwood works for light use and a rustic look.
Wood Finishes And Textures
Wood grain and texture affect the feel and look of your coat rack. Smooth woods like maple have a clean, modern look. Rougher woods like cedar offer a natural, rustic style. Finishes like varnish or oil protect the wood and make colors richer. Choose a finish that fits your style and protects the wood.
Sustainable Wood Options
Eco-friendly wood helps protect the environment. Look for wood labeled FSC certified or reclaimed wood. These woods come from managed forests or reused sources. Using sustainable wood reduces waste and supports nature. It also adds a unique story to your coat rack.
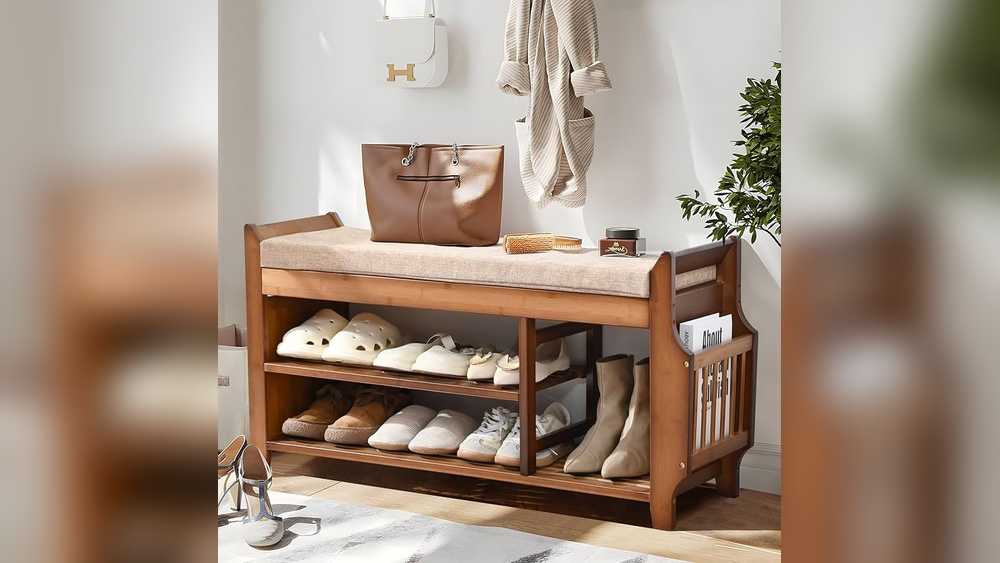
Credit: www.diymontreal.com
Gathering Tools And Materials
Gathering the right tools and materials is the first step in making a wooden coat rack. Having everything ready saves time and makes the project easier. This section lists what you need before starting the build.
Essential Tools Checklist
Start with basic woodworking tools. A saw is needed to cut the wood to size. Sandpaper or a sanding block smooths rough edges. A drill helps make holes for screws and hooks. Screwdrivers tighten fasteners securely. A measuring tape ensures accurate cuts. A pencil marks measurements clearly. Clamps hold pieces steady while working.
Selecting Hooks And Fasteners
Choose hooks that fit your style and use. Metal hooks offer strength and durability. Wooden hooks match the rack for a natural look. Pick screws or nails that fit the wood thickness. Use wall anchors if the rack will hold heavy coats. Check that hooks are spaced well for hanging items easily.
Safety Gear To Use
Safety matters in woodworking. Wear safety glasses to protect your eyes. Use ear protection if power tools are loud. Gloves keep your hands safe from splinters and cuts. A dust mask prevents breathing sawdust. Work in a well-ventilated area to avoid inhaling dust. Always follow safety rules for a safe project.
Designing Your Coat Rack
Designing your wooden coat rack is the first step to a useful and attractive piece. This stage sets the foundation for size, style, and function. Careful planning helps create a rack that fits your space and needs. Consider how many coats it should hold and where it will go.
Think about the look you want. Your coat rack can be simple or decorative. Good design blends well with your room’s style. Thoughtful design makes your rack both practical and pleasing to the eye.
Deciding On Size And Shape
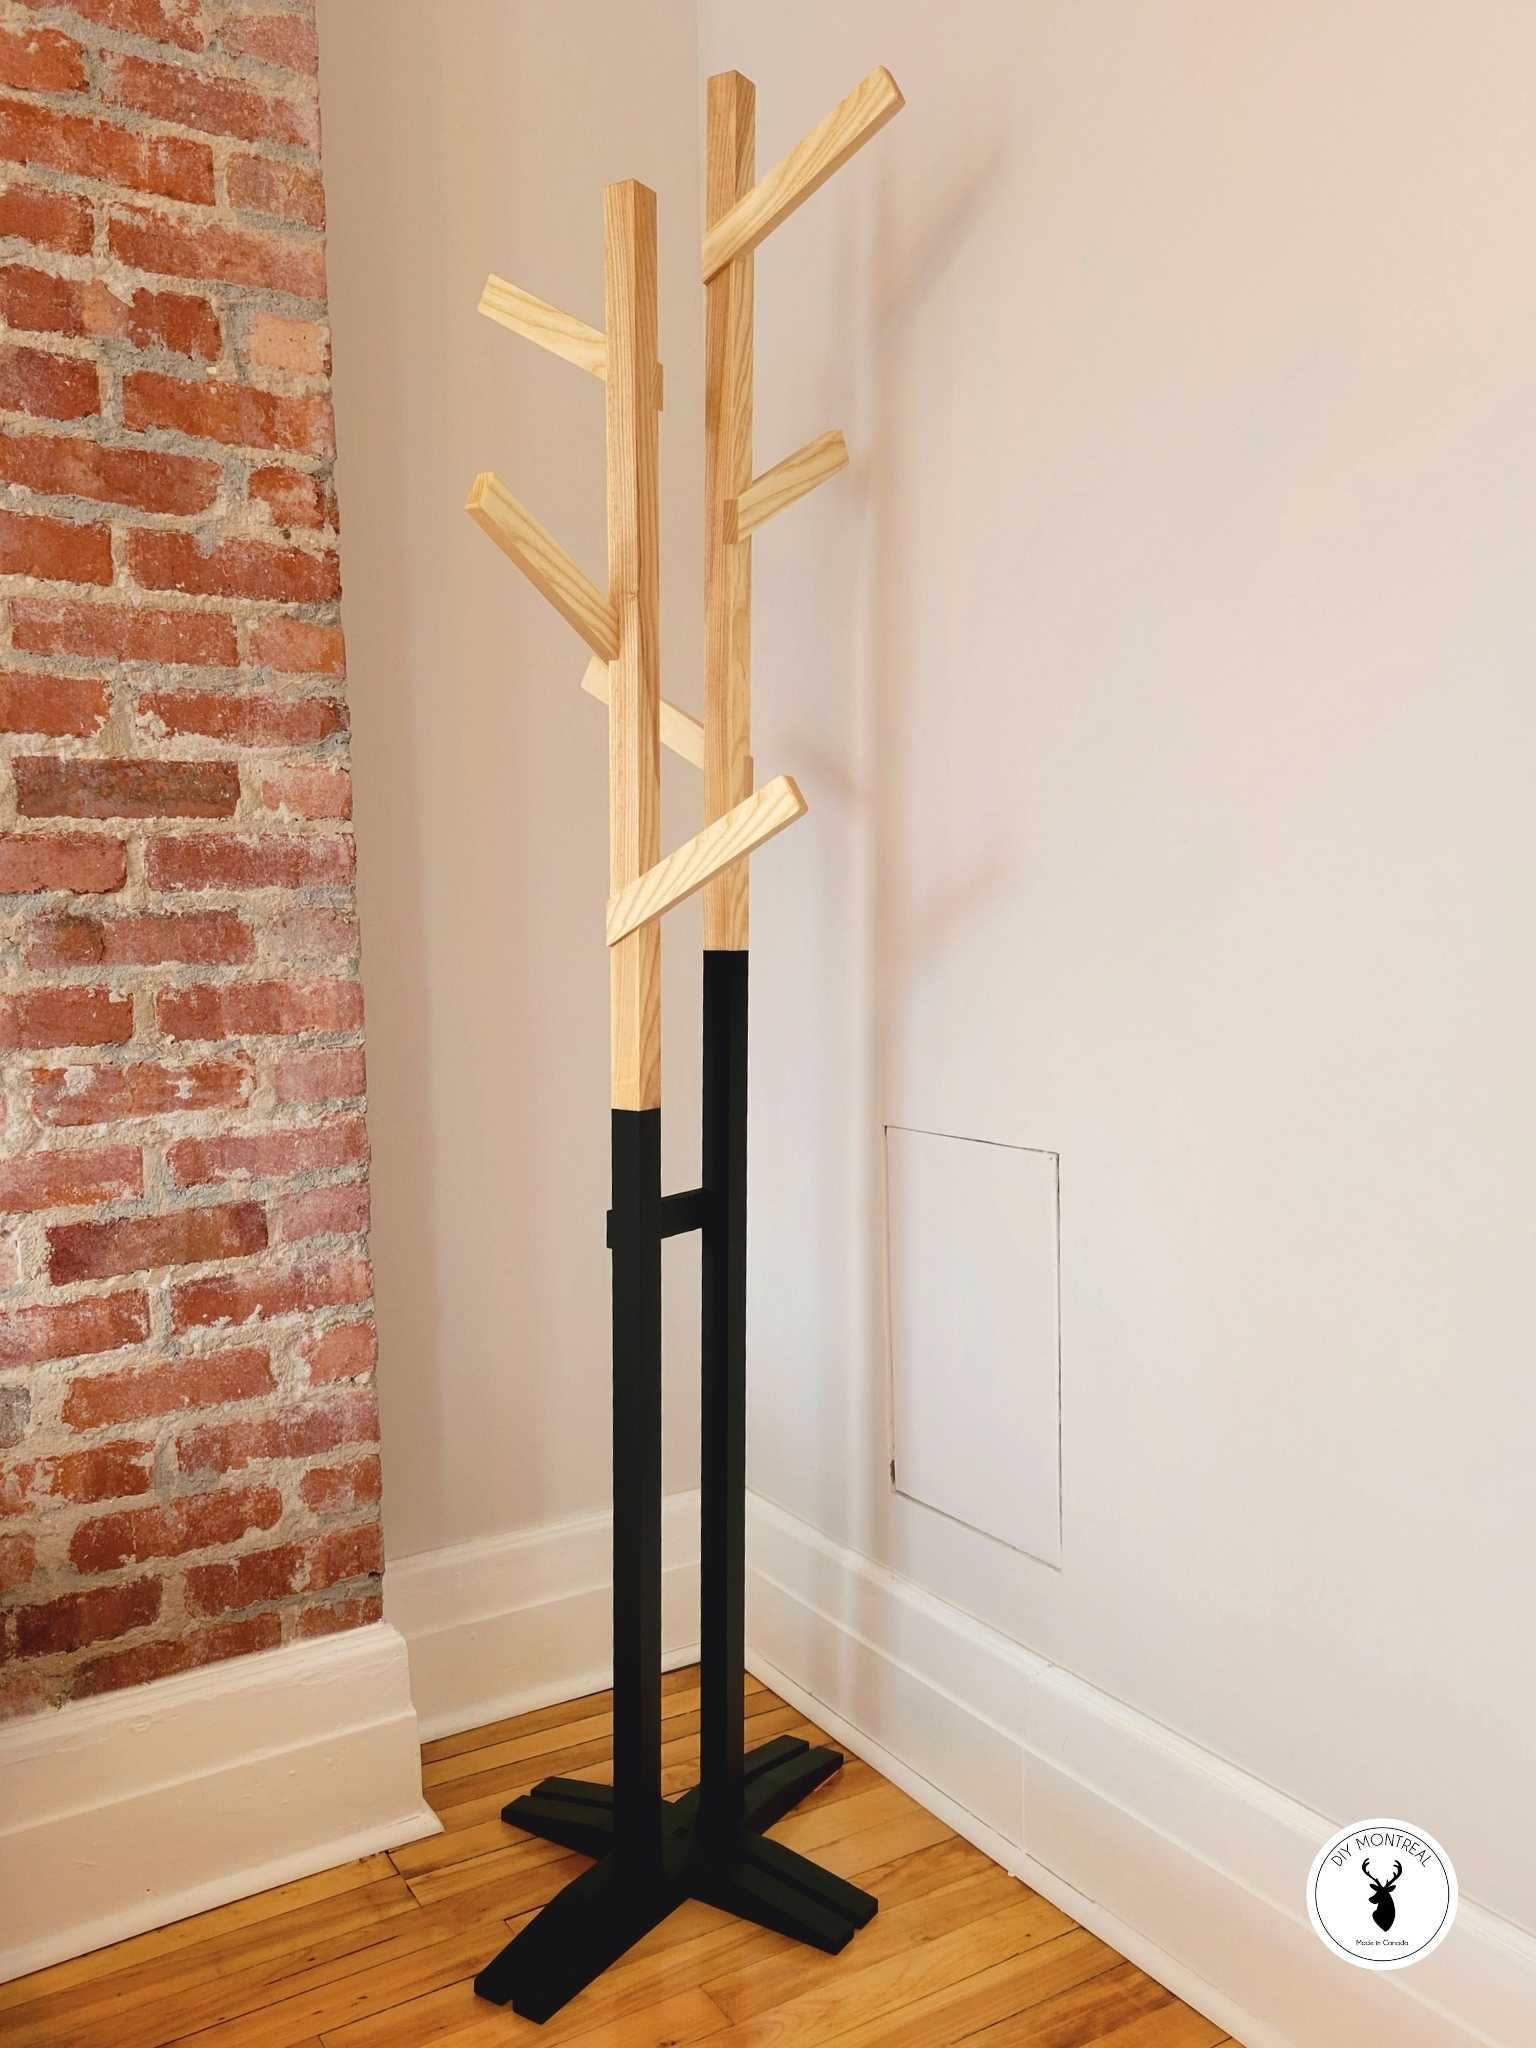
Start by measuring the wall space where the rack will hang. Choose a size that fits without crowding the area. The shape can be a straight bar, a tree-like form, or a board with hooks. Keep proportions balanced to avoid a bulky or too small rack.
Incorporating Style Elements
Pick wood types and finishes that match your room decor. Smooth, polished surfaces offer a modern look. Rough or natural wood gives a rustic feel. Add small details like carved edges or painted accents for personality. Keep style simple for easy cleaning and lasting appeal.
Planning Hook Placement
Space hooks evenly to hold coats without overlap. Consider different hook heights for adults and children. Leave room between hooks to avoid crowding. Strong hooks must support heavy coats and bags. Mark hook spots before drilling to ensure accuracy.
Cutting And Preparing Wood
Cutting and preparing wood is a key step in making a wooden coat rack. Careful work here ensures your rack looks good and lasts long. Take time to measure, cut, and smooth the wood before assembly.
Measuring And Marking
Start by measuring your wood pieces carefully. Use a tape measure for accuracy. Mark the cutting lines clearly with a pencil. Double-check measurements to avoid mistakes. Precise markings help make straight and even cuts.
Making Precise Cuts
Use a saw that fits your skill level and wood type. Follow the marked lines slowly and steadily. Keep your hands steady to avoid slips. Straight cuts ensure the pieces fit together well. Check each cut piece against your plan.
Sanding For Smoothness
Sanding removes rough edges and splinters. Use medium-grit sandpaper first, then fine-grit for a smooth finish. Sand along the wood grain to avoid scratches. Smooth wood feels better and looks more polished. Clean dust off before moving to the next step.
Assembling The Rack
Assembling the wooden coat rack is a simple step that brings your project to life. It involves putting together the wood pieces and adding hooks. This part needs care to make sure the rack is strong and lasts long.
Attaching Hooks Securely
First, place the hooks on the wood where you want them. Use a pencil to mark the spots for screws. Drill small pilot holes to avoid splitting the wood. Screw the hooks tightly, but do not over-tighten. Check that each hook holds firm and can carry weight.
Joining Wood Pieces
Align the wood pieces carefully before joining. Use wood glue on the edges to add strength. Clamp the pieces together and let the glue dry. For extra support, use screws or nails. Make sure all joints fit well and are flush.
Ensuring Stability
Stand the rack upright and check for wobbling. Add braces or supports if needed. Tighten all screws and check the hooks again. Test the rack by hanging some items. Stability means your rack will hold coats safely for years.

Credit: www.youtube.com
Finishing Touches
Finishing touches bring your wooden coat rack to life. They protect the wood and add style. These final steps make your project strong and beautiful. Follow simple methods to complete your rack with care and skill.
Applying Stain Or Paint
Choose a stain to show the wood grain. It gives a natural, warm look. Paint adds color and hides wood marks. Use a brush or cloth for even coverage. Let it dry completely before the next step. Apply thin coats to avoid drips or bubbles.
Sealing For Protection
Seal your coat rack to guard against wear. A clear sealant keeps moisture and dirt away. Use polyurethane or varnish for strong protection. Apply with a brush in smooth strokes. Let it dry well before touching or hanging coats. Seal both sides for full coverage.
Adding Decorative Details
Decorate your rack to make it unique. Add hooks in patterns or use different shapes. Attach small carvings or wood designs for charm. Use stencils to paint simple designs or names. Keep decorations simple to match your room style. These small touches give your rack character and fun.
Mounting And Placement Tips
Mounting and placing your wooden coat rack correctly is key to its function and safety. Proper placement helps keep your space tidy and your coat rack stable. Follow these tips to ensure your rack stays secure and looks great.
Choosing The Best Wall Location
Pick a spot near your door for easy access. Avoid places where the rack blocks walkways. Look for a wall area with enough space around it. Make sure the wall surface is smooth and clean before mounting. A visible spot also adds charm to your room.
Secure Mounting Techniques
Use strong screws and wall anchors to hold the rack. Find the wall studs for the best support. Mark the mounting points carefully and drill pilot holes first. Tighten screws firmly but do not overtighten. Check the rack stability by gently pulling it after installation.
Maintaining Your Coat Rack
Wipe the rack regularly with a soft, dry cloth. Avoid harsh cleaners that can damage the wood. Check screws and anchors every few months to keep them tight. Repair any chips or scratches with wood filler or polish. Proper care ensures your coat rack lasts for years.

Credit: www.eatwinwin.com
Frequently Asked Questions
What Materials Are Needed To Make A Wooden Coat Rack?
You need wood planks, hooks, screws, sandpaper, and wood finish. Choose durable wood like pine or oak. Quality hooks enhance functionality. Gather basic tools like a drill and screwdriver for assembly.
How Long Does It Take To Build A Wooden Coat Rack?
Building a wooden coat rack typically takes 2 to 4 hours. This depends on your experience and design complexity. Simple designs require less time, while intricate styles take longer. Allow time for sanding and finishing.
Can I Customize The Design Of My Wooden Coat Rack?
Yes, customizing is easy. You can adjust size, hook placement, and finish. Personalize colors or add decorative elements to match your decor. Customization enhances both style and functionality.
How Do I Mount A Wooden Coat Rack Securely?
Use wall anchors and screws suitable for your wall type. Locate studs for stronger support. Measure and mark drill points carefully. Securely mounting prevents accidents and ensures durability.
Conclusion
Building a wooden coat rack is simple and fun. You only need basic tools and wood. Follow each step carefully to get good results. A handmade rack adds charm to any room. It also helps keep your space neat and tidy.
Try making one for your home today. Enjoy the process and the final product. Making things yourself brings a special kind of pride. Keep practicing to improve your skills over time. This project is perfect for beginners and makers alike.