
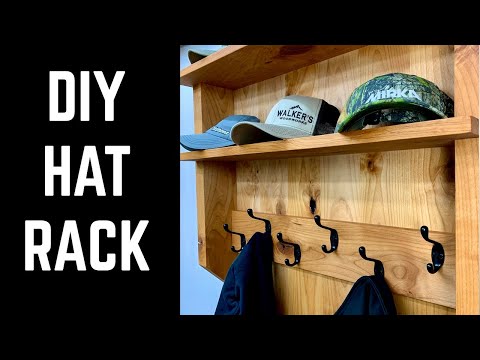
Are you tired of cluttered coats and hats taking over your entryway? Imagine having a simple, stylish rack that keeps everything organized and easy to find.
Making your own coat and hat rack is easier than you think—and you’ll love the sense of accomplishment when it’s done. In this guide, you’ll discover step-by-step instructions to create a rack that fits your space perfectly. Ready to turn chaos into order and add a personal touch to your home?
Let’s get started!
Materials Needed
Gathering the right materials is the first step to build a sturdy coat and hat rack. Having all items ready makes the project smooth and fun. Quality materials ensure your rack lasts long and looks great.
Wood Types
Choose wood that suits your style and budget. Pine is cheap and easy to work with. Oak offers strength and a classic look. Cedar resists moisture and smells nice. Avoid soft woods that can break easily. Pick wood boards with straight grains for easy cutting.
Hardware Essentials
Get strong hooks to hold coats and hats securely. Brass or steel hooks resist rust and wear. Use screws that match the wood type for firm fixing. Wall anchors help if you mount the rack on drywall. Sandpaper smooths rough edges and prepares wood for paint or stain.
Tools Required
A saw cuts wood pieces to size. A drill makes holes for screws and hooks. A screwdriver tightens screws safely. A measuring tape ensures all parts fit perfectly. A pencil marks where to cut or drill. Safety glasses protect your eyes during work.

Credit: www.reddit.com
Choosing The Right Design
Choosing the right design is key to making a coat and hat rack that fits your needs. The design affects how the rack looks and works in your space. You want a rack that holds your items well and matches your room style. This section helps you decide on the best design by focusing on space, style, and function.
Space Considerations
Measure the area where you will place the rack. Small spaces need compact racks. Larger spaces allow for bigger racks with more hooks. Think about wall or floor space available. Also, check the height to ensure easy reach. Proper sizing prevents clutter and keeps the area tidy.
Style Options
Choose a style that fits your room’s look. Classic wood racks add warmth. Metal racks bring a modern feel. Rustic styles work well in country homes. Minimalist designs suit small or simple rooms. Pick colors that match your walls or furniture for harmony.
Functionality Features
Look for features that make the rack useful. Multiple hooks hold many coats and hats. Shelves add space for gloves or scarves. Some racks have a bench for sitting. Stability is important to keep the rack steady. Easy assembly saves time and effort.
Preparing The Wood
Preparing the wood is a key step in making a coat and hat rack. It ensures the rack looks good and lasts long. Proper preparation helps the wood hold paint or stain evenly. It also prevents rough edges and splinters. This stage includes measuring, cutting, sanding, and finishing the wood.
Measuring And Cutting
Start by measuring the wood pieces carefully. Use a tape measure to get exact sizes. Mark the wood with a pencil for clear cutting lines. Cut the wood with a saw, following your marks closely. Straight cuts make assembly easier and the rack stronger.
Sanding Techniques
Sand the wood surfaces smoothly using sandpaper or a sanding block. Start with coarse grit to remove rough spots. Move to finer grit for a soft, smooth finish. Sand all edges to avoid splinters. Clean dust from the wood before the next step.
Staining And Painting
Choose a stain or paint that fits your style. Apply stain evenly with a brush or cloth. Let the wood absorb the stain for a rich color. For paint, use thin, even coats. Allow each coat to dry fully before adding another. This protects the wood and enhances appearance.
Assembling The Rack
Assembling the coat and hat rack is the step where your project starts to take shape. This part focuses on putting together the main components. Careful assembly ensures the rack looks good and holds items well.
Attaching Hooks And Hangers
Begin by choosing the right spots for hooks and hangers. Mark these spots clearly on the wood. Use screws or nails to fasten each hook tightly. Make sure hooks face outward for easy access. Space hooks evenly to hold coats and hats without crowding.
Securing Shelves And Supports
Next, place shelves on the supports carefully. Check that shelves sit flat and do not wobble. Use screws to fix shelves firmly in place. Supports must be strong enough to hold heavy items. Double-check the alignment before tightening screws fully.
Ensuring Stability
Stability is key for a safe rack. Test the rack by gently pushing it from different sides. Add extra screws or brackets if the rack feels loose. Use wall anchors to fix the rack securely if it stands against a wall. A steady rack lasts longer and holds more weight safely.
Mounting The Rack
Mounting the coat and hat rack securely is important for safety and durability. A properly mounted rack holds weight well and stays stable. Follow simple steps to attach it firmly to the wall.
Wall Anchors And Fasteners
Choose wall anchors that match your wall type. Drywall needs anchors that expand behind the surface. Use screws that fit the rack’s mounting holes.
Plastic anchors work for light loads. For heavier racks, use metal anchors or toggle bolts. Make sure screws go deep into the wall for strong support.
Height And Placement Tips
Mount the rack at a comfortable height. Usually, 5 to 6 feet from the floor works best. This height is easy to reach for most people.
Place the rack near the door or entryway. It should not block walkways or doors. Leave space around it for hanging coats and hats freely.
Safety Checks
Check the rack’s stability after mounting. Pull gently on the hooks to test strength. Tighten any loose screws immediately.
Ensure no sharp edges are exposed. Keep the rack away from heat sources or damp areas. These checks prevent accidents and damage.
Credit: www.youtube.com
Customizing Your Rack
Customizing your coat and hat rack makes it truly yours. It helps the rack fit your style and space perfectly. Simple touches can turn a plain rack into a charming piece of decor. Personalizing also boosts its function beyond just holding coats and hats.
Adding Decorative Elements
Decorative elements bring life to your rack. Use hooks shaped like animals or vintage knobs for a unique look. Attach small shelves for plants or picture frames. These little extras add charm and make your rack stand out.
Incorporating Storage Baskets
Storage baskets increase the rack’s usefulness. Place baskets under the hooks to hold gloves, scarves, or keys. Choose baskets that match your rack’s style and size. They keep small items tidy and easy to find.
Personalizing With Paint Or Decals
Paint or decals add color and character. Pick paint colors that match your room’s theme. Use stencils to create patterns or shapes. Decals offer a quick way to add designs without much effort. This personal touch makes the rack feel special and fresh.
Maintenance Tips
Keeping your coat and hat rack in good shape helps it last longer. Regular care makes sure it stays strong and looks nice. Simple maintenance saves money and time on big repairs. Follow easy steps to clean, fix, and refresh your rack.
Cleaning And Care
Dust the rack often with a soft cloth. Use mild soap and water for sticky spots. Avoid harsh chemicals that can damage the finish. Dry the rack well to stop wood from swelling. Check hooks and joints for dust build-up. Clean metal parts with a gentle polish to avoid rust.
Repairing Wear And Tear
Look for loose screws or nails and tighten them. Replace broken hooks with similar ones. Sand rough edges gently to prevent splinters. Use wood filler for small cracks or dents. Paint or stain chipped areas to protect wood. Fix problems early to keep the rack safe.
Seasonal Updates
Change the rack’s look by adding fresh paint or stain each season. Add new hooks for extra storage in busy months. Treat wood with oil or sealant to protect from weather changes. Rearrange hooks to fit different coats and hats. Seasonal updates keep the rack useful and attractive.
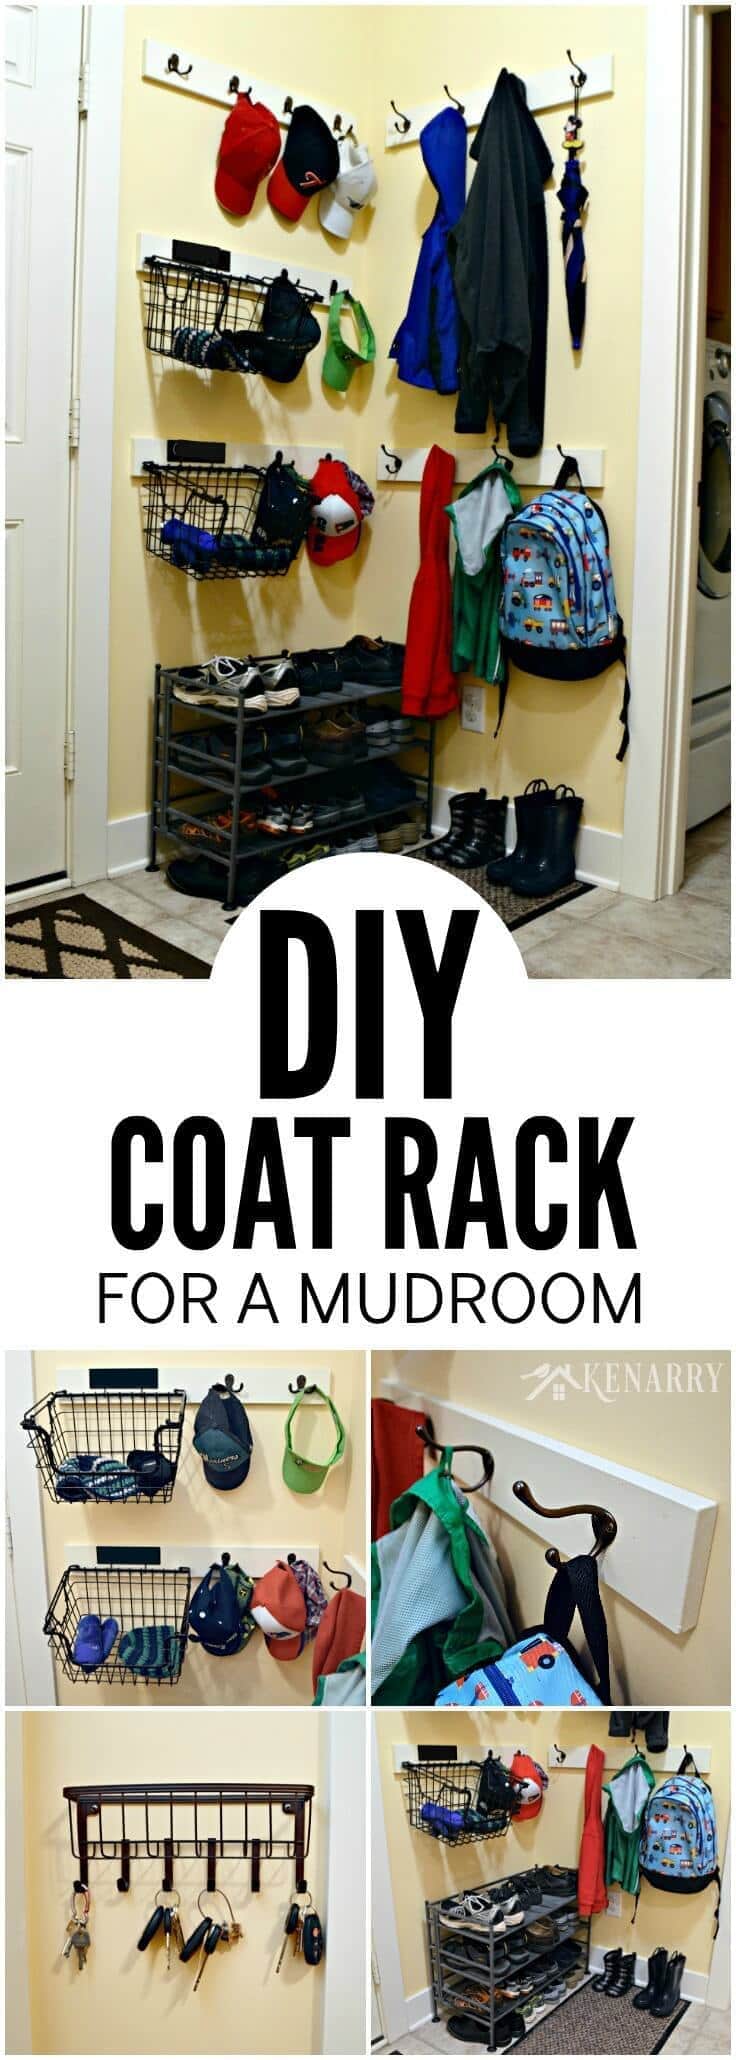
Credit: www.kenarry.com
Frequently Asked Questions
What Materials Are Needed To Make A Coat And Hat Rack?
You need wood boards, screws, hooks, a drill, sandpaper, and paint or stain. Choose sturdy wood for durability. Hooks should be strong enough to hold heavy coats and hats.
How Do I Design A Functional Coat And Hat Rack?
Plan the size based on space and number of items. Include multiple hooks at different heights. Add a shelf for hats or small items to enhance functionality.
What Tools Are Essential For Building A Coat And Hat Rack?
Basic tools include a drill, screwdriver, saw, measuring tape, and level. Sandpaper smooths rough edges. Paintbrushes are needed if you plan to finish the wood.
How Can I Mount The Rack Securely On The Wall?
Use wall anchors if not drilling into studs. Measure and mark the wall precisely. Ensure the rack is level before securing screws to avoid tilting.
Conclusion
Building a coat and hat rack is simple and useful. You save money by making it yourself. Choose materials that fit your style and space. Follow the steps carefully for best results. This rack keeps your home neat and organized.
Enjoy your new, handy storage solution every day. Give it a try and see how easy it is!
