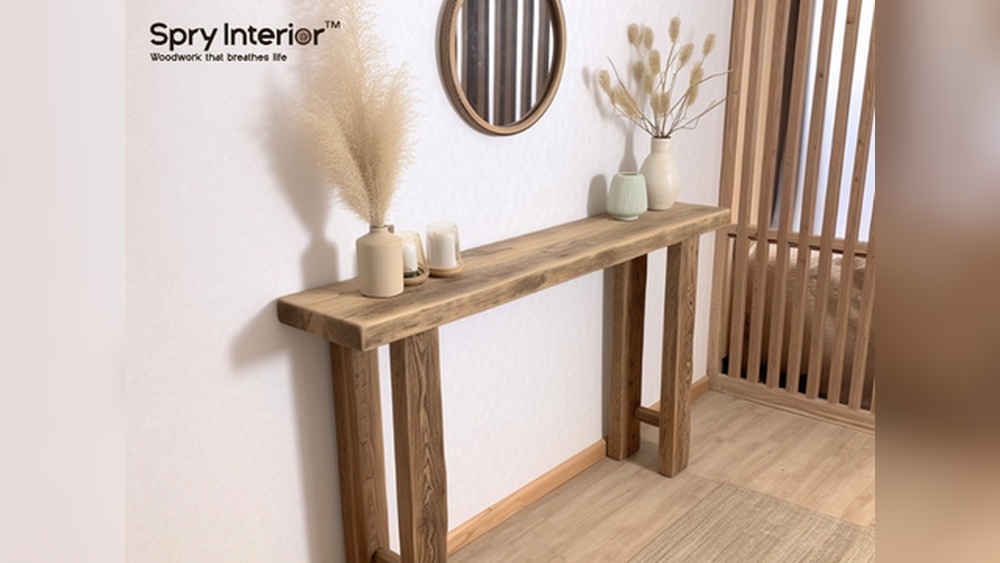
Looking for a simple way to organize your entryway and add some style to your space? Building a coat rack shelf is the perfect project for you.
Imagine having a handy spot where you can hang your coats, hats, and bags, while also displaying your favorite decor. In this guide, you’ll discover easy steps to create a sturdy, attractive coat rack shelf that fits your space and needs.
Whether you’re new to DIY or just want a quick, satisfying project, this article will help you turn your cluttered wall into a neat, functional area. Ready to get started? Let’s dive in!
Choosing Materials
Choosing the right materials is key for building a sturdy coat rack shelf. The materials affect the shelf’s look and how long it lasts. Picking good wood, hooks, and tools makes the project easier and the final product better.
Focus on materials that match your style and budget. Strong materials hold coats and hats well. Some materials need more care, but they can look great. Think about where you will place the shelf too.
Selecting Wood Types
Wood is the main part of the coat rack shelf. Pine is affordable and easy to work with. Oak is strong and has a nice grain. Cedar resists moisture and smells good. Choose wood that fits your room’s style. Sand the wood smooth for safety and look.
Picking Hooks And Hardware
Hooks hold coats and bags. Metal hooks are strong and last long. Wooden hooks blend with the shelf nicely. Think about hook size and shape for your needs. Screws and brackets must fit the wood type. Use rust-resistant hardware for humid areas.
Tools You’ll Need
You need a few basic tools to build the shelf. A saw cuts the wood to size. A drill makes holes for screws. A screwdriver tightens screws and hooks. Sandpaper smooths rough edges. A level helps place the shelf straight. Gather all tools before starting work.
Measuring And Planning
Measuring and planning are the first steps to build a sturdy coat rack shelf. Taking accurate measurements helps avoid mistakes and wasted materials. Planning the layout ensures the shelf fits your space and meets your needs.
Spend time on this stage to create a clear guide for your project. Careful planning saves time during assembly and makes the final product look professional.
Determining Size And Space
Measure the wall area where you want the coat rack shelf. Note the width, height, and depth available. Consider how many coats and items you want to hang or place on the shelf. Leave enough space between hooks for coats to hang freely. Think about room for decorations or storage boxes on the shelf.
Sketching Your Design
Draw a simple sketch of the coat rack shelf on paper. Include the shelf, hooks, and any additional features. Use your measurements to keep the sketch to scale. This helps visualize the final product and guides material cutting. Mark each hook and shelf position clearly on the sketch.
Marking Drill Points
Use your sketch to mark drill points on the wood or wall. Measure carefully to keep holes aligned. Mark spots for screws or anchors to hold the shelf securely. Double-check measurements before drilling to avoid errors. Correct drill points ensure the shelf stays strong and level.
Cutting And Preparing Wood
Cutting and preparing wood is a key step in building a coat rack shelf. This step sets the foundation for a strong and neat finished product. Proper preparation makes assembly easier and results in a better look.
Start with careful measurements and precise cuts. Then, smooth every edge for safety and appearance. Finally, protect the wood with a finish or paint to extend its life.
Cutting To Size
Measure your wood pieces carefully before cutting. Use a pencil and ruler for clear marks. A saw with a fine blade works best for straight cuts. Cut slowly and steadily to avoid splinters. Double-check each piece after cutting to ensure accuracy.
Sanding And Smoothing
Sand every cut edge with medium-grit sandpaper first. This removes rough spots and splinters. Follow with fine-grit sandpaper for a smooth finish. Sand along the grain, not against it, for best results. Wipe dust off with a cloth after sanding.
Applying Finish Or Paint
Choose a finish or paint that suits your room’s style. Apply a thin coat with a brush or cloth. Let it dry completely before adding a second coat. Finish protects wood from moisture and wear. It also makes your coat rack shelf look polished and fresh.

Credit: gingersnapcrafts.com
Assembling The Shelf
Assembling the coat rack shelf is a key step to create a strong and functional piece. This process involves attaching hooks, securing shelf supports, and finishing the assembly carefully. Taking time on each part helps ensure your shelf holds coats and items safely. Follow the steps below for a smooth assembly.
Attaching Hooks
Start by placing the hooks evenly along the bottom edge of the shelf board. Use a pencil to mark the screw holes for accuracy. Drill small pilot holes to avoid splitting the wood. Next, screw in the hooks tightly with a screwdriver. Make sure each hook is straight and secure. Check that all hooks are aligned for a neat look.
Securing Shelf Supports
Position the shelf supports under the shelf board at each end. Use a level to keep them perfectly horizontal. Mark the screw holes on the wall or frame. Drill pilot holes for easier installation. Screw the supports firmly to the wall and shelf. This step ensures the shelf holds weight without sagging or wobbling.
Final Assembly Tips
Double-check all screws are tight and secure. Wipe away any dust or pencil marks for a clean finish. Test the shelf by hanging a few coats or items gently. Adjust any loose hooks or supports immediately. Take your time to ensure the shelf is strong and looks good. Your coat rack shelf is now ready to use.
Mounting On The Wall
Mounting your coat rack shelf on the wall is an important step. It keeps the shelf secure and holds the weight of coats and other items. Proper mounting prevents the shelf from falling or wobbling. Use the right tools and techniques to make the shelf safe and strong. Here is how to do it.
Finding Wall Studs
Start by locating the wall studs. Studs are wooden beams behind the drywall. They provide strong support for heavy items. Use a stud finder tool to find them easily. Mark the stud spots with a pencil. Mounting the shelf into studs makes it stable and safe.
Using Anchors And Screws
If you cannot find studs where you want the shelf, use wall anchors. Anchors spread the weight across the wall. Choose anchors that fit the wall type and shelf weight. Insert the anchors into drilled holes. Then, screw the shelf brackets firmly into the anchors.
Ensuring Stability
Check that the shelf is level before tightening screws. Use a level tool to get a straight line. Tighten all screws securely. Test the shelf by placing weight on it. The shelf should not wobble or shift. Proper mounting ensures your coat rack shelf stays strong and safe.
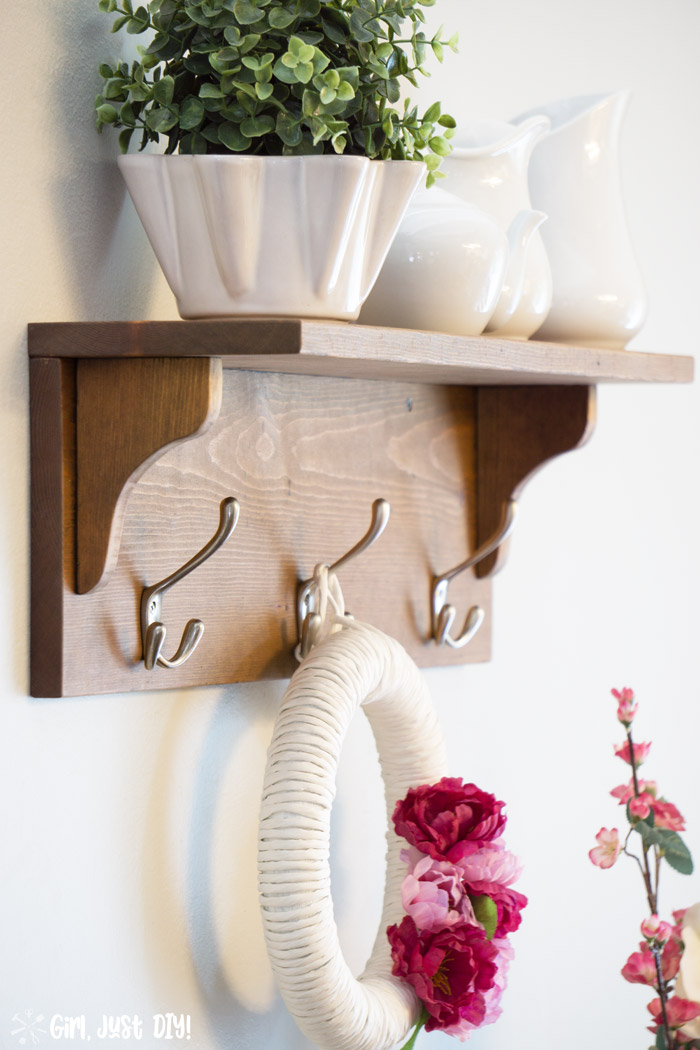
Credit: www.girljustdiy.com
Styling And Maintenance
Styling and maintaining your coat rack shelf keeps it useful and attractive. It helps you keep things neat and adds charm to your space. Regular care makes your shelf last longer and look fresh.
Organizing Your Coat Rack
Arrange coats by type or season for easy access. Use hooks to hang hats, scarves, and bags. Keep shoes or small items on the shelf below. Avoid overcrowding to keep the rack tidy and functional.
Adding Decorative Elements
Place small plants or framed photos on the shelf. Use decorative baskets to hold gloves or keys. Choose colors and styles that match your room. Simple decorations make the coat rack a stylish part of your home.
Cleaning And Upkeep
Dust the shelf and hooks weekly to prevent dirt build-up. Wipe down surfaces with a damp cloth to remove stains. Check screws and hooks regularly to keep them tight. Fix any damage quickly to keep the rack safe and sturdy.
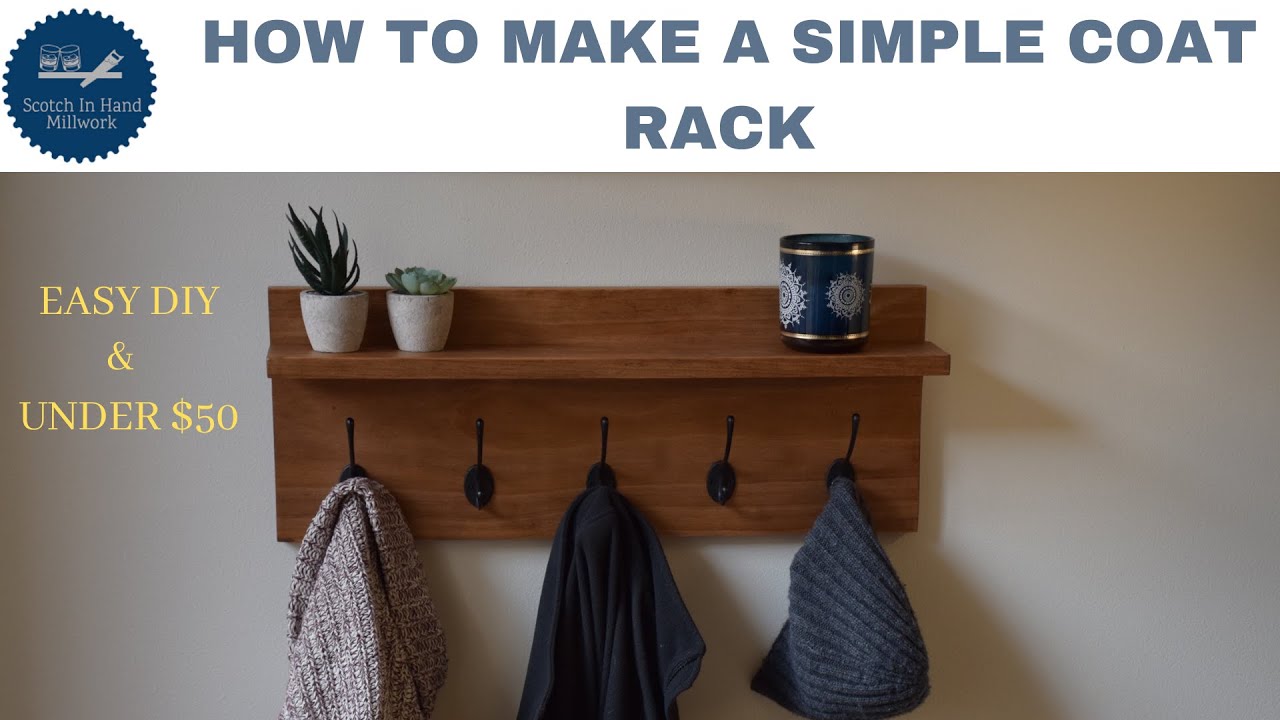
Credit: www.youtube.com
Frequently Asked Questions
What Materials Do I Need To Build A Coat Rack Shelf?
You need wood boards, screws, wall anchors, hooks, a drill, a saw, sandpaper, and paint or stain. Choose sturdy wood like pine or oak for durability and appearance.
How Do I Securely Mount A Coat Rack Shelf?
Locate wall studs using a stud finder for strong support. Use appropriate screws and anchors to fasten the shelf firmly to the wall. Ensure the shelf is level before tightening screws.
Can I Customize The Size Of My Coat Rack Shelf?
Yes, measure your available wall space to customize the shelf size. Cut the wood boards to desired length and width for a perfect fit. Custom sizes accommodate your storage needs better.
How Do I Finish The Coat Rack Shelf For Durability?
Sand the wood smoothly to remove splinters and rough spots. Apply paint, stain, or sealant to protect against moisture and wear. Finishing enhances both look and longevity of the shelf.
Conclusion
Building a coat rack shelf adds both style and function to your space. It keeps your entryway neat and organized. The steps are simple and require only basic tools. You can customize the shelf to fit your needs. A well-made coat rack shelf lasts for years.
Try making one yourself and enjoy the results. It’s a small project that brings big benefits. Start today and see how easy it can be.