Are you ready to create something practical, sturdy, and perfect for your space? Building a bunk bed from scratch might sound challenging, but with the right steps, you can make a piece that fits your style and needs perfectly.
Imagine saving money, customizing every detail, and feeling proud of the work you’ve done with your own hands. In this guide, you’ll discover simple instructions and tips that anyone can follow, even if you’re new to woodworking. Keep reading, and you’ll soon have all you need to build a bunk bed that’s safe, stylish, and just right for you.
Materials And Tools Needed
Building a bunk bed from scratch needs the right materials and tools. Choosing good wood and reliable tools makes your project safe and strong.
Prepare everything before you start. This saves time and helps avoid mistakes. Here is a list of what you need for a simple and sturdy bunk bed.
Wood Materials
Use solid wood like pine, oak, or maple. These woods are strong and easy to work with. You will need:
- Bed posts (4 pieces, about 6 feet each)
- Side rails (4 pieces, length depends on mattress size)
- Slats for mattress support (multiple thin pieces)
- Guardrails for the top bunk
- Wood screws and wood glue for assembly
Tools Required
Good tools make cutting and assembling easier. You will need:
- Measuring tape for accurate lengths
- Power drill with drill bits
- Screwdriver or screw gun
- Hand saw or circular saw
- Sandpaper or power sander
- Clamps to hold pieces while gluing
- Level to keep everything straight
- Pencil for marking cuts
Safety Gear
Protect yourself while working. Use:
- Safety glasses to guard your eyes
- Dust mask to avoid inhaling sawdust
- Ear protection if using loud tools
- Gloves to protect your hands
Choosing The Right Design
Choosing the right design for your bunk bed is a crucial step. The design affects comfort, space, and safety. Think about who will use the bed and the room size. A good design fits well and meets your needs. Consider different styles and how they suit your space and users.
Single Vs. Double Bunk Beds
Single bunk beds have one mattress on top and one below. They save space and fit small rooms well. Double bunk beds are wider and hold two mattresses per level. They offer more sleeping space but need more room. Choose single beds for small spaces. Pick double beds for larger rooms or more sleepers.
Space Considerations
Measure your room before starting the build. Leave enough space to move around safely. Think about ceiling height too. Make sure there is space above the top bunk. Consider the bed’s footprint and nearby furniture. The bed should not block doors or windows. A compact design fits better in tight areas.
Safety Features
Safety is key in bunk bed design. Add guardrails on the top bunk to prevent falls. Use sturdy ladders with wide steps for climbing. Check the bed frame for strong joints and supports. Avoid sharp edges or corners. Ensure the bed can hold enough weight safely. A safe bunk bed protects users from accidents.
Preparing The Wood
Preparing the wood is the first step to building a strong bunk bed. Good preparation helps the bed last longer and stay safe. It starts with picking the right wood and ends with making the surface smooth and ready for use.
Selecting Quality Lumber
Choose lumber that is sturdy and free from cracks. Pine, oak, and maple are good options. Make sure the wood is straight and dry. Avoid wood with knots or warping. Strong wood supports weight and keeps the bed stable.
Cutting To Size
Measure twice, cut once. Follow your bunk bed design carefully. Use a saw to cut the wood into correct lengths. Keep cuts clean and even. Proper cutting ensures all parts fit well together.
Sanding And Finishing
Sand each piece of wood to remove rough edges. Use fine-grit sandpaper for a smooth finish. Sanding prevents splinters and makes the bed safe. Apply a finish like paint or varnish. This protects the wood from damage and wear.
Building The Frame
Building the frame is the first key step in making a bunk bed. It sets the base for all other parts. A strong frame means a safe and sturdy bed. Focus on careful measuring and cutting. Use quality wood to ensure durability. Follow each step slowly to avoid mistakes.
Assembling The Side Rails
Start by cutting the side rails to the right length. These rails will hold the mattress in place. Use a drill to make pilot holes for screws. Attach the rails to the bed posts using wood screws. Check that the rails are level and straight. Tighten the screws firmly but do not overdo it.
Constructing The Head And Foot Boards
Cut the head and foot boards to match the bed size. Sand all edges to make them smooth. Attach vertical support pieces to add strength. Use clamps to hold pieces before screwing them together. Make sure boards are square and flush. This ensures a neat, strong structure.
Attaching The Frame Components
Join the side rails to the head and foot boards carefully. Use wood glue along with screws for extra hold. Check that all corners form right angles. Use a carpenter’s square for accuracy. Tighten all screws evenly to avoid gaps. The frame should feel solid and stable at this point.
Adding The Ladder And Guardrails
Adding the ladder and guardrails is a key step in building a bunk bed. These parts keep the bed safe and easy to use. A well-built ladder helps children climb up and down without trouble. Guardrails stop anyone from falling during sleep. Focus on strong design and secure installation for both.
Designing A Safe Ladder
Choose ladder steps wide enough for small feet. Space the steps evenly for easy climbing. Use smooth wood to avoid splinters. Attach the ladder at a slight angle for comfort and safety. Check the ladder’s height fits the bunk bed perfectly. Test the ladder’s strength before use.
Installing Guardrails For Safety
Guardrails should cover the bed’s entire side. Make them tall enough to stop rolling off. Use sturdy wood and strong screws for fixing. Place guardrails tightly against the bed frame. Leave no gaps where a child could get stuck. Double-check all bolts and joints for security.
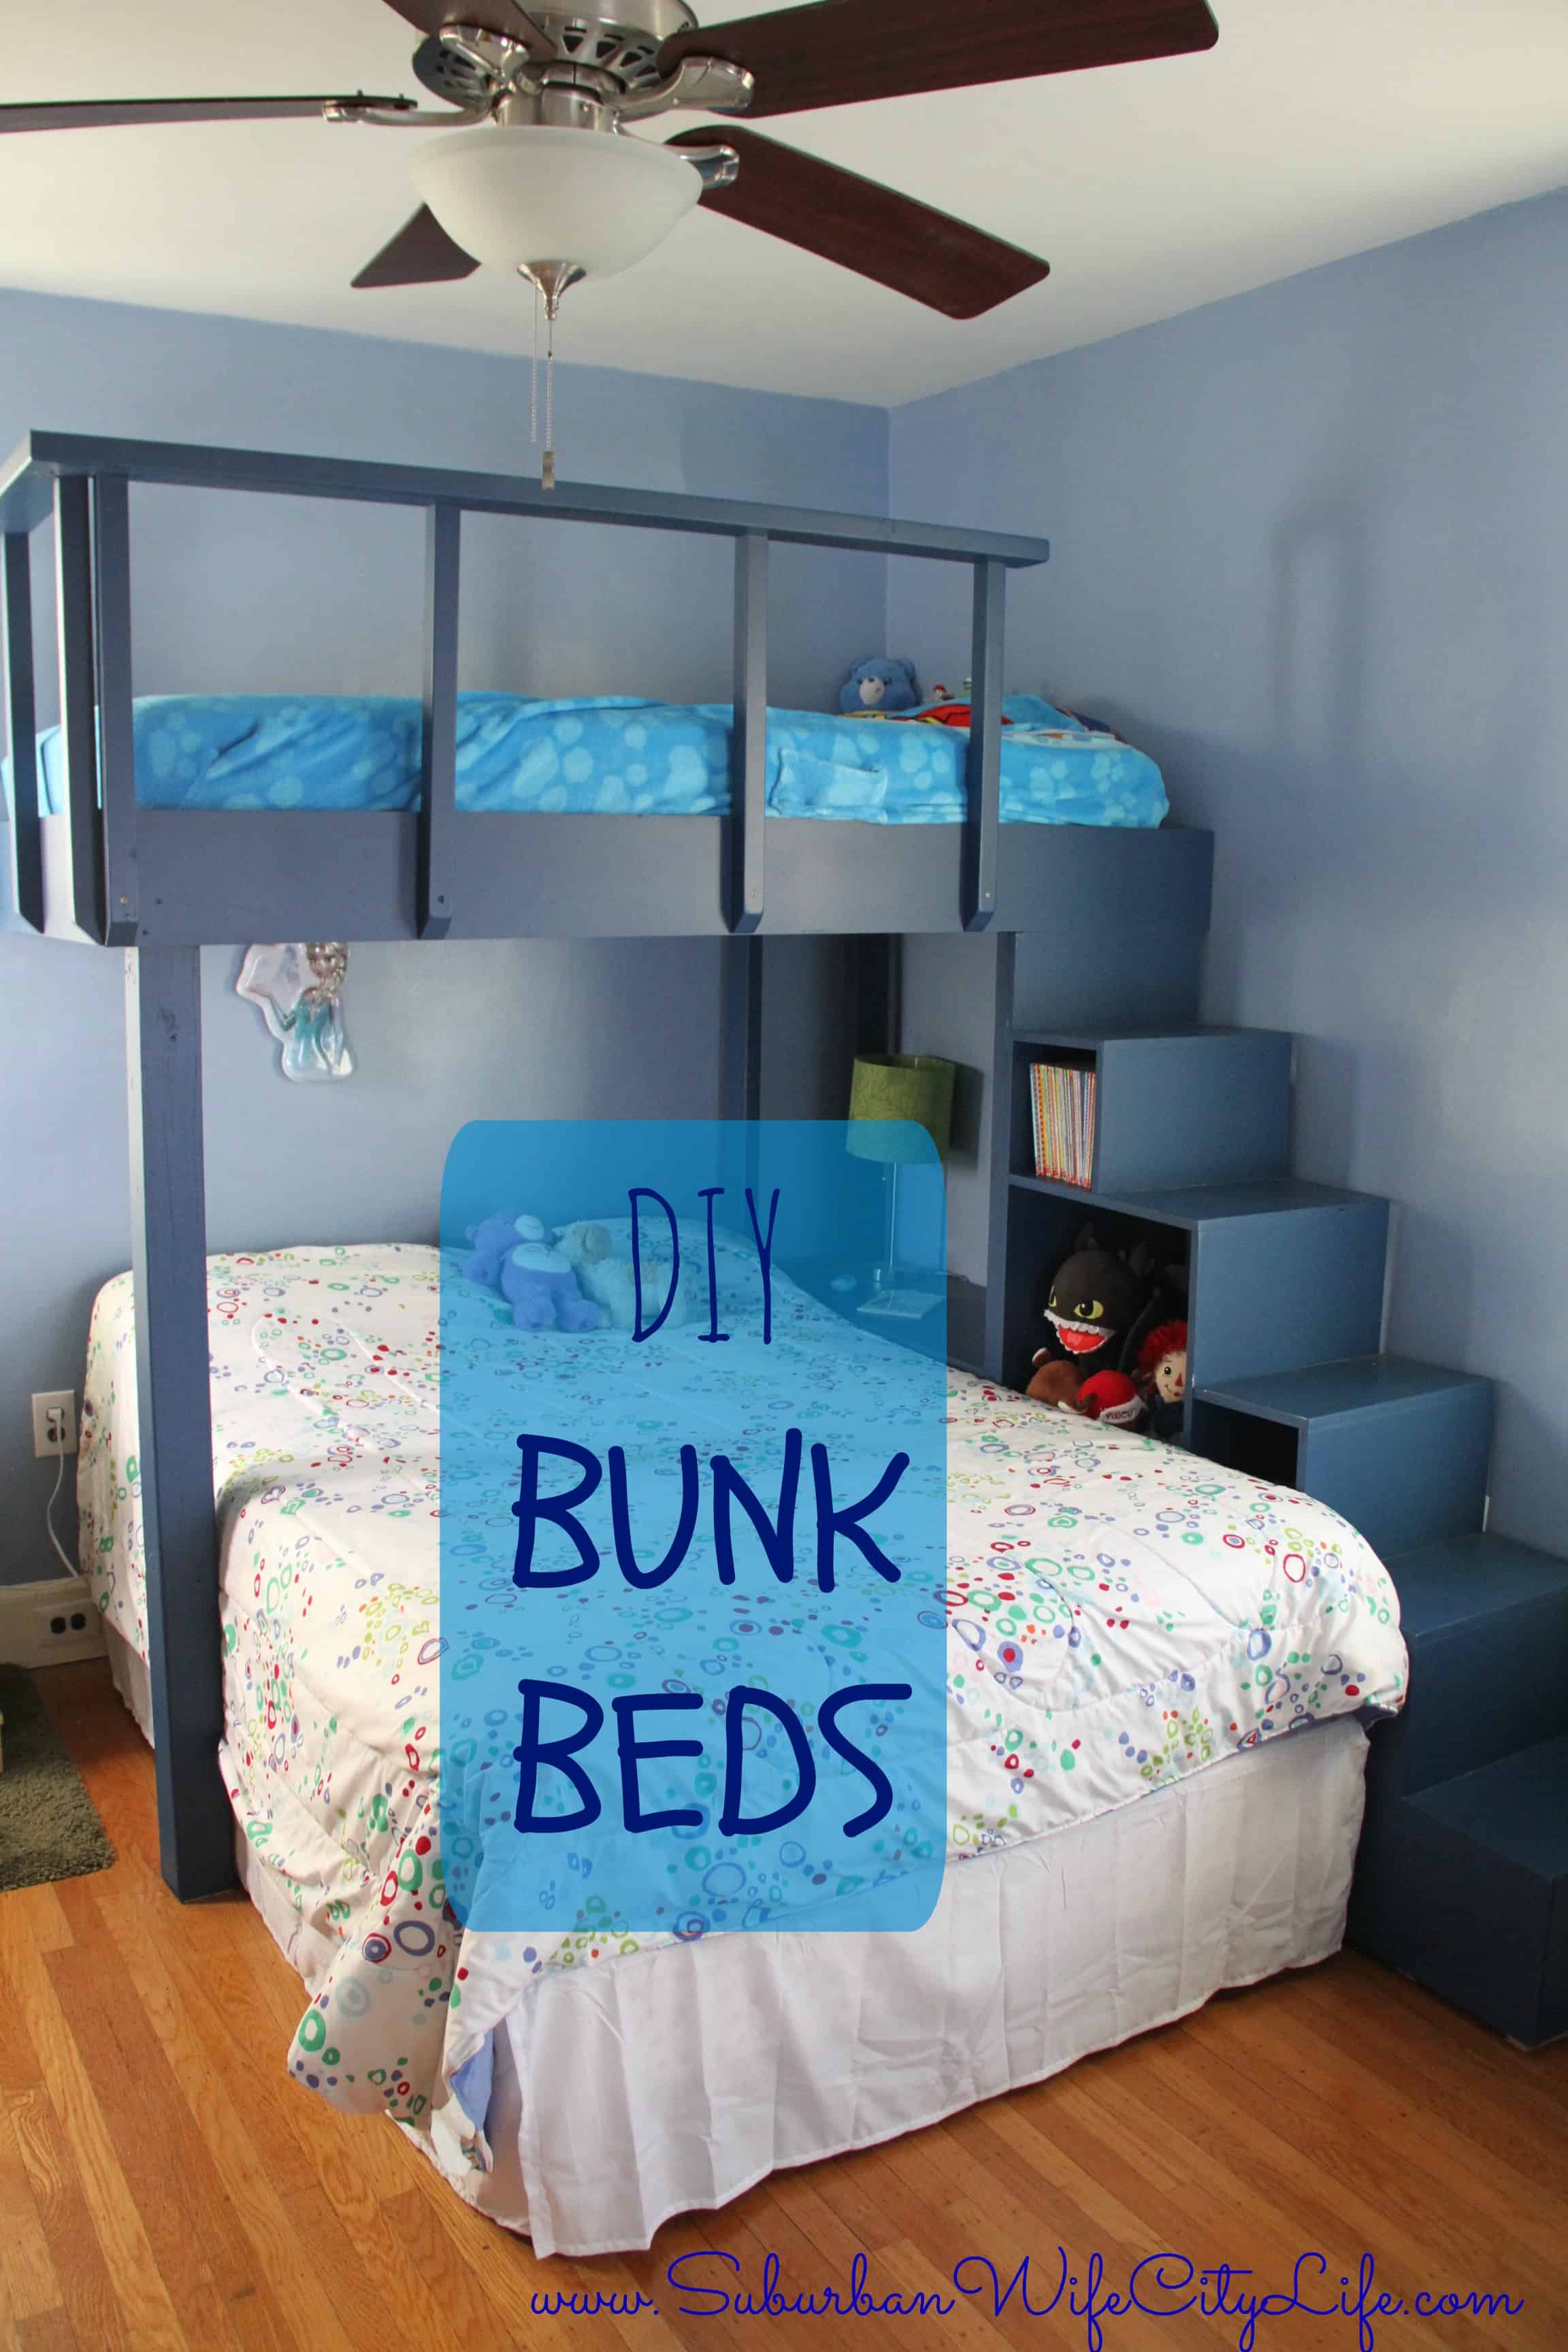
Credit: suburbanwifecitylife.com
Final Assembly And Inspection
Final assembly and inspection are crucial steps in building your bunk bed. This stage ensures the bed is safe and strong for use. Careful attention during assembly and checking can prevent future problems. Follow these steps to secure your bed properly and finish it neatly.
Securing All Joints
Start by tightening every bolt and screw firmly. Use the right tools to avoid stripping screws. Check each joint where wood pieces meet. Make sure no gaps or loose parts remain. Reinforce corners with brackets if needed. This step keeps the bunk bed steady and safe.
Checking Stability
Test the bed by pressing and shaking gently. It should not wobble or move. Sit on each bunk to feel the support. Look under the bed for any weak spots. Adjust or tighten parts that feel loose. Stability is key for safety and comfort.
Applying Finishing Touches
Sand all rough edges smoothly to avoid splinters. Apply paint or wood finish for protection and look. Use non-toxic finishes safe for children. Add any decorative elements last. Clean the work area and remove dust. This final step makes the bunk bed ready to use.
Maintenance Tips
Maintaining a bunk bed is very important to keep it safe and strong. Regular care helps the bed last longer. It also keeps children safe while using it. Follow these simple tips to maintain your bunk bed well.
Regular Safety Checks
Check all screws and bolts every month. Tighten any loose parts immediately. Look for cracks or splits in the wood. Make sure guardrails are secure and strong. Test the ladder to ensure it is stable. Replace broken or worn parts right away. Safety checks reduce the risk of accidents.
Cleaning And Upkeep
Dust the bed frame regularly with a soft cloth. Clean the mattress area to avoid dust buildup. Use mild soap and water for stains on wood. Avoid harsh chemicals that can damage the finish. Keep the bed dry to prevent wood warping. Clean the ladder and rails often for a neat look. Well-kept beds feel more comfortable and inviting.
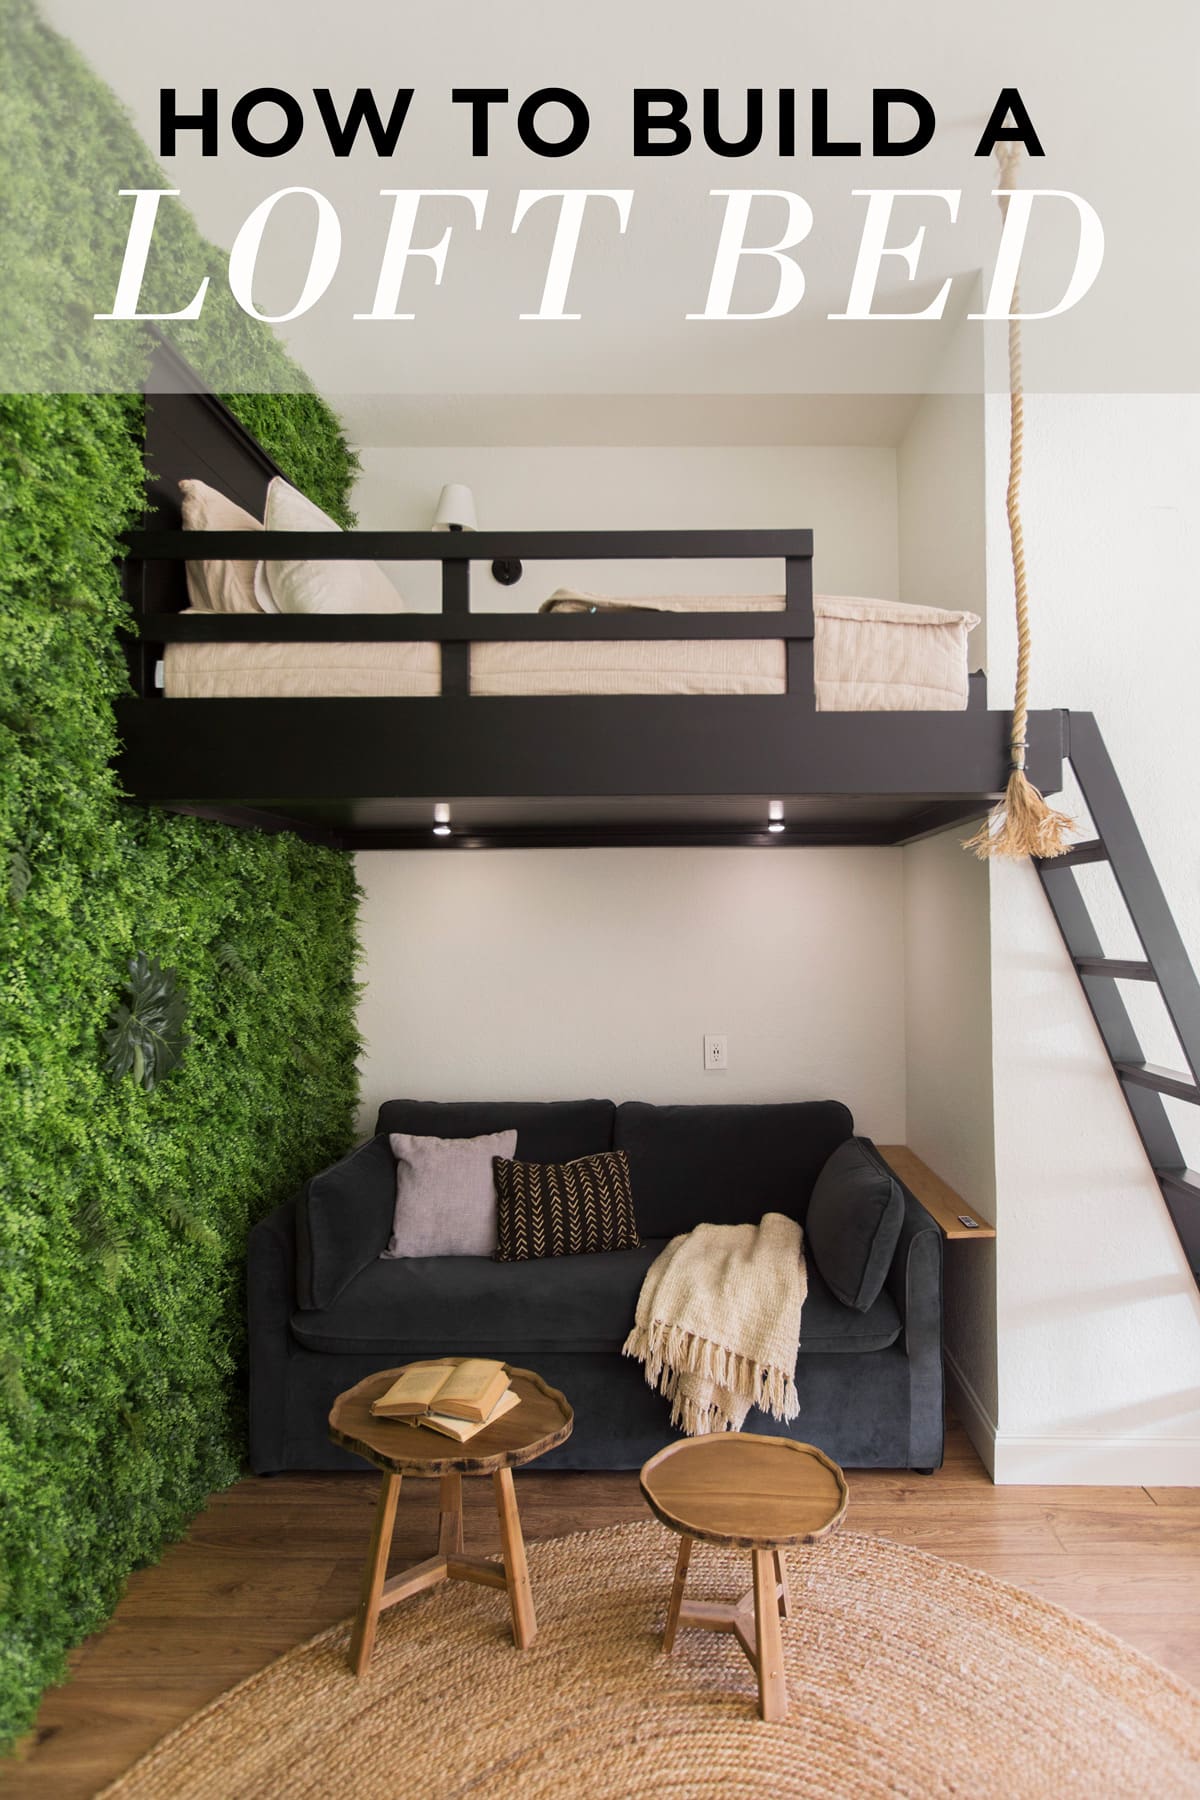
Credit: www.jennasuedesign.com
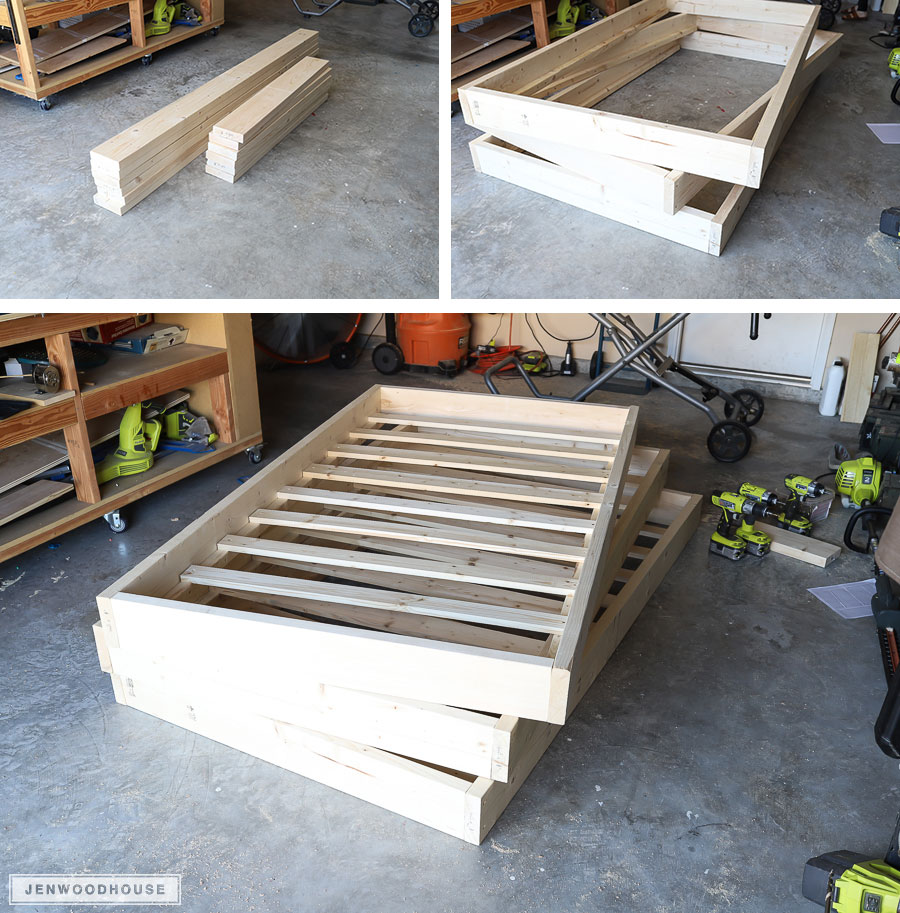
Credit: jenwoodhouse.com
Frequently Asked Questions
What Tools Are Needed To Build A Bunk Bed From Scratch?
You need basic woodworking tools like a saw, drill, screwdriver, measuring tape, clamps, and sandpaper. Safety gear is also essential during construction.
How Long Does It Take To Build A Bunk Bed?
Building a bunk bed typically takes 1 to 3 days, depending on skill level and complexity. Proper planning speeds up the process.
What Type Of Wood Is Best For Bunk Beds?
Hardwoods like oak, maple, or pine are ideal for bunk beds. They provide strength, durability, and a smooth finish.
How To Ensure Bunk Bed Safety During Construction?
Use sturdy materials, secure joints tightly, and add guardrails. Follow weight limits and regularly inspect the structure for stability.
Conclusion
Building a bunk bed from scratch can be simple and rewarding. Follow clear steps and use the right tools. Take your time to measure and cut carefully. Safety matters—make sure all joints are strong. Personalize your bed with paint or decorations.
Enjoy the comfort and space it adds to your room. This project teaches you valuable skills and creativity. Try it yourself and see how fun woodworking can be!