Are you ready to create something useful and stylish for your space? Building a 2 shelf bookshelf is easier than you think, and it can add a personal touch to your home.
Imagine having a perfect spot for your favorite books, decorations, or even plants, all made by your own hands. In this guide, you’ll find simple steps and clear tips to help you build a sturdy, beautiful bookshelf without any hassle.
Keep reading, and by the end, you’ll have the skills to turn plain wood into a functional piece you’ll be proud of. Let’s get started!

Credit: www.ana-white.com
Materials And Tools Needed
Before starting your 2 shelf bookshelf project, gather all materials and tools. Having everything ready makes the work smooth and fast. This section explains the main materials and tools you need to build a sturdy bookshelf.
Choosing The Right Wood
Pick wood that is strong and easy to work with. Pine, poplar, or plywood are good choices. Pine is soft and affordable. Poplar is smooth and takes paint well. Plywood is stable and less likely to warp. Choose wood that fits your budget and style.
Essential Tools For The Project
Basic tools help you cut and join wood pieces. A saw is needed to cut wood to size. A drill makes holes for screws. A screwdriver tightens screws securely. A measuring tape ensures accurate cuts. Sandpaper smooths rough edges for a clean look.
Additional Supplies
Extra items make assembly easier and improve the finish. Wood glue strengthens joints. Screws hold parts firmly together. Wood filler hides holes and scratches. Paint or stain adds color and protects wood. Brushes or rags help apply finish evenly.
Planning Your Bookshelf
Planning your bookshelf is the first step to a successful project. Careful planning saves time and material. It helps you create a sturdy and useful shelf that fits your space perfectly. This section guides you through the basics of planning a 2 shelf bookshelf.
Measuring And Designing
Start by measuring the space where the bookshelf will go. Note the height, width, and depth available. Think about the room’s style and colors. Decide if the bookshelf should stand alone or fit between other furniture. These details shape your design and ensure a good fit.
Selecting Shelf Dimensions
Choose shelf sizes that hold your books and decor safely. Standard shelf depth is about 10 to 12 inches. Width depends on how many books you want to store. Height between shelves should fit tall and short items. Keep proportions balanced to avoid a bulky look.
Sketching Your Blueprint
Draw a simple blueprint of your bookshelf. Include all measurements and shelf placement. Use graph paper or a digital tool for accuracy. A clear blueprint guides you during cutting and assembly. It also helps spot problems before building starts.
Cutting The Wood
Cutting the wood is the first big step in building your 2 shelf bookshelf. It shapes all the parts you will join later. Accurate cuts make the assembly easier and the final product stronger.
Take your time with each piece. Measure twice, cut once. This helps avoid mistakes and wasted wood.
Marking Cut Lines
Start by measuring the wood pieces carefully. Use a tape measure for exact lengths. Mark each cut line clearly with a pencil. Draw straight lines across the wood surface. Use a square tool to keep lines at 90 degrees. Clear marks guide your saw and keep cuts straight.
Safe Cutting Techniques
Wear safety glasses and ear protection before cutting. Secure the wood piece on a stable surface. Use clamps to hold it steady. Follow the marked lines slowly with your saw. Keep your hands away from the blade. Let the saw do the work, do not force it. Always cut with steady, even pressure for clean edges.
Sanding The Pieces
After cutting, rough edges need smoothing. Use medium-grit sandpaper to sand the edges. Sand along the wood grain for best results. Check for splinters or uneven spots. Finish with fine-grit sandpaper for a smooth feel. Clean the dust off before assembly. Smooth pieces fit better and look nicer in your bookshelf.
Assembling The Frame
Assembling the frame is the first big step in building your 2 shelf bookshelf. This part gives the structure its shape and strength. Taking your time here will make the whole project easier.
Start by preparing all the pieces. Check that the side panels, top, bottom, and shelves are ready. Clear space to work and gather your tools. Let’s begin with joining the side panels.
Joining The Side Panels
Place the two side panels upright and parallel. Align their edges carefully. Use wood glue on the edges for a strong hold. Then, secure them with screws or nails. Pre-drill holes to avoid splitting the wood. Check the panels with a square tool to keep the corners right angled. Let the glue set before moving on.
Attaching The Top And Bottom
Next, attach the top and bottom pieces. Position the top panel between the side panels. The same with the bottom panel. Use wood glue on all contact edges. Secure the panels with screws, driving them through the side panels into the edges of the top and bottom. Make sure everything is flush and even. This will keep your frame solid and square.
Securing The Shelves
Now, place the shelves inside the frame. Mark their positions on the side panels. Use small wooden cleats or shelf pins for support. Attach cleats inside the frame at the marked points. Place the shelves on these supports. Check that the shelves sit level. Fasten the shelves if needed, using screws from the side panels. This step ensures your shelves hold weight safely.
Finishing Touches
Finishing touches bring your 2 shelf bookshelf to life. These steps protect the wood and improve its look. Taking time here ensures a smooth, attractive, and lasting piece. Follow these simple steps to complete your project with care.
Sanding For Smoothness
Start by sanding all surfaces carefully. Use medium grit sandpaper first. Then switch to fine grit for a smooth finish. Sand edges and corners well to remove splinters. Wipe off dust with a clean cloth. Smooth wood helps paint or stain stick better.
Applying Paint Or Stain
Choose paint or stain to match your style. Use a brush or cloth to apply evenly. Paint creates a solid color and covers wood grain. Stain highlights the wood’s natural beauty. Let the first coat dry completely. Apply a second coat if needed for full coverage.
Adding Protective Coating
Seal the wood with a clear protective coat. Use polyurethane or varnish for strength. Apply thin, even layers with a brush. This coat guards against scratches and moisture. Allow each coat to dry before adding another. A good finish keeps your bookshelf looking great for years.
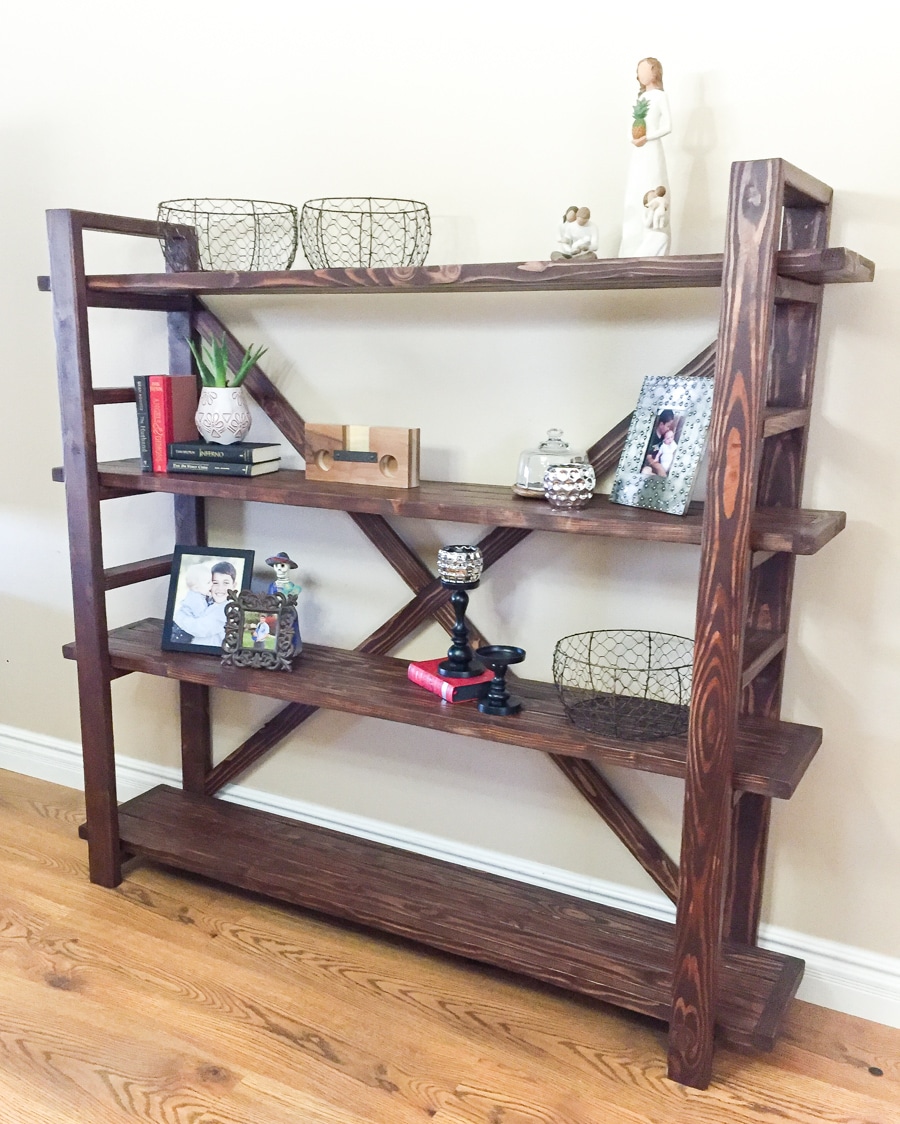
Credit: jenwoodhouse.com
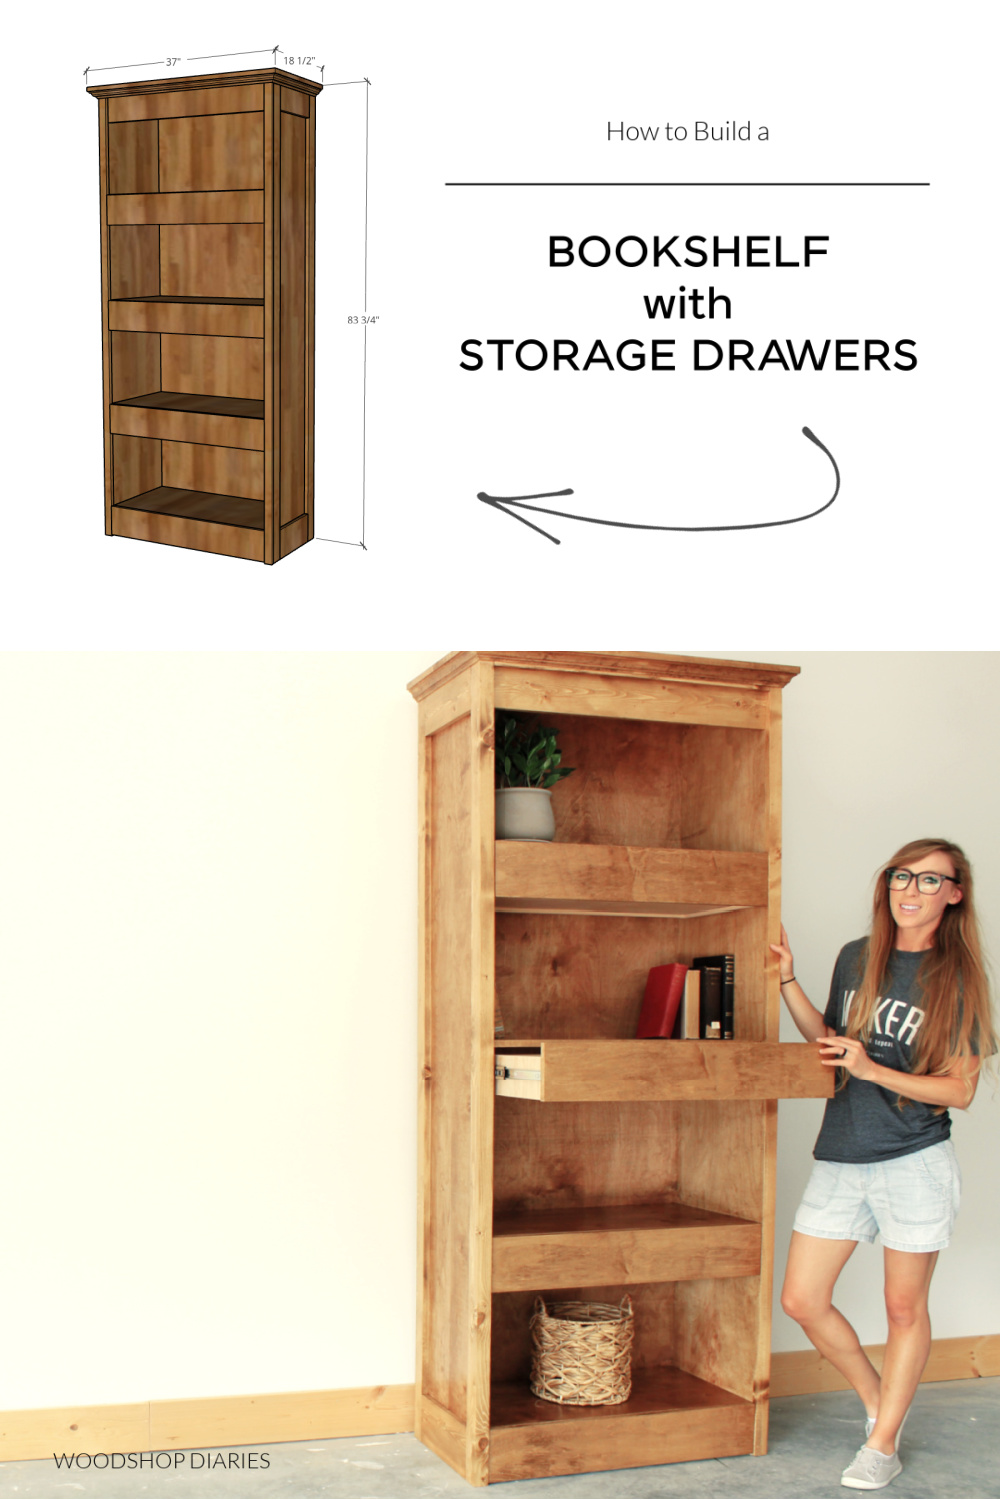
Credit: www.woodshopdiaries.com
Frequently Asked Questions
How Much Wood Is Needed For A 2 Shelf Bookshelf?
You need two side panels, two shelves, a top, and a bottom board. Measure twice to cut wood precisely for stability and design.
What Tools Are Essential For Building A 2 Shelf Bookshelf?
Basic tools include a saw, drill, screwdriver, measuring tape, and clamps. These help ensure accurate cuts and sturdy assembly.
How Long Does It Take To Build A 2 Shelf Bookshelf?
Building typically takes 2 to 4 hours depending on your skill level and preparation. Planning and measuring speed up the process.
What Wood Type Is Best For A 2 Shelf Bookshelf?
Pine, oak, or plywood are popular choices. Pine is affordable, oak is durable, and plywood is versatile and easy to work with.
Conclusion
Building a 2 shelf bookshelf is simple and rewarding. You only need basic tools and materials. Follow each step carefully to create a sturdy piece. This project adds storage and style to any room. Plus, it saves money compared to buying new furniture.
Take your time and enjoy the process. Soon, you will have a useful shelf to hold your favorite books. Try building more shelves to expand your space easily. Small projects like this boost confidence and skills. Start today and see what you can make!
