Imagine turning an empty wall into a stylish storage space that holds your favorite books and adds charm to your room. Building a hanging bookshelf is easier than you think, and it gives you the chance to create something unique for your home.
If you want a simple project that brings both function and flair, this guide is for you. Keep reading, and you’ll learn how to build a hanging bookshelf step-by-step, even if you’re not an expert. By the end, you’ll have a cool piece that shows off your personality and keeps your books within easy reach.
Ready to get started?
Credit: southhousedesigns.com
Choosing Materials
Choosing the right materials is key to building a sturdy hanging bookshelf. Good materials ensure safety and durability. It also affects the look and style of your shelf. This section breaks down what you need for a strong, attractive project.
Selecting The Right Wood
Pick wood that is strong and easy to work with. Pine, cedar, or oak are great choices. Pine is affordable and light. Oak is heavier but very durable. Avoid soft woods that bend easily. Make sure the wood is smooth and free of cracks.
Choosing Hardware
Hardware holds your shelf safely on the wall. Use heavy-duty hooks or brackets. Look for metal with a rust-resistant finish. Screws and anchors must fit the wall type. Choose hardware that can support the shelf’s weight and books.
Tools Needed
Gather basic tools for cutting and assembling. A saw helps cut wood to size. A drill makes holes for screws. Sandpaper smooths rough edges. A level ensures your shelf hangs straight. Screwdrivers and measuring tape also help a lot.

Credit: www.freeandunfettered.com
Measuring And Planning
Measuring and planning are the first steps to build a hanging bookshelf. These steps help you avoid mistakes and save time. Precise measurements ensure the shelf fits your space well. A clear plan guides the building process smoothly. Let’s break down the key parts of measuring and planning.
Determining Shelf Size
Start by deciding how big your shelf should be. Think about the wall space and what you want to store. Measure the width, height, and depth you prefer. Keep in mind the weight your shelf will hold. Choose a size that fits your room and needs.
Marking Wall Spots
Next, find the exact spots on the wall for the shelf. Use a pencil and a level tool to mark where the brackets go. Check the marks twice to avoid errors. Proper placement keeps the shelf steady and balanced. Marking well makes installation easier and safer.
Sketching Your Design
Draw a simple sketch of your bookshelf design. Include dimensions, shelf levels, and hanging points. This visual plan helps you see the final look. It also guides cutting and assembling materials. A clear sketch reduces confusion during building.
Cutting And Preparing Wood
Cutting and preparing wood is the first step in making a hanging bookshelf. This process ensures the wood pieces fit well and look good. Proper preparation helps the shelf last longer and hold books safely.
Take your time during this phase. Measure carefully and prepare your tools. Clean cuts and smooth surfaces make assembly easier and the final product stronger.
Cutting To Size
Measure the wood according to your design plan. Mark the wood with a pencil for clear cutting lines. Use a saw to cut the pieces straight and to the right length. Double-check each piece after cutting. This keeps your bookshelf balanced and even.
Sanding Edges
Sand all edges and surfaces to remove rough spots. Use medium-grit sandpaper for the first pass. Follow with fine-grit sandpaper for a smooth finish. Sanding prevents splinters and helps the finish stick better.
Applying Finish
Choose a finish like paint, stain, or clear varnish. Apply the finish evenly with a brush or cloth. Let the wood dry fully between coats. The finish protects the wood and adds a nice look to your shelf.
Assembling The Shelf
Assembling the hanging bookshelf is a key step. It brings all parts together. This process needs care and attention. Follow each step carefully for a sturdy shelf. You will need basic tools and materials ready.
Drilling Holes
Mark the spots for holes on the shelf edges. Use a pencil and measure twice for accuracy. Choose a drill bit that fits your rope or chain. Drill straight holes to avoid weak points. Clean wood dust from holes before moving on.
Attaching Ropes Or Chains
Thread the rope or chain through drilled holes. Tie strong knots under the shelf for support. Use a secure knot like a bowline or double knot. Make sure ropes or chains hang evenly. Cut excess rope if needed, leaving some length.
Securing Shelf Supports
Attach metal hooks or brackets to wall studs. Use a stud finder to locate strong points. Screw supports tightly to hold the shelf weight. Hang ropes or chains on the supports carefully. Check the shelf level and adjust if needed.
Installing The Shelf
Installing the hanging bookshelf is a key step to secure and display your books safely. This part focuses on fixing the shelf firmly on your wall. Proper installation keeps the shelf steady and supports the weight of your books. Follow these steps carefully for a strong and lasting result.
Finding Wall Studs
Start by locating the wall studs. Studs provide the best support for your shelf. Use a stud finder tool to scan the wall. Mark the edges of each stud with a pencil. Check if the marks line up with your shelf brackets. Aligning brackets with studs prevents the shelf from falling.
Mounting Hardware
Choose the right mounting hardware for your shelf. Use heavy-duty screws or anchors that fit your wall type. Drywall anchors work for walls without studs. For wooden studs, wood screws are the best choice. Make sure the screws are long enough to hold weight safely. Keep hardware ready before starting to hang the shelf.
Hanging The Shelf
Hold the shelf against the wall at the marked points. Drill pilot holes into the studs or anchors to guide screws. Attach the shelf brackets using screws. Tighten screws firmly but avoid over-tightening. Check the shelf for level by using a spirit level. Adjust as needed to keep the shelf straight and secure.
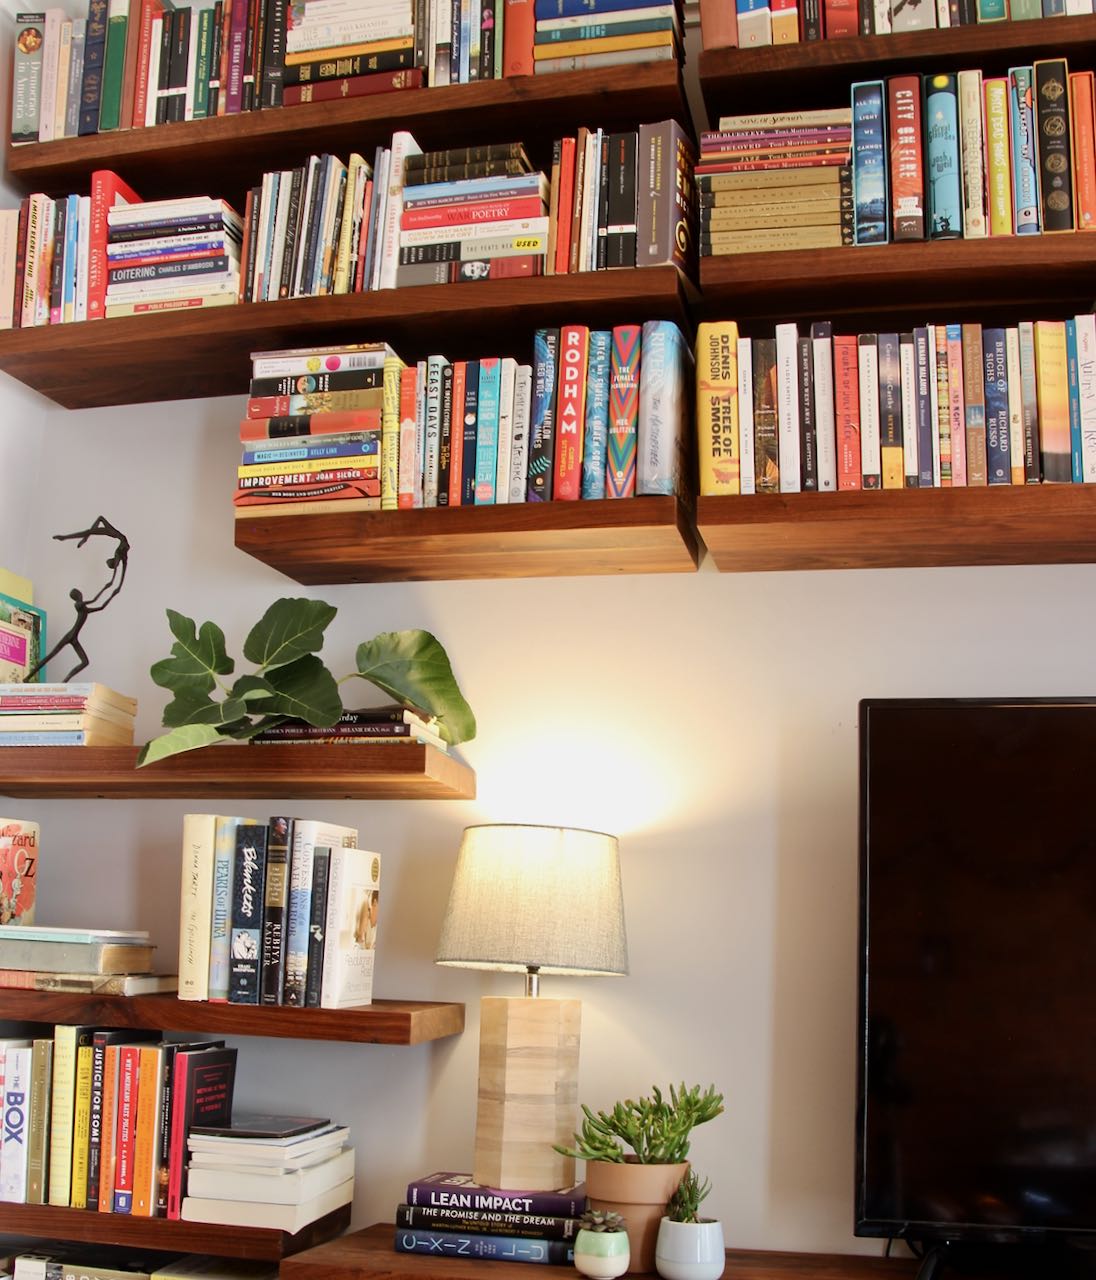
Styling Your Shelf
Styling your hanging bookshelf makes it more than just a storage spot. It turns your shelf into a part of your room’s look. You can mix books with small decor to create a nice balance. This section gives tips on how to style your shelf smartly and safely.
Arranging Books
Place books vertically for easy access. Group books by size or color for a neat look. Use some books flat as a base for small items. Keep your favorite books at eye level. Space out books to avoid a crowded feel.
Adding Decorative Items
Mix in small plants for a fresh touch. Use photo frames or art pieces to add personality. Keep decorations light to avoid extra weight. Balance items on both sides to keep the shelf even. Change decor seasonally to keep it interesting.
Maintaining Stability
Distribute weight evenly across the shelf. Avoid placing heavy items on one side. Secure the shelf properly to the wall. Check the shelf regularly for any signs of loosening. Use wall anchors if needed for extra support.

Credit: www.reddit.com
Frequently Asked Questions
What Materials Do I Need To Build A Hanging Bookshelf?
You need wood planks, strong ropes or chains, screws, wall anchors, a drill, and a measuring tape. Quality materials ensure safety and durability. Choose sturdy wood and reliable hanging hardware for the best results.
How Do I Securely Hang A Bookshelf On Drywall?
Use wall anchors or toggle bolts rated for your shelf’s weight. Locate studs for extra support. Proper installation prevents accidents and keeps your bookshelf stable and safe.
What Are The Best Wood Types For A Hanging Bookshelf?
Pine, oak, and plywood are popular choices. They offer strength, durability, and a smooth finish. Choose wood that suits your style and weight requirements for long-lasting results.
How Can I Customize My Hanging Bookshelf Design?
Adjust shelf size, shape, and finish to match your decor. Add hooks or paint for personalization. Customizing creates a unique piece that fits your space perfectly.
Conclusion
Building a hanging bookshelf is simple and fun. It saves space and looks great on any wall. You only need a few tools and some patience. Follow the steps carefully for a strong shelf. This project adds style and storage to your room.
Try it yourself and enjoy your new bookshelf. It’s a great way to keep books neat and close. Small changes can make a big difference in your space. Give it a go and see the results!