Are you ready to create more space and add a fun touch to your room? Putting a bunk bed together might seem tricky at first, but with the right steps, you can do it quickly and safely.
Imagine how much room you’ll save and how much your kids will love having their own cozy space stacked one above the other. In this guide, you’ll find clear, simple instructions that anyone can follow. By the end, you’ll have a sturdy bunk bed ready to use, with no stress or confusion.
Keep reading to discover how easy it really is to assemble your bunk bed like a pro.
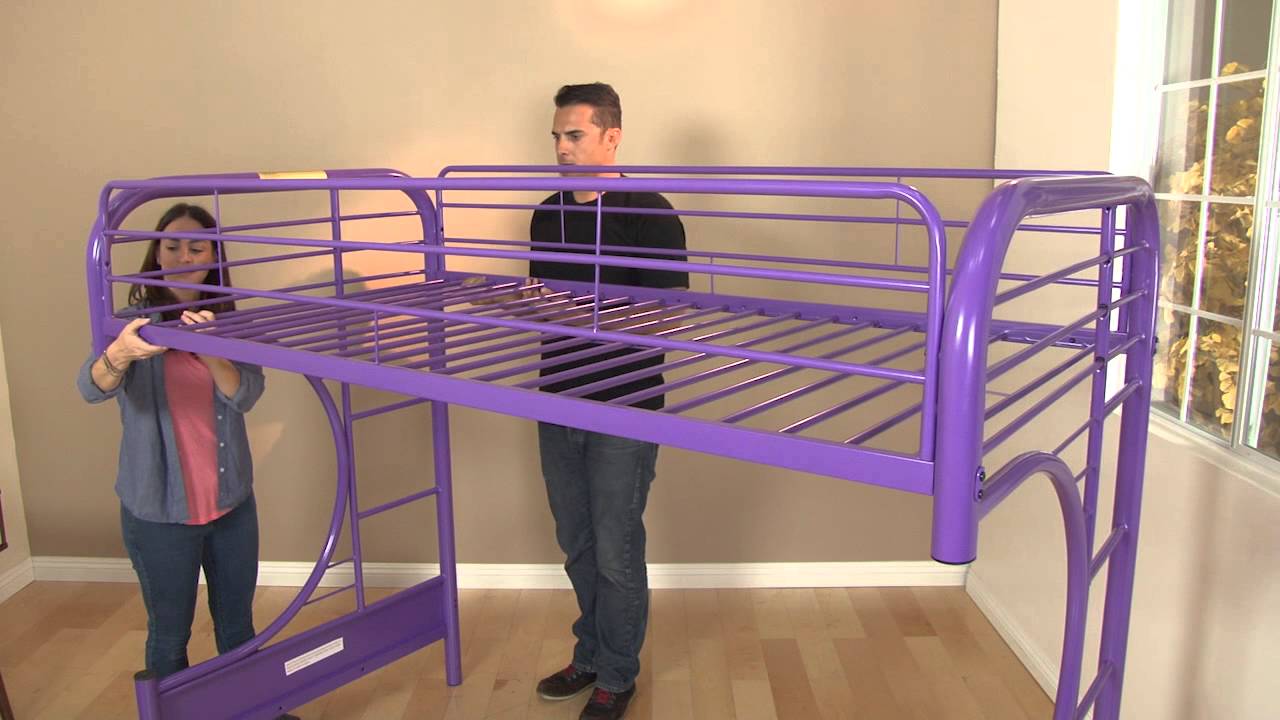
Credit: www.youtube.com
Gather Tools And Parts
Gathering tools and parts is the first step to build a bunk bed safely. This step helps avoid confusion and saves time during assembly. Having everything ready keeps the process smooth and simple.
Check The Instruction Manual
Start by reading the instruction manual carefully. It shows all parts and tools needed. Follow each step to understand the order of assembly. This guide helps prevent mistakes and ensures safety.
Organize All Components
Lay out all bed parts on a clean surface. Group similar pieces together to find them easily. Check each component against the parts list in the manual. Make sure nothing is missing or damaged.
Prepare Necessary Tools
Collect all tools mentioned in the manual. Common tools include screwdrivers, wrenches, and Allen keys. Keep tools within reach to avoid interruptions. Using the right tools makes assembly easier and safer.

Credit: www.ikea.com
Assemble The Bed Frame
Assembling the bed frame is the first key step in building a bunk bed. This part sets the base for the entire structure. It needs careful attention to make sure the bed is strong and safe. Follow the instructions closely to build a solid frame that will support the mattresses and sleepers well.
Connect Side Rails To Headboard And Footboard
Start by attaching the side rails to the headboard and footboard. Align the rails with the slots or holes provided. Push them firmly until they fit snugly. This step forms the basic rectangle shape of the bed frame. Make sure both sides match in height and position.
Secure The Frame With Bolts And Screws
Use the bolts and screws included in the package to lock the parts together. Insert bolts through the holes and tighten them with a wrench or screwdriver. Screws add extra strength and prevent wobbling. Double-check that all fasteners are tight but avoid over-tightening.
Ensure Frame Stability
Once assembled, test the frame for stability. Push gently on different corners and sides. The frame should feel solid with no shaking. If it wobbles, check all bolts and screws again. Adjust as needed until the bed frame stands firm and secure on the floor.
Install Support Slats
Installing support slats is a key step in putting a bunk bed together. These slats hold the mattress and provide stability. Correct installation ensures safety and comfort.
Support slats spread the weight evenly across the frame. This prevents sagging and keeps the bed strong. Follow the steps carefully for best results.
Place Slats Evenly Across The Frame
Start by laying the slats flat on the bed frame. Space them evenly from one end to the other. Proper spacing prevents pressure points on the mattress.
Check that the slats rest securely on the frame ledges. Each slat should have equal gaps around it. This balance keeps the bed steady.
Attach Slats Firmly
Use screws or brackets to secure each slat to the frame. Tighten fasteners enough to avoid movement. Loose slats can cause noise and reduce safety.
Work from one side to the other for consistent tightness. Avoid overtightening, which may damage the wood or metal.
Double-check Alignment, Ensuring Each
Make sure all slats line up straight and flat. Misaligned slats can tilt the mattress and cause discomfort. Adjust any slat that looks crooked or uneven.
Look under the bed to confirm slats sit flush on both sides. A well-aligned base supports a better night’s sleep.
Attach Guardrails And Ladder
Attaching the guardrails and ladder is a key step in assembling your bunk bed. These parts keep the top bunk safe and make climbing easy. Follow clear steps to fix these pieces correctly.
Fix Guardrails To The Top Bunk
Start by aligning the guardrails with the bed frame edges. Use the screws provided to attach them firmly. Tighten all screws but avoid over-tightening. The guardrails should feel solid and stable. Make sure they cover enough space to prevent falls.
Secure The Ladder In Place
Place the ladder against the bunk bed where indicated. Attach it using bolts or hooks supplied with the bed. Check that the ladder is straight and does not wobble. Secure fasteners tightly to keep it from moving. The ladder must hold weight safely.
Test Safety Features
Check that guardrails do not shift when pushed. Climb the ladder slowly to test its strength. Look for any loose screws or parts. Fix any issues before letting children use the bed. Safety is the top priority with bunk beds.
Final Checks And Adjustments
After assembling the bunk bed, final checks and adjustments are very important. These steps make sure the bed is safe and sturdy. Taking time here prevents problems later. A well-checked bed gives peace of mind.
Follow each step carefully. Make sure every part is secure. Clear your workspace to finish the job cleanly.
Tighten All Connections
Go over every bolt, screw, and nut. Use the right tools to tighten them firmly. Do not overtighten to avoid damage. Tight connections keep the bed stable and safe.
Inspect For Loose Parts
Check all joints and moving parts. Shake the bed gently to find loose pieces. Listen for creaks or rattles. Fix or tighten any loose parts you find.
Clean Up The Workspace
Remove leftover tools and packaging materials. Sweep or vacuum dust and small debris. Keeping the area clean prevents accidents. It also helps you spot missed parts easily.

Credit: www.walmart.com
Frequently Asked Questions
How Do I Start Assembling A Bunk Bed?
Begin by unpacking all parts and reading the manual carefully. Lay out all pieces and tools. Identify and organize screws, bolts, and panels before starting assembly.
What Tools Are Needed For Bunk Bed Assembly?
Typically, you need a screwdriver, Allen wrench, and a hammer. Some beds include specific tools. Always check the instructions for recommended tools before starting.
How Long Does It Take To Put A Bunk Bed Together?
Assembly usually takes 1 to 3 hours, depending on experience. Having a second person can speed up the process and ensure safety.
How Can I Ensure The Bunk Bed Is Safe?
Tighten all screws securely and check stability frequently. Use guardrails on the top bunk and ensure the ladder is firmly attached.
Conclusion
Assembling a bunk bed can seem tricky at first. Take your time and follow each step carefully. Use the right tools to make the process smoother. Double-check all screws and bolts for safety. Ask for help if the parts feel heavy or hard to handle.
Soon, your bunk bed will be ready for use. Enjoy the extra space and comfort it brings. Simple steps lead to a sturdy, safe bed. Now, you are ready to build with confidence.