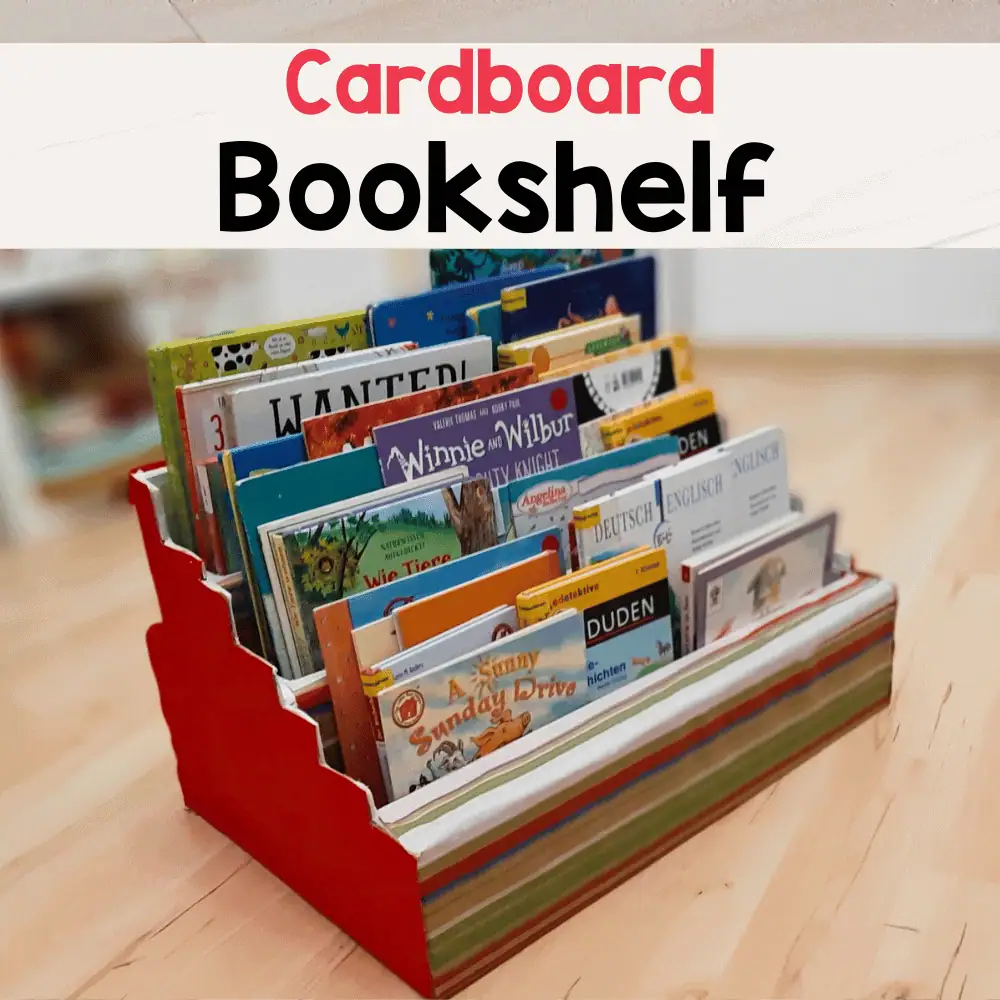
Are you looking for a simple and affordable way to organize your books or display your favorite items? Making a small bookshelf with cardboard is easier than you think—and it’s a fun project you can do yourself.
Imagine turning plain cardboard into a sturdy, stylish shelf that fits perfectly in your space. In this guide, you’ll discover step-by-step instructions that anyone can follow, even if you’ve never crafted before. Keep reading, and you’ll soon have a unique bookshelf that’s both practical and impressive.
Materials Needed
Creating a small bookshelf from cardboard requires a few simple materials. These materials affect the strength and look of your bookshelf. Choosing the right items helps build a sturdy and neat project. Keep everything ready before you start for smooth work.
Choosing The Right Cardboard
Pick thick, strong cardboard for your bookshelf. Double-wall or triple-wall cardboard works best. Thin cardboard bends and breaks easily. Large flat pieces are easier to cut and shape. Avoid cardboard with too many folds or creases. Look for clean surfaces without tears or stains. Good cardboard ensures your bookshelf holds books safely.
Additional Tools And Supplies
Gather basic tools to build your bookshelf. A sharp box cutter or craft knife helps cut precise shapes. Use a metal ruler to guide your cuts straight. Hot glue or strong craft glue holds pieces firmly. You may need pencil and eraser to mark measurements. Sandpaper smooths rough edges for a clean finish. Tape can add extra strength to joints. Prepare a cutting mat to protect your table.

Credit: upcyclemystuff.com
Preparing The Cardboard
Preparing the cardboard is the first step to build a small bookshelf. It sets the base for a strong and neat project. Taking time to prepare carefully makes cutting and assembling easier.
Choose sturdy cardboard sheets. They should be thick enough to hold books without bending. Clean the surface to get clear lines when measuring and cutting.
Measuring And Marking
Use a ruler or measuring tape for accurate sizes. Mark the cardboard with a pencil for easy adjustments. Double-check all measurements to avoid mistakes.
Draw straight lines for the edges of shelves and sides. Clear, straight marks help when cutting the pieces. Mark each piece with a label to keep track.
Cutting Techniques
Use a sharp craft knife or box cutter for clean cuts. Cut on a safe surface like a cutting mat or thick board. Hold the ruler firmly to guide the blade in a straight line.
Cut slowly and carefully to avoid tearing the cardboard. Make several light passes instead of one deep cut. Smooth any rough edges with sandpaper or scissors.
Assembling The Bookshelf
Assembling the bookshelf is an important step. It brings all the pieces together. Follow simple steps to create a sturdy and neat bookshelf. You will see how easy it is to work with cardboard.
Creating The Frame
Start by making the outer frame. Cut four cardboard pieces for the sides. Two longer ones for height, two shorter for width. Join the pieces to form a rectangle. Use strong glue or tape to hold them tight. Make sure corners are square for stability.
Building The Shelves
Cut cardboard strips for the shelves. They should fit inside the frame width. Place each shelf evenly spaced inside the frame. Use glue or tape to fix them firmly. Let the glue dry well before moving on.
Securing The Structure
Reinforce the bookshelf by adding extra support. Attach small cardboard triangles inside corners. This adds strength and keeps it steady. Check all connections and add more glue if needed. Wait until everything is dry before use.

Credit: www.youtube.com
Finishing Touches
Finishing touches bring your cardboard bookshelf to life. They make your project safe, smooth, and nice to look at. These final steps protect the edges and add color and style. Taking time here improves the shelf’s strength and appearance.
Sanding And Smoothing Edges
Cardboard edges can be rough and uneven. Use fine sandpaper or a sanding block to smooth them. Lightly rub all edges until they feel soft and even. This step prevents cuts and gives a clean look. Be gentle to avoid tearing the cardboard. Smooth edges help paint and glue stick better.
Painting And Decorating
Choose paint that works on cardboard, like acrylic or spray paint. Apply thin layers to avoid warping the cardboard. Let each layer dry fully before adding another. Use bright colors or patterns to match your room style. Stickers or washi tape add extra fun and personality. A clear sealant can protect your paint and keep your shelf looking fresh.
Tips For Durability
Making a small bookshelf from cardboard is fun and easy. To make it last longer, follow some simple tips. These tips help keep your bookshelf strong and safe from damage. Focus on key areas like weak spots and moisture protection. This way, your bookshelf stays useful for a long time.
Reinforcing Weak Spots
Cardboard can bend or tear at weak points. Add extra layers of cardboard to those areas. Use strong glue to stick layers firmly together. Corners and joints often need more support. Tape these spots with packing tape for extra strength. Reinforcing stops your shelf from sagging or breaking.
Protecting Against Moisture
Moisture can ruin cardboard quickly. Keep your bookshelf away from water and damp places. Cover the cardboard surface with waterproof paint or sealant. Clear varnish works well to protect without changing the look. Let the coating dry completely before use. This protection helps your shelf stay dry and sturdy.
Alternative Designs
Exploring alternative designs for your cardboard bookshelf can make the project more fun and unique. Different styles fit various spaces and needs. These ideas help you create shelves that are practical and stylish.
Stackable Units
Stackable units let you build shelves that grow with your collection. You can create small boxes and stack them as you want. This design saves space and makes it easy to move the shelf. You can arrange the units in rows or columns. It also lets you change the shape anytime.
Custom Shapes
Custom shapes add personality to your bookshelf. Cut cardboard into triangles, circles, or hexagons for a creative look. These shapes can fit odd spaces or corners. They make your shelf stand out and hold books in new ways. This design lets you express your style while keeping things useful.
Credit: www.littleladoo.com
Frequently Asked Questions
How Durable Is A Cardboard Bookshelf?
A cardboard bookshelf is surprisingly sturdy if made with thick, quality cardboard. Proper layering and reinforcement enhance durability. It suits lightweight books and decorative items. Avoid placing heavy books to maintain stability and prolong its lifespan.
What Tools Do I Need To Make It?
You need a utility knife, ruler, pencil, glue, and masking tape. These basic tools help you cut, measure, and assemble cardboard pieces accurately. A cutting mat is also useful to protect surfaces during crafting.
How Can I Decorate The Cardboard Bookshelf?
Use paint, contact paper, or fabric to decorate your bookshelf. Stickers and washi tape add personal flair. Sealing with a clear coat protects decorations and enhances durability. Choose colors that match your room décor for a cohesive look.
Can I Customize The Size Of The Bookshelf?
Yes, you can customize the bookshelf size easily by adjusting cardboard piece dimensions. Measure your available space before starting. This flexibility lets you create a bookshelf that fits perfectly in any room or corner.
Conclusion
Creating a small bookshelf with cardboard is simple and fun. You only need basic materials and some patience. This project saves money and helps the environment. You can customize your shelf to fit any space. It also makes a great beginner craft.
Try this DIY project to organize your books neatly. Enjoy your new, handmade bookshelf every day. Keep practicing and you will improve your skills. Crafting with cardboard brings joy and creativity to your home.
