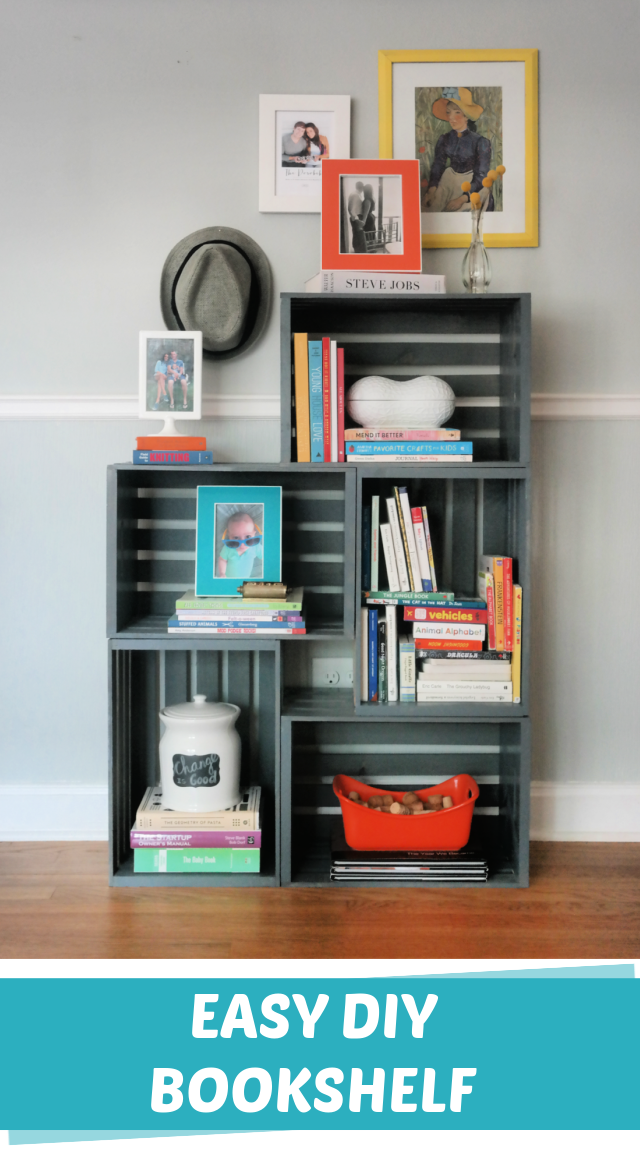
Are you tired of searching for the perfect bookshelf that fits your space and style? Imagine having a custom bookshelf made by your own hands—one that holds your favorite books and adds charm to your room.
Building a bookshelf might seem tricky, but with the right steps, you can create something both beautiful and sturdy. In this guide, you’ll discover simple, clear instructions that make the process easy and even enjoyable. Ready to transform your space and impress yourself with a project you can be proud of?
Let’s get started!
Choosing The Right Materials
Choosing the right materials is the first step in making a sturdy bookshelf. The materials affect the strength and look of your shelf. Selecting quality wood and tools makes the building process easier. It also ensures your bookshelf lasts a long time. Below are key points to consider before you start.
Types Of Wood
Wood type impacts the shelf’s durability and appearance. Pine is soft and easy to cut. It is affordable and good for beginners. Oak is strong and has a nice grain. It costs more but lasts longer. Plywood offers a smooth surface and resists warping. It is ideal for painting or staining. Choose wood that fits your budget and style.
Required Tools
Basic tools make building a bookshelf simple. A saw cuts the wood pieces to size. A drill helps make holes for screws. Sandpaper smooths rough edges. A measuring tape ensures precise cuts. A level keeps shelves straight. These tools help you build with ease and accuracy.
Additional Supplies
Screws hold the wood pieces tightly together. Wood glue adds extra strength to joints. Wood filler hides any gaps or holes. Paint or stain finishes the shelf and protects wood. Brushes or rags apply the finish evenly. Choose supplies that match your wood and design.
Credit: www.creatingreallyawesomefunthings.com
Planning Your Bookshelf
Planning your bookshelf is the first step to a successful build. It helps you make a shelf that fits well and looks good. Careful planning saves time and money. It also makes sure your bookshelf holds all your books safely.
Measuring Space
Start by measuring the space where you want the bookshelf. Use a tape measure for accuracy. Check the width, height, and depth of the area. Write down these numbers. Remember to leave some extra space around the shelf. This space helps with air flow and easy cleaning.
Design And Style Options
Think about the style of your room. Choose a design that matches it. Decide if you want a simple or decorative shelf. Open shelves or closed cabinets? Wood, metal, or a mix? Your choice affects the tools and materials you will need.
Determining Shelf Dimensions
Decide the size of each shelf based on your books. Tall books need higher shelves. Small books fit in shorter spaces. Keep shelf depth at least 10 inches for most books. Space between shelves should allow easy access. Plan for extra strength if you have heavy books.
Cutting And Preparing Wood
Cutting and preparing wood is a key step in building a strong bookshelf. This step helps you get the right shapes and sizes of wood pieces. Proper preparation makes assembly easier and improves the final look of the bookshelf.
Careful cutting prevents mistakes and saves wood. Preparing the wood well also helps avoid splinters and rough edges. Let’s explore how to mark, cut, and sand your wood for the best results.
Marking The Cuts
Start by measuring the wood pieces you need. Use a pencil and ruler to mark where to cut. Draw clear, straight lines for accuracy. Double-check your measurements before cutting. Marking carefully reduces waste and keeps pieces uniform.
Safe Cutting Techniques
Wear safety glasses and gloves to protect yourself. Use a sharp saw for clean cuts. Hold the wood firmly on a stable surface. Cut slowly along the lines without forcing the saw. Follow safety rules to avoid accidents and get smooth cuts.
Sanding For Smooth Edges
After cutting, edges can be rough or splintered. Use sandpaper or a sanding block to smooth all edges. Sand in one direction for a neat finish. Smooth edges prevent injuries and help paint or stain stick better.

Credit: www.infarrantlycreative.net
Assembling The Frame
Assembling the frame is the first step to building a sturdy bookshelf. The frame holds all parts together and supports the shelves. A well-built frame ensures the bookshelf stays strong and lasts long.
Focus on making tight joints and steady connections. Use the right tools and materials. Take your time to align pieces correctly. This helps avoid wobbling or gaps in the structure.
Joining Techniques
Several ways join the bookshelf frame parts. Wood glue creates strong bonds between surfaces. It works well with clamps to hold pieces while drying. Dowel joints fit wooden pins into drilled holes for extra strength.
Mortise and tenon joints lock parts with a tongue and hole. This method is strong but needs skill and time. Pocket holes use angled screws hidden inside the wood. They provide quick and reliable joints.
Using Screws And Nails
Screws and nails fasten the frame parts securely. Screws hold better than nails and prevent loosening. Pre-drill holes to stop wood from splitting. Use wood screws made for furniture building.
Nails are faster but less strong. Use finishing nails for a neat look. Hammer nails carefully to avoid damaging the wood. Screws also allow easy disassembly if needed later.
Ensuring Stability
Check the frame for square corners using a carpenter’s square. Adjust parts until all angles are 90 degrees. Tighten joints firmly with clamps or screws. Add corner braces for extra support.
Test stability by gently shaking the frame. No movement means a solid build. Reinforce weak spots with additional screws or glue. A stable frame keeps the bookshelf safe and reliable.
Adding Shelves
Adding shelves is a key step in building a strong, useful bookshelf. Shelves hold your books and show off your style. Careful planning helps make shelves that last and fit your needs.
Think about how you want to use your shelves. Different spacing and support methods will affect the look and function. Let’s explore how to add shelves the right way.
Spacing Between Shelves
Choose shelf space based on the size of your books or items. Tall books need more room. Small books or decorations need less space. Measure your tallest items to set the minimum height.
Leave a little extra space for easy access and air flow. Too little space makes shelves look crowded and hard to use. Too much space wastes room and can look empty.
Securing Shelves In Place
Strong shelves need solid support. Use brackets, screws, or shelf pins to hold shelves tight. Make sure shelves are level before securing them. Uneven shelves can cause books to slide or fall.
Check that the supports can hold the weight of your items. Wooden shelves often need sturdy brackets or cleats. Metal brackets offer strong support and a modern look.
Adjustable Shelf Options
Adjustable shelves give flexibility for changing needs. Use shelf pins and holes to move shelves up or down easily. This allows you to store different sized books over time.
Drill holes evenly along the sides of the bookshelf. Use shelf supports that fit into these holes. This design is practical and helps keep your bookshelf versatile.
Finishing Touches
Finishing touches bring your bookshelf to life. They protect the wood and make it look great. These final steps add charm and strength. Take your time to make these details perfect.
Painting And Staining
Choose a paint or stain that suits your room. Paint hides wood grain and adds color. Stain shows the natural wood pattern. Apply thin, even coats for smooth results. Let each layer dry fully before the next.
Applying Sealant
Sealants protect your bookshelf from scratches and moisture. Use a clear sealant for a natural look. Brush it on evenly across all surfaces. Allow the sealant to dry in a dust-free place. This step makes your shelf last longer.
Decorative Elements
Decorative touches add personality to your bookshelf. Use trim, molding, or corner brackets for style. Small details can make a big difference. Attach decorations carefully to avoid damage. Choose elements that match your room’s style.
Maintaining Your Bookshelf
Maintaining your bookshelf is key to keeping it strong and looking good. A well-kept bookshelf lasts longer and holds your books safely. Small efforts can make a big difference in its life and appearance.
Regular Cleaning Tips
Dust your bookshelf often with a soft cloth. Use a dry or slightly damp cloth to remove dirt. Avoid harsh chemicals that can damage the wood or finish. Clean the shelves and corners carefully. This stops dust from building up and keeps books fresh.
Repairing Minor Damages
Check your bookshelf for small scratches or chips. Use wood filler or putty to fix tiny holes. Sand the area gently after the filler dries. Touch up with matching paint or stain. Tighten loose screws or nails to keep it sturdy. Fixing small problems early prevents bigger damage.
Enhancing Durability
Place your bookshelf away from direct sunlight and moisture. Use coasters or mats under heavy items to avoid pressure marks. Apply a clear wood finish or wax every few months. This protects the surface and adds shine. Avoid overloading shelves to prevent bending or breaking.

Credit: www.youtube.com
Frequently Asked Questions
What Materials Do I Need To Make A Bookshelf?
To make a bookshelf, you need wood boards, screws, a drill, sandpaper, wood glue, and paint or stain. Choose quality wood like pine or plywood for durability. These basic materials ensure a sturdy and attractive bookshelf for your space.
How Do I Measure And Cut Wood For A Bookshelf?
Measure the height, width, and depth of your desired bookshelf. Use a tape measure and mark cut lines on the wood. Cut carefully with a saw, ensuring straight edges. Proper measurements and cuts guarantee a well-fitting, balanced bookshelf.
What Is The Best Way To Assemble A Bookshelf?
Start by joining the sides and shelves using wood glue and screws. Use clamps to hold pieces while drying. Assemble on a flat surface to maintain alignment. This method creates a strong, durable bookshelf that can hold weight safely.
How Can I Finish My Bookshelf For A Polished Look?
Sand all surfaces smoothly to remove rough edges. Apply primer if painting, or stain for natural wood. Finish with a clear coat for protection. Finishing enhances appearance and durability, making your bookshelf both beautiful and long-lasting.
Conclusion
Building a bookshelf can be simple and fun. Start with the right tools and materials. Follow clear steps to cut, assemble, and finish your shelf. Take your time and measure twice to avoid mistakes. A sturdy bookshelf adds charm and order to any room.
Enjoy the satisfaction of creating something useful with your own hands. Now, your books have a perfect home. Give it a try and see the difference it makes!