Imagine having a unique bookshelf that you built yourself—one that’s lightweight, eco-friendly, and perfect for your space. You might think making a bookshelf is hard or expensive, but what if you could create one using just paper?
Yes, paper! If you’ve ever wanted to organize your books in a creative and budget-friendly way, this guide is exactly for you. Keep reading, and you’ll discover simple steps to make a sturdy paper bookshelf that looks great and holds your favorite reads.
Ready to turn ordinary paper into something extraordinary? Let’s get started!
Materials Needed
Building a paper bookshelf is a creative and fun project. Gathering the right materials is the first step. Using proper supplies makes the process smooth and the result strong. Below is a list of essential materials you need to start.
Types Of Paper
Choose thick and sturdy paper for the bookshelf. Cardboard sheets work best for strong shelves. You can also use craft paper or heavy cardstock. Avoid thin or flimsy paper that bends easily. Recycled cardboard boxes can be a good option too.
Additional Tools
Prepare basic tools to cut and shape the paper. A sharp utility knife or scissors helps make clean cuts. Use a ruler or measuring tape to get exact sizes. Glue or double-sided tape holds the parts together. A pencil helps mark cutting lines clearly.
Safety Gear
Protect yourself during the project. Wear gloves to avoid paper cuts. Use safety glasses if you cut thick cardboard. Work on a flat surface to keep tools steady. Keep your workspace clean to prevent accidents.

Credit: www.youtube.com
Preparing The Workspace
Preparing your workspace is the first step in building a paper bookshelf. A clean, organized area helps you work faster and avoid mistakes. It also keeps your materials safe and easy to find. Taking time to prepare sets a good foundation for the whole project.
Choosing A Suitable Area
Select a flat surface with enough space to spread out. A table or desk works well. Make sure the area has good lighting to see details clearly. Avoid places with strong wind or dust that can damage paper. Choose a spot where you can leave your project undisturbed.
Organizing Materials
Setting Up For Efficiency
Set up your workspace to save time and effort. Place tools in order of use to avoid searching. Use containers or trays to hold small pieces. Keep a clean cloth or paper towel handy for spills. Arrange everything to reduce unnecessary movements while working.
Designing Your Bookshelf
Designing your paper bookshelf is the first step to a successful project. It sets the foundation for how your bookshelf will look and function. Careful planning helps avoid mistakes and saves materials. Take your time to create a clear and simple design. This makes building easier and more enjoyable.
Think about where you will place the bookshelf and what it will hold. This will guide your design choices. Keep your design practical and strong enough to hold your books.
Basic Dimensions
Start by deciding the size of your bookshelf. Measure the space where it will stand. Choose the height, width, and depth based on your needs. Make sure the shelves are tall enough for your tallest books. Depth should allow books to stand without falling over. Keep the overall size manageable for the paper material strength.
Sketching Your Plan
Draw your bookshelf on paper before building. Use simple lines to show shelves and supports. Mark the measurements clearly on your sketch. This helps visualize the final product and guides cutting and folding. Adjust the design on paper until it looks right. A clear plan reduces errors during assembly.
Customization Ideas
Add features to make your bookshelf unique. Consider extra small compartments for notebooks or decorations. Use colored paper or patterns to make it attractive. You can create angled shelves for special books. Think about adding a paper backboard for extra support. Small details can make your bookshelf both useful and beautiful.
Cutting The Paper
Cutting the paper is an important step in making a paper bookshelf. It sets the foundation for the whole project. Precise cuts help the pieces fit well and keep the shelf strong. Taking time to cut carefully will save trouble later.
Use the right tools and clear methods. This makes cutting easier and cleaner. Each piece should be the right size and shape. Follow the measurements closely for the best results.
Measuring And Marking
Start by measuring each piece of paper carefully. Use a ruler or measuring tape for accuracy. Mark the cutting lines with a pencil lightly. Check the marks twice to avoid mistakes. Clear, straight lines guide your cutting tool well.
Techniques For Clean Cuts
Use a sharp craft knife or scissors for clean edges. Cut on a flat, stable surface to keep control. Slow and steady movements reduce jagged lines. Follow the marked lines closely. Avoid tearing or bending the paper during cutting.
Tips For Accuracy
Keep your hand steady while cutting. Hold the paper firmly but gently to prevent slips. Use a metal ruler as a guide for straight cuts. Cut one piece at a time for better control. Regularly check your measurements and cuts as you go.
Constructing The Frame
Constructing the frame is the first step in making a paper bookshelf. This frame holds everything together. It gives the bookshelf its shape and strength. A well-built frame means a sturdy shelf that lasts. Focus on neat folds and strong joints. This section covers folding, strengthening, and joining parts.
Folding Methods
Fold the paper carefully along the lines. Use sharp creases for better shape. Try mountain folds for edges and valley folds for inner bends. Fold slowly to avoid tearing the paper. Use a ruler or bone folder for clean folds. Keep folds tight for a firm frame.
Strengthening The Structure
Double or triple layers increase strength. Glue extra sheets on weak spots. Use thick paper or cardboard for parts that hold weight. Reinforce corners with folded strips. Let glue dry completely before moving on. Strong frames hold shelves steady and safe.
Joining Components
Use glue or tape to join parts. Align edges perfectly before sticking. Hold pieces together until glue sets. Reinforce joints with small paper strips. Avoid gaps to keep the frame rigid. Proper joining keeps the bookshelf from wobbling.

Credit: www.instructables.com
Adding Shelves
Adding shelves is a key step in making your paper bookshelf useful and sturdy. Shelves hold your books and keep them organized. Proper placement and strong attachment make sure your bookshelf lasts long and looks good.
Follow clear steps to measure, attach, and reinforce shelves for best results.
Measuring Shelf Spaces
Measure the inside width of your bookshelf carefully. Use a ruler or tape measure. Mark the exact points where each shelf will sit. Keep space between shelves enough for your books. Usually, 10 to 12 inches is a good height for most books. Mark all shelf positions clearly before cutting or attaching.
Attaching Shelves Securely
Use strong glue suitable for paper materials. Apply glue evenly on shelf edges. Press shelves firmly onto the side panels. Hold them in place until the glue sets. Avoid moving shelves while drying. Use small clamps or heavy objects to keep shelves steady. Check alignment to keep shelves level and straight.
Reinforcement Tips
Reinforce shelves to hold more weight. Add paper strips under each shelf for support. Glue strips along the shelf edges and the side panels. This adds strength and prevents sagging. Use multiple layers of paper if needed. Let all glue dry completely before placing books on shelves.
Finishing Touches
Finishing touches give your paper bookshelf a polished, complete look. They protect the structure and add personality. Small details make a big difference in the final product. Focus on painting, waterproofing, and durability to keep your bookshelf looking great for a long time.
Painting And Decorating
Choose paint that works well on paper surfaces. Acrylic paint is a good option. It dries quickly and comes in many colors. Use a small brush for neat edges and detailed designs. Stickers or washi tape can add fun patterns. Keep decorations light to avoid weakening the shelves.
Waterproofing Options
Water can damage paper shelves easily. Protect your bookshelf by applying a clear sealant. Spray sealants or brush-on varnishes work well. Make sure the sealant is safe for paper. Let it dry fully before using the shelf. This step helps prevent water stains and warping.
Maintaining Durability
Paper shelves need gentle care to stay strong. Avoid placing heavy items on them. Use soft cloths for cleaning dust. Keep the bookshelf away from direct sunlight and moisture. Regularly check for weak spots and fix them quickly. These small actions extend the life of your paper bookshelf.
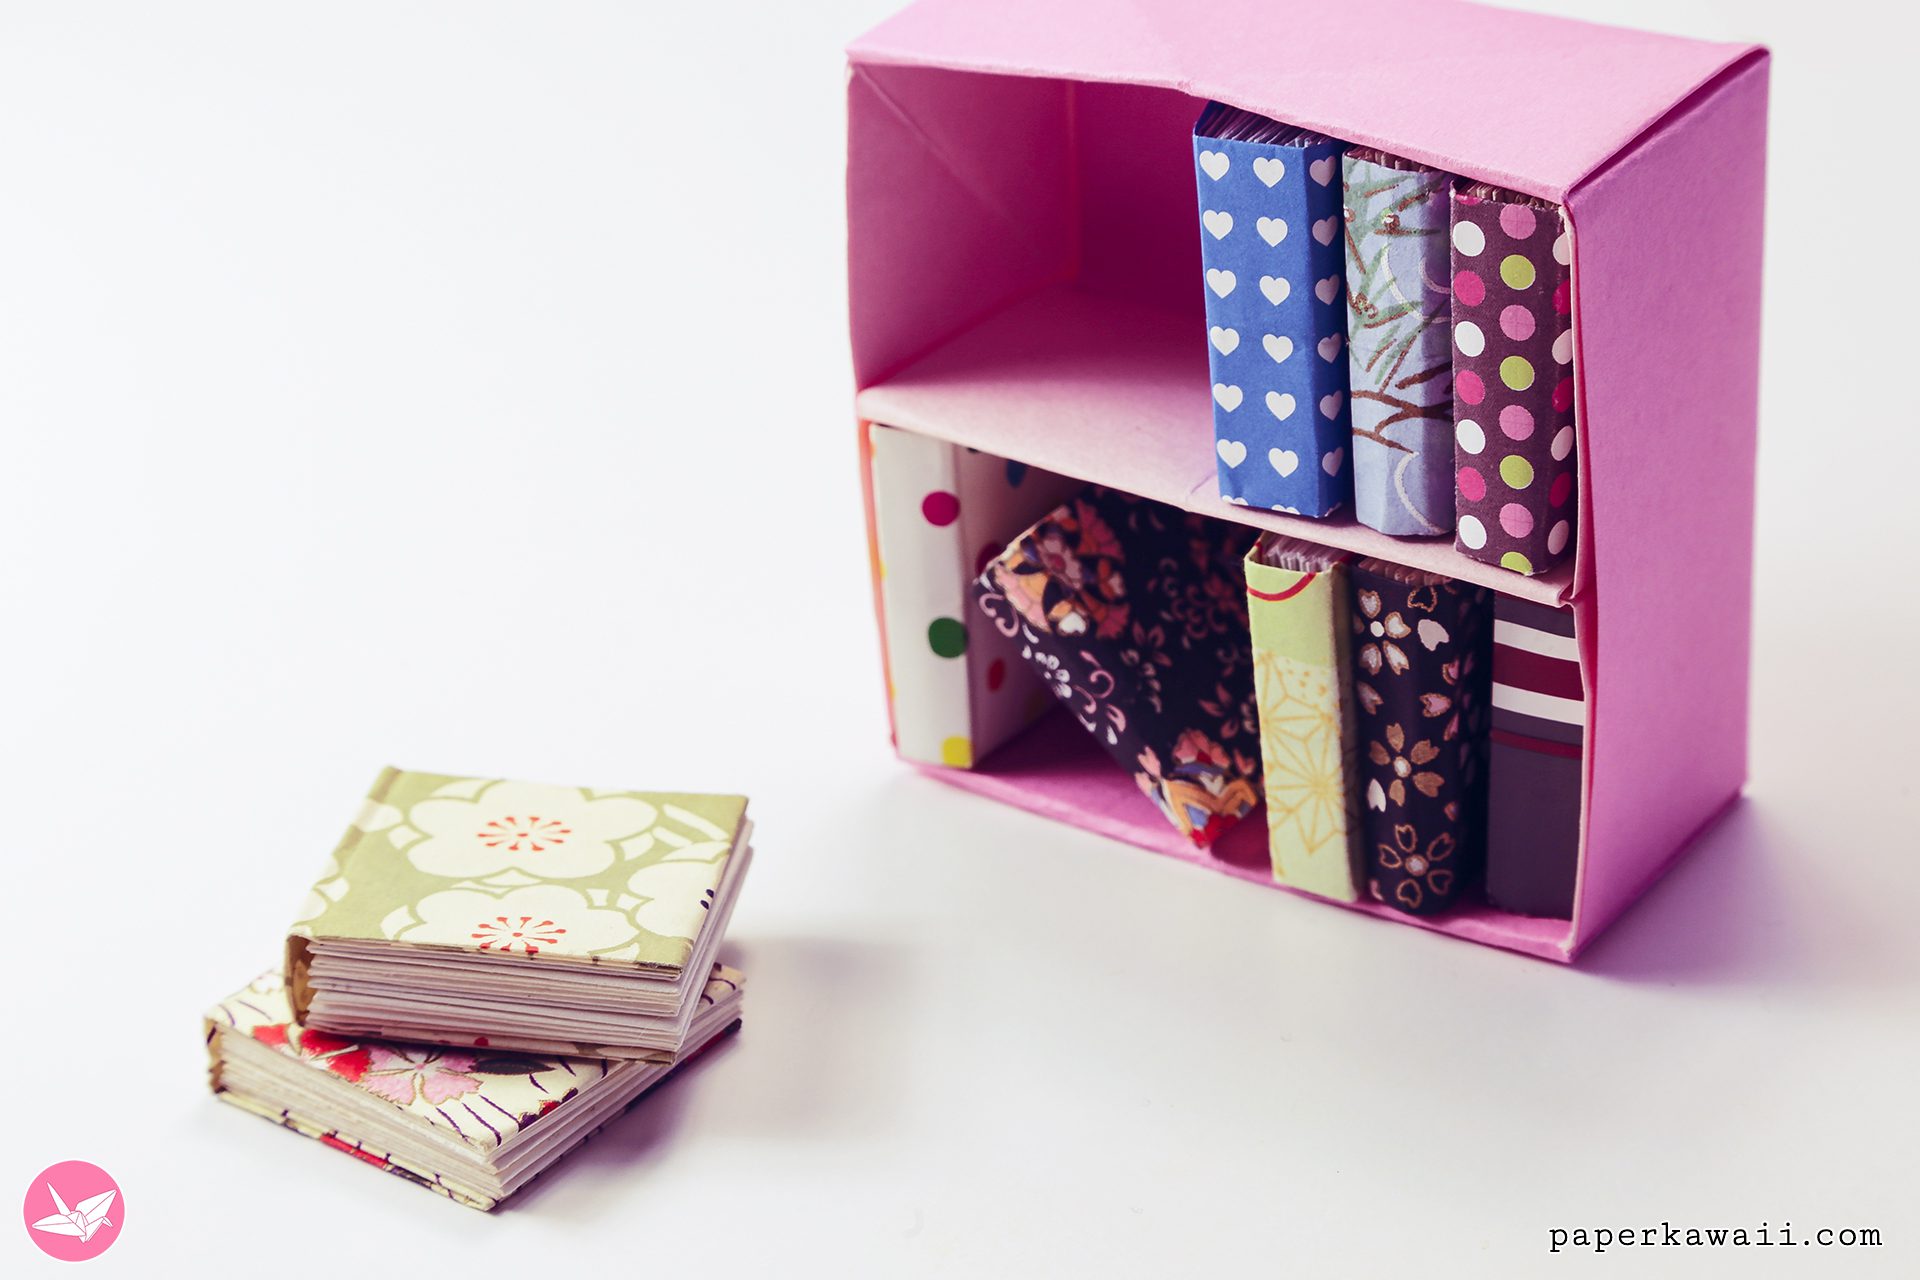
Credit: www.paperkawaii.com
Troubleshooting Common Issues
Building a paper bookshelf can be fun but sometimes tricky. Problems like weak joints, warping, or poor stability may appear. These issues can affect your shelf’s strength and look. Fixing them early helps keep your bookshelf strong and neat. Below are some easy ways to solve common problems.
Fixing Weak Joints
Weak joints make your bookshelf unstable. Use stronger glue that dries clear and hard. Apply glue evenly on all contact surfaces. Hold the pieces tightly for a few minutes. Add small strips of paper inside corners to support joints. Let the glue dry fully before moving the shelf.
Preventing Warping
Paper can bend or warp from moisture or uneven weight. Keep your shelf away from damp places. Use heavier paper or cardboard for better shape. Place a flat board inside the shelf layers. This keeps the paper flat and stops bending. Keep books evenly spaced to avoid pressure on one side.
Enhancing Stability
Stability stops your shelf from tipping or shaking. Add a solid base made from thick cardboard. Attach small paper feet or blocks under the base for balance. Use tape or glue to fix the base tightly. Avoid placing very heavy books on the top shelves. Check the shelf often and fix loose parts quickly.
Frequently Asked Questions
What Materials Are Needed To Make A Paper Bookshelf?
To make a paper bookshelf, you’ll need sturdy cardboard or thick paper, glue, a ruler, scissors, and decorative paper. These materials ensure the bookshelf is durable and visually appealing. Using recycled cardboard can make the project eco-friendly and cost-effective.
How Long Does It Take To Build A Paper Bookshelf?
Building a paper bookshelf typically takes 1 to 2 hours. This depends on your crafting skills and the bookshelf’s size. Taking your time ensures accurate measurements and strong adhesion, resulting in a more stable and attractive bookshelf.
Can A Paper Bookshelf Hold Heavy Books?
A paper bookshelf can hold light to medium-weight books if made with thick cardboard and reinforced edges. Avoid placing very heavy books, as paper structures lack the strength of wood or metal shelves. Proper construction improves its load capacity.
How Do You Decorate A Paper Bookshelf?
Decorate a paper bookshelf with paint, wallpaper, or decorative paper. You can also add stickers or washi tape for a personalized touch. Sealing with a clear coat helps protect the design and enhances durability.
Conclusion
Building a paper bookshelf is fun and saves money. You only need simple materials and a bit of time. This project helps you organize books in a creative way. Plus, it’s light and easy to move around. Try making one yourself and enjoy the process.
Small steps lead to great results. Start today and see how neat your space can look.
