Looking for a way to add style and storage to your space without spending a fortune? Building a pallet bookshelf might be just what you need.
It’s a simple, creative project you can tackle yourself, even if you’re not a woodworking expert. Imagine turning old wooden pallets into a sturdy, charming shelf that holds your favorite books and decor. In this guide, you’ll discover easy steps to transform basic materials into something useful and beautiful.
Ready to create a unique piece that reflects your personality? Keep reading and let’s get started!
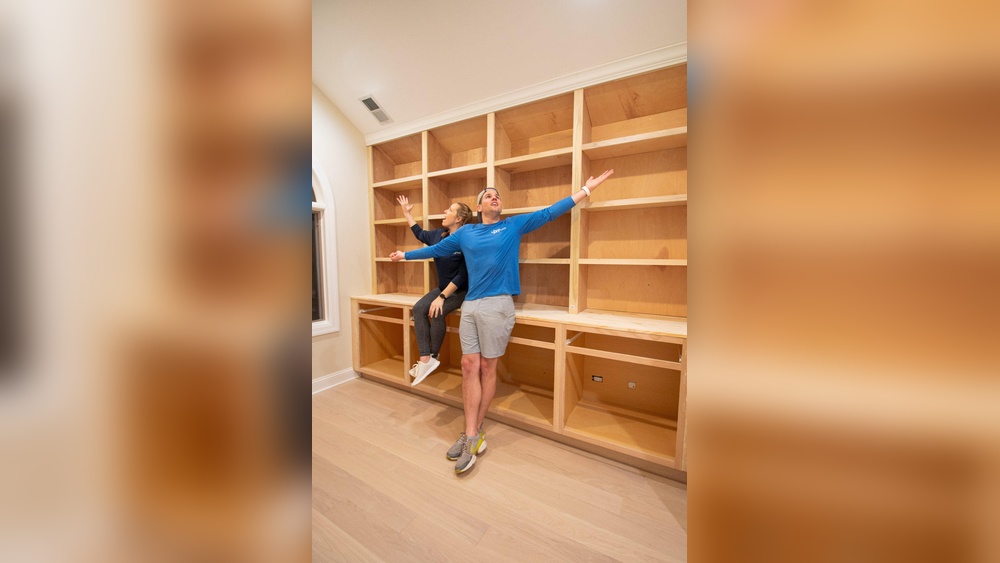
Credit: jenwoodhouse.com
Materials Needed
Building a pallet bookshelf starts with gathering the right materials. This step is crucial for a sturdy and attractive final product. The quality and type of materials affect the durability and look of your bookshelf. Focus on pallets and the additional supplies needed to complete the project.
Choosing The Right Pallets
Select pallets that are strong and in good condition. Avoid pallets with cracks or signs of rot. Look for pallets made from hardwood for better strength. Check the size; standard pallets work well for most bookshelves. Pallets treated with chemicals should be avoided for safety reasons. Look for stamps or markings indicating safe use. Smooth pallets reduce the need for extra sanding. Pallets with fewer nails are easier to disassemble and reuse.
Additional Supplies
Besides pallets, gather essential tools and materials. Sandpaper or a power sander will smooth rough surfaces. Screws and nails are needed to hold pieces together. A drill and screwdriver make assembly easier and faster. Wood glue adds extra strength to joints. Paint or wood stain improves the shelf’s appearance and protects wood. Measuring tape and a pencil help with accurate cuts and assembly. Safety gear like gloves and goggles protects you during work.
Tools Required
Building a pallet bookshelf requires the right tools. These tools help you work safely and finish the project faster. Some tools are simple and easy to use. Others need power to save time and effort. Knowing which tools to use is important for a smooth build.
Basic Hand Tools
Start with simple hand tools. A hammer is needed to remove nails from pallets. A tape measure helps you get exact sizes. Use a pencil to mark cuts and drill points. A screwdriver tightens screws for strong joints. Sandpaper smooths rough wood surfaces. These tools are easy to find and use.
Power Tools For Efficiency
Power tools make building faster and easier. A power drill drills holes and drives screws quickly. A circular saw cuts pallets into boards with straight edges. An electric sander smooths wood faster than hand sanding. Using power tools reduces fatigue and improves results. Always wear safety gear when using power tools.
Preparing The Pallets
Preparing the pallets is the first step in building a sturdy bookshelf. This step ensures the wood is safe and ready for use. Proper preparation helps avoid problems later in the project. It also improves the look and feel of the finished bookshelf.
Cleaning And Sanding
Start by cleaning the pallets thoroughly. Use a brush to remove dirt and dust. A mixture of water and mild soap works well for stubborn grime. Let the pallets dry completely before moving on.
Sanding the pallets smooths rough surfaces. Use medium-grit sandpaper first, then fine-grit for a clean finish. Sand all sides of the wood, focusing on splintered areas. This step makes the wood safer to handle and ready for painting or staining.
Removing Nails And Splinters
Check the pallets carefully for nails and staples. Use a hammer or pry bar to remove all nails. Pull out any staples with pliers. Removing these prevents injuries and helps the bookshelf fit together neatly.
Look for splinters and small sharp pieces of wood. Sand or trim them off to prevent scratches. Clean pallets without nails and splinters give a professional look. This step also protects your hands during assembly.
Designing Your Bookshelf
Designing your pallet bookshelf is the first step to a perfect project. It helps you see the final look and avoid mistakes. Good design saves time and materials.
Think about the space where you want the bookshelf. Measure carefully and decide how many shelves you need. Consider what you will put on it. Books, decorations, or both?
Measuring And Planning
Start by measuring the wall or area for the bookshelf. Use a tape measure and write down the height, width, and depth. This gives you limits for your design.
Plan the size of each shelf. Make sure the shelves can hold the weight of your books. Leave some space between shelves for tall items.
Think about the pallet size too. Most pallets have standard dimensions, but check yours before cutting.
Sketching Your Layout
Draw your bookshelf on paper or use a simple app. Sketch the front view and side view. Show the shelves and support pieces.
Mark the measurements on your sketch. This helps when cutting and assembling. It also shows if your design fits the space.
Keep the design simple. Straight lines and even shelves make building easier. You can add decoration later if you want.
Cutting And Shaping Wood
Cutting and shaping wood is the first step in building a pallet bookshelf. It prepares the wood to fit your design perfectly. This process needs care and focus to get clean, accurate cuts. Properly cut wood makes your bookshelf strong and neat.
Using the right tools is important. A saw, measuring tape, and sandpaper help shape the wood. Take your time. Precision here saves effort later.
Safe Cutting Techniques
Always wear safety glasses to protect your eyes. Use ear protection if using loud tools. Keep your hands away from the blade. Hold the wood firmly but do not force it. Cut slowly and steadily for control. Use clamps to hold wood if possible. Check your tools before starting to ensure they work well. Work in a clean, well-lit area to avoid accidents.
Customizing Shelf Sizes
Measure your space carefully before cutting wood. Decide how tall and wide each shelf should be. Mark your wood with a pencil to guide cuts. Cut pieces a little smaller than your marks for a good fit. Sand the edges after cutting to smooth rough spots. Adjust sizes based on the type of items you want to store. Custom shelves make your bookshelf more useful and stylish.

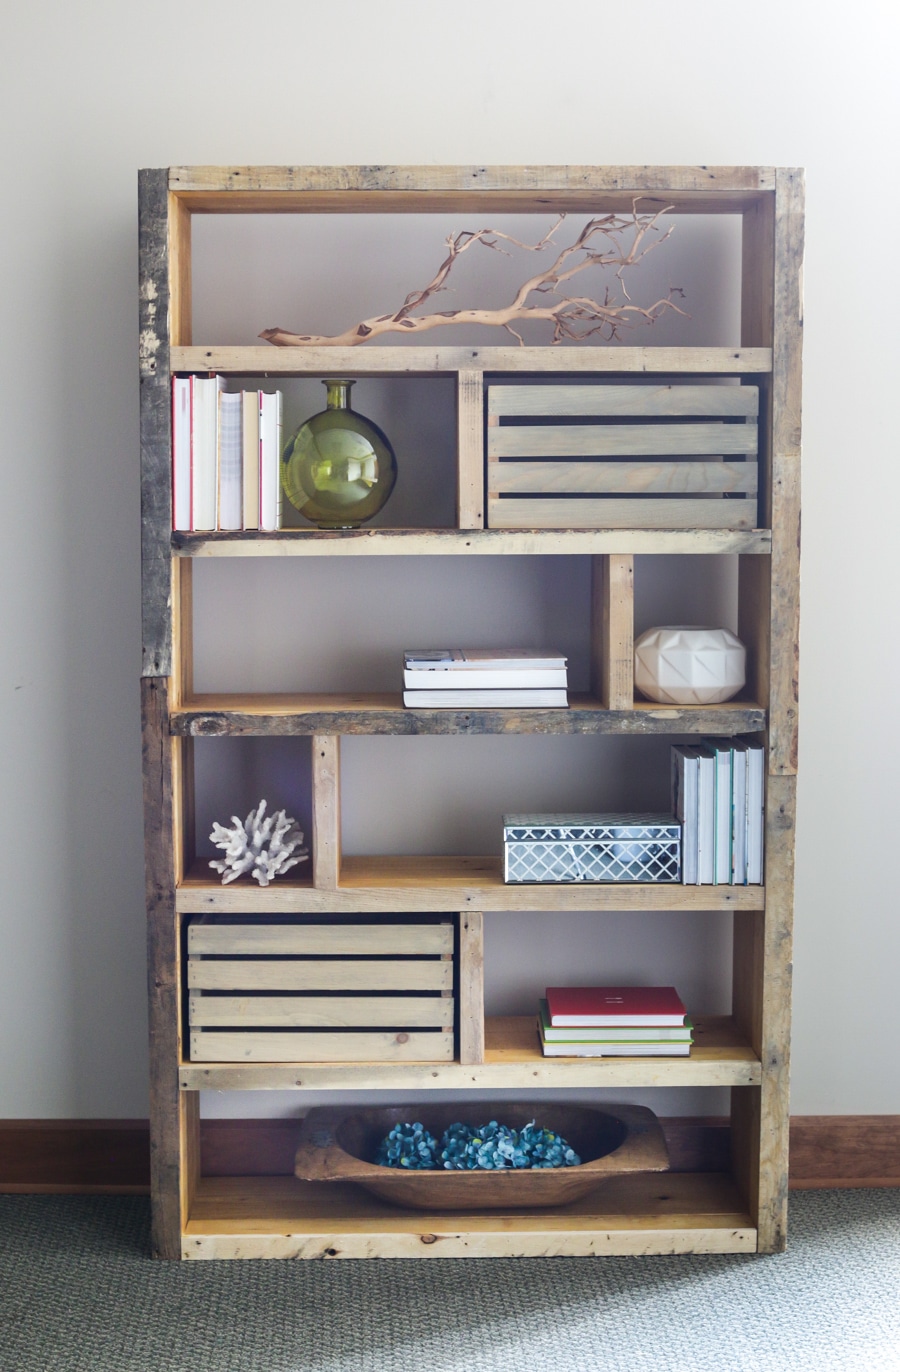
Credit: madewithlovetcbf.blogspot.com
Assembling The Bookshelf
Assembling the pallet bookshelf is the step where your project takes shape. It involves connecting the pallet pieces and securing the shelves to make a sturdy frame. Careful assembly ensures the bookshelf will hold books safely and last long.
Focus on alignment and tight joints. Take your time to measure and fit parts correctly. A well-assembled bookshelf looks neat and works well.
Joining The Pallet Pieces
Start by placing the pallet pieces flat on the ground. Arrange them according to your design plan. Use clamps to hold pieces together tightly. Drill pilot holes before screwing pieces to avoid splitting the wood. Secure the parts with wood screws for strong connections. Check the corners with a square tool to keep edges straight. Tight joints prevent wobbling and improve durability.
Securing Shelves And Supports
Attach the shelves inside the frame using brackets or wooden cleats. Position supports evenly to carry the weight of books. Use screws to fix shelves firmly in place. Double-check the level of each shelf to keep books from sliding. Reinforce the back with a thin wooden panel if needed. This adds stability and prevents racking. Strong shelves make the bookshelf practical and safe.
Finishing Touches
Finishing touches give your pallet bookshelf a polished look. They protect the wood and make the shelf last longer. Taking time on these steps improves the final result.
Sanding And Smoothing Edges
Start by sanding all surfaces and edges. Use medium-grit sandpaper to remove rough spots. Then, switch to fine-grit sandpaper for a smooth finish. Sanding prevents splinters and makes the wood soft to touch. Pay special attention to corners and edges. This step ensures your bookshelf looks neat and feels safe.
Applying Paint Or Stain
Choose paint or stain based on your style preference. Paint hides imperfections and adds color. Stain shows the natural wood grain and adds warmth. Apply evenly with a brush or cloth. Allow the first coat to dry fully before adding a second. Finish with a clear sealant for extra protection. This step keeps the wood safe from moisture and wear.
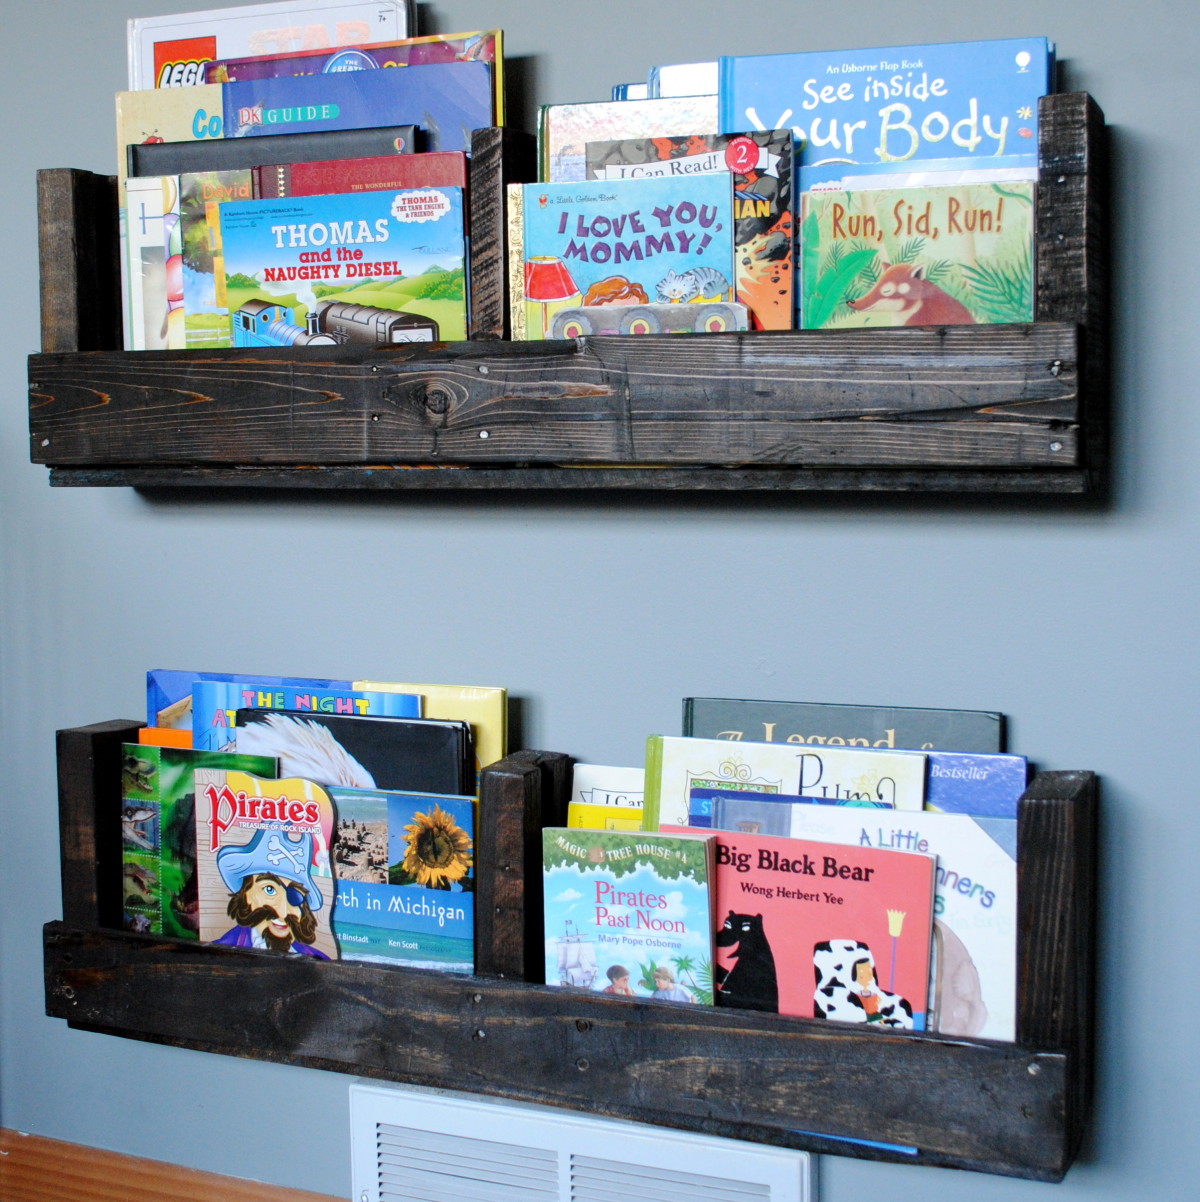
Credit: jennaburger.com
Decorating And Styling
Decorating and styling your pallet bookshelf gives it a unique charm. This step brings personality and warmth to your space. Use simple ideas to make the shelf stand out and feel inviting.
Focus on balance and mix of items. The right style makes the bookshelf both useful and beautiful. Let’s explore easy ways to decorate and style your new shelf.
Arranging Books And Accessories
Start by placing books in a neat order. Group books by size or color for a clean look. Stack some books horizontally to add variety.
Use small accessories like plants, candles, or picture frames. These items break the monotony of rows of books. Leave some empty space to avoid clutter.
Mix tall and short items for a balanced display. This keeps your shelf interesting and eye-catching.
Adding Personal Decorative Elements
Add items that show your personality. Family photos, souvenirs, or handmade crafts work well. These pieces make the shelf feel personal and warm.
Use baskets or boxes on lower shelves. They hide small items and keep the area tidy. Choose colors that match your room’s theme.
Change decorations with seasons or moods. This keeps your bookshelf fresh and lively all year.
Maintenance Tips
Maintaining your pallet bookshelf helps keep it strong and looking good. Simple care steps can extend its life and keep it safe for your books. Regular attention prevents damage and keeps the wood fresh.
Cleaning Your Bookshelf
Dust the bookshelf often using a soft cloth or duster. Wipe down surfaces with a damp cloth to remove dirt. Avoid using harsh chemicals that can harm the wood. Dry the wood quickly after cleaning to stop water damage.
Preventing Wear And Tear
Place your bookshelf away from direct sunlight to avoid fading. Use coasters or pads under heavy items to protect the wood. Tighten screws and nails regularly to keep the structure stable. Check for any loose boards and fix them early to prevent bigger problems.
Frequently Asked Questions
What Materials Are Needed To Build A Pallet Bookshelf?
You need wooden pallets, screws, sandpaper, a saw, drill, wood glue, and paint or varnish. These materials ensure a sturdy and polished bookshelf.
How Do You Prepare Pallets For Bookshelf Construction?
Start by sanding pallets to remove splinters and dirt. Cut to desired size, then assemble using screws and wood glue for stability.
Can A Pallet Bookshelf Hold Heavy Books?
Yes, if properly assembled with strong pallets and secure joints, it can support heavy books safely.
How Long Does It Take To Build A Pallet Bookshelf?
Building typically takes 3 to 6 hours depending on pallet condition and design complexity.
Conclusion
Building a pallet bookshelf is simple and fun. You only need basic tools and some old pallets. Follow each step carefully for best results. This project saves money and adds charm to your space. You can paint or stain it to match your style.
Enjoy organizing your books on a shelf you made yourself. Try this project and see how rewarding it feels. A handmade bookshelf brings pride and warmth to any room. Start today and give your space a fresh, creative touch.