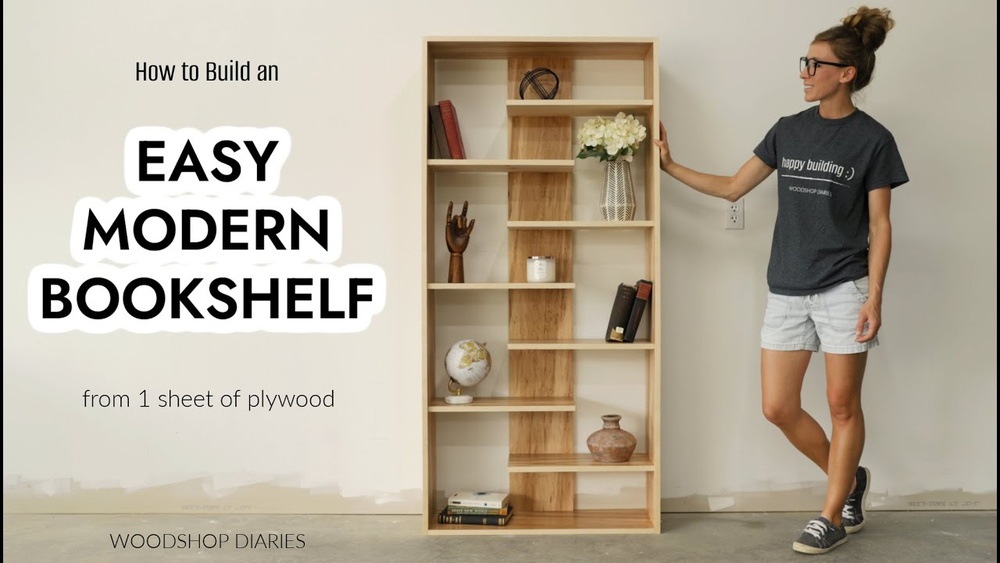
Are you tired of searching for the perfect bookshelf that fits your space and style? What if you could create one yourself, exactly the way you want it?
Building your own bookshelf is easier than you might think. Not only will it save you money, but it will also give you a sense of pride every time you see your handiwork. In this guide, you’ll discover simple steps and insider tips to help you build a sturdy, beautiful bookshelf that suits your needs.
Ready to turn your ideas into reality? Let’s get started!
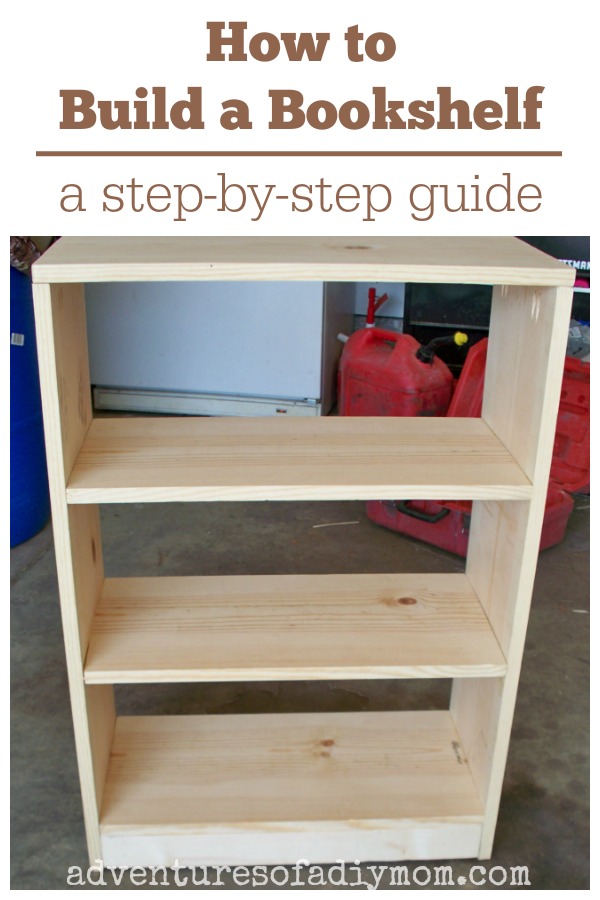
Credit: www.adventuresofadiymom.com
Choosing The Right Materials
Choosing the right materials is important for building a strong bookshelf. Good materials make your project last longer and look better. This section helps you pick the best wood, tools, and safety gear. Simple choices lead to great results.
Types Of Wood
Wood choice affects strength and style. Pine is cheap and easy to work with. Oak is strong and has a nice grain. Plywood is stable and less likely to warp. Choose wood that fits your budget and design.
Tools You’ll Need
Basic tools make the job easier. A saw cuts wood to size. A drill helps with screws. Sandpaper smooths rough edges. A measuring tape keeps everything accurate. Gather all tools before starting.
Safety Gear Essentials
Safety is key during woodworking. Wear safety glasses to protect your eyes. Use gloves to avoid splinters. Hearing protection guards your ears from loud tools. Always work in a clean, well-lit space.
Planning Your Bookshelf
Planning your bookshelf is the first step to a strong, useful piece. Good planning saves time and materials. It helps you create a shelf that fits your needs and space perfectly.
Start with clear ideas about size, style, and function. This makes building easier and more enjoyable. Careful thought leads to a bookshelf you will love.
Measuring Your Space
Measure the area where the bookshelf will stand. Use a tape measure for height, width, and depth. Write down these numbers carefully. Check for obstacles like vents or outlets. Knowing exact space helps avoid mistakes. Adjust your plan to fit the room well.
Design Ideas
Think about how you want your bookshelf to look. Choose a style that matches your room. Simple, modern, or classic designs work well. Decide on open shelves or closed cabinets. Consider shelf height for different book sizes. Plan extra space for decorations or plants.
Sketching Your Blueprint
Draw a simple sketch of your bookshelf plan. Include all measurements clearly. Mark where each shelf will go. Use a ruler for straight lines. This blueprint guides your building process. Check the sketch to avoid errors. Change the design on paper before cutting wood.
Cutting And Preparing Wood
Cutting and preparing wood is the first key step in building your own bookshelf. It shapes the wood pieces to fit perfectly together. Careful preparation ensures strong and neat shelves. Take your time to measure and cut accurately. A smooth finish will make your bookshelf look professional.
Marking Measurements
Start by measuring each piece of wood carefully. Use a tape measure for accuracy. Mark the wood with a pencil where you need to cut. Double-check each measurement before marking. Clear, precise marks help avoid mistakes later. Mark all pieces needed for the shelves and sides.
Cutting Techniques
Use a saw suitable for your wood type. A handsaw or circular saw works well for most projects. Follow the pencil marks closely while cutting. Cut slowly and steadily for straight edges. Keep your hands steady and safe. Smooth, straight cuts make assembly easier and stronger.
Sanding For Smoothness
After cutting, sand each edge and surface. Use medium-grit sandpaper to remove rough spots. Finish with fine-grit sandpaper for a smooth touch. Sanding prevents splinters and helps paint or stain stick. Check all pieces for smoothness before assembly. A well-sanded piece looks better and lasts longer.
Assembling The Frame
Assembling the frame is the main step in building a strong bookshelf. This step creates the basic shape. It holds all shelves and parts together. A good frame makes the bookshelf steady and safe.
Follow clear steps to join pieces, use screws and nails, and check stability. These actions build a solid frame for your bookshelf.
Joining Pieces
Start by lining up the wood pieces carefully. Corners must fit tightly. Use clamps to hold pieces in place. Check that edges match well. Proper joining keeps the frame straight and strong.
Using Screws And Nails
Choose screws for a stronger hold. Nails work for light parts. Drill small pilot holes before screwing. This stops wood from splitting. Drive screws or nails evenly along joints. It keeps the frame secure and durable.
Ensuring Stability
After joining, test the frame’s strength. Press on corners and sides. The frame should not wobble or bend. Add corner braces if needed. Make sure the base sits flat on the floor. Stability keeps your bookshelf safe and lasting long.
Adding Shelves
Adding shelves is a key step in building your own bookshelf. Shelves hold your books and display your items. Proper shelf placement makes the bookshelf strong and useful. This section covers spacing shelves, securing supports, and choosing adjustable or fixed shelves.
Spacing Shelves
Space shelves evenly to hold different book sizes. Measure the height of your tallest books. Leave extra space above for easy access. Typical shelf spacing ranges from 10 to 12 inches. For larger books, increase spacing to 14 inches or more. Consistent spacing improves the shelf’s look and function.
Securing Shelf Supports
Use strong supports to hold weight safely. Metal brackets or wooden cleats work well. Attach supports firmly to the bookshelf frame. Use screws instead of nails for better hold. Check that shelves sit level on the supports. Proper securing prevents shelves from sagging or falling.
Adjustable Vs Fixed Shelves
Choose adjustable shelves for flexibility. You can move shelves to fit different items. Fixed shelves offer more strength and stability. Fixed shelves suit heavy or large collections. Decide based on your needs and bookshelf design. Both types have benefits for home use.
:max_bytes(150000):strip_icc()/dominiquegebruinsta-35b11dd4f037417980649e06e17c4027.jpg)
Credit: www.thespruce.com
Finishing Touches
Finishing touches bring your bookshelf to life. They protect the wood and make it look great. These final steps ensure your project lasts long and fits your style.
Painting And Staining
Choose paint or stain to match your room’s color. Paint covers the wood for a bold look. Stain shows the natural wood grain for warmth.
Apply thin, even coats with a brush or cloth. Let each layer dry well before the next. Sand lightly between coats for smoothness.
Sealing For Durability
Seal your bookshelf to protect it from scratches and spills. Use clear polyurethane or varnish for a strong finish. Apply with a clean brush in thin layers.
Allow each coat to dry fully. Lightly sand between coats to avoid bumps. A good seal keeps your shelf looking fresh for years.
Decorative Elements
Add personality with decorative touches. Use trim, moldings, or decals to enhance style. Small knobs or metal corners can add charm and strength.
Keep decorations simple and balanced. They should complement, not overpower, your bookshelf’s design.
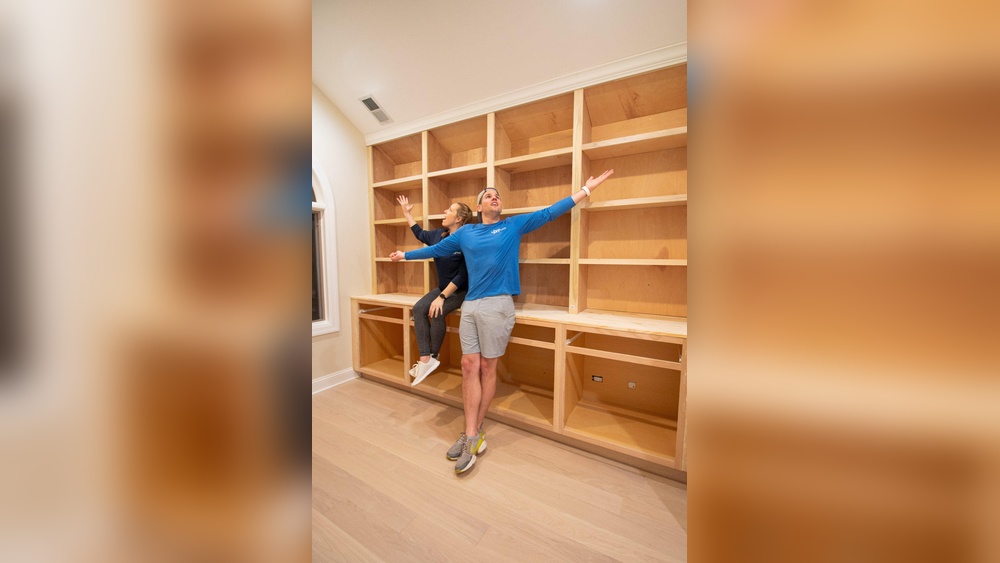
Placement And Styling Tips
Placing and styling your bookshelf is as important as building it. The right spot can make your space feel cozy and organized. Styling helps your shelf show your personality and keep things tidy.
Positioning Your Bookshelf
Choose a place with good light. Near a window is great for reading. Avoid spots where the shelf blocks doors or walkways. A corner can save space and look nice. Make sure the shelf stands firm and flat on the floor.
Organizing Books And Items
Group books by size or color for a neat look. Place taller books on the bottom shelves. Use baskets or boxes for small items. Mix books with decorations to avoid clutter. Leave some empty space to keep it airy.
Adding Personal Touches
Add photos, plants, or souvenirs on the shelves. Use items that tell your story or inspire you. Change these touches often to keep the shelf fresh. Small lights can highlight your favorite spots. Personal items make your bookshelf feel like home.
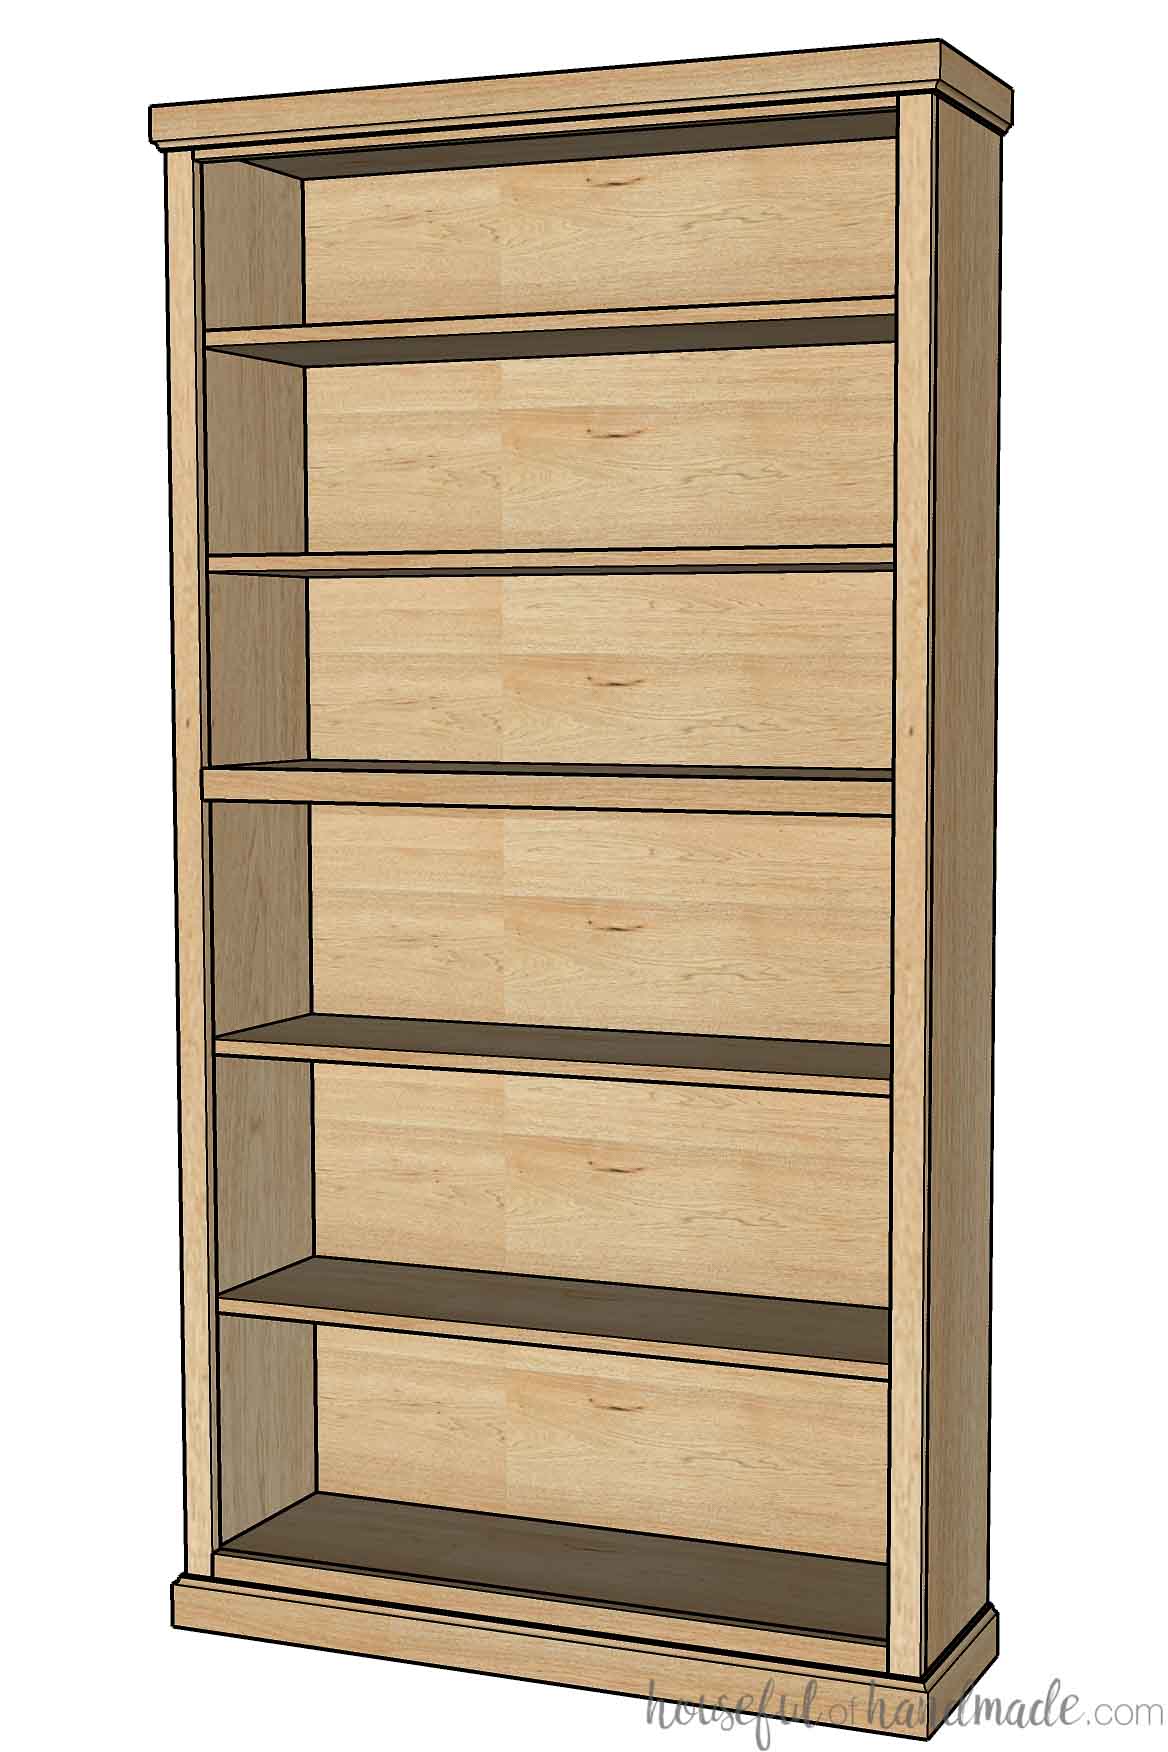
Credit: housefulofhandmade.com
Frequently Asked Questions
What Materials Do I Need To Build A Bookshelf?
You need wood boards, screws, a drill, measuring tape, sandpaper, and paint or stain. Choose sturdy wood like pine or oak for durability and a smooth finish.
How Long Does It Take To Build A Bookshelf?
Building a basic bookshelf usually takes 3 to 5 hours. Time varies depending on design complexity and your woodworking experience.
What Tools Are Essential For Bookshelf Construction?
Essential tools include a drill, screwdriver, saw, measuring tape, level, and clamps. These help ensure accuracy and stability during assembly.
How Do I Ensure My Bookshelf Is Sturdy?
Use quality wood, secure joints tightly, and add brackets if needed. Check for level shelves and reinforce corners to prevent wobbling.
Conclusion
Building your own bookshelf is a fun and useful project. It saves money and adds a personal touch to your space. You learn new skills step by step. Choose the right materials and tools before you start. Take your time and follow each step carefully.
Soon, you will have a sturdy shelf to hold your books. Enjoy the pride of making something with your own hands. This project can inspire you to create more furniture in the future. Keep practicing, and your skills will grow stronger.