Are you looking to add a stylish and functional piece to your home without spending a fortune? Building your own console table can be easier than you think.
Imagine having a custom table that fits perfectly in your space and matches your style—all made by you. You’ll discover simple, step-by-step instructions to build a console table quickly and with minimal tools. By the end, you’ll have the confidence and know-how to create a beautiful table that impresses your guests and adds value to your home.
Ready to get started? Let’s dive in!
Materials And Tools Needed
Building a console table is easier with the right materials and tools. Choosing good wood and having the correct tools makes the project smooth and fun. This section explains the basics you need before starting.
Choosing The Right Wood
Select wood that is strong and easy to work with. Pine and oak are popular choices. Pine is soft and affordable. Oak is harder and lasts longer. Measure the size of your table before buying. Buy a little extra wood for mistakes. Avoid wood with cracks or knots. Smooth wood saves time on sanding later.
Essential Tools For The Job
You need some basic tools to build your table. A saw is necessary to cut the wood. A drill helps make holes for screws. Sandpaper or an electric sander smooths the surface. Use a screwdriver or power driver to fix screws. A measuring tape ensures accurate cuts. Clamps hold pieces together while working. Safety gear like gloves and goggles protect you.
Optional Supplies For Finishing
Finishing supplies make your table look great and last longer. Wood stain or paint adds color and style. Use brushes or rags to apply them evenly. A clear sealant protects the wood from damage. Felt pads under the legs prevent floor scratches. Wood filler hides small holes or cracks. Finish products improve the table’s appearance and durability.

Credit: www.instructables.com
Planning Your Console Table
Building a console table is simple with clear steps. Follow this guide to assemble your table easily. Each step focuses on one part of the process. Take your time and work carefully for the best results.
Cutting The Wood Pieces
Start by measuring and marking your wood. Cut the pieces to the right size using a saw. Sand the edges smooth to avoid splinters. Check each piece twice before cutting to prevent mistakes.
Building The Frame
Join the cut wood pieces to form the frame. Use wood glue and screws for strong joints. Make sure the frame is square by measuring the corners. Let the glue dry fully before moving on.
Attaching The Legs
Fix the legs to the frame securely. Use brackets or screws to hold them tight. Check the legs for even height and stability. Tighten all fasteners to avoid wobbly legs.
Adding Shelves Or Drawers
Install shelves or drawers inside the frame as planned. Attach shelf supports or drawer slides carefully. Test each drawer to open and close smoothly. Sand and finish the shelves for a polished look.
Step-by-step Assembly
Finishing touches make your console table look complete and polished. This step improves the table’s feel and protects it. Taking time here ensures the table lasts longer and looks great in your home.
Sanding For Smoothness
Start by sanding the entire table with fine-grit sandpaper. Sanding removes rough spots and sharp edges. It helps paint or stain stick better. Always sand along the wood grain. Wipe off dust with a clean cloth before moving on.
Painting And Staining Options
Choose paint or stain based on your style. Paint hides wood grain but offers many colors. Stain shows the natural wood texture and color. Apply thin, even coats with a brush or cloth. Let each coat dry completely before adding more.
Sealing For Durability
Seal your table to protect it from water and scratches. Use clear polyurethane or a wood sealer. Apply two to three thin coats for best results. Allow each coat to dry fully before adding the next. This step keeps your table looking new for years.
Finishing Touches
Creating a stylish console table is simple with the right tips. Small details bring big changes. Focus on how to enhance your table’s look. Style your table so it fits your room perfectly.
Incorporating Decorative Elements
Choose items that match your room’s theme. Use plants, books, or candles to add charm. Pick colors that blend well with the table. Keep decorations balanced, not too crowded. Use trays or bowls to group small items.
Choosing Hardware
Select knobs or handles that suit your table’s style. Metal finishes like brass or black add character. Make sure hardware fits the size of the table. Quality hardware improves both look and function. Change old hardware to refresh the table’s feel.
Arranging Accessories
Place taller items at the back for depth. Use different heights to create interest. Keep some empty space for a clean look. Group items in odd numbers for a natural feel. Rotate accessories to keep the style fresh.
Tips For A Stylish Look
Building a console table is fun and rewarding. Avoiding common mistakes can save time and effort. Mistakes can cause frustration and poor results. Stay careful and patient for the best outcome.
Measurement Errors
Measuring wrong is a common problem. Even small errors can cause big issues. Double-check all measurements before cutting wood. Use a reliable tape measure and mark clearly. Measure twice, cut once is a good rule.
Skipping Safety Steps
Safety is important during woodworking. Always wear safety glasses and gloves. Keep your work area clean and organized. Use tools correctly and follow instructions. Ignoring safety can lead to injuries and delays.
Rushing The Finishing Process
Finishing takes time but improves the look. Do not rush sanding or painting. Sand surfaces smoothly for a neat finish. Apply paint or stain in thin, even layers. Let each layer dry completely before the next.

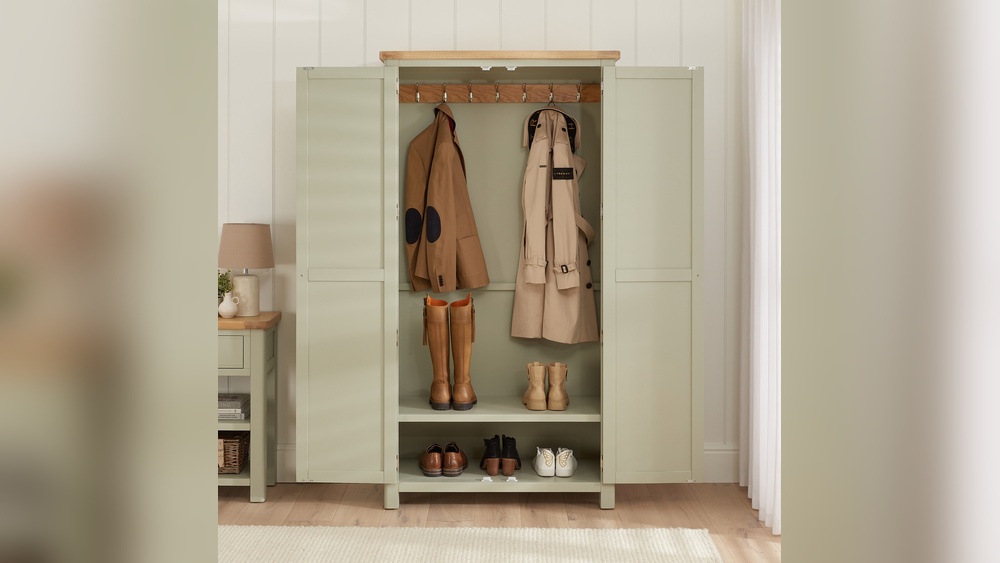
Credit: saffronavenue.com
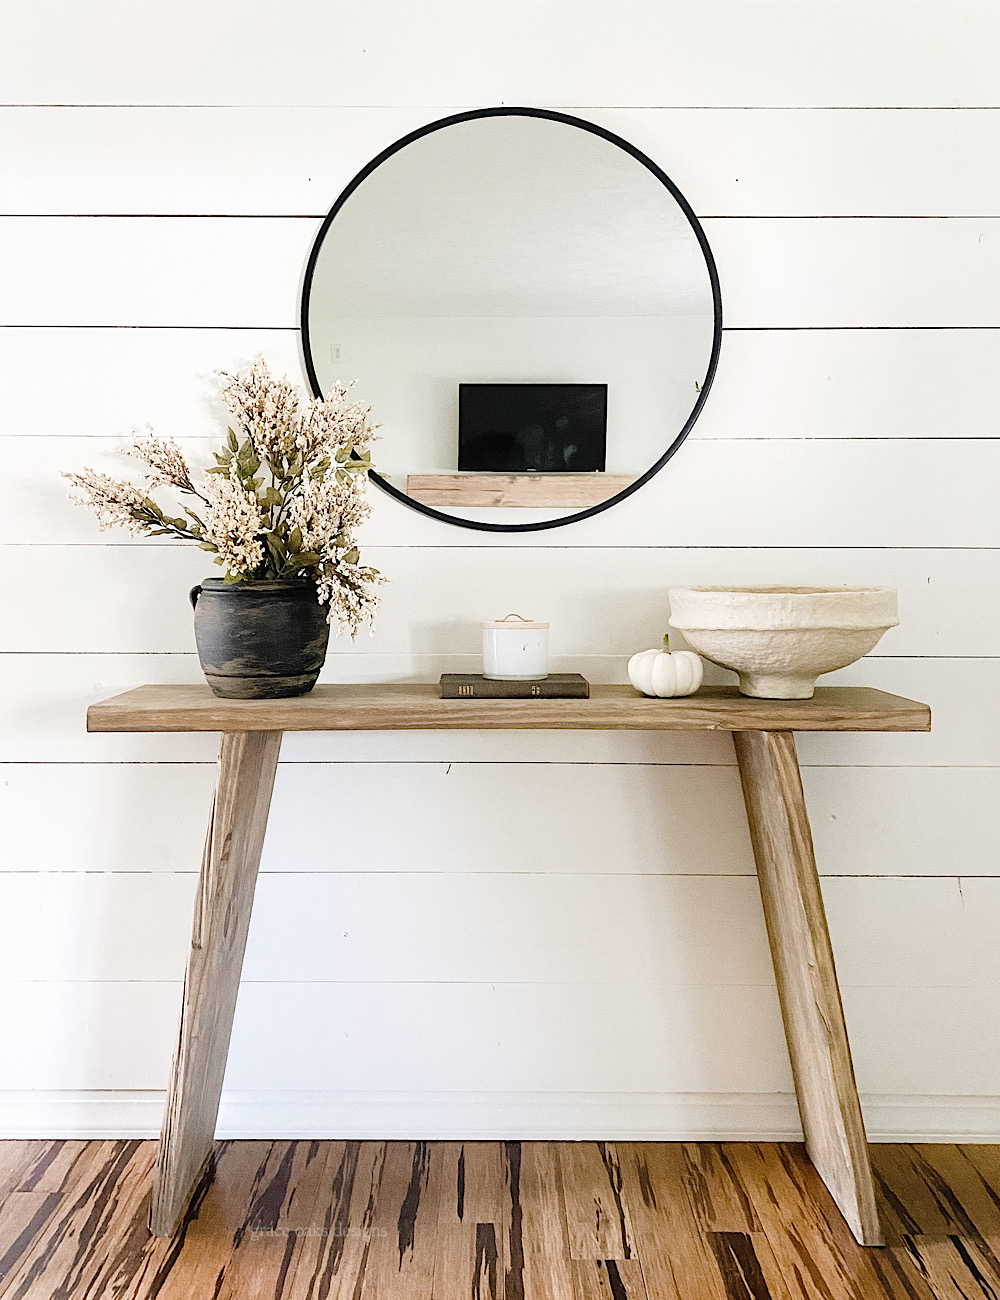
Credit: graceoaksdesigns.com
Frequently Asked Questions
What Materials Do I Need To Build A Console Table?
You need wood boards, screws, wood glue, sandpaper, paint or stain, and tools like a saw and drill. Quality materials ensure durability and a smooth finish. Choose wood types based on your style preference and budget.
How Long Does It Take To Build A Console Table?
Building a console table typically takes 2 to 4 hours for beginners. Time varies with design complexity and skill level. Allow extra time for drying paint or stain to achieve the best finish.
Can I Customize The Size Of My Console Table?
Yes, you can easily customize the size to fit your space. Measure the area carefully and adjust wood dimensions before cutting. Custom sizing helps the table blend perfectly with your room layout.
What Is The Easiest Design For A Beginner Console Table?
A simple rectangular table with four legs is the easiest design for beginners. It requires basic cuts and assembly. This design is versatile and can be personalized with paint or stain.
Conclusion
Building a console table can be simple and fun. Follow each step with care and patience. Choose the right materials for a strong table. Measure twice to avoid mistakes later. Use basic tools to make the work easier. Take your time and enjoy the process.
A handmade console table adds charm to any room. Try this project to improve your skills. You will feel proud of your creation. Start your build today and see the results!