Imagine having a bookshelf that not only holds your favorite books but also stands out as a striking piece of art in your room. A bookshelf shaped like a lighthouse can do just that—combining function with a unique design that draws attention.
If you love creative home projects and want to add a touch of charm to your space, this guide is for you. You’ll learn simple steps to build your own lighthouse bookshelf, even if you’re new to woodworking. Ready to create something amazing that lights up your room and your reading corner?
Let’s dive in!
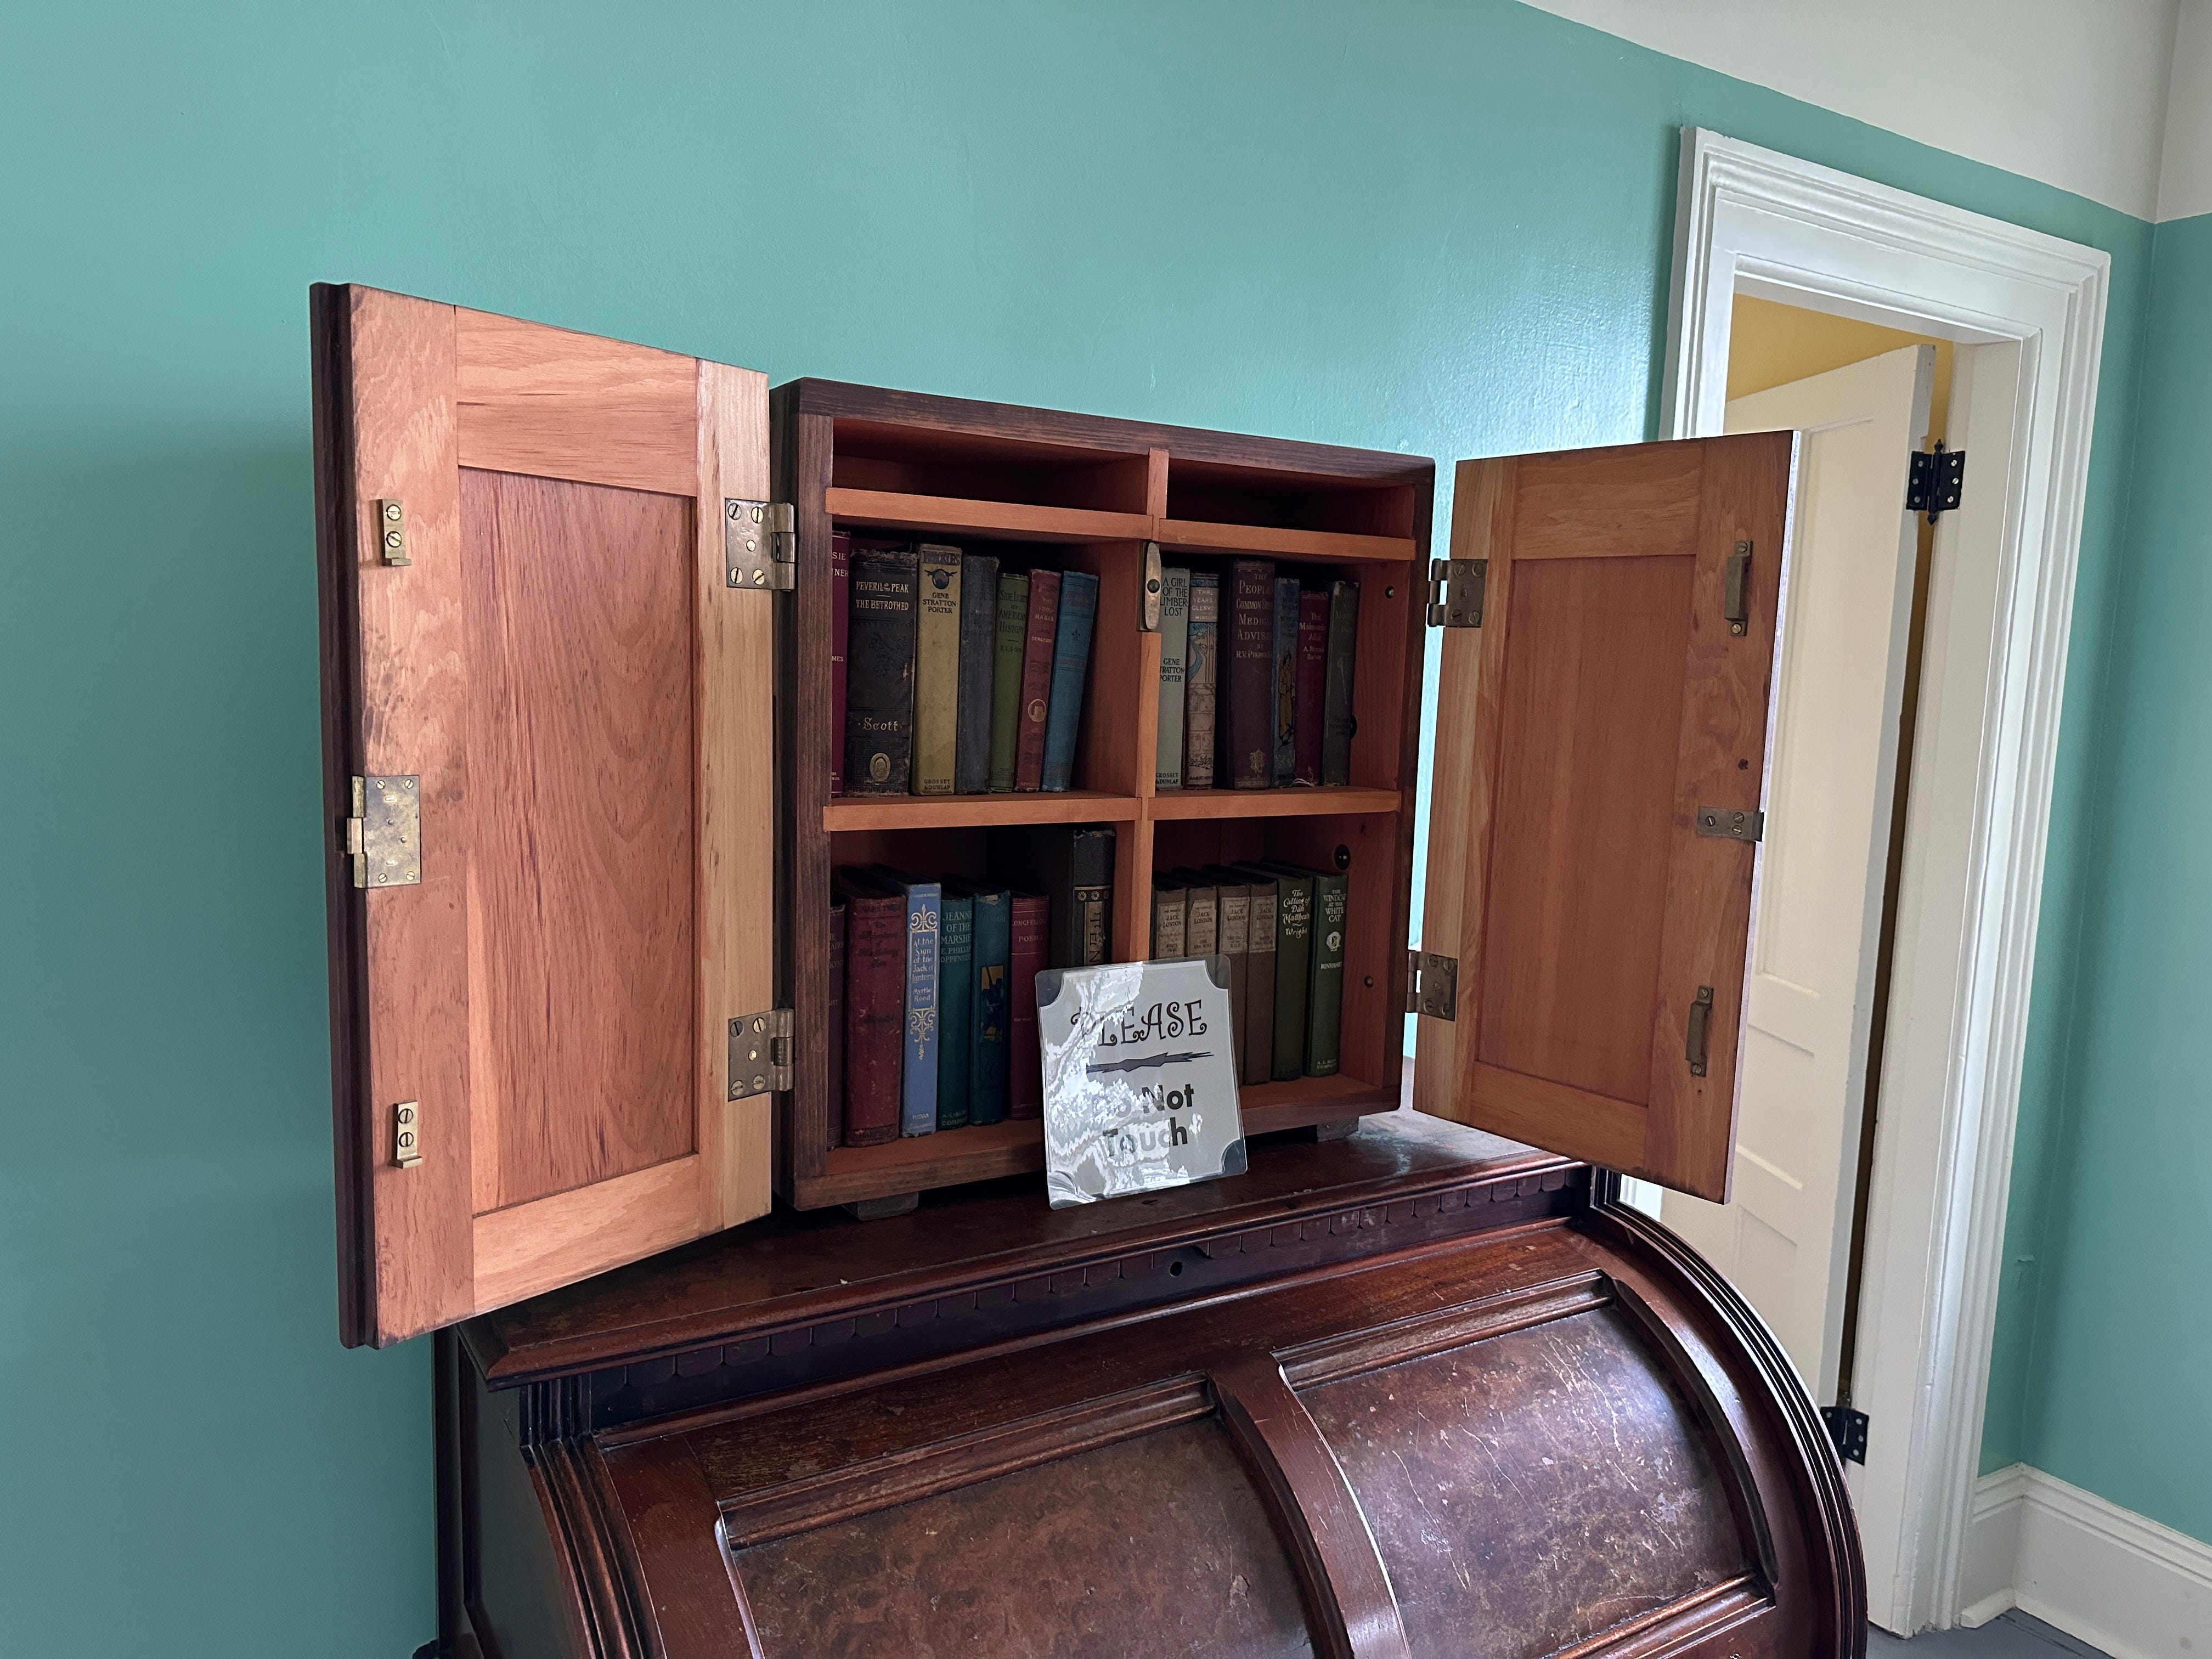
Credit: christopherschwarz.substack.com
Designing The Lighthouse Bookshelf
Designing a bookshelf shaped like a lighthouse is a fun and creative project. It adds charm and character to any room. A good design makes the building process easier and the final product strong and beautiful.
Start by thinking about the size, materials, and shape. This helps you plan each step carefully. A clear design also saves time and avoids mistakes during construction.
Choosing The Right Dimensions
Decide how tall and wide your bookshelf should be. Consider the space where you will place it. Measure the height from floor to ceiling. Think about how many books you want to store.
Choose a size that fits your needs and room size. A lighthouse shape is tall and narrow, so balance height with stability. Make sure it will not tip over easily.
Selecting Materials
Pick materials that are strong and easy to work with. Wood is a popular choice for bookshelves. It is sturdy and looks nice. You can choose plywood or solid wood boards.
Also, think about paint or finish to protect the wood. Use screws and wood glue for strong joints. Avoid materials that are too heavy or weak.
Sketching The Blueprint
Draw a simple sketch of your lighthouse bookshelf. Include the base, shelves, and top part. Use basic shapes like rectangles and circles to show parts clearly.
Label all measurements on the sketch. This helps to cut materials accurately. A clear blueprint guides you step-by-step during assembly. Keep the design simple to make building easier.
Gathering Tools And Supplies
Gathering the right tools and supplies is the first step to building a lighthouse-shaped bookshelf. Having everything ready makes the project smoother and more enjoyable. This section covers the essential woodworking tools, safety gear, and extra materials you will need.
Essential Woodworking Tools
Start with a saw to cut the wood into the right shapes. A jigsaw works well for curves and detailed cuts. Use a drill to make holes for screws and shelves. Sandpaper or a power sander smooths rough edges. A tape measure helps keep all parts the correct size. Clamps hold pieces together while you work. A screwdriver is necessary to fasten screws tightly.
Safety Equipment
Always wear safety glasses to protect your eyes from dust and wood chips. Use ear protection to guard against loud tool noise. Wear a dust mask to avoid breathing sawdust. Gloves protect your hands from splinters and cuts. Dress in close-fitting clothes to prevent accidents. Keep your work area clean to avoid slips and falls.
Additional Materials
Choose good quality wood like pine or plywood. Pick screws and wood glue for strong joints. Paint or wood stain adds color and protects the wood. Brushes or rags help apply paint or stain evenly. Sanding blocks smooth surfaces before finishing. Small hinges may be needed for any doors or movable parts.
Cutting The Wood Pieces
Cutting the wood pieces is an important step in building your lighthouse bookshelf. Precise cuts make sure the parts fit well. This step shapes the whole structure and adds to the design. Take your time and focus on accuracy.
Measuring And Marking
Start by measuring each piece carefully. Use a tape measure and pencil to mark the wood. Double-check your measurements. Mark straight lines for clean cuts. Clear marks help avoid mistakes during cutting.
Cutting The Main Structure
Use a saw to cut the large pieces for the lighthouse shape. Follow your marked lines closely. Cut slowly to keep edges smooth. These pieces form the body and base of the bookshelf. Proper cuts ensure the structure stands strong.
Shaping Decorative Elements
Cut smaller wood pieces for windows and railings. Use a jigsaw for curved or detailed shapes. Sand edges after cutting for a neat finish. These parts make your bookshelf look like a real lighthouse. Take care to keep details clear and clean.
Assembling The Frame
Assembling the frame is the first big step in building your lighthouse bookshelf. This part gives the bookshelf its shape and strength. Take your time and follow each step closely.
Start by making a solid base. This supports the whole structure. Next, build the tower to give the bookshelf its lighthouse look. Finally, attach the shelves. These hold your books and complete the design.
Building The Base
Cut a sturdy piece of wood for the base. Make it wide enough to keep the bookshelf stable. Sand the edges smooth. Use screws to join the base pieces firmly. Check that it is level before moving on.
Constructing The Tower
Cut vertical panels for the tower sides. Shape them like a lighthouse by making the top narrower. Attach the panels to the base with screws. Add corner supports inside for extra strength. Make sure the tower stands straight.
Attaching Shelves
Measure and mark shelf positions inside the tower. Cut shelves to fit the width of the tower. Fix the shelves with screws or brackets. Check each shelf is level and secure. Space shelves evenly for a balanced look.
Adding Details And Finishing Touches
Adding details and finishing touches gives your lighthouse bookshelf its charm. This stage brings out the beauty of your work. Careful attention to small details makes a big difference. It also protects your bookshelf and makes it last longer.
Sanding And Smoothing
Start by sanding all surfaces to remove rough spots. Use fine-grit sandpaper for a smooth finish. Sand edges and corners gently to avoid sharpness. Wipe off dust with a clean cloth after sanding. Smooth surfaces help paint and stain stick better.
Painting And Staining
Choose colors that match a real lighthouse look. Use paint or stain to highlight the wood grain. Apply thin, even coats for the best result. Let each coat dry fully before adding the next. Paint the small details like windows and doors carefully.
Installing Lighting Features
Add lights to make your lighthouse shelf stand out. Use small LED lights for safety and low heat. Place lights near the top to mimic a real lighthouse glow. Secure wiring neatly to keep it hidden. Lighting adds a cozy and unique touch.
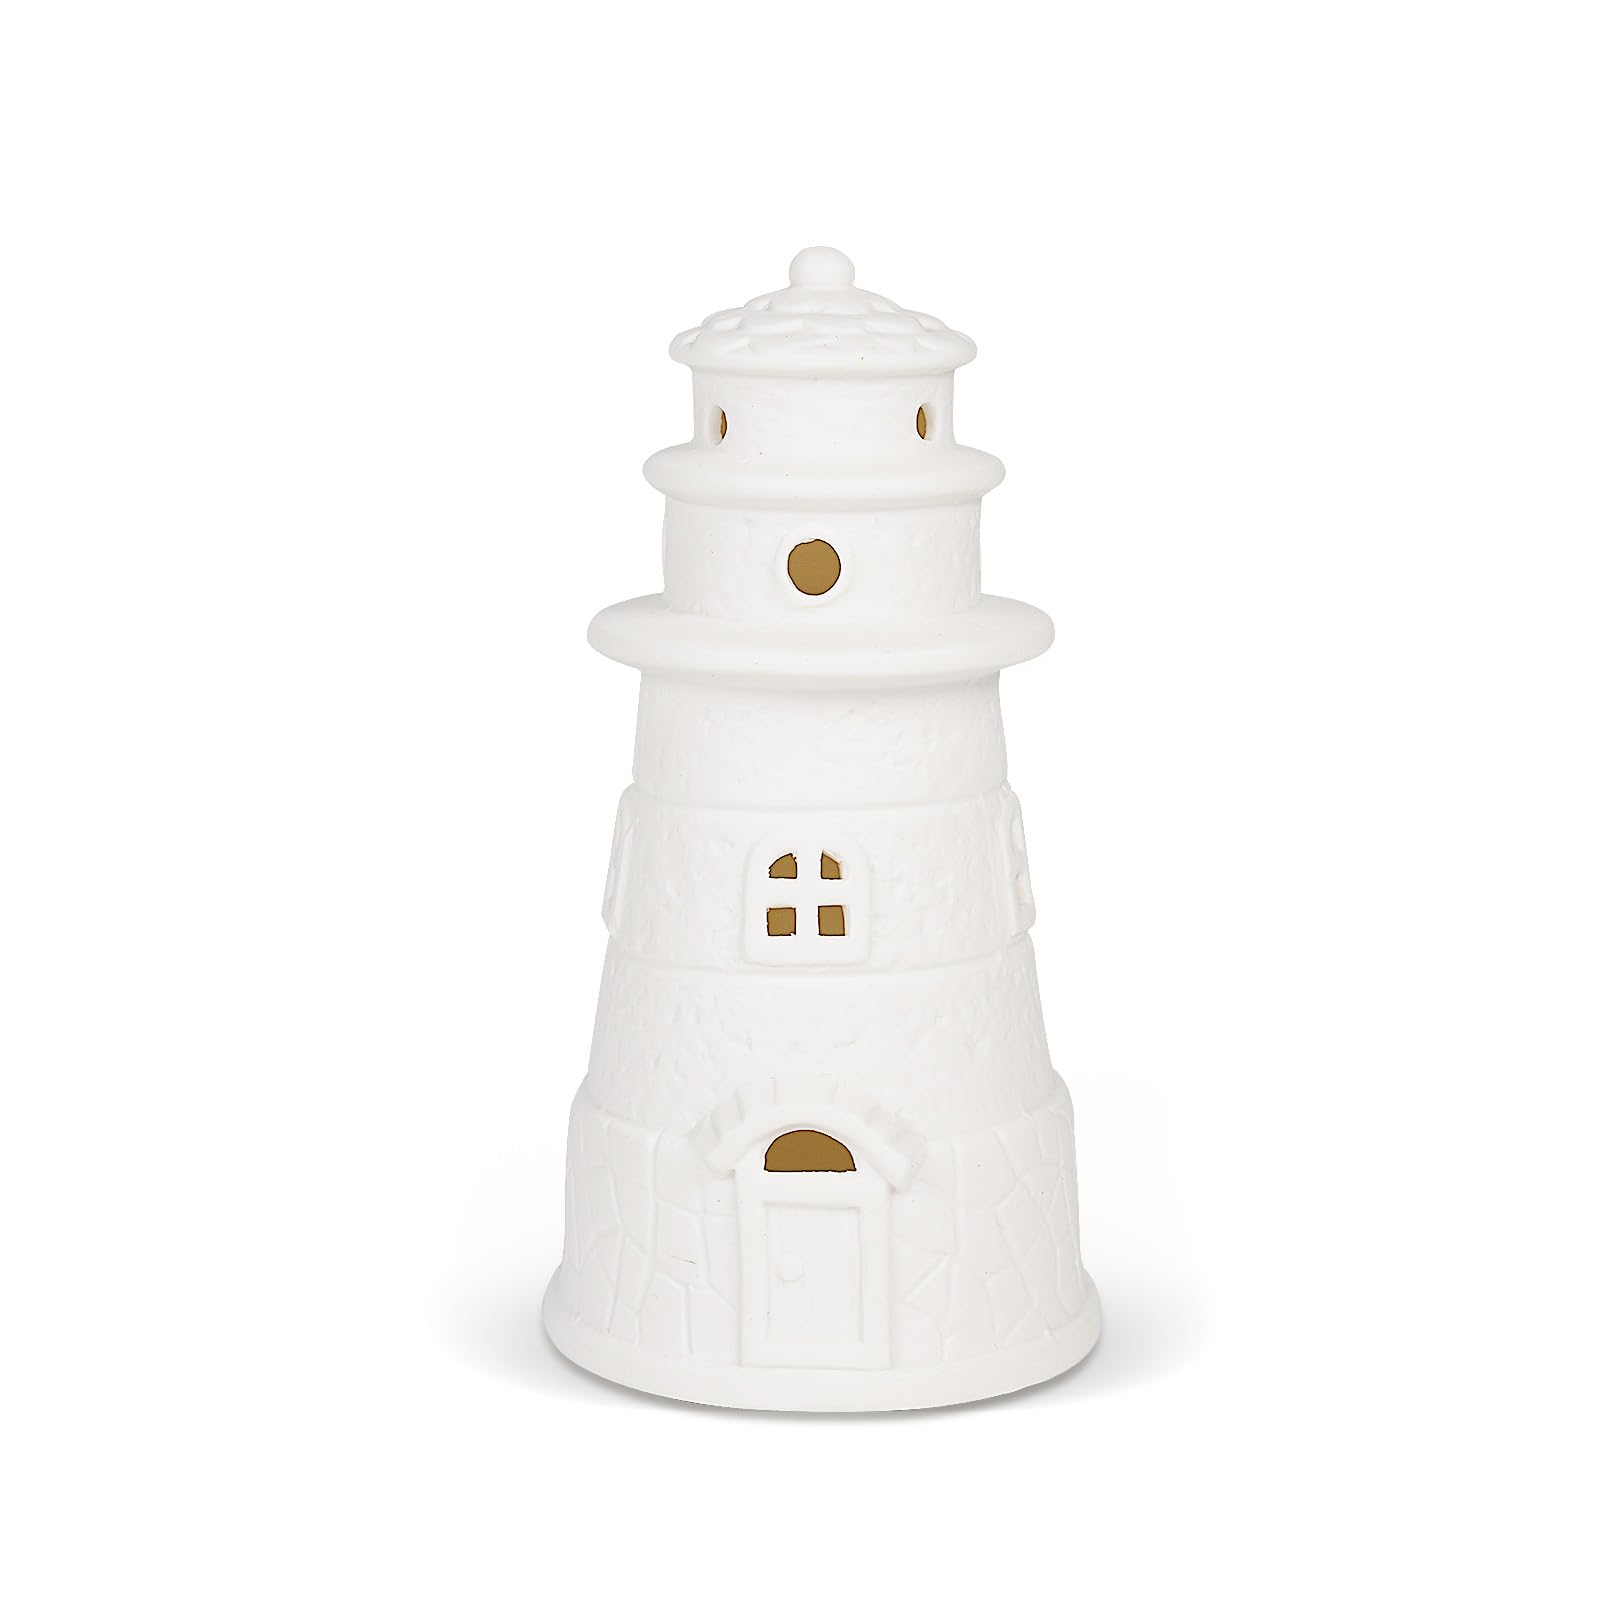
Credit: www.amazon.com
Maintaining Your Lighthouse Bookshelf
Maintaining your lighthouse bookshelf keeps it looking great and lasting long. Regular care helps protect the wood and paint. It also keeps the shelves strong for your books. Simple steps can make a big difference. A well-kept shelf stays a charming part of your room.
Cleaning Tips
Dust the bookshelf at least once a week. Use a soft cloth or a feather duster. Avoid wet cloths that can damage the wood. Clean small corners with a soft brush. For sticky spots, use a damp cloth with mild soap. Dry the area immediately after cleaning.
Repair And Upkeep
Check your bookshelf regularly for loose screws or nails. Tighten any that feel weak. Look for scratches or chips in the paint. Use touch-up paint to fix small marks. If wood cracks appear, apply wood glue carefully. Sand down rough spots to keep the surface smooth.
Enhancing With Accessories
Add small lights to highlight the lighthouse shape. LED strips work well without heat. Place decorative items that fit the nautical theme. Small plants or shells add charm and color. Use bookends that match the lighthouse design. These touches bring your bookshelf to life.

Credit: www.amazon.com
Frequently Asked Questions
What Materials Are Needed To Build A Lighthouse Bookshelf?
You need plywood or solid wood, wood glue, screws, paint, and sandpaper. Optional items include LED lights and decorative elements to enhance the lighthouse look.
How Long Does It Take To Build A Lighthouse Bookshelf?
Building this bookshelf typically takes 6 to 10 hours. Time varies based on woodworking skill and design complexity.
Can I Customize The Size Of The Lighthouse Bookshelf?
Yes, you can adjust height, width, and shelf spacing. Custom sizes fit different spaces and storage needs perfectly.
What Tools Are Essential For Making A Lighthouse Bookshelf?
Key tools include a saw, drill, screwdriver, measuring tape, and clamps. Sanding tools and paintbrushes are also important for finishing.
Conclusion
Building a lighthouse-shaped bookshelf can brighten any room. It adds charm and holds your favorite books safely. The steps are clear and simple to follow. Take your time and enjoy the process. This project suits beginners and experienced builders alike.
Soon, you will have a unique shelf to show off. Let creativity guide you as you build. Your new bookshelf will bring both function and fun. Give it a try and see the difference it makes.
