Are you looking to add a stylish and functional piece to your home? Making a console table yourself can be easier than you think, especially with the right guidance.
You’ll discover simple, step-by-step instructions to create a beautiful console table by following YouTube tutorials. Whether you’re a beginner or just want to save money, you’ll learn how to choose materials, tools, and techniques that fit your style and skill level.
Keep reading, and by the end, you’ll feel confident to build a console table that impresses everyone who sees it.
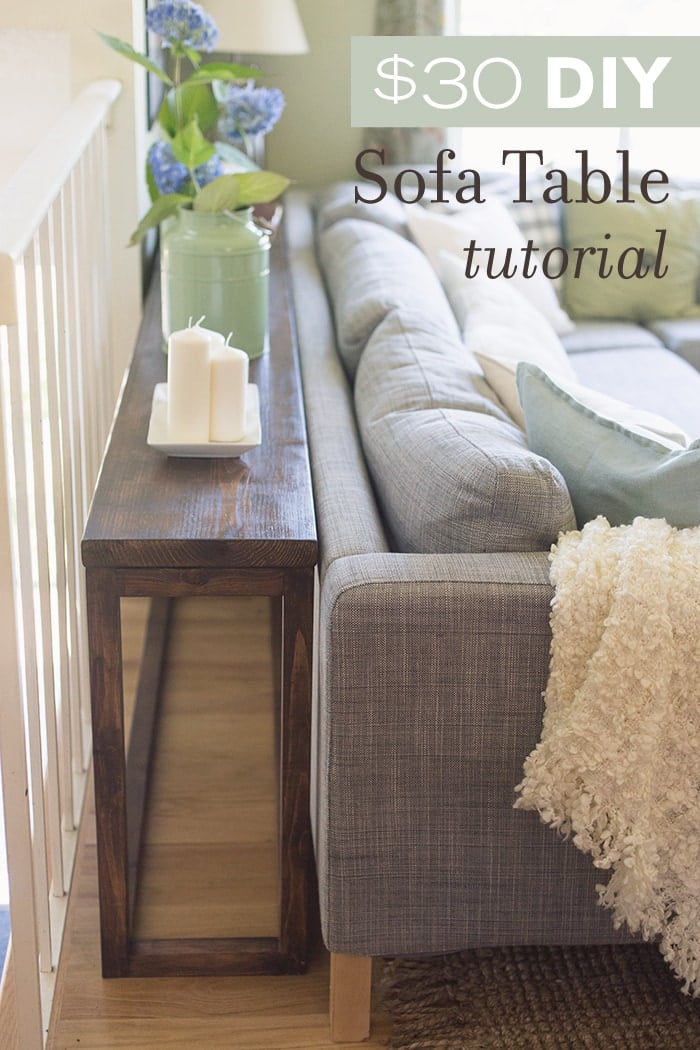
Credit: www.jennasuedesign.com
Materials Needed
Gathering the right materials is key to building a console table. Proper preparation makes the project smooth and fun. This section lists the essentials you need for your build. Follow this guide to prepare your workspace and tools.
Wood Selection
Choose wood that fits your style and budget. Pine is affordable and easy to work with. Oak offers strength and a classic look. Plywood can be used for hidden parts. Make sure the wood is dry and free of cracks. Cut all pieces to size before starting assembly.
Tools Required
Basic tools make the job easier and safer. A saw is needed to cut wood pieces accurately. A drill helps with making holes and driving screws. Sandpaper smooths rough edges for a clean finish. A measuring tape ensures precise dimensions. Clamps hold pieces steady during gluing or screwing.
Additional Supplies
Glue strengthens joints between wood parts. Screws or nails fasten the pieces firmly. Wood filler covers holes or dents for a neat look. Paint or stain adds color and protects the surface. Brushes or rags apply finishes evenly. Safety gear protects your eyes and hands during work.
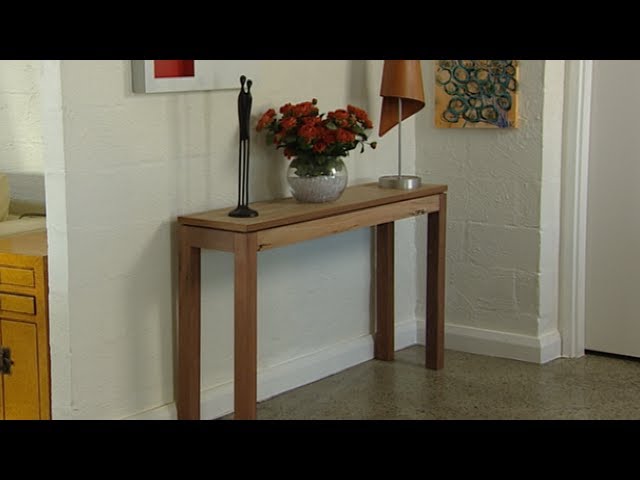
Credit: www.youtube.com
Preparing The Wood
Preparing the wood is the first step in making a console table. This step sets the base for a strong and beautiful table. Good preparation helps the wood fit perfectly and look smooth. Take your time to measure, cut, and sand the wood carefully. This will make the assembly easier and the final product better.
Measuring And Marking
Start by measuring the wood pieces you need. Use a tape measure to get exact lengths. Mark the cutting lines clearly with a pencil. Double-check your marks before cutting. Accurate measuring prevents mistakes and saves wood. Take your time to be precise.
Cutting The Pieces
Cut the wood along the marked lines with a saw. Use a handsaw or power saw for clean cuts. Keep your hands steady and follow the lines closely. Cut slowly to avoid splintering the wood. Proper cutting ensures all pieces fit well together.
Sanding For Smoothness
Sanding removes rough spots and splinters. Use medium-grit sandpaper to smooth the edges. Then switch to fine-grit sandpaper for a soft finish. Sand all surfaces you will see and touch. Smooth wood looks better and feels nice to touch.
Assembling The Table Frame
Assembling the table frame is the key step in building your console table. This part shapes the base and ensures the table will stand strong. Follow clear steps to join parts correctly and secure the frame well. Check stability to avoid wobbles and keep the table safe to use.
Joining Legs And Supports
Start by attaching the legs to the supports. Use screws or wood glue for a firm hold. Align the legs carefully so the frame stays square. Tighten the screws evenly to avoid gaps. This connection forms the skeleton of your table.
Securing The Frame
Next, secure the frame by adding cross supports. These pieces stop the frame from twisting or moving. Attach them between the legs using screws or brackets. Double-check each joint to make sure it is tight. A well-secured frame lasts longer and holds weight better.
Checking For Stability
Place the frame on a flat surface to test stability. Press gently on each corner to see if it rocks. If it moves, adjust screws or add shims under the legs. Stability is important to prevent accidents and damage. Keep adjusting until the frame feels solid and balanced.
Attaching The Tabletop
Attaching the tabletop is a key step in making a console table. This part gives the table its final look and makes it sturdy. Take your time to ensure the tabletop fits perfectly on the base. A well-attached top improves the table’s strength and style.
Aligning The Top
Place the tabletop on the frame carefully. Make sure all edges line up evenly. Use clamps to hold the top in place. Check from all sides to confirm it is straight. Proper alignment avoids gaps and wobbling later.
Fastening Techniques
Choose screws or brackets to secure the tabletop. Drill pilot holes first to prevent wood splitting. Attach the screws tightly but do not overtighten. Use corner brackets for extra support if needed. Secure the tabletop firmly to keep it stable.
Finishing Touches
Fill screw holes with wood filler for a smooth look. Sand the filled areas gently once dry. Clean the surface to remove dust and dirt. Apply a finish like paint or varnish to protect the wood. Let the finish dry completely before use.
Finishing And Painting
Finishing and painting your console table gives it a polished look. It also protects the wood from wear and tear. This step adds character and style to your piece. Careful finishing makes your table last longer. Follow these simple tips for the best results.
Choosing Paint Or Stain
Pick paint for a bright, colorful finish. Paint hides wood grain and adds bold color. Stain shows the natural wood texture and color. It soaks into the wood, enhancing its beauty. Choose based on the style you want. Both options can look great on your table.
Applying Coats Evenly
Use a brush or roller for smooth coats. Apply thin layers, not thick globs of paint. Let each coat dry fully before adding more. Light sanding between coats helps smooth the surface. This process prevents drips and rough patches.
Sealing For Durability
Seal your table with a clear topcoat. It protects against spills and scratches. Choose polyurethane or varnish for strong protection. Apply in thin, even coats. Let each coat dry well to avoid stickiness.
Credit: ellaandross.ca
Tips For Filming Your Diy
Filming your DIY console table project can be fun and rewarding. Good videos help others follow your steps easily. Clear and steady shots make your work stand out. These tips will help you shoot better videos for YouTube.
Setting Up Your Camera
Place your camera on a stable surface or tripod. Keep it steady to avoid shaky footage. Use a wide shot to show the whole workspace. Switch to close-ups for detailed steps. Make sure the camera captures your hands and tools clearly. Test the view before you start filming.
Lighting And Angles
Use natural light if possible. Position your table near a window for soft, even light. Avoid harsh shadows or bright spots. If natural light is not enough, use lamps or ring lights. Shoot from different angles to show all steps. Overhead shots work well for top views. Side angles highlight depth and detail.
Editing Basics
Trim unnecessary parts to keep your video short. Add text or voice instructions for clarity. Use simple transitions between clips. Adjust brightness and color if needed. Add background music at low volume to keep viewers interested. Check your video before uploading to ensure smooth flow.
Common Mistakes To Avoid
Building a console table from a YouTube tutorial can be fun. Mistakes happen, but some are easy to avoid. Avoiding common errors saves time and gives better results. Understanding these pitfalls helps you build a strong, beautiful table.
Measurement Errors
Wrong measurements cause many problems. Cutting wood too short or too long wastes material. Always double-check lengths before cutting. Use a reliable tape measure. Mark lines clearly with a pencil. Measure twice, cut once is a good rule.
Poor Assembly
Loose joints make the table weak. Tighten screws and nails properly. Use clamps to hold parts while gluing. Follow steps carefully from the video. Avoid rushing. A steady pace ensures all pieces fit well. Check angles with a square tool.
Finishing Flaws
Uneven paint or stain spoils the look. Sand the surface smooth before finishing. Clean dust off before applying paint or stain. Apply thin, even coats for better coverage. Let each layer dry fully. Avoid drips or brush marks for a clean finish.
Frequently Asked Questions
How Do I Make A Console Table For Beginners?
Start with simple designs using basic tools like saw, drill, and screws. Choose lightweight wood and follow step-by-step YouTube tutorials for easy assembly.
What Materials Are Best For A Console Table?
Use solid wood like pine or oak for durability. Plywood or MDF can work for budget-friendly options. Choose finishes that match your decor style.
How Long Does It Take To Build A Console Table?
Most DIY console tables take 3 to 6 hours. Time depends on design complexity and your skill level. Watching YouTube tutorials speeds up the process.
Can I Customize A Console Table Design On Youtube?
Yes, many YouTube creators offer customizable plans. You can adjust size, shape, and finish to fit your space and style preferences easily.
Conclusion
Making a console table on YouTube is simple and fun. Follow the steps carefully and take your time. Use the right tools and materials for best results. Watching videos helps you see each move clearly. Practice makes your work better and faster.
Enjoy creating furniture that fits your style. Sharing your project can inspire others too. Start your console table project today and build something useful.