Are you ready to create a unique bunk bed that fits perfectly in your space and matches your style? Making a handmade bunk bed might sound challenging, but with the right steps, you can build a sturdy, safe, and beautiful piece of furniture.
Imagine the pride you’ll feel when your kids climb into a bed you crafted with your own hands. In this guide, you’ll find simple instructions, helpful tips, and smart tricks that make the process easier than you think. Keep reading, and by the end, you’ll have everything you need to turn your vision into reality.
Choosing The Right Materials
Choosing the right materials is a key step in making a sturdy handmade bunk bed. Good materials ensure safety, durability, and a nice finish. Spend time picking wood, tools, and safety gear before starting your project.
Selecting Quality Wood
Choose hardwood like oak, maple, or birch for strength. Softwoods like pine can work but may dent easily. Check for straight grains and no cracks or knots. Wood should be dry to avoid warping later. Cut boards to size based on your bunk bed design.
Essential Tools And Hardware
Gather essential tools like a saw, drill, screwdriver, and measuring tape. Sandpaper helps smooth rough edges. Use wood screws and bolts that fit tightly. Consider brackets and safety rails for extra support. Quality hardware keeps the bed stable and secure.
Safety Gear Checklist
Wear safety goggles to protect your eyes from dust and chips. Use gloves to avoid splinters and cuts. A dust mask prevents inhaling wood particles. Hearing protection reduces noise from power tools. Keep a first aid kit nearby for minor injuries.
Planning Your Design
Planning your design is the first step to building a handmade bunk bed. It helps avoid mistakes and saves time. Careful planning ensures the bed fits well in the room and meets your needs. Think about space, size, and extra features before cutting any wood.
Measuring Space And Bed Size
Start by measuring the room space where the bunk bed will go. Note the ceiling height and wall length. Measure carefully to leave enough room around the bed. Decide on the bed size based on who will use it. Standard twin beds work for most kids. Double-check your measurements twice before moving on.
Sketching Your Bunk Bed Layout
Draw a simple sketch of your bunk bed design. Include top and side views to see the full shape. Show where the ladder, guardrails, and slats will go. Mark the bed’s height and width on the sketch. Use graph paper to keep proportions correct. This step helps you spot any design problems early.
Incorporating Storage And Features
Think about adding storage to save space. Draw shelves, drawers, or cubbies into your design. Consider adding a small desk or reading light for extra use. Plan the ladder and guardrails for safety. These features make the bunk bed more useful and fun.
Cutting And Preparing Wood
Cutting and preparing wood is the first step in making a sturdy handmade bunk bed. This step ensures all pieces fit perfectly. Careful preparation helps avoid mistakes later. Proper measuring and smooth edges make the bed safe and strong.
Marking And Measuring Cuts
Start by measuring each wood piece carefully. Use a tape measure and pencil for accuracy. Mark the exact spot where you will cut. Double-check all measurements before cutting. Clear and precise marks help you cut straight lines. Always measure twice to avoid errors.
Using Saws Safely
Choose the right saw for your wood type and size. Keep your hands away from the blade. Use clamps to hold wood steady while cutting. Wear safety goggles to protect your eyes. Cut slowly and steadily for clean edges. Take breaks to avoid fatigue and stay alert.
Sanding And Smoothing Edges
After cutting, sand the wood edges to smooth rough spots. Use fine-grit sandpaper for a gentle finish. Smooth edges prevent splinters and improve the bed’s look. Sand along the grain to avoid scratches. Check all edges with your hand for roughness. Repeat sanding if needed for safety and comfort.
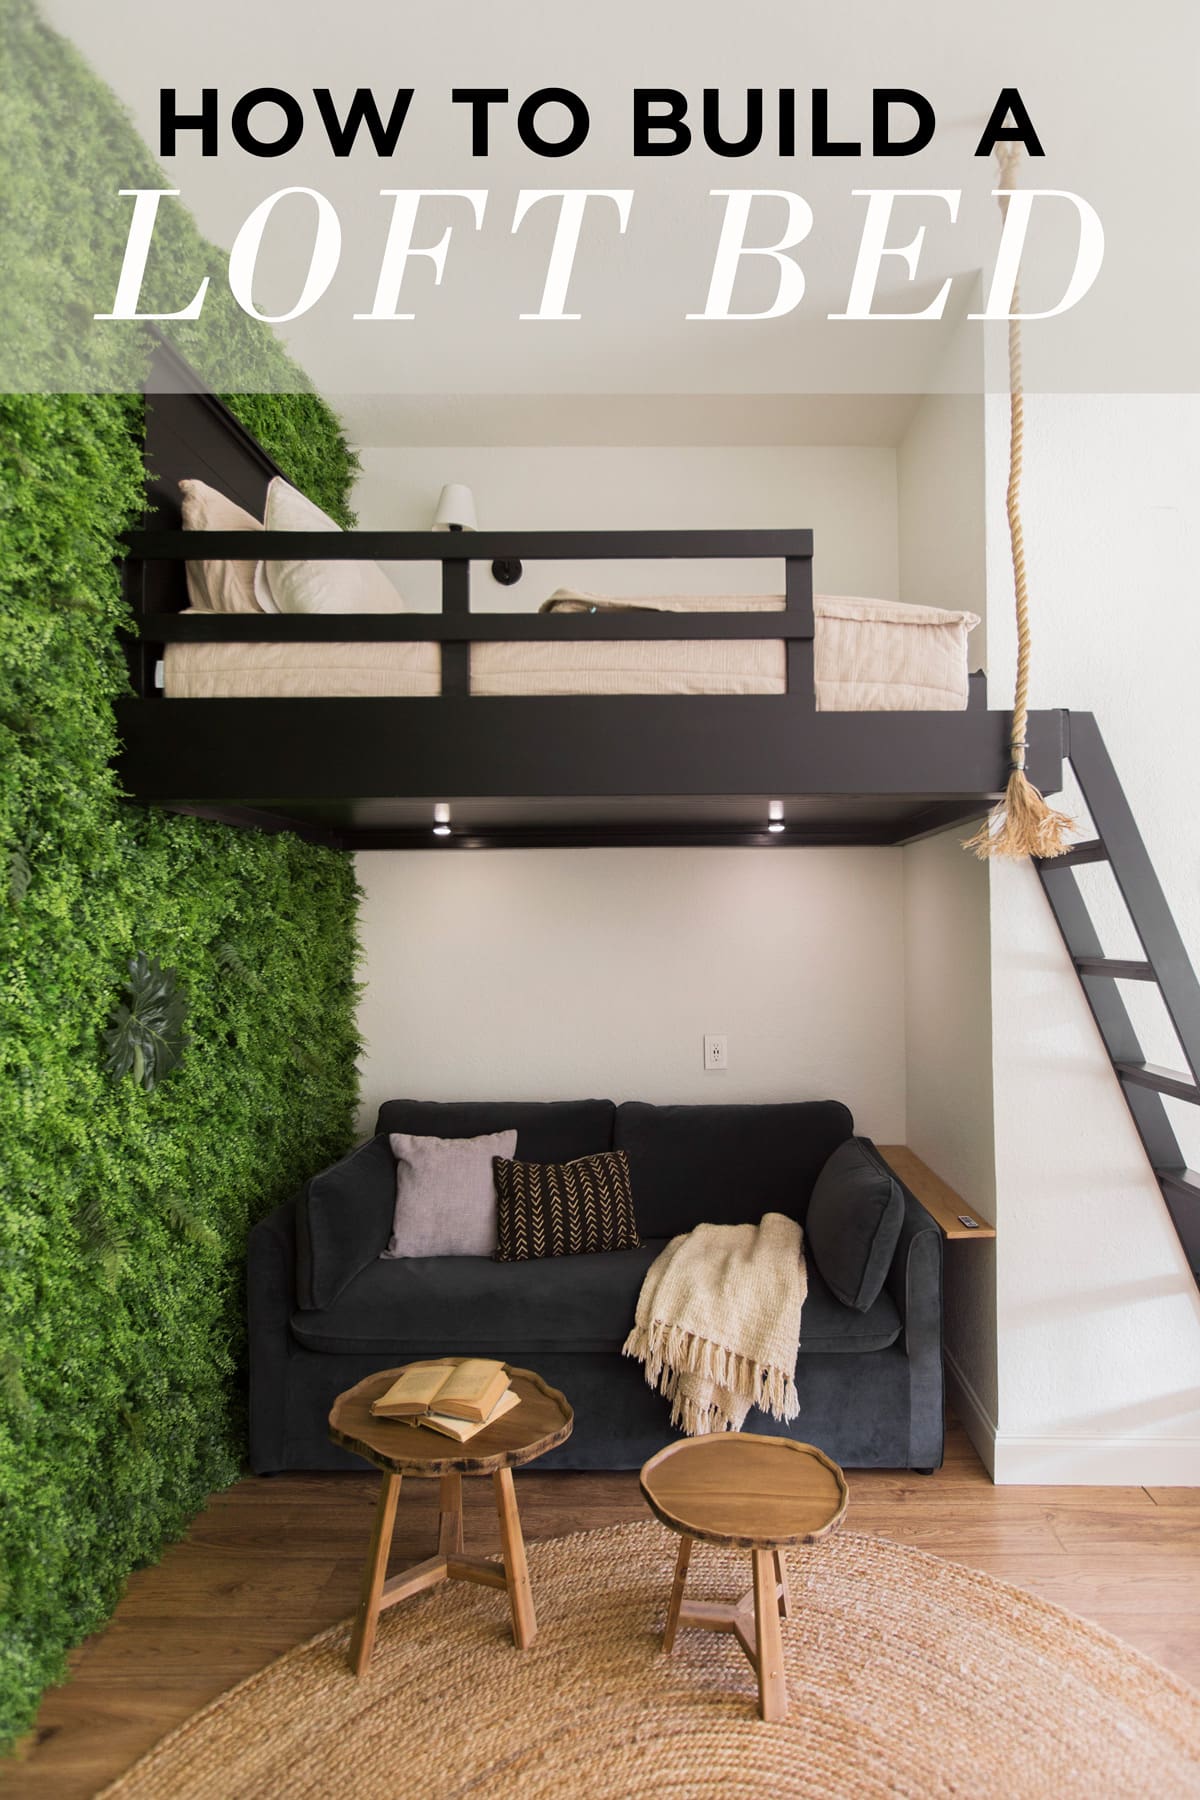
Credit: www.jennasuedesign.com
Assembling The Frame
Assembling the frame is the first big step in making a handmade bunk bed. It sets the foundation for the entire structure. Each part must fit well and be strong enough to hold weight safely. Follow clear steps to build a sturdy, reliable frame.
Building The Bed Posts
Start by cutting four bed posts to the desired height. These posts hold the whole bed up. Use strong wood like pine or oak for safety. Sand the edges smooth to avoid splinters. Drill holes for screws to join the posts later. Make sure all posts are the same size and shape.
Attaching Side Rails And Supports
Next, connect the side rails between the posts. These rails run the bed’s length. Attach support beams under the rails for extra strength. Use wood screws and corner brackets for a tight fit. Check that the frame is square by measuring diagonals. Tighten all screws to keep the frame stable.
Securing The Slats
Lay wooden slats across the frame to hold the mattress. Space the slats evenly for good support. Screw each slat into the side rails to stop shifting. Use enough slats to avoid mattress sagging. Confirm all slats sit flat and are secure before placing the mattress.
Adding Safety Elements
Adding safety elements is crucial when building a handmade bunk bed. Safety keeps children secure while they sleep and play. Simple steps can make the bed much safer. Focus on strong guardrails, a sturdy ladder, and checking stability. These parts protect from falls and accidents.
Installing Guardrails
Guardrails stop children from rolling off the top bunk. Use thick, smooth wood for the rails. Attach them firmly to the bed frame. Make sure the rails cover most of the bed’s length. Leave no gaps where a child could slip through. The height should be at least 5 inches above the mattress.
Creating A Sturdy Ladder
The ladder must hold the child’s weight safely. Use strong wood and wide steps for better grip. Fix the ladder at a slight angle to avoid slipping. Secure it tightly to the bed frame. Test the ladder for wobbling before use. Add non-slip pads on the ladder feet for extra safety.
Checking Stability And Weight Limits
Stability is key to prevent the bed from shaking or tipping. Tighten all screws and bolts firmly. Use corner braces for added strength. Know the weight limit of your materials. Do not exceed this limit to avoid accidents. Test the bed by applying pressure in different spots. Make sure it feels solid and safe.
Finishing Touches
Finishing touches give your handmade bunk bed its final look and feel. This step makes the bed safe, attractive, and ready to use. Take your time to do these carefully. Small details make a big difference.
Applying Paint Or Stain
Choose paint or stain that fits the room style. Paint covers the wood fully and offers many color choices. Stain shows the wood grain and gives a natural look.
Use a brush or roller for even coats. Apply thin layers and let each dry well before the next. This prevents drips and uneven color. Sand lightly between coats for smoothness.
Adding Decorative Details
Decorations add charm and personality to your bunk bed. Consider simple patterns, stickers, or carved designs. Use safe, non-toxic materials especially for kids’ beds.
Add small hooks for hanging bags or toys. Attach soft bumpers on corners for extra safety. These little extras make the bed more fun and useful.
Final Inspection And Cleanup
Check all screws, bolts, and joints. Tighten anything loose to ensure stability. Look for sharp edges or splinters and sand them smooth.
Remove dust and wood chips from the bed and floor. Clean tools and store leftover paint or stain properly. Now, your bunk bed is ready for use and looks great.
Maintaining Your Bunk Bed
Maintaining your handmade bunk bed keeps it safe and sturdy for years. Regular care helps avoid accidents and extends its life. A few simple steps make a big difference in keeping the bed reliable.
Regular Safety Checks
Check all screws and bolts often. Tighten any loose parts to keep the bed stable. Look for cracks or splinters in the wood. Make sure the ladder is secure and strong. Test guardrails to ensure they are firmly attached. These checks prevent accidents and keep children safe.
Cleaning And Care Tips
Dust the bunk bed weekly to keep it clean. Use a soft cloth and mild soap for tough spots. Avoid harsh chemicals that can damage the wood finish. Wipe spills quickly to stop stains or warping. Keep the bed dry to prevent mold or mildew. Clean beds make the room look nice and fresh.
Making Repairs And Upgrades
Fix any broken parts right away. Replace worn-out screws or broken slats. Sand down rough edges to avoid splinters. Add extra support if the bed feels wobbly. Consider upgrading to stronger guardrails or ladders. Small repairs keep the bunk bed safe and comfortable.

Credit: plankandpillow.com
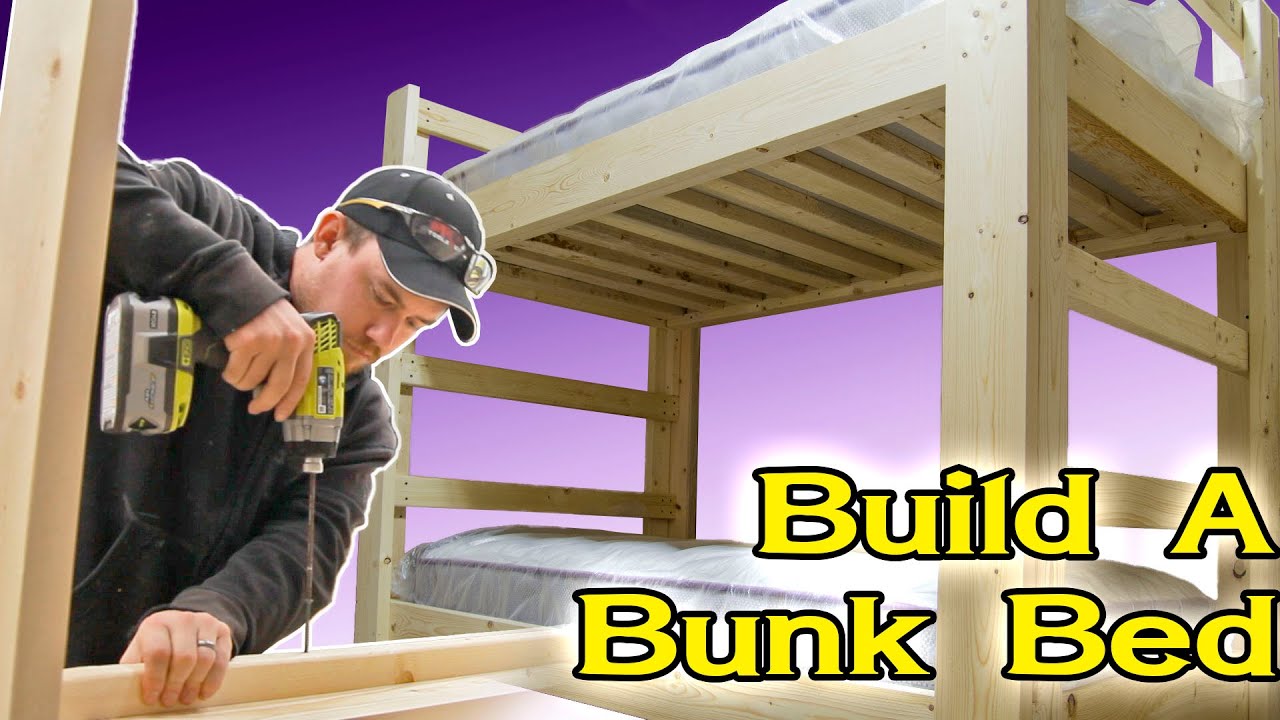
Credit: www.youtube.com
Frequently Asked Questions
What Materials Are Needed To Make A Handmade Bunk Bed?
You need quality wood, screws, nails, wood glue, sandpaper, a saw, drill, measuring tape, and paint or finish. Choose durable wood like pine or oak for safety and longevity.
How Long Does It Take To Build A Handmade Bunk Bed?
Building a handmade bunk bed typically takes 1 to 3 days. This depends on your skill level, tools, and design complexity.
Is It Safe To Build Your Own Bunk Bed?
Yes, if you follow safety guidelines, use strong materials, and secure all joints properly. Ensure guardrails and ladder are sturdy to prevent falls.
What Tools Are Essential For Making A Bunk Bed?
Essential tools include a saw, drill, screwdriver, measuring tape, level, clamps, and sander. These help ensure accurate cuts and secure assembly.
Conclusion
Building a handmade bunk bed takes time and care. You choose the wood, measure, cut, and join pieces carefully. Safety matters most, so check all screws and supports. Personalizing your bed adds a special touch. This project can save money and give pride.
Enjoy the process and the final result. A sturdy bunk bed makes great use of space. Start small, follow steps, and learn as you go. Your effort will create a cozy place to sleep. Simple tools and patience bring your idea to life.