Are you looking to give your bookshelf a stunning, professional finish? Adding crown molding is a simple way to transform a plain shelf into a stylish centerpiece in your room.
You don’t need to be an expert carpenter to do it, and with the right steps, you can achieve a polished look that impresses everyone. In this guide, you’ll learn exactly how to add crown molding to your bookshelf, step by step, so you can boost your space’s charm and value with confidence.
Keep reading, and discover how easy it is to upgrade your bookshelf today!

Credit: inhonorofdesign.com
Choosing The Right Crown Molding
Choosing the right crown molding is key to a beautiful bookshelf. It shapes the look and feel of the whole piece. The right molding can add style and charm. It also helps the bookshelf blend with your room’s decor. Take time to pick a molding that fits your space and taste.
Types Of Crown Molding
Crown molding comes in many shapes and sizes. Some have simple lines, while others are more detailed. Classic styles add elegance, while modern designs offer clean looks. Pick a style that matches your bookshelf’s design. Wood, MDF, and polyurethane are popular materials. Each type has its own look and cost.
Measuring Your Bookshelf
Measure your bookshelf carefully before buying molding. Measure the width of the top edge. Also, note the depth to ensure a good fit. Double-check your measurements to avoid mistakes. Accurate measurements help you buy the right length of molding. It also makes installation easier and neater.
Selecting Materials And Finishes
Choose materials that suit your budget and style. Wood moldings offer a natural, warm look. MDF is affordable and easy to paint. Polyurethane is lightweight and resists moisture well. Pick a finish that matches your bookshelf’s color. Paint or stain the molding to blend or contrast. A good finish protects the molding and looks great.

Credit: www.remodelandolacasa.com
Gathering Tools And Supplies
Adding crown molding to your bookshelf needs careful preparation. Gathering the right tools and supplies makes the job easier and safer. This step helps avoid delays and mistakes. Get everything ready before starting your project.
Essential Tools List
Start with a miter saw or a handsaw for clean angle cuts. A measuring tape ensures precise measurements. Use a pencil to mark your cuts. A nail gun or hammer helps attach the molding. Grab a level to keep lines straight. Sandpaper smooths rough edges. Wood glue strengthens joints. Have a caulk gun ready for finishing gaps.
Safety Equipment
Protect your eyes with safety goggles. Wear ear protection to block loud saw noise. Use a dust mask to avoid breathing sawdust. Gloves protect your hands from sharp edges. Dress in clothes that cover your skin. Keep a first aid kit nearby for small injuries.
Preparing Your Workspace
Clear the area around your bookshelf. Lay down a drop cloth to catch dust and debris. Ensure good lighting to see details clearly. Arrange tools within easy reach. Ventilate the space well to remove dust. Keep children and pets away for safety.
Preparing The Bookshelf
Preparing the bookshelf is a key step before adding crown molding. It ensures the molding fits well and looks neat. This process involves cleaning, sanding, marking, and checking the shelf’s shape. Taking time here saves effort later.
Cleaning And Sanding Surfaces
Start by wiping the bookshelf to remove dust and dirt. Use a damp cloth and let it dry completely. Next, sand the edges where the molding will attach. Sanding smooths rough spots and helps glue or nails hold better. Use fine-grit sandpaper for a clean finish.
Marking Cut Lines
Measure the top edges of the bookshelf carefully. Mark where the crown molding will go with a pencil. Use a ruler or tape measure to make straight lines. These marks guide your cuts for precise fitting. Clear lines prevent mistakes and save material.
Checking For Level And Squareness
Use a level to check if the bookshelf is even. An uneven shelf causes gaps in the molding. Also, check the corners with a carpenter’s square. Right angles help the molding fit tightly. Fix any issues before attaching the molding.
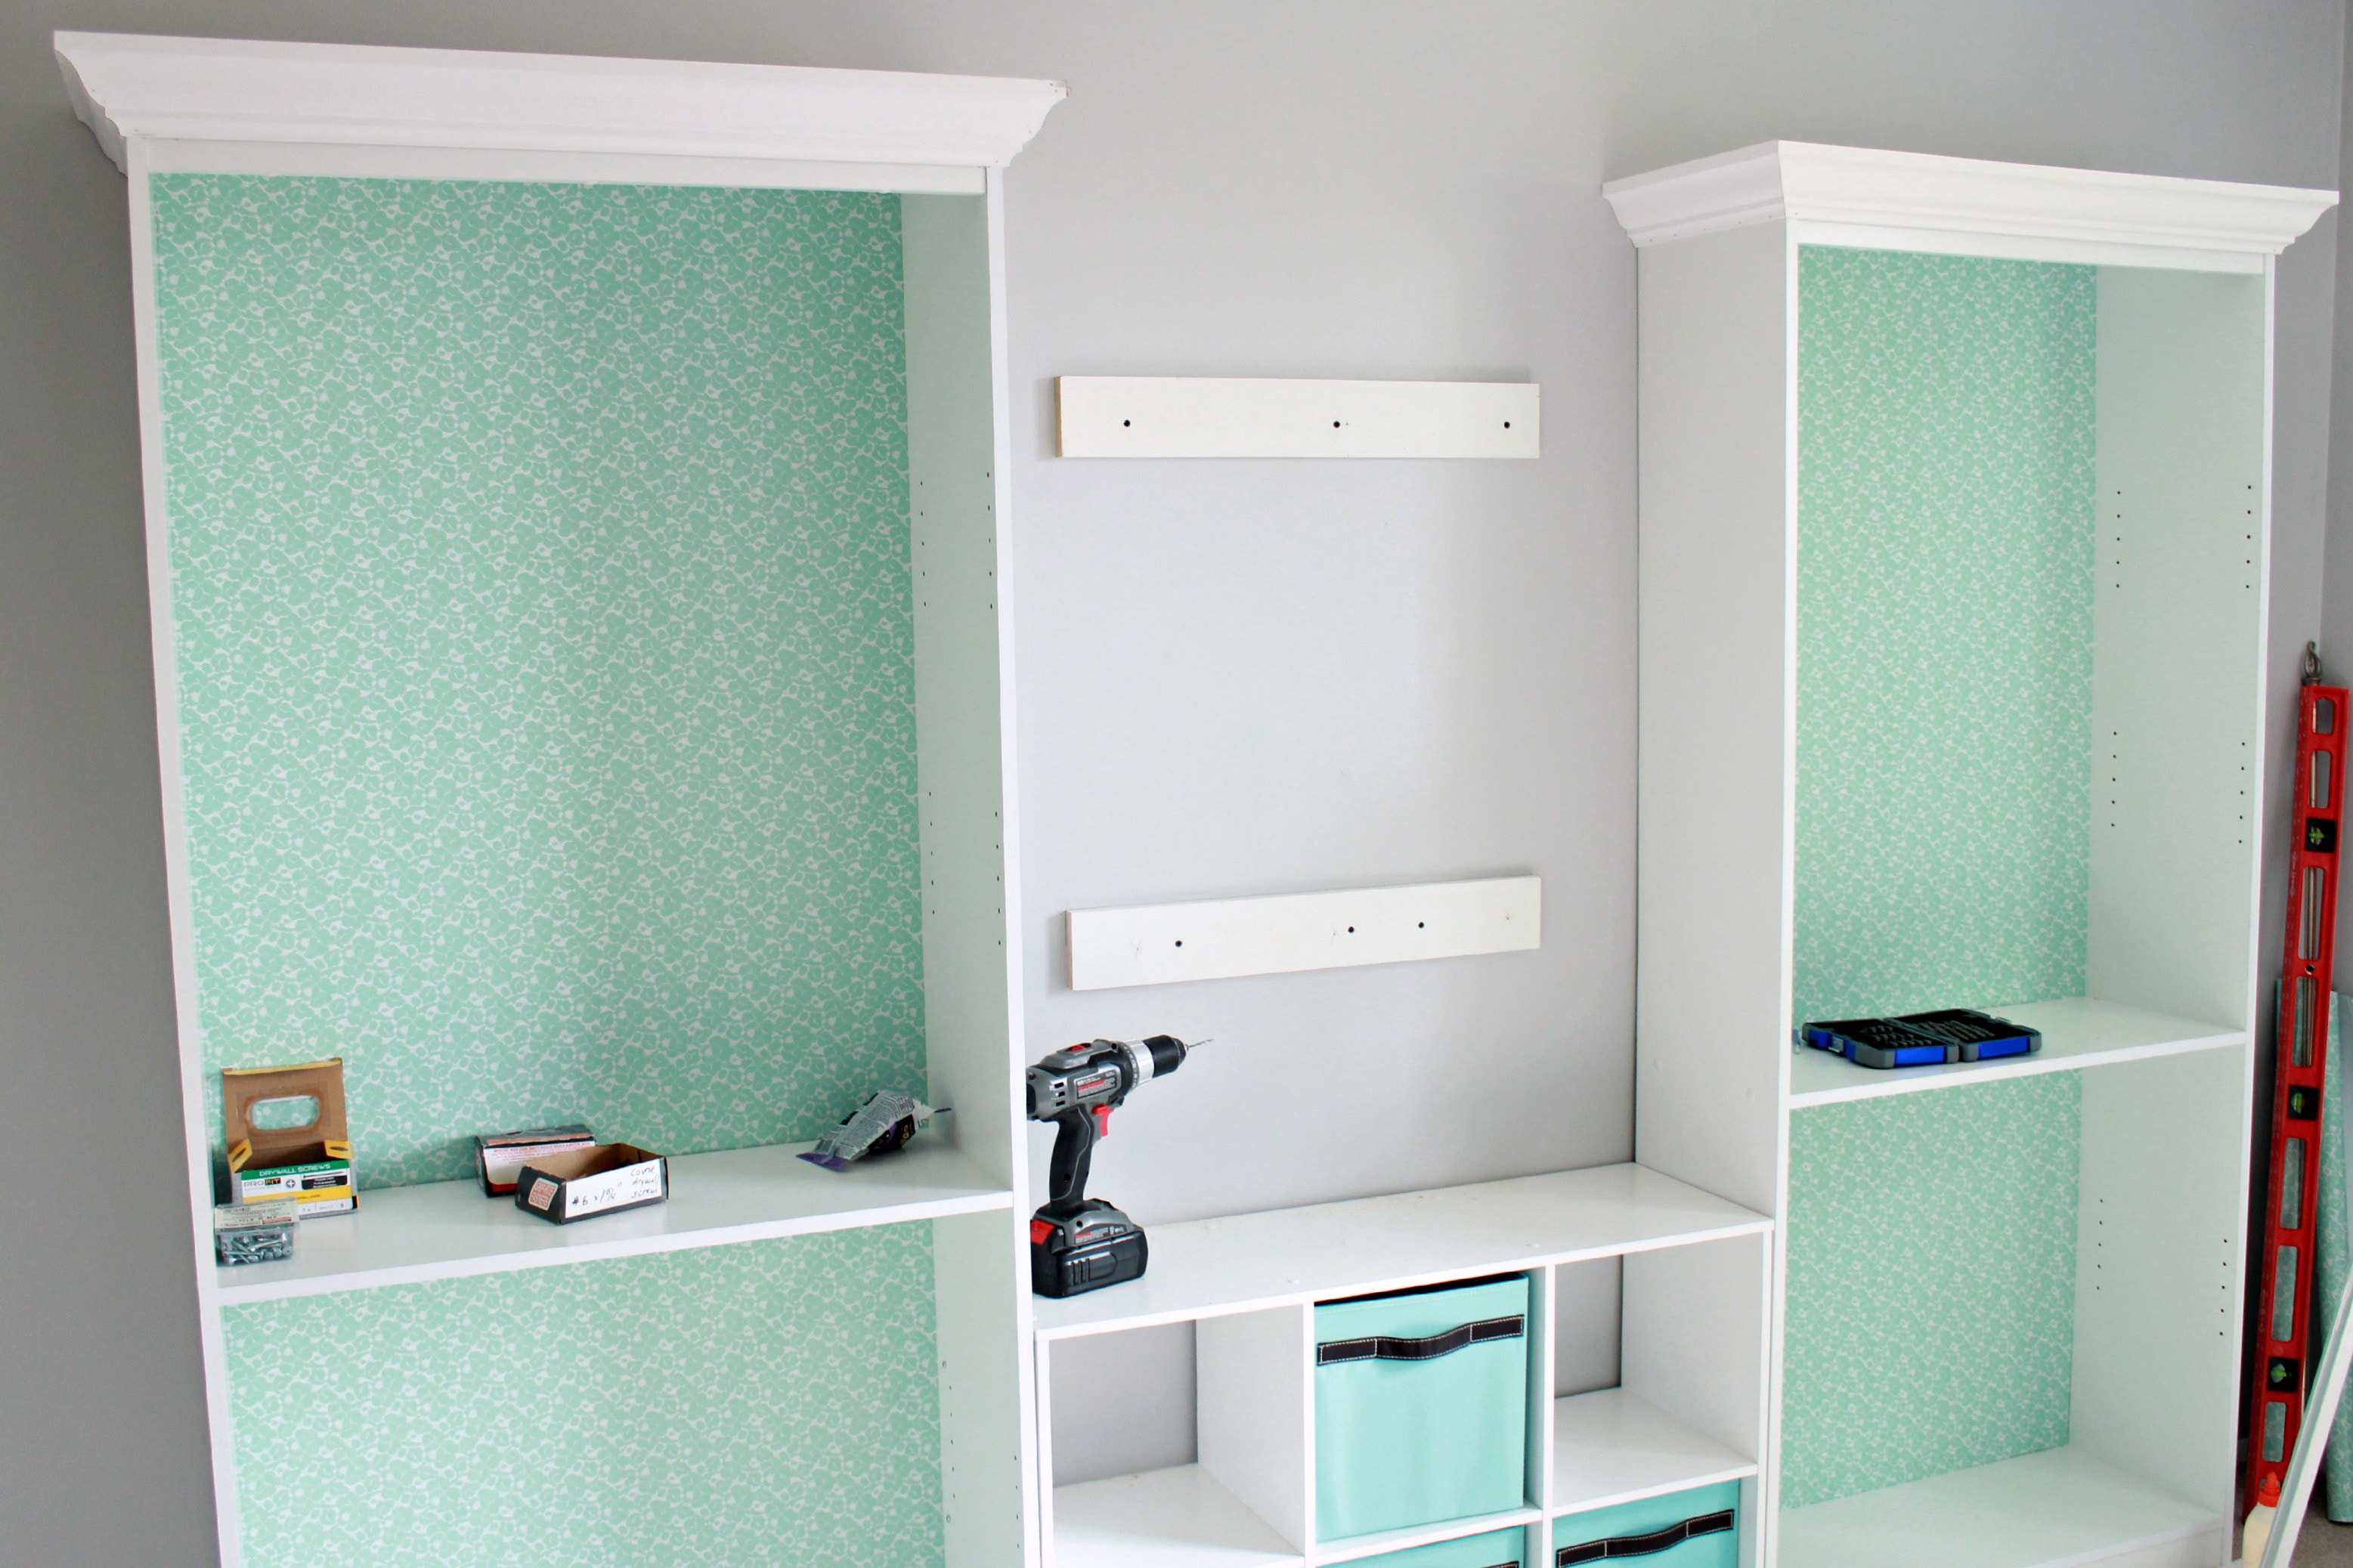
Credit: justagirlandherblog.com
Cutting Crown Molding
Cutting crown molding for a bookshelf requires careful planning and precise cuts. The molding must fit perfectly at corners and edges. This step sets the foundation for a professional look. Understanding different cutting techniques will help you achieve clean, tight joints. You need the right tools and knowledge to make accurate cuts.
Miter And Coping Cuts
Miter cuts are angled cuts made to join two pieces of molding at corners. They are common for outside corners. Coping cuts shape one piece to fit over the profile of another. Coping works best for inside corners and hides gaps better. Using a combination of both methods can create seamless corners on your bookshelf crown molding.
Using A Miter Saw
A miter saw is essential for cutting crown molding accurately. Set the saw at the correct angle for the cut. Most corners require 45-degree angles for miter cuts. Hold the molding firmly against the saw fence. Cut slowly to avoid splintering the wood. The miter saw allows quick and precise cuts for both straight and angled pieces.
Tips For Accurate Cuts
Measure twice, cut once. Mark your cut lines clearly on the molding. Use a sharp blade to prevent rough edges. Support the molding firmly while cutting. Cut slightly longer pieces to trim later if needed. Practice cuts on scrap pieces before cutting the actual molding. These tips ensure your crown molding fits perfectly on your bookshelf.
Attaching The Crown Molding
Attaching crown molding to a bookshelf makes it look polished and elegant. The process requires care to ensure the molding fits well and stays in place. This section explains how to attach the crown molding step by step.
Dry Fitting Pieces
First, place the crown molding pieces on top of the bookshelf without glue. Check how the corners meet and the edges align. Adjust the pieces for a perfect fit. Dry fitting helps avoid mistakes before permanent attachment.
Applying Adhesive And Nails
After dry fitting, apply wood glue along the edge of the bookshelf where the molding will sit. Use a strong adhesive designed for wood. Next, press the molding firmly against the shelf. Secure it with finishing nails to hold it while the glue dries.
Securing And Aligning Molding
Check the molding again for straightness and proper alignment. Use a level if needed. Tap nails gently to make sure the molding is flush with the bookshelf surface. Wipe off any excess glue quickly before it dries. Let the adhesive cure fully for a strong bond.
Finishing Touches
Finishing touches give your bookshelf a clean, polished look. These final steps hide mistakes and prepare the surface for a perfect finish. A well-done finish makes the crown molding blend smoothly with the bookshelf. Take time on each step for the best results.
Filling Gaps And Nail Holes
Fill gaps between the crown molding and bookshelf with wood filler. Use a putty knife to press filler into cracks. Fill nail holes to hide fasteners and create a smooth surface. Let the filler dry fully before moving on. This step makes your work look neat and professional.
Sanding For Smoothness
Sand the filled areas with fine-grit sandpaper. Smooth out rough spots on the crown molding. Sand lightly to avoid damaging the wood. Wipe dust away with a clean cloth. Sanding helps paint or stain stick better and gives a clean finish.
Painting Or Staining
Choose paint or stain that matches your bookshelf style. Use a brush or small roller for even coverage. Apply thin coats to avoid drips and runs. Let each coat dry before applying the next. Painting or staining protects the wood and enhances the crown molding’s beauty.
Maintenance And Care
Keeping crown molding on your bookshelf in great shape needs regular care. Small steps can keep it looking fresh and new for years. This section covers simple ways to clean, touch up, and protect your crown molding.
Cleaning Crown Molding
Dust crown molding often with a soft cloth or duster. Use a damp cloth for sticky spots. Avoid harsh chemicals that can damage the paint or wood. Gentle cleaning keeps the molding bright and prevents buildup.
Touching Up Paint
Scratches and chips can happen over time. Keep some matching paint handy for quick fixes. Use a small brush to carefully cover damaged areas. This helps the crown molding look smooth and well-kept.
Preventing Damage
Be careful when placing or moving items near the bookshelf. Avoid hitting the molding with hard objects. Keep pets and children from scratching the wood. Taking simple steps can stop dents and cracks before they start.
Frequently Asked Questions
What Tools Do I Need To Add Crown Molding To A Bookshelf?
You need a miter saw, measuring tape, wood glue, nails, nail gun, sandpaper, and paint or stain. Safety gear like goggles is also essential.
How Do I Measure For Crown Molding On A Bookshelf?
Measure the top length and width of the bookshelf. Add extra inches for mitered corners to ensure accurate cuts.
Can I Install Crown Molding Without Professional Help?
Yes, with basic carpentry skills and proper tools, you can install crown molding yourself. Follow step-by-step guides carefully.
What Type Of Wood Is Best For Bookshelf Crown Molding?
Lightweight woods like pine or poplar are ideal. They are easy to cut, paint, and match most bookshelf styles.
Conclusion
Adding crown molding to your bookshelf can improve its look a lot. It takes some care and the right tools. Follow the steps slowly and check your work often. The extra detail makes the bookshelf stand out nicely. You will enjoy the new style in your room.
Try this project to make your shelf look special and neat. Small changes like this bring big difference. Give it a go and see the change yourself.