Are you ready to create a stunning wooden console table that fits perfectly in your home? Building your own piece of furniture might sound tricky, but with the right steps, you can make it happen—even if you’re new to woodworking.
Imagine having a unique table that not only looks great but also carries the satisfaction of your own handiwork. In this guide, you’ll discover simple, clear instructions to help you build a beautiful wooden console table from start to finish.
Keep reading, and you’ll soon have the skills and confidence to make your space truly yours.
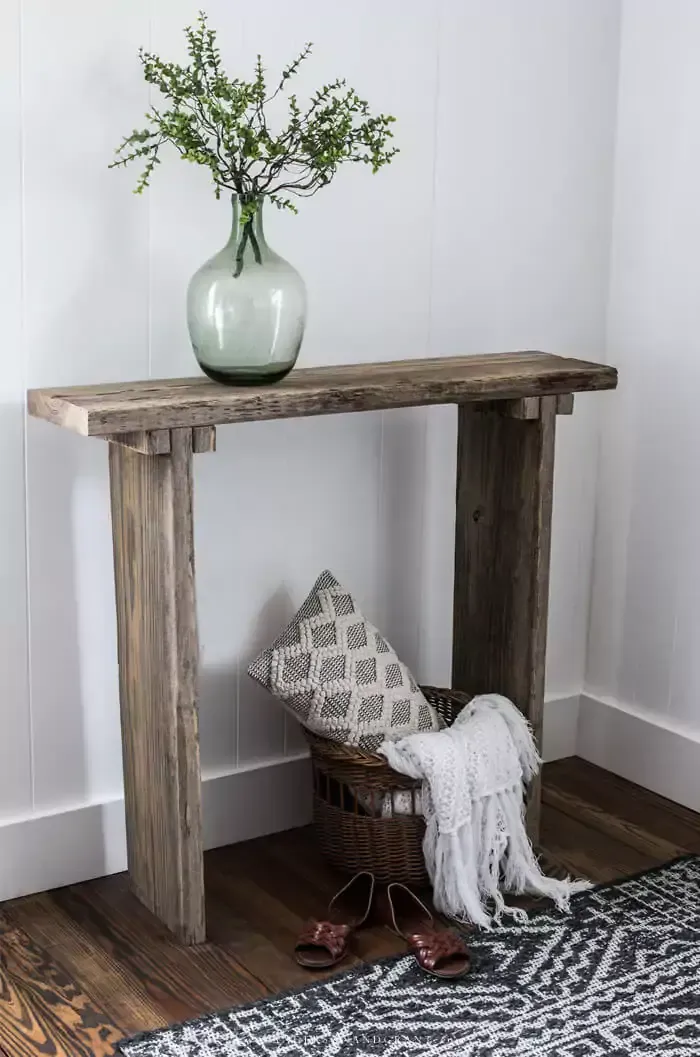
Credit: www.andersonandgrant.com
Choosing The Right Wood
Choosing the right wood is the first step in building a wooden console table. The type of wood affects the table’s look, strength, and lifespan. Picking good wood makes your project easier and the final product better. This section explores the best wood types, their quality, and where to find them.
Types Of Wood For Console Tables
Hardwoods like oak, maple, and walnut are popular for console tables. They offer strength and a beautiful finish. Pine and cedar are softer woods but easier to work with. Each wood type has a unique grain and color. Choose wood that matches your style and skill level.
Wood Quality And Durability
Check for wood that is dry and free of cracks. High-quality wood lasts longer and holds screws well. Avoid wood with knots or warping. Durable wood withstands daily use without damage. Good quality ensures your table stays strong and stable.
Sourcing Materials
Buy wood from local lumber yards or reputable stores. Some places offer sustainably harvested options. Inspect wood before purchase for defects. Online stores also provide a wide range of choices. Always compare prices to find the best deal for your project.
Gathering Tools And Supplies
Building a wooden console table starts with gathering the right tools and supplies. Having everything ready helps the work go smoothly. It saves time and avoids frustration. You need tools to cut, join, and finish the wood. Supplies like wood, screws, and glue are essential too. Below are the key items to prepare before you begin.
Essential Tools List
First, a saw is important to cut the wood pieces to size. A circular saw or a handsaw works well. A drill helps make holes for screws. It also drives screws into the wood. Sandpaper or an electric sander smooths rough edges and surfaces. A tape measure ensures accurate measurements. A carpenter’s square helps keep corners straight. Clamps hold pieces in place while you work. A screwdriver or drill bit set is necessary for screws. A pencil marks cutting lines and drilling spots.
Additional Materials Needed
Wood boards form the main structure of the table. Choose hardwood for strength and durability. Wood glue adds extra bonding strength between parts. Screws hold the pieces firmly together. Wood filler covers any gaps or holes. Stain or paint finishes the table’s surface. You may want a clear sealant to protect the wood. Sanding blocks help with fine smoothing. Protective gear like gloves and goggles keeps you safe.
Designing Your Console Table
Designing your wooden console table is the first step in creating a piece that fits your space and style. Thoughtful design helps you build a table that is both useful and beautiful. It involves careful measurement, drawing your ideas, and choosing the right finishes.
Measuring And Planning Dimensions
Start by measuring the space where the console table will go. Note the length, height, and depth allowed. Consider the table’s purpose. Will it hold decor, store items, or both? Plan dimensions that suit these needs. Keep enough room around the table for easy movement. Accurate measurements prevent mistakes during building.
Sketching Your Design
Draw a simple sketch of your console table. Show the top, sides, and legs. Use basic shapes and lines. Mark the dimensions on your sketch. Sketching helps you see the overall look. It also guides your cutting and assembly. You can adjust the design before you start building.
Selecting Finishes And Styles
Choose a finish that matches your room’s decor. Wood stains bring out natural grain. Paint adds color and protection. Decide on a smooth or rough texture. Pick styles like modern, rustic, or classic. The right finish and style make your table stand out. They protect the wood and make cleaning easier.
Cutting The Wood Pieces
Cutting the wood pieces is an important step in building your wooden console table. It shapes the parts that will form the table’s frame and surface. Accurate cuts ensure the table fits together well and looks good.
Take your time measuring and cutting each piece. Precise cuts make assembly easier and the finished table stronger.
Marking Measurements
Start by measuring the wood carefully with a tape measure. Mark the cutting lines clearly using a pencil. Use a square tool to make straight, right-angle lines. Double-check each measurement before marking. Clear marks help you cut the wood accurately without mistakes.
Safe Cutting Techniques
Wear safety glasses and gloves to protect yourself. Use a sharp saw for clean cuts. Keep your hands away from the blade path at all times. Cut slowly and steadily along the marked line. Secure the wood piece with clamps to stop it from moving. Safety prevents accidents and helps you cut better.
Preparing Pieces For Assembly
After cutting, check each wood piece for smooth edges. Use sandpaper to remove splinters and rough spots. Group the pieces by size and function. This makes it easy to find parts when assembling. Proper preparation ensures your console table fits together perfectly.
Assembling The Table Frame
Assembling the table frame is the step where your wooden console table starts to take shape. This process connects all parts, creating a strong base for the tabletop. A well-built frame supports the table’s weight and keeps it steady. Careful assembly ensures your table lasts for years.
Joining Legs And Supports
Start by attaching the legs to the side supports. Use clamps to hold pieces firmly. Check that legs stand straight. Align each leg with the support edges. This alignment helps the table stand evenly on the floor. Take your time to fit parts well.
Using Screws And Wood Glue
Apply wood glue on the joining surfaces for extra strength. Insert screws to secure the legs and supports. Use a drill to make pilot holes first. Pilot holes prevent the wood from splitting. Tighten screws until the joints feel tight but avoid over-tightening.
Ensuring Stability
Once all parts are joined, check the frame’s stability. Place the frame on a flat surface. Gently shake it to test for wobbling. Adjust screws or add corner braces if needed. A stable frame means your console table will be safe to use.
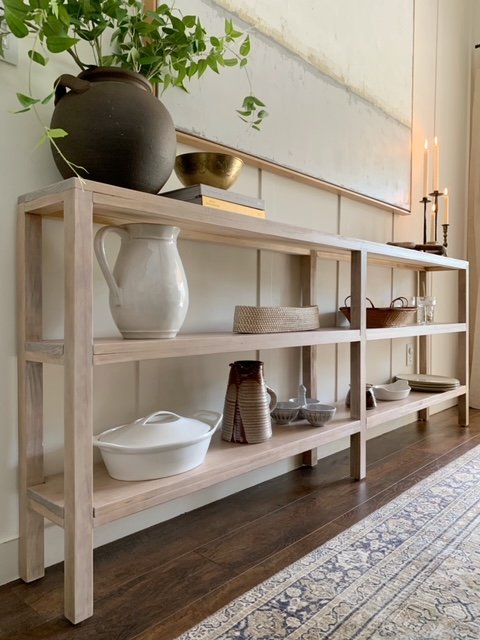
Credit: www.hartleyhomedesign.com
Adding The Tabletop
Adding the tabletop is an important step in building your wooden console table. This part makes the table strong and gives it a finished look. Taking time to attach and finish the tabletop well ensures your table will last long and look great in your home.
Attaching The Top Securely
Place the tabletop on the base carefully. Make sure it is centered and straight. Use screws or wood glue to fix it firmly. Drilling pilot holes helps prevent the wood from splitting. Check that the tabletop does not move before tightening screws fully. Secure attachment stops wobbling and keeps the table stable.
Sanding Edges And Surfaces
Sanding smooths the wood and removes rough spots. Use fine-grit sandpaper to avoid deep scratches. Sand all edges and surfaces evenly. Pay close attention to corners to prevent splinters. A smooth surface feels nice and helps paint or stain stick better. Wipe off dust after sanding to keep the wood clean.
Finishing Touches
Finishing touches give your wooden console table a polished look. They protect the wood and enhance its beauty. This step brings out the best in your project. Proper finishing makes the table last longer and look great in any room.
Applying Stain Or Paint
Choose a stain or paint that matches your style. Stain shows the wood grain and adds warmth. Paint covers the wood for a solid color look. Use a brush or cloth to apply evenly. Let each coat dry fully before adding another. Multiple coats improve color depth and coverage.
Sealing For Protection
Sealing shields your table from spills and scratches. Use clear polyurethane or varnish for strong protection. Apply thin layers with a clean brush. Allow drying time between coats. This step keeps the wood safe and easy to clean. A sealed surface also adds a nice shine.
Final Sanding And Polishing
Lightly sand the sealed surface with fine-grit sandpaper. This smooths out any rough spots or bubbles. Wipe off dust with a soft cloth. Then, polish the table using furniture wax or oil. Polishing gives a smooth, shiny finish. It enhances color and adds a soft glow to the wood.
Maintenance Tips
Maintaining your wooden console table keeps it beautiful and strong for years. Proper care helps avoid damage and wear. Simple steps can protect your table and save money on repairs.
Cleaning Your Console Table
Dust the table regularly with a soft cloth. Use a damp cloth for sticky spots. Avoid harsh chemicals that can damage the wood. Dry the surface immediately after cleaning to prevent water stains.
Repairing Minor Damages
Fill small scratches with wood filler or a matching crayon. Lightly sand rough edges to smooth them out. Use wood glue to fix loose joints. Act quickly to stop damage from spreading.
Extending Table Lifespan
Keep the table away from direct sunlight and heat sources. Use coasters and mats to protect the surface. Apply wood polish or oil every few months. Tighten screws and bolts regularly to keep it stable.

Credit: farmhouseishblog.com
Frequently Asked Questions
What Materials Are Needed To Build A Wooden Console Table?
You need wood planks, screws, wood glue, sandpaper, wood stain, and a drill. Optional items include clamps and a measuring tape. Quality materials ensure durability and a polished finish.
How Long Does It Take To Build A Wooden Console Table?
Building a wooden console table typically takes 4 to 6 hours. Time depends on your skill level and the complexity of the design. Proper preparation speeds up the process.
What Wood Type Is Best For A Console Table?
Hardwoods like oak, maple, or walnut are best for console tables. They offer strength, durability, and a beautiful finish. Choose based on your style preference and budget.
How Do I Finish And Protect My Wooden Console Table?
Apply wood stain or paint followed by a clear sealant or polyurethane. This protects the wood from moisture and wear. Sand lightly between coats for a smooth finish.
Conclusion
Building a wooden console table is a fun and rewarding project. You can create a piece that fits your style and space perfectly. Take your time with each step to get the best results. Using basic tools and materials makes this task simple.
Enjoy the process and feel proud of your work. This table will add charm and function to any room. Try this project to improve your woodworking skills today.
