Are you looking to create a workspace that’s both practical and stylish? Building a desk with a bookshelf can be the perfect solution.
It saves space, keeps your essentials within reach, and adds a personal touch to your room. Imagine having your favorite books and work tools organized right where you need them. In this guide, you’ll discover simple steps to build your own desk with a bookshelf—even if you’re new to DIY projects.
Ready to transform your space and boost your productivity? Let’s dive in and make it happen!
Choosing Materials
Choosing the right materials is key to building a sturdy desk with a bookshelf. The materials affect the strength, look, and lifespan of your project. Picking good quality materials saves time and effort in the long run. This section helps you select the best wood types, tools, and hardware for your build.
Selecting Wood Types
Wood is the main material for your desk and bookshelf. Solid wood like pine, oak, or maple is strong and lasts long. Pine is affordable and easy to work with. Oak and maple are harder woods with a nice finish.
Engineered wood, such as plywood or MDF, is cheaper and smooth. It resists warping better than solid wood. Choose plywood with a good veneer for a clean look. MDF is good for painting but not very strong.
Consider the weight of the wood. Heavy wood means a stable desk but harder to move. Lighter wood is easier to handle and still strong enough for most desks.
Picking Tools And Hardware
Using the right tools makes your work easier and safer. Basic tools include a saw, drill, screwdriver, and measuring tape. A sander helps smooth the wood surfaces.
Hardware like screws, brackets, and wood glue hold your desk together. Choose screws that are the right length for the wood thickness. Metal brackets add extra support for shelves.
Consider finishing supplies such as wood stain or paint. These protect the wood and improve the look. Sanding and sealing the wood prevents damage from spills and dust.
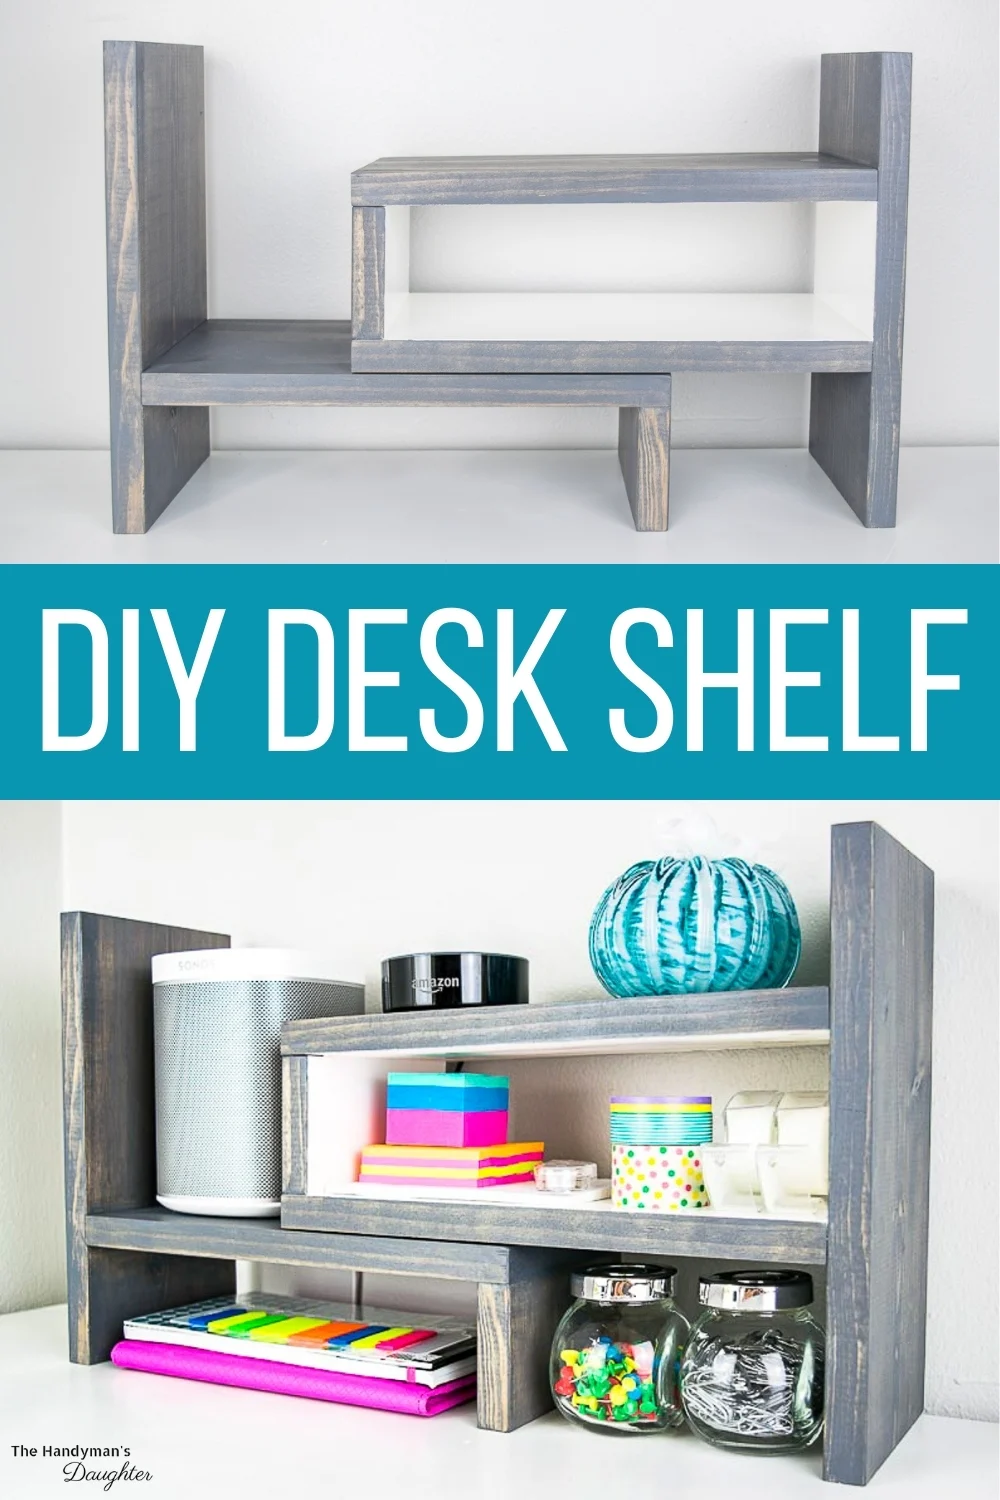
Credit: www.thehandymansdaughter.com
Planning Your Design
Planning your design is the first step in building a desk with a bookshelf. It helps avoid mistakes and saves time. Careful planning ensures the desk fits your space and meets your needs. This section covers measuring space, sketching layout, and deciding shelf placement.
Measuring Space
Start by measuring the area where you want to place the desk. Use a tape measure to get the width, depth, and height. Note any obstacles like windows or vents. Check the floor space carefully. Accurate measurements help create a desk that fits perfectly.
Sketching Layout
Draw a simple plan of your desk and bookshelf. Use graph paper or a digital tool. Mark the desk top, legs, and shelves. Show where each part will go. Sketching helps visualize the final look. It also guides you during construction.
Deciding Shelf Placement
Think about what you will store on the shelves. Place frequently used items at eye level. Use lower shelves for heavier books or boxes. Higher shelves can hold light or decorative items. Balanced shelf placement improves both function and style.
Preparing The Workspace
Preparing the workspace is the first step in building a desk with a bookshelf. A clean, organized area helps you work safely and efficiently. It also makes the process easier and more enjoyable. Take time to prepare well before starting the project.
Clearing Area
Clear the space where you will build your desk and bookshelf. Remove any furniture or items that may block your work. Make sure the floor is clean and free from dust or debris. A tidy area prevents accidents and helps you move freely.
Choose a spot with enough room to spread out your materials. Good lighting is important to see details clearly. Open windows or use lamps to brighten your workspace.
Setting Up Tools
Gather all the tools needed for the project before starting. Common tools include a saw, drill, screwdriver, measuring tape, and level. Check that each tool is in good condition and working properly.
Arrange your tools within easy reach to avoid wasting time. Keep nails, screws, and other small parts in containers to prevent loss. Having everything ready saves time and reduces frustration during assembly.
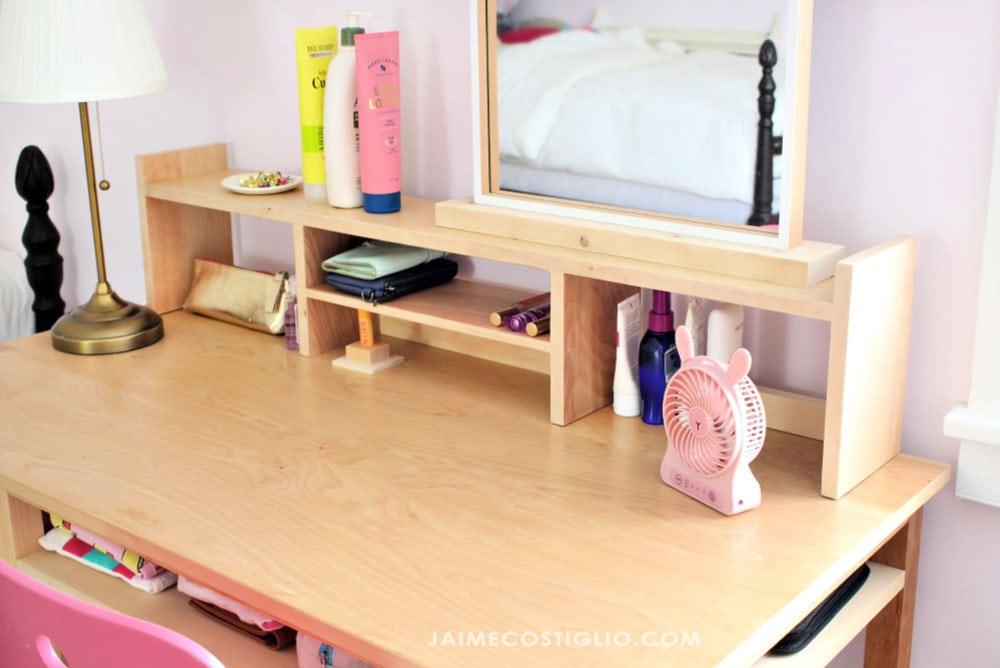
Credit: jaimecostiglio.com
Cutting And Sanding
Cutting and sanding are key steps to build a desk with a bookshelf. These steps help shape the wood and create smooth surfaces. Good cutting and sanding make the desk look neat and last longer.
Cutting Wood Pieces
Start by measuring the wood carefully. Mark the lines where you will cut. Use a saw to cut along the marked lines. Cut slowly and steadily for clean edges. Safety glasses protect your eyes from dust and wood chips. Keep your hands away from the saw blade. Cut each piece to the right size for your desk and shelf parts.
Sanding Surfaces
After cutting, the wood edges will be rough. Sand these surfaces to make them smooth. Use medium-grit sandpaper first to remove big splinters. Then use fine-grit sandpaper for a soft finish. Sand all faces, edges, and corners of each piece. Wipe dust off with a cloth after sanding. Smooth wood helps paint or stain stick better. It also prevents splinters when touching the desk.
Assembling The Bookshelf
Assembling the bookshelf is a key step in building your desk with a bookshelf. It creates the structure that holds your books and decor. Careful assembly ensures the bookshelf is sturdy and long-lasting.
Take your time during this process. Follow the steps closely to avoid mistakes. A well-assembled bookshelf looks good and supports weight safely.
Building Frame
Start by laying out all the frame pieces. These usually include side panels, top, and bottom boards. Align the pieces on a flat surface for easy handling.
Use screws or nails to join the side panels to the top and bottom boards. Make sure corners are square using a carpenter’s square or measuring tape. This keeps the frame stable and even.
Check for any gaps or loose connections. Tighten screws or add wood glue for extra strength. The frame must be solid before moving to shelves.
Installing Shelves
Measure the inside height of the frame to decide shelf spacing. Mark positions clearly on the side panels. This ensures shelves are level and evenly spaced.
Attach shelf supports like brackets or small ledges at marked points. These hold each shelf firmly in place. Use a level to keep shelves straight.
Slide the shelves onto the supports. Press gently to secure them. Double-check shelf alignment and adjust if needed before final tightening.
Test the strength by pressing lightly on shelves. They should hold firm without wobbling. Proper shelf installation protects your books and items from falling.
Constructing The Desk
Constructing the desk is the key step in this project. This part brings the design to life. You will join the parts carefully to make a strong workspace. Follow clear steps to ensure your desk is stable and looks good.
Attaching Desktop
Start by placing the desktop on the bookshelf frame. Align edges so the surface is even. Use clamps to hold the desktop in place. Drill pilot holes to avoid splitting the wood. Screw the desktop securely into the frame. Check for any movement and tighten screws as needed.
Securing Structure
Next, focus on strengthening the desk frame. Add brackets under the desktop for extra support. Attach corner braces inside the bookshelf sections. Use screws that fit well and hold tight. Test the desk by pressing gently on different spots. Fix any wobble by tightening fasteners or adding braces.
Finishing Touches
Finishing touches bring your desk with bookshelf to life. They enhance both look and function. Small details can make a big difference. These final steps help your project fit perfectly into your space.
Painting Or Staining
Choose a paint or stain that matches your room style. Painting gives a fresh, clean look. Staining shows the natural wood grain beautifully. Apply thin, even coats for the best finish. Let each coat dry fully before adding the next. Light sanding between coats makes the surface smooth.
Adding Hardware
Add handles or knobs to drawers and cabinet doors. Pick hardware that fits your desk’s style and color. Make sure screws are tight and pieces are secure. Hardware not only looks nice but also improves use. Check the placement carefully before drilling holes.
Organizing Workspace
Arrange your books and tools for easy access. Use baskets or boxes to keep small items neat. Leave space for your computer and writing area. A tidy desk helps you focus and work better. Change the setup if it feels cluttered or cramped.
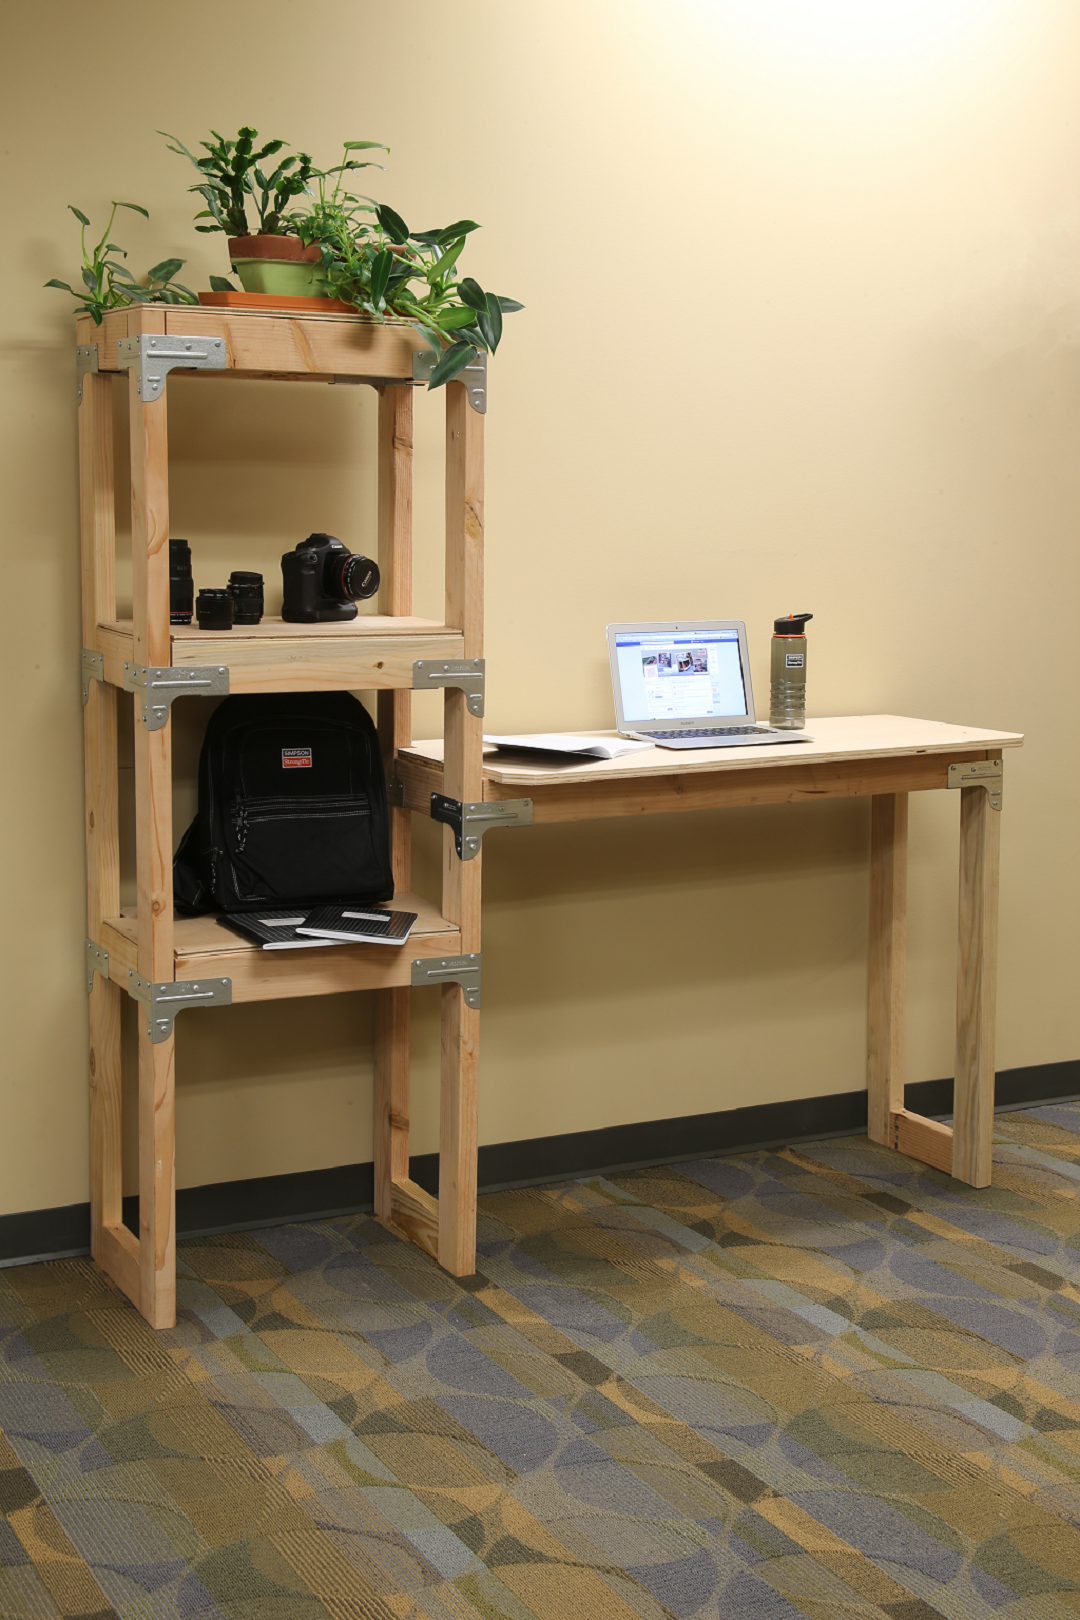
Credit: blog.strongtie.com
Frequently Asked Questions
What Materials Are Needed To Build A Desk With Bookshelf?
You need wood panels, screws, brackets, sandpaper, paint, and wood glue. Optional tools include a drill, saw, and measuring tape. Quality materials ensure durability and stability for your desk and bookshelf combo.
How Do I Design A Desk With An Integrated Bookshelf?
Plan dimensions based on available space and storage needs. Sketch the layout, balancing desk surface and shelf space. Ensure ergonomic height and easy access to books while working.
Can I Build A Desk With Bookshelf Without Woodworking Skills?
Yes, basic woodworking skills suffice for this project. Use pre-cut wood or kits to simplify assembly. Follow step-by-step instructions and safety precautions for best results.
How Long Does It Take To Build A Desk With Bookshelf?
Building time varies by complexity but usually takes 4 to 8 hours. Preparation and finishing (painting or staining) may add extra time. Proper planning speeds up the process.
Conclusion
Building a desk with a bookshelf is a smart choice. It saves space and keeps your room tidy. You only need basic tools and some patience. Follow the steps carefully for a sturdy result. Personalize the design to fit your needs and style.
This project adds both function and charm to any space. Enjoy working on it and feel proud of your creation.