Are you looking for a unique way to add charm and storage to your space? Imagine turning a simple rowboat into a stunning bookshelf that becomes the centerpiece of any room.
Making a rowboat bookshelf is easier than you think, and it gives your home a creative touch that guests will admire. In this guide, you’ll discover step-by-step how to build your own rowboat bookshelf, even if you’re not an expert.
Ready to transform your space with a project that’s both fun and functional? Let’s dive in!
Choosing The Right Materials
Choosing the right materials is key to building a strong row boat bookshelf. The materials affect the shelf’s look and how long it lasts. Picking good wood and the correct tools can make your project easier and more fun.
Selecting Wood Types
Wood choice shapes the bookshelf’s style and strength. Pine is soft, easy to cut, and budget-friendly. Oak is hard, strong, and lasts long. Cedar resists moisture and smells nice. Choose wood that fits your room’s style and your skills. Avoid wood with many knots or cracks. Smooth surfaces need less sanding and paint better.
Gathering Tools And Supplies
Good tools save time and improve results. You need a saw to cut the wood. A drill helps make holes for screws. Sandpaper smooths rough edges. Screws hold pieces tightly. Wood glue adds extra strength. A measuring tape ensures exact cuts. Safety gear like gloves and goggles protects you. Organize all tools before starting your project.
Designing Your Bookshelf
Designing your row boat bookshelf is the first step to a unique piece. This stage helps shape your ideas into a clear plan. Careful design ensures the bookshelf is both beautiful and practical.
Start by imagining how the bookshelf will look in your space. Think about the style and size that fit your needs. This phase sets the foundation for the building process.
Sketching The Row Boat Shape
Begin by drawing the outline of the row boat. Use simple shapes to capture the boat’s curves. A pencil and paper work best for easy changes. Focus on smooth lines that mimic a real boat.
Sketch multiple views if possible. Front, side, and top views help visualize the final design. Keep the shape balanced and stable for safety. This sketch guides all your measurements and cuts.
Planning Dimensions And Shelves
Decide how tall, wide, and deep the bookshelf should be. Measure your available space carefully. Plan shelf heights to fit different book sizes. Include extra space for decorations or plants.
Think about the number of shelves you want. More shelves mean more storage but less space per shelf. Use even spacing or vary shelf sizes for visual interest. Write down all dimensions clearly for reference.
Preparing The Wood Pieces
Preparing the wood pieces is the first step to build a sturdy row boat bookshelf. It sets the base for the entire project. Taking time here ensures the shelf fits well and looks great. Proper preparation makes the assembly smoother and safer.
Measuring And Cutting
Start by measuring the wood carefully. Use a tape measure and a pencil to mark the cuts clearly. Double-check each measurement before cutting. Cut the wood pieces using a saw suited for your wood type. Straight, clean cuts help the pieces fit perfectly. This step shapes your bookshelf’s parts precisely.
Sanding For Smooth Edges
After cutting, sand all wood edges gently. Use medium-grit sandpaper first, then fine-grit for a smooth finish. Sanding removes splinters and rough spots. Smooth edges make the bookshelf safer to handle. They also give the wood a polished look. Take your time for even sanding on all pieces.
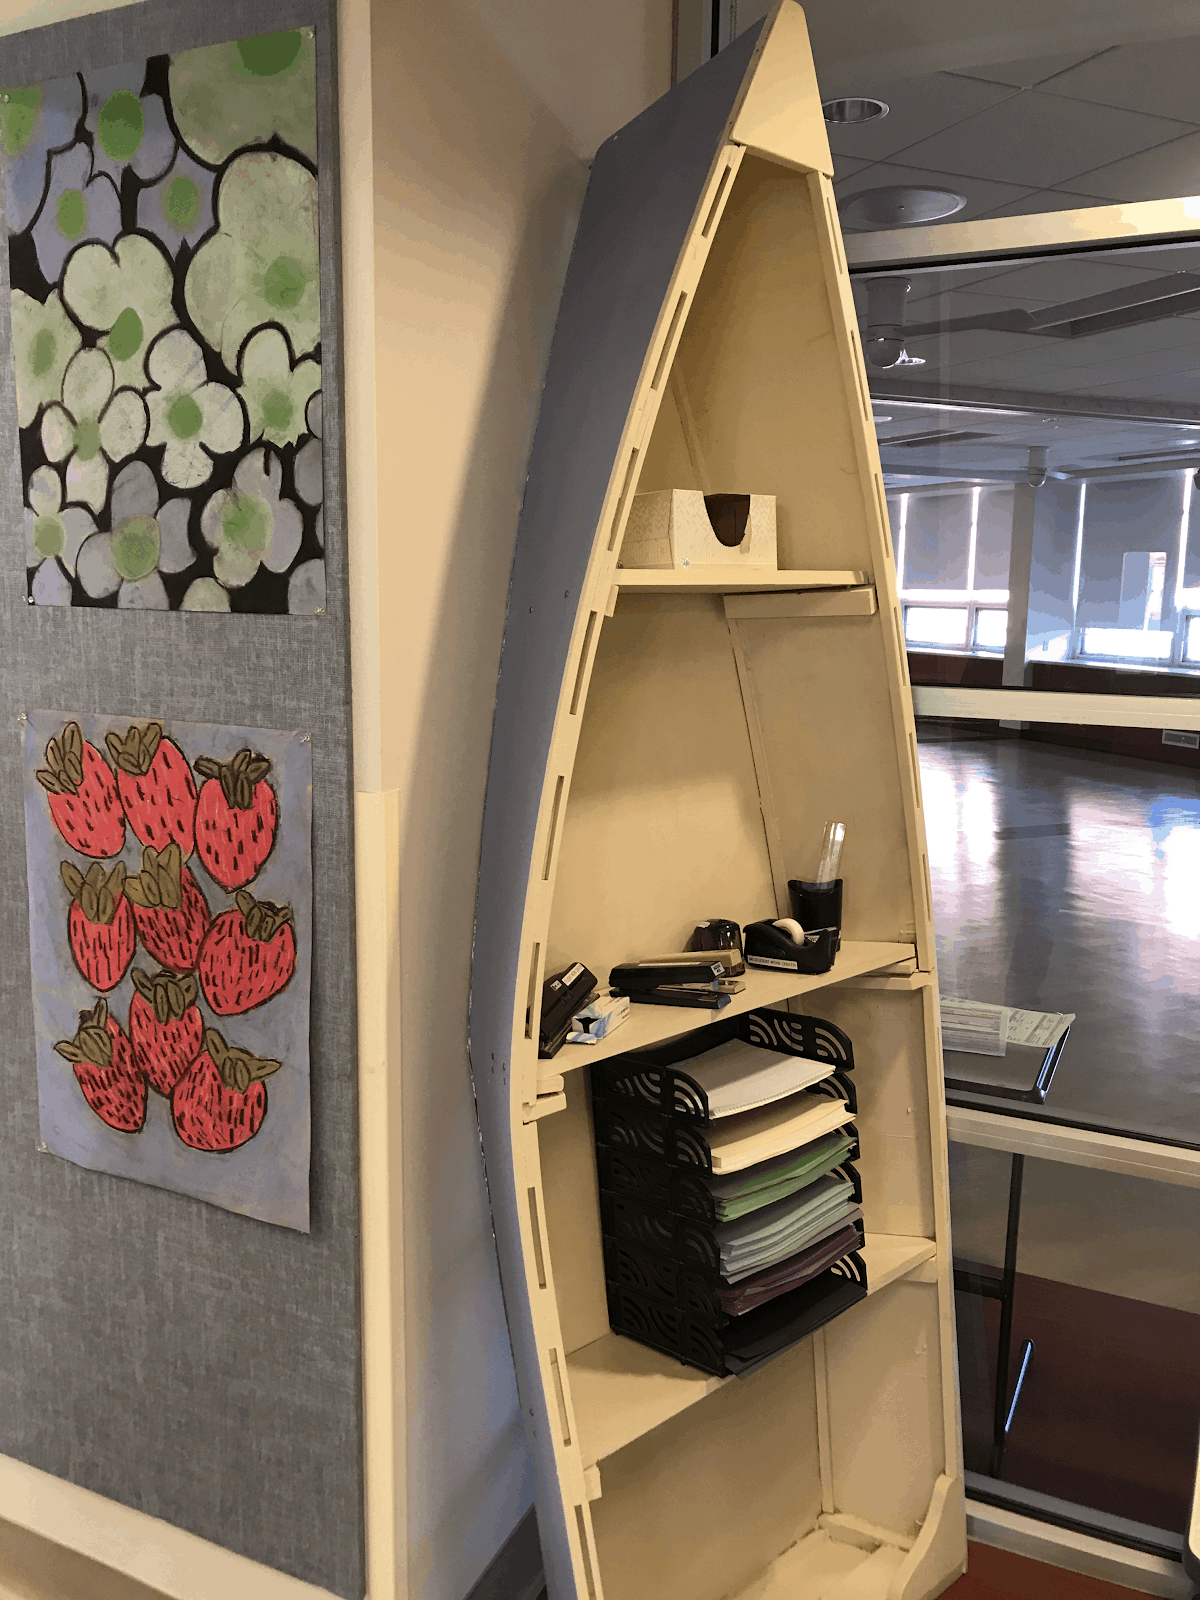
Credit: www.gettingsmart.com
Assembling The Frame
Assembling the frame is the key step to build your row boat bookshelf. This stage gives shape and strength to the whole piece. Take your time and follow each step carefully. A strong frame means a sturdy bookshelf that lasts long.
Joining The Sides
Start by placing the two side panels upright. Align their edges carefully for a perfect fit. Use wood glue along the edges to bond them. Then, clamp the sides together firmly. Let the glue dry for the recommended time.
Next, secure the sides with screws. Pre-drill holes to avoid splitting the wood. Drive the screws evenly along the edges. This keeps the sides tight and stable. Check the frame is square by measuring diagonals.
Adding Support Beams
Support beams add strength and hold shelves in place. Measure and cut beams to fit inside the frame. Position them evenly from top to bottom.
Attach each beam using wood glue and screws. Double-check the beams are level before fixing them. These beams prevent the frame from bending or wobbling.
With solid support beams, your bookshelf will hold many books safely. The frame now looks like a boat hull, ready for shelves.
Creating Shelves And Compartments
Creating shelves and compartments in your row boat bookshelf helps organize books and display items. Well-planned shelves add strength and style. Each shelf should fit the boat’s shape and size. Plan the number and height of shelves before starting. Use sturdy wood boards for lasting support. Measure carefully to ensure a perfect fit inside the boat frame.
Installing Shelf Boards
Cut the shelf boards to match your measurements. Sand the edges to avoid splinters. Place each board inside the boat frame. Use a level to keep shelves straight. Mark the spots where shelves will sit. Fit boards snugly against the boat’s sides. Adjust if needed before fixing permanently.
Securing With Nails Or Screws
Choose nails or screws based on shelf weight needs. Pre-drill holes to prevent wood from splitting. Secure shelves with fasteners on both sides. Use a hammer or screwdriver to fix boards tightly. Check each shelf is stable and does not wobble. Add extra fasteners if shelves feel loose. Proper fixing ensures your bookshelf lasts long and stays safe.
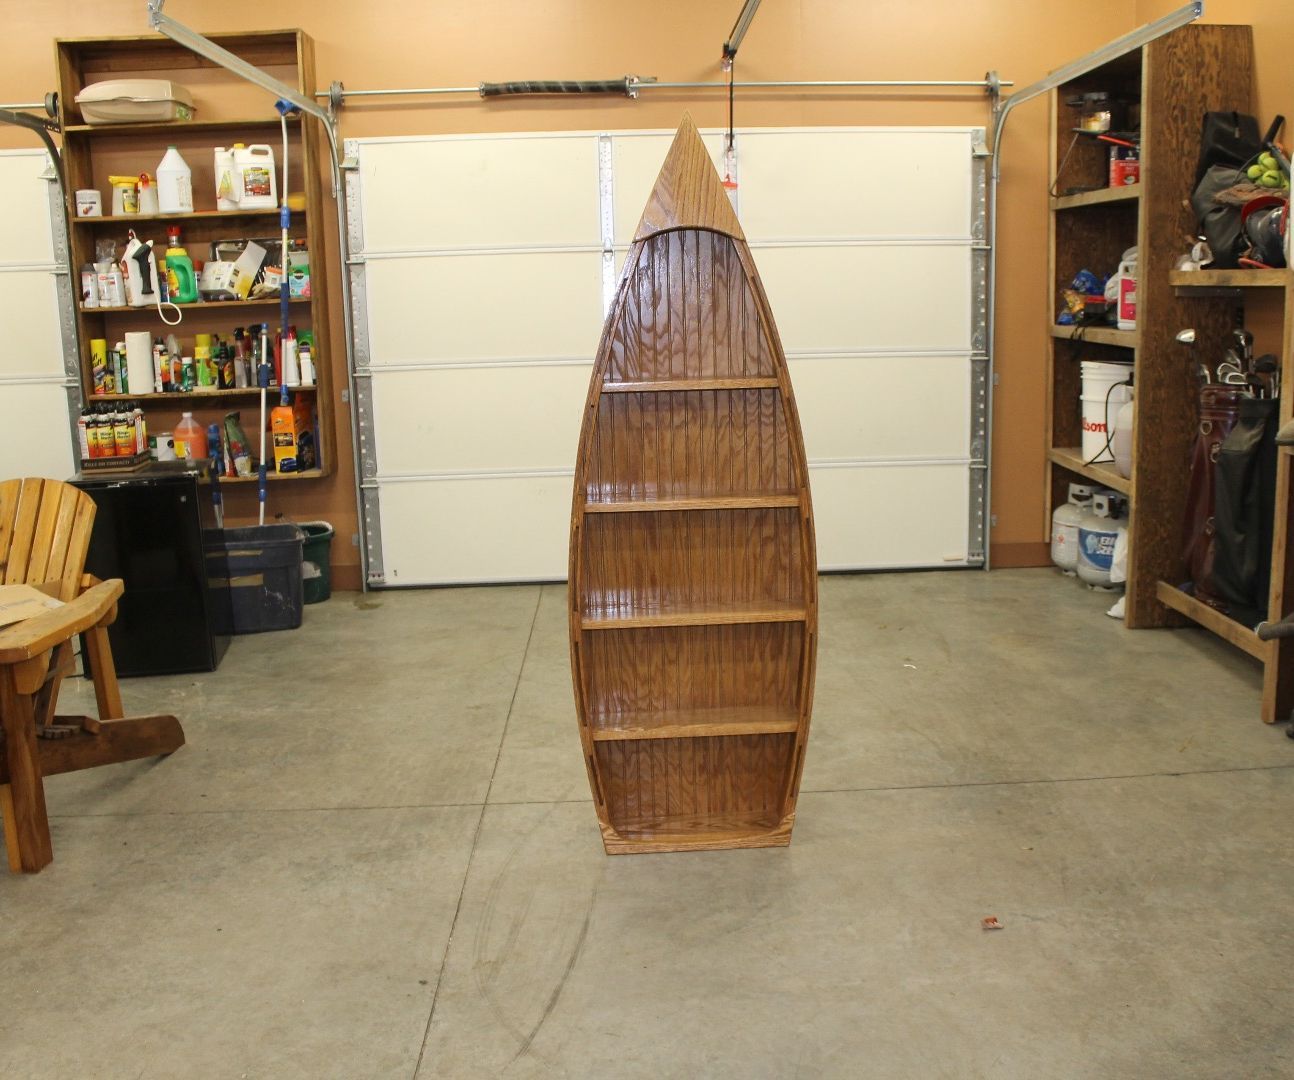
Credit: www.instructables.com
Painting And Finishing
Painting and finishing your row boat bookshelf brings it to life. It protects the wood and adds charm. A good finish makes your shelf last longer and look great in any room. This part is fun and lets you show your style.
Choosing Paint Colors
Pick colors that match your room and style. Bright colors make the shelf stand out. Soft colors create a calm, cozy feel. Think about the mood you want. Use paint that works well on wood. Test a small spot first to see how it looks.
Applying Sealant For Durability
Sealant protects your paint and wood from damage. It stops scratches, water, and dust from hurting the shelf. Choose a clear sealant to keep your paint color bright. Use a brush or spray for even coverage. Let each coat dry before adding the next. Two or three coats work best.
Installing And Styling
Installing and styling your row boat bookshelf is the final step in creating a unique piece. This stage transforms the bookshelf from just a storage solution into a focal point in your room. Careful positioning and thoughtful decoration bring out its charm and functionality.
Positioning Your Bookshelf
Choose a spot with good light. Near a window works well for reading and display. Make sure the shelf stands firmly on a flat surface. Avoid places where it can block doors or pathways. Think about the room’s flow and balance. The shelf should feel part of the room, not an obstacle.
Place the bookshelf where it can be easily reached. This adds convenience for daily use. Use a level to check the shelf’s alignment. A crooked shelf distracts from the design. Secure the shelf to the wall if needed for safety.
Decorating With Books And Accessories
Arrange books by size or color for a neat look. Mix vertical stacks with horizontal piles to add interest. Leave some space for decorative items. Small plants, candles, or photo frames brighten the shelf. Use a variety of shapes and textures to avoid monotony.
Don’t overcrowd the shelves. Let each item breathe and stand out. Group items in odd numbers for a natural feel. Change decorations seasonally to keep the shelf fresh. The goal is a balanced, cozy display that invites use and admiration.
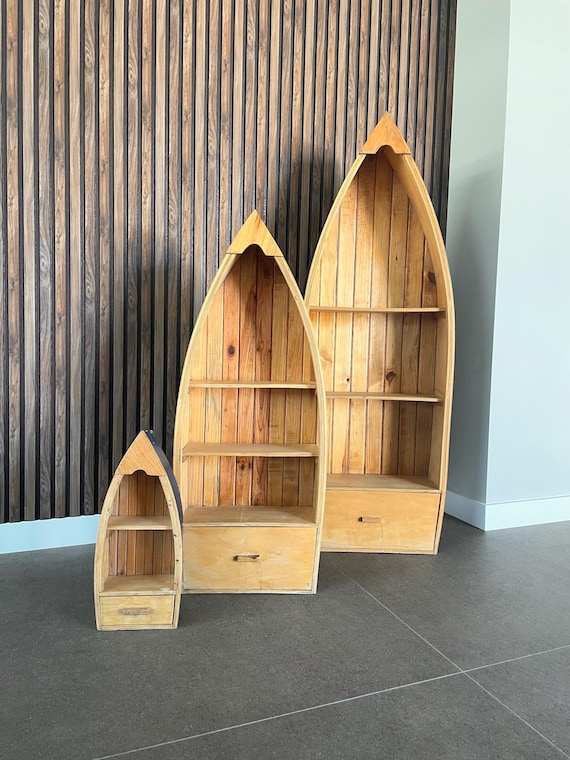
Credit: www.etsy.com
Tips For Maintenance
Maintaining your row boat bookshelf keeps it looking great and lasting longer. Regular care prevents damage and wear. Small actions can protect the wood and finish. Follow these simple tips to keep your bookshelf in top shape.
Cleaning Techniques
Dust the bookshelf weekly using a soft cloth. Avoid harsh chemicals that can damage the wood. Use a mild soap and water mix for sticky spots. Wipe gently and dry immediately to prevent moisture damage. Clean shelves help maintain the wood’s natural shine.
Repairing Minor Damages
Check for scratches or dents regularly. Fill small cracks with wood filler matching the shelf color. Sand the area lightly after it dries for a smooth finish. Use touch-up markers for tiny scratches. Prompt repairs stop damage from getting worse.
Frequently Asked Questions
What Materials Are Needed To Build A Row Boat Bookshelf?
To build a row boat bookshelf, you need plywood, wood glue, screws, paint, sandpaper, and a saw. Optional materials include wood stain and sealant for finishing. These materials ensure a sturdy, attractive, and durable bookshelf that resembles a row boat.
How Long Does It Take To Make A Row Boat Bookshelf?
Building a row boat bookshelf typically takes 6 to 10 hours. This includes cutting, assembling, sanding, and painting. Time may vary based on skill level and tools available. Planning and patience help achieve the best results.
Can Beginners Build A Row Boat Bookshelf Easily?
Yes, beginners can build a row boat bookshelf with basic woodworking skills. Clear instructions and proper tools simplify the process. Start with simple cuts and assembly steps. Taking time to measure accurately ensures a successful project.
What Tools Are Essential For This Bookshelf Project?
Essential tools include a saw, drill, screwdriver, measuring tape, clamps, and sander. These tools help cut, assemble, and finish the bookshelf efficiently. Using the right tools improves safety and accuracy during construction.
Conclusion
Building a row boat bookshelf is a fun and rewarding project. It adds charm and function to any room. You can customize it to fit your style and space. With basic tools and simple steps, anyone can create this unique shelf.
Enjoy organizing your books in a creative way. Try this project to bring a nautical touch to your home. It’s a great way to show your crafting skills. Start building today and see the difference it makes!