Are you ready to create a beautiful wooden bookshelf that fits perfectly in your space? Building your own bookshelf is easier than you think, and it gives you a chance to add a personal touch to your home.
Imagine having a sturdy, stylish shelf where you can proudly display your favorite books and treasures. In this guide, you’ll discover simple steps and helpful tips that will make the whole process smooth and enjoyable. By the end, you’ll have the confidence and know-how to build a bookshelf you’ll love.
Let’s get started and turn your vision into reality!
Choosing The Right Wood
Choosing the right wood is the first step to building a strong and beautiful bookshelf. The wood type affects the shelf’s look, strength, and lifespan. Picking the best wood helps the bookshelf hold books safely and stay attractive for years. Consider the wood’s appearance, how hard it is, and how much it costs.
Types Of Wood For Bookshelves
Hardwoods like oak, maple, and cherry are popular for bookshelves. They are tough and last a long time. Softwoods like pine are cheaper and easier to work with but may dent more easily. Each wood type has a unique color and grain pattern. Choose a wood that matches your room’s style and your budget.
Wood Quality And Durability
High-quality wood has tight grain and few knots. It resists warping and cracking better. Look for wood that feels solid and heavy. Avoid wood with many cracks or holes. Durable wood supports heavy books without bending or breaking. Good quality wood keeps your bookshelf stable and safe.
Sourcing Materials
Find wood from reliable stores or local lumber yards. Check if the wood is dry and well-stored. Wet wood can warp after building. Ask for wood cut to your size to save time. Reclaimed wood is an eco-friendly option with character. Always compare prices and quality before buying.
Essential Tools And Supplies
Building a wooden bookshelf is a rewarding project. Having the right tools and supplies makes the process easier and safer. This section covers the essential items you need before starting.
Basic Carpentry Tools
Start with simple tools. A tape measure helps you get exact measurements. A handsaw or circular saw cuts wood pieces to size. Use a hammer for nails and a screwdriver for screws. A carpenter’s square keeps your angles right. Sandpaper smooths rough wood edges.
Safety Gear
Protect yourself at all times. Safety glasses shield your eyes from dust and wood chips. Wear gloves to avoid splinters. Use ear protection if you work with loud tools. A dust mask prevents breathing in sawdust. Safety gear keeps your project safe and comfortable.
Additional Materials
Gather extra supplies for a strong bookshelf. Wood glue holds pieces firmly. Nails and screws keep the frame tight. Wood filler fixes small holes or cracks. Choose the right wood finish to protect and beautify your shelf. These materials complete your toolkit for success.
Planning Your Bookshelf Design
Planning your bookshelf design is the first step to a successful project. A clear plan saves time and avoids mistakes. Think about where you want to place the bookshelf and how it will fit in the room. Consider the size, style, and purpose of your bookshelf before buying materials or cutting wood.
Measuring Space And Dimensions
Measure the wall space where the bookshelf will stand. Use a tape measure to get the height, width, and depth. Write down the numbers. Check for any obstacles like switches or vents that might affect placement. Leave extra room around the bookshelf for easy access and cleaning.
Sketching The Layout
Draw a simple sketch of your bookshelf on paper. Mark the height, width, and depth based on your measurements. Include the number of shelves you want and the space between each shelf. This helps visualize the final product and guides your building process. Adjust the design on paper until it looks right.
Selecting Shelf Style
Choose a style that matches your room and needs. Open shelves show off books and decor. Closed shelves hide clutter with doors. Floating shelves save floor space and look modern. Thick shelves hold heavy items better. Pick a style that fits your taste and the room’s look.
Cutting And Preparing Wood
Cutting and preparing wood is a key step in building a wooden bookshelf. It shapes the wood to fit perfectly. Proper preparation ensures strong, smooth, and safe shelves. Careful measuring and cutting avoid mistakes later on. Smooth surfaces make the bookshelf look clean and professional.
Marking Cut Lines
Mark the wood clearly before cutting. Use a pencil and a ruler for straight lines. Measure twice to avoid errors. Draw lines on the wood’s face, where you will cut. Clear marks help guide your saw. This step saves time and wood.
Using Saws Safely
Choose the right saw for your cuts. A handsaw works well for simple cuts. A circular saw is faster for long pieces. Always wear safety glasses and gloves. Keep your fingers away from the blade. Cut slowly and steadily for clean edges. A safe approach prevents accidents.
Sanding Surfaces
Sand all cut edges to remove rough spots. Use medium-grit sandpaper first for big bumps. Then, switch to fine-grit for a smooth finish. Sand along the grain to avoid scratches. Smooth surfaces help paint or stain stick better. Touch every edge to prevent splinters later.
Assembling The Frame
Assembling the frame is the first big step in building your wooden bookshelf. This part sets the base and shape. A strong frame means a strong bookshelf.
Take your time and follow each step carefully. Use the right tools and materials for the best results. Let’s explore how to join the pieces, secure the joints, and check stability.
Joining Techniques
Start by selecting the right joining method. Butt joints are simple and easy for beginners. For stronger joints, try pocket screws or dowel joints. These hold the wood tightly together. Use wood glue on all joints to add strength. Keep the edges aligned for a neat finish.
Securing Joints
Clamp the frame pieces firmly while the glue dries. This keeps parts from moving. Drive screws carefully to avoid splitting the wood. Countersink screws so they sit flush with the surface. Use corner brackets for extra support if needed. Double-check every joint for tightness before moving on.
Checking For Stability
Place the frame on a flat surface. Press gently on each corner to test firmness. There should be no wobble or creak. Adjust or reinforce weak spots with extra screws or glue. A stable frame will hold shelves and books safely. Stability ensures your bookshelf lasts for years.
Credit: www.etsy.com
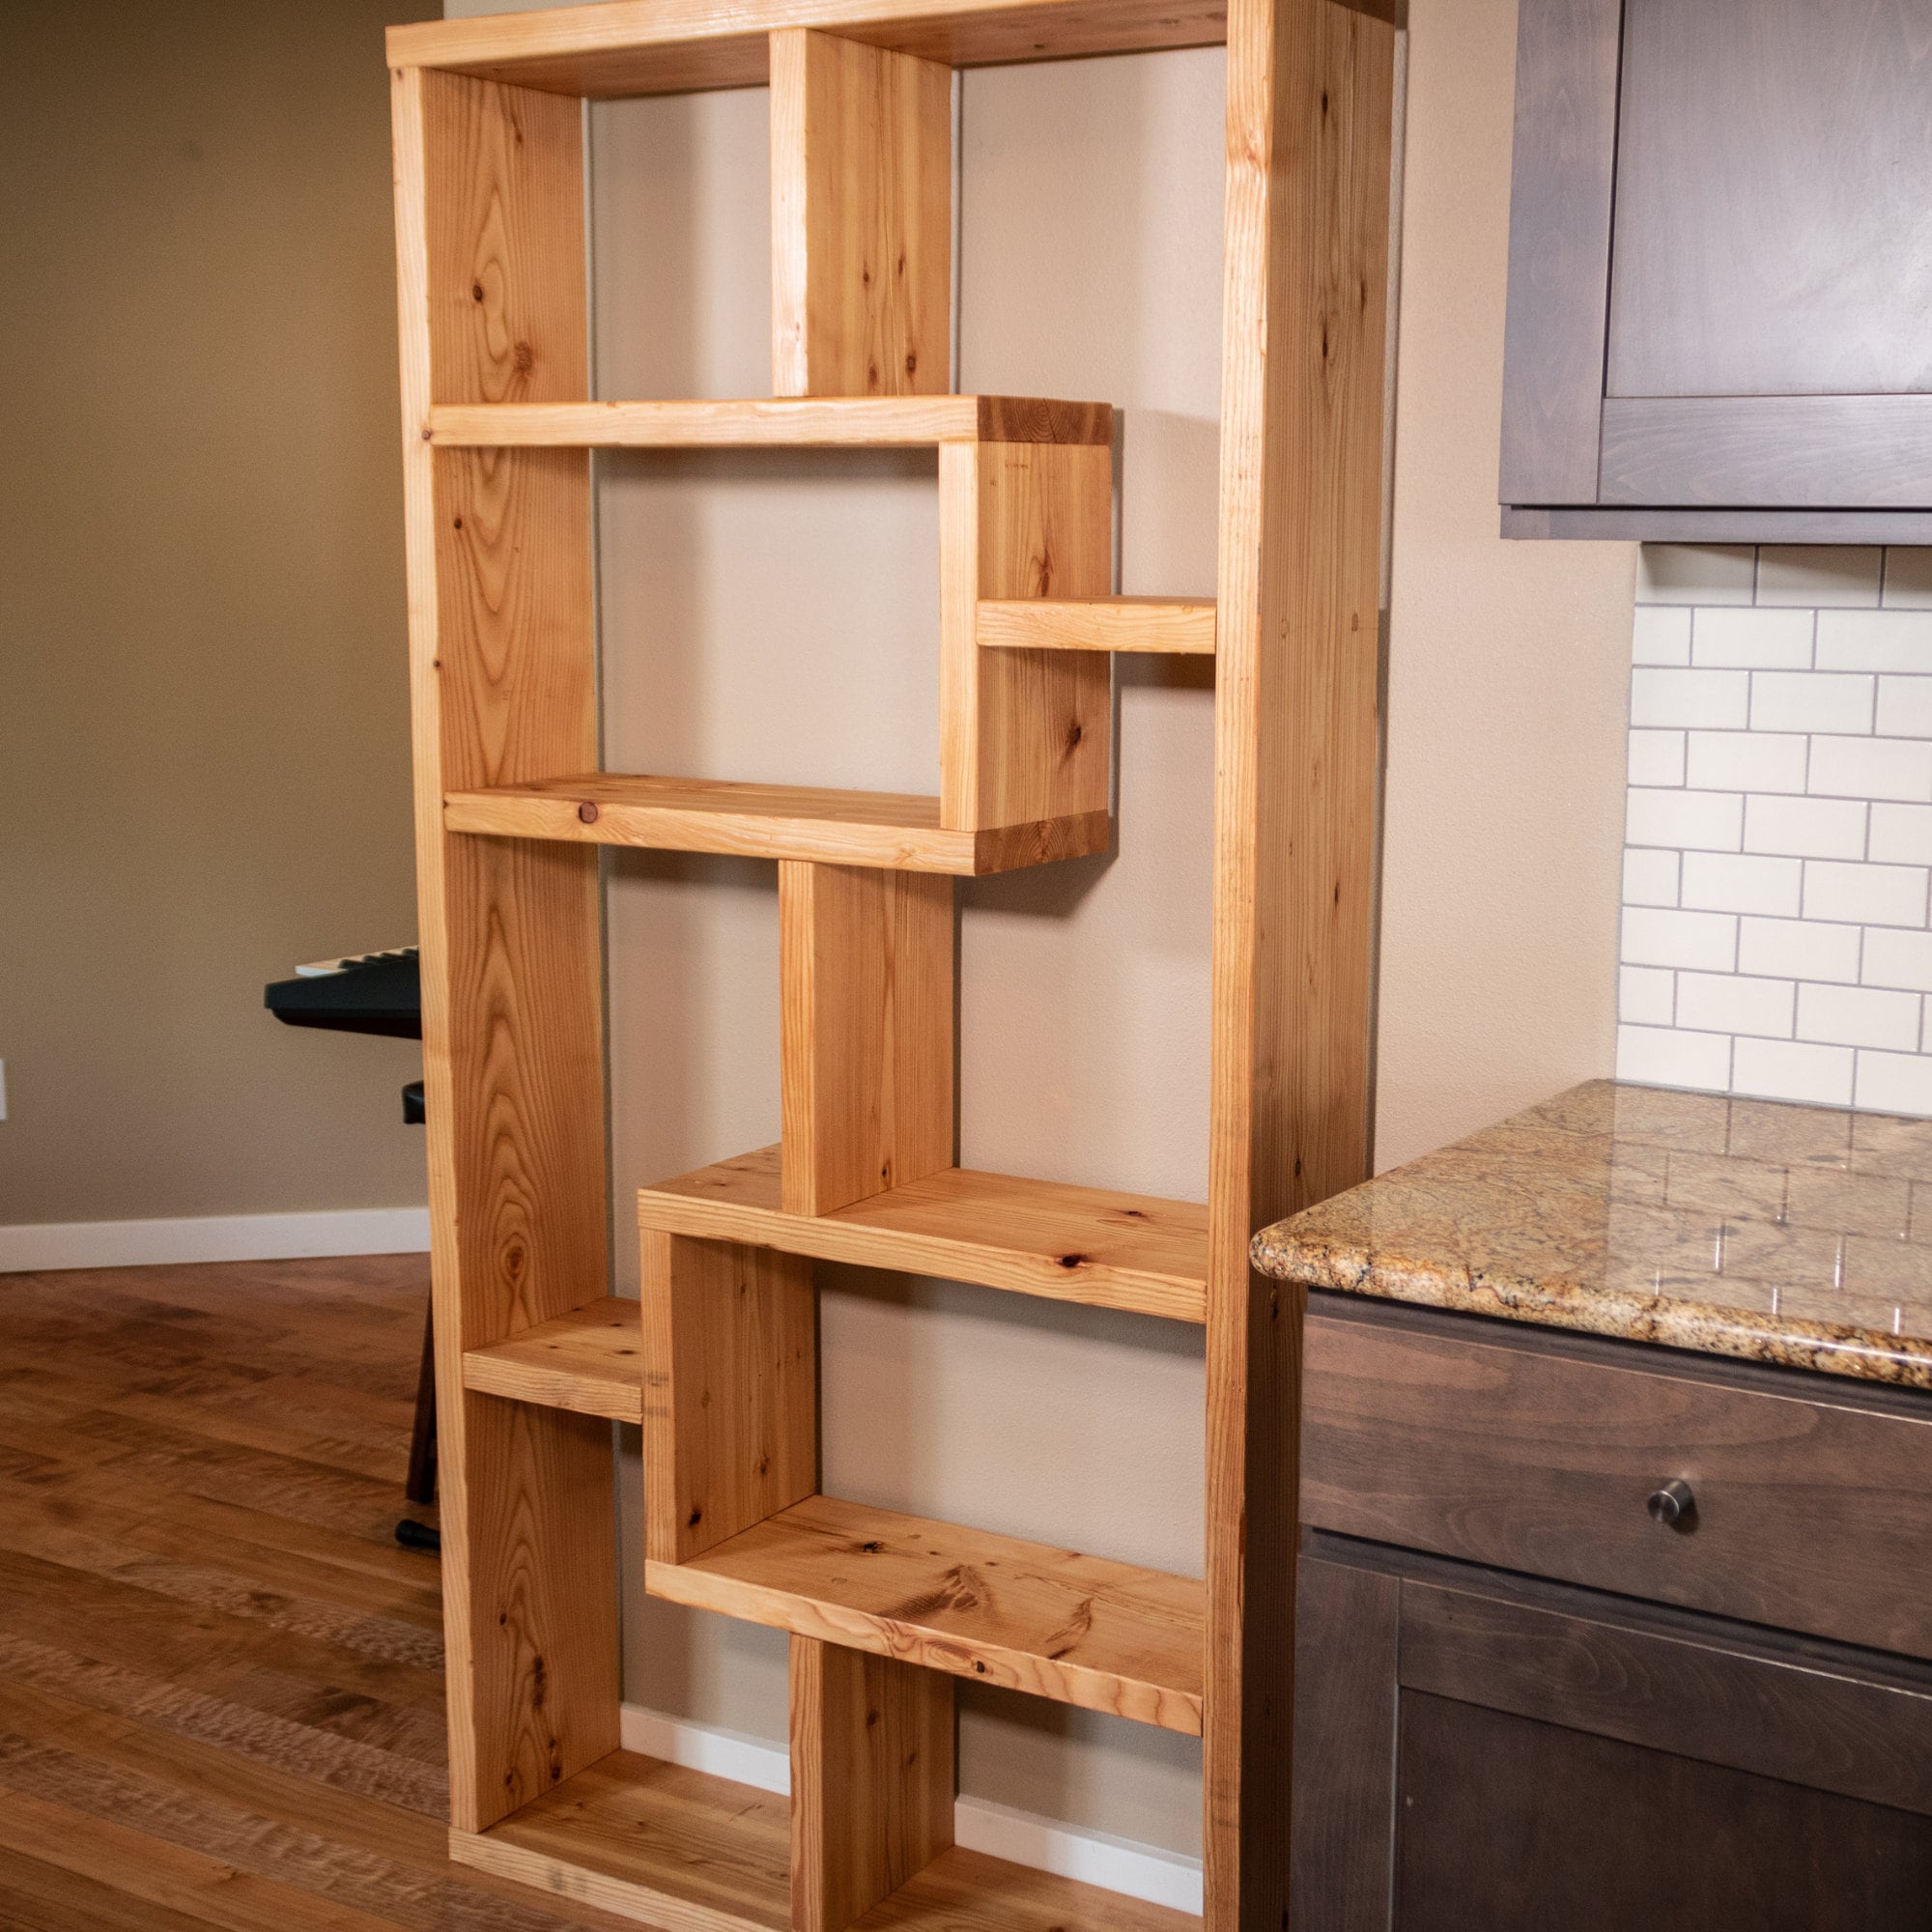
Installing Shelves
Finishing touches make your wooden bookshelf look complete and polished. They protect the wood and add style. Small details create a big impact on the final look. Let’s explore how to finish your bookshelf with care and creativity.
Staining And Painting
Staining brings out the wood grain and deepens color. Choose a stain that matches your room’s decor. Apply the stain evenly using a brush or cloth. Let it dry fully before adding more coats. Painting offers a chance to use bold or soft colors. Use a primer first for better paint hold. Apply thin coats of paint for a smooth finish. Sand lightly between coats to avoid rough patches.
Applying Sealant
Sealant protects your bookshelf from scratches and moisture. It keeps the wood looking fresh and new longer. Use a clear polyurethane or varnish for best results. Brush the sealant in thin, even layers. Allow each layer to dry before applying the next. Light sanding between layers helps smooth the surface. Sealant adds a subtle shine and extra strength.
Adding Decorative Elements
Decorative touches make your bookshelf unique and personal. Consider adding trim or molding to the edges. Small metal brackets can add both style and support. Use stencils or decals for patterns on the sides. Attach decorative knobs or handles for a vintage look. Keep decorations simple to avoid overwhelming the shelf design. These details complete your project and show your style.
Finishing Touches
Keeping your wooden bookshelf in good shape takes simple care. Regular upkeep helps your shelf look fresh and last longer. Follow these easy tips to maintain your wooden bookshelf.
Cleaning Wooden Bookshelves
Dust your bookshelf often with a soft cloth. Use a damp cloth for sticky spots. Avoid harsh cleaners that can damage the wood. Dry the surface well after cleaning to prevent water marks.
Preventing Damage
Keep the shelf away from direct sunlight to stop fading. Use coasters under plants or cups to avoid water rings. Don’t overload shelves to prevent bending or breaking. Place felt pads under heavy items to protect the wood.
Repairing Minor Issues
Fill small scratches with a wood repair marker or crayon. Tighten loose screws or nails carefully. Use wood glue to fix minor cracks or splits. Sand lightly and reapply finish if the surface looks dull.
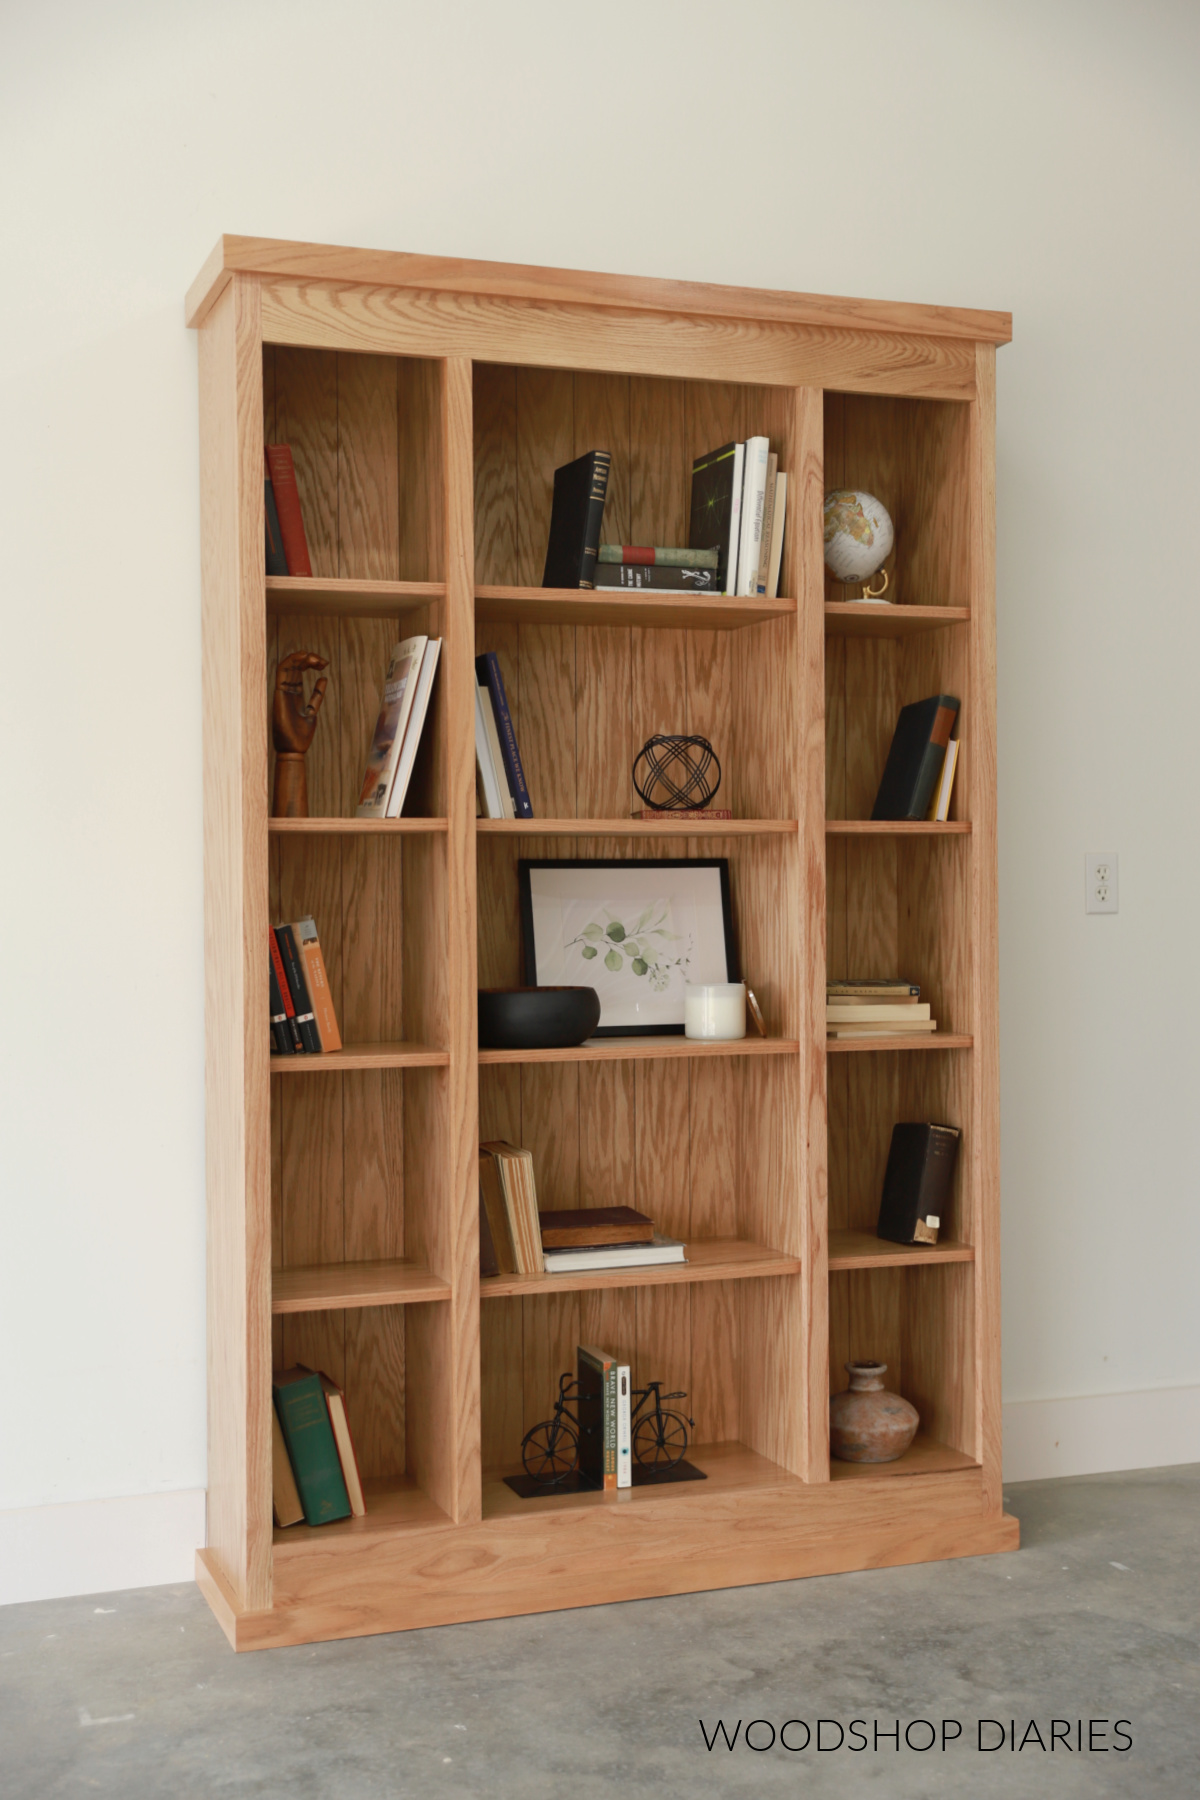
Credit: www.woodshopdiaries.com
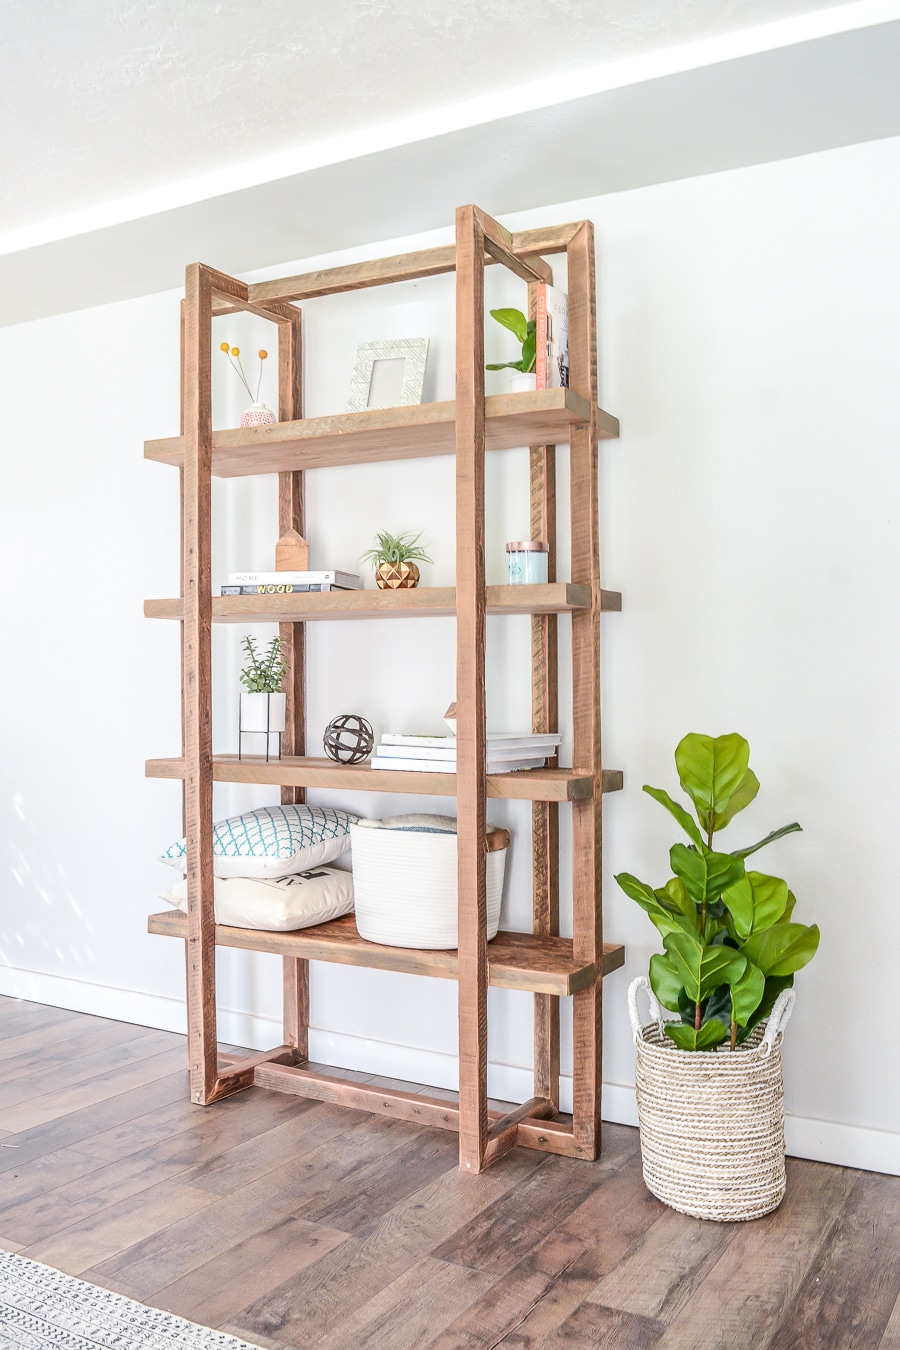
Credit: jenwoodhouse.com
Frequently Asked Questions
What Materials Do I Need To Build A Wooden Bookshelf?
To build a wooden bookshelf, you’ll need wood planks, screws, nails, wood glue, sandpaper, a saw, measuring tape, and a drill. Choose quality wood like pine or oak for durability. These basic materials ensure a sturdy and long-lasting bookshelf.
How Long Does It Take To Build A Wooden Bookshelf?
Building a wooden bookshelf typically takes 4 to 6 hours. This depends on your experience and design complexity. Simple designs require less time, while intricate ones need more careful assembly and finishing.
What Tools Are Essential For Building A Bookshelf?
Essential tools include a saw, drill, screwdriver, measuring tape, level, and clamps. These tools help you cut, assemble, and secure wood pieces precisely. Having the right tools speeds up the process and ensures a professional finish.
How Do I Ensure My Bookshelf Is Sturdy And Stable?
To ensure sturdiness, use strong wood and secure joints with screws and wood glue. Reinforce shelves with brackets if needed. Level the bookshelf properly and anchor it to the wall for added stability and safety.
Conclusion
Building a wooden bookshelf is a rewarding project anyone can try. Start with a clear plan and the right tools. Take your time cutting and assembling each piece carefully. Sand the wood smooth to avoid splinters. Finish with paint or stain to protect and beautify.
You end up with a sturdy shelf for your books or decorations. This simple project adds charm and function to any room. Give it a go and enjoy your handmade bookshelf.