Are you tired of cluttered dorm desks that make it hard to focus? Imagine having a neat, stylish bookshelf right next to your study space where you can keep all your books and essentials within arm’s reach.
Building your own dorm desk bookshelf isn’t as hard as you think—and it can completely transform your study routine. In this guide, you’ll discover simple steps to create a personalized, space-saving solution that fits your style and needs. Ready to turn your messy desk into an organized haven?
Let’s get started!
Choosing The Right Materials
Choosing the right materials is key to building a sturdy dorm desk bookshelf. The materials affect how strong and long-lasting your bookshelf will be. Picking good materials also makes the building process easier and the final product look better.
Focus on wood types, tools you need, and budget-friendly choices. These factors help you create a functional and stylish bookshelf for your dorm room.
Selecting Wood Types
Wood is the main material for your bookshelf. Pine wood is soft, easy to cut, and affordable. It works well for beginners. Oak wood is stronger and lasts longer but costs more. Plywood is a budget-friendly choice. It is made by gluing layers of wood together. It is stable and holds weight well. Choose wood that is smooth and free of cracks.
Essential Tools Needed
Basic tools make the building process simple. You need a saw to cut the wood pieces. A drill helps make holes and fasten screws. Sandpaper smooths rough edges. A measuring tape ensures accuracy. A screwdriver tightens screws. Clamps hold wood pieces together while gluing or screwing. These tools help you work safely and precisely.
Budget-friendly Options
You can build a nice bookshelf without spending too much. Use pine or plywood for affordable wood. Check local hardware stores for discounts or scrap wood. Borrow tools from friends or family if you don’t own them. Buy screws and glue in small quantities to save money. Plan your design to use fewer materials and reduce waste.
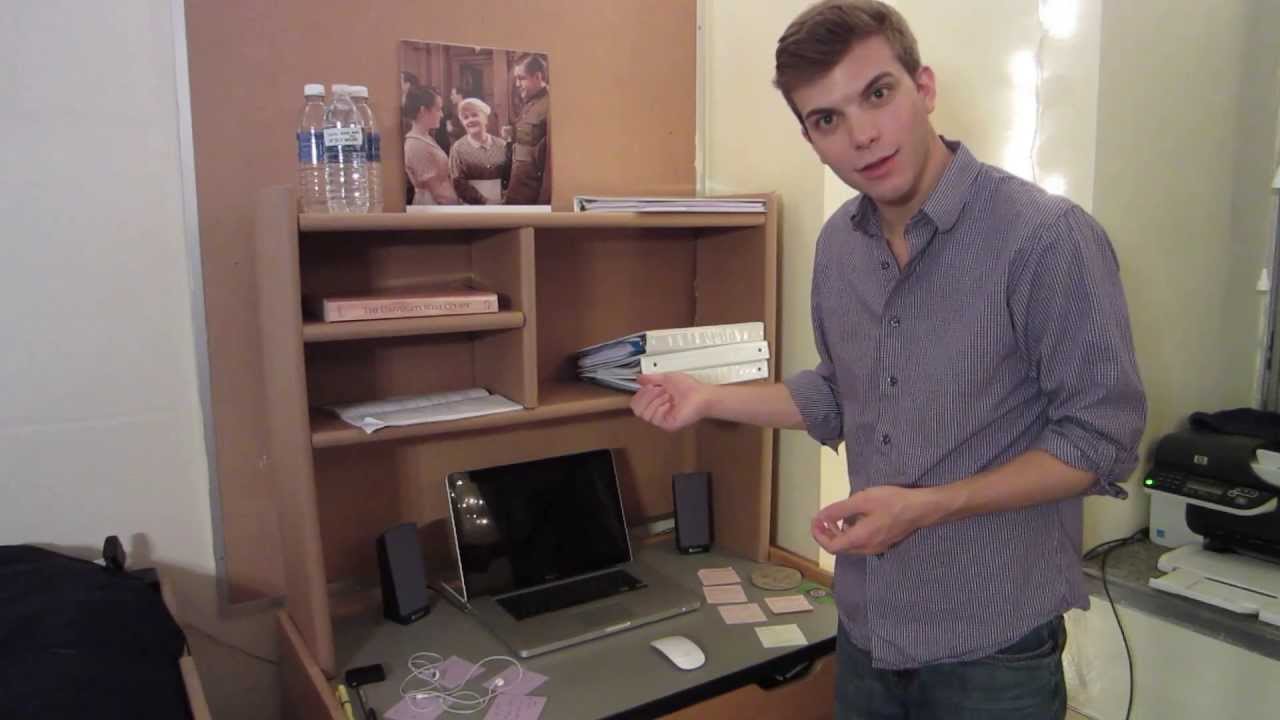
Credit: www.dormco.com
Designing Your Desk Bookshelf
Designing your dorm desk bookshelf is the first step to creating a useful and neat space. A well-designed bookshelf fits your room perfectly and holds all your study materials. It also adds a personal touch to your dorm room. Careful planning saves space and makes your desk area more organized.
Start by thinking about the size and shape of your desk and room. Then, decide how many shelves you need and how big they should be. Finally, add style elements that make the bookshelf look nice and suit your taste.
Measuring Dorm Space
Measure the area around your desk carefully. Check the width, height, and depth where you want to place the bookshelf. Write down these numbers to use when planning the shelf size. Keep in mind that dorm rooms are small, so every inch counts. Leave space for your chair and movement.
Planning Shelf Dimensions
Think about what items you will store on the shelves. Books need taller shelves than small decorations. Plan shelf height based on your tallest book or item. Make shelves wide enough to hold your textbooks and notebooks. Depth should be enough for books to stand upright without falling. Balance the number of shelves with space between them.
Incorporating Style Elements
Choose colors and materials that match your dorm room. Wood gives a warm, natural look. Metal frames add a modern touch. Add small details like rounded edges or painted patterns. Use simple designs to keep the look clean and neat. Personalize with stickers or photos on the shelves. A stylish bookshelf makes your study area more inviting.
Preparing Your Workspace
Preparing your workspace is the first step to building a dorm desk bookshelf. A clean and organized area helps you work faster and safer. It also keeps your materials easy to find.
Taking time to set up properly makes the building process smooth. Avoid distractions and hazards. A good workspace helps you focus on the task.
Setting Up A Safe Area
Choose a flat surface with plenty of light. Clear away any clutter or obstacles. This keeps the space open and easy to move in.
Keep children and pets out of the area. Wear safety glasses and gloves if needed. Make sure your workspace has good airflow.
Check that all electrical tools are in good condition. Keep cords away from walkways to prevent tripping. Safety first will protect you and your project.
Organizing Tools And Materials
Gather all tools before you start. Place them within arm’s reach on a table or bench. Common tools include a hammer, screwdriver, measuring tape, and saw.
Sort your wood pieces and screws by size. Use small containers to hold nails and screws. This stops small parts from getting lost.
Having everything ready saves time and avoids frustration. You can focus on building your bookshelf step by step without searching for tools.
Cutting And Assembling Parts
Cutting and assembling parts is a key step in building your dorm desk bookshelf. Precise cutting ensures all pieces fit well together. Solid assembly creates a strong and durable structure. Follow these steps carefully to build a neat and stable bookshelf.
Cutting Wood Pieces Accurately
Measure each part twice before cutting. Use a sharp saw for clean edges. Cut slowly to avoid splinters or mistakes. Label each piece to keep track. Smooth rough edges with sandpaper after cutting.
Joining Shelves And Desk Surface
Arrange shelves and desk surface on a flat area. Use wood glue on edges before joining. Press parts firmly together for a tight fit. Clamp pieces and let glue dry. Check alignment to keep shelves level and straight.
Securing Joints For Stability
Use screws or nails to strengthen joints. Drill pilot holes to prevent wood splitting. Drive screws in slowly and evenly. Add corner brackets for extra support. Test the bookshelf by gently shaking it to ensure stability.
Finishing Touches
Finishing touches make your dorm desk bookshelf look complete and neat. They protect the wood and improve its style. Take time to finish well for a great final result.
Sanding For Smoothness
Use fine sandpaper to smooth the wood surface. Sand all edges and corners carefully. This step removes rough spots and splinters. Wipe off dust with a clean cloth after sanding. Smooth wood feels better and looks more polished.
Applying Paint Or Stain
Choose paint or stain that matches your room style. Apply thin, even coats with a brush or sponge. Let each coat dry fully before adding another. Paint brightens the shelf, while stain shows wood grain. Both protect the wood from damage and wear.
Adding Decorative Hardware
Add small knobs or handles for a unique look. Choose simple hardware that fits your shelf size. Attach with screws or strong glue. Decorative hardware makes the shelf easier to use. It also adds charm and personality to your desk area.
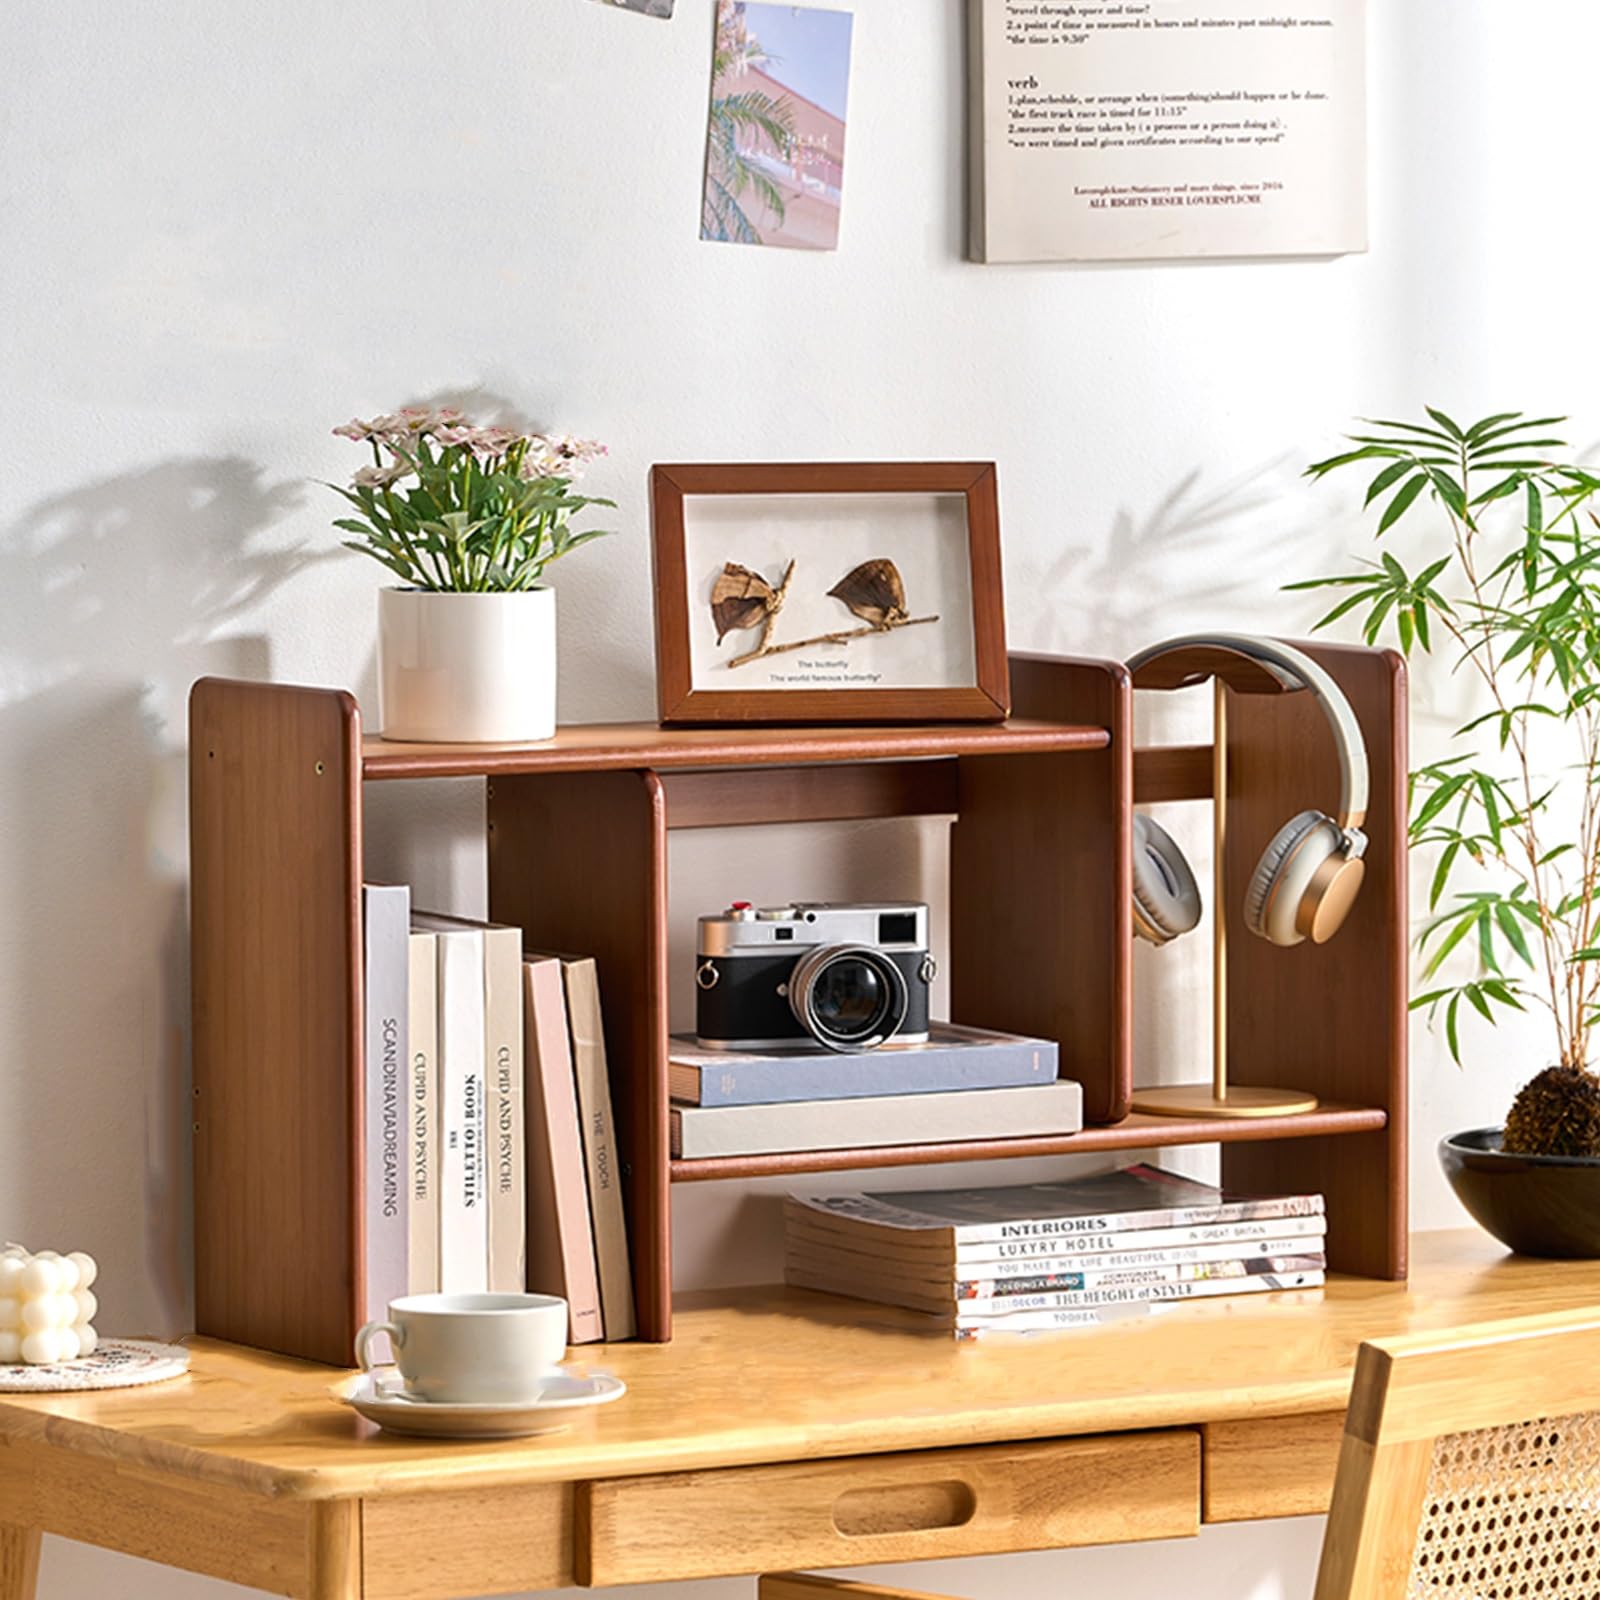
Credit: www.amazon.com

Credit: www.amazon.com
Frequently Asked Questions
What Materials Do I Need To Build A Dorm Desk Bookshelf?
You need wood planks, screws, brackets, sandpaper, and paint or stain. Basic tools like a drill, screwdriver, and measuring tape are essential for assembly.
How Much Time Does Building A Dorm Desk Bookshelf Take?
Building usually takes 3 to 5 hours, depending on your experience. Preparation, cutting, assembling, and finishing all add to the total time.
Can I Customize The Bookshelf Size For My Dorm Desk?
Yes, you can easily adjust dimensions to fit your desk space. Measure your desk area carefully before cutting wood for a perfect fit.
Is Building A Dorm Desk Bookshelf Cost-effective?
Building your own bookshelf is cheaper than buying pre-made ones. It also lets you choose materials and design to match your style.
Conclusion
Building a dorm desk bookshelf saves space and keeps books organized. You can customize it to fit your needs and style. Using simple tools and materials makes the project easy and affordable. A well-built shelf helps keep your study area neat and tidy.
Try this project to add a personal touch to your dorm room. It also encourages better study habits by keeping supplies within reach. Enjoy your new, functional bookshelf every day.