Have you ever wanted to create something tiny but full of charm? Making mini books for your mini bookshelf is a fun and rewarding project you can easily do at home.
Imagine holding a whole story in the palm of your hand or displaying a collection that sparks curiosity every time you walk by. In this guide, you’ll discover simple steps to craft your own mini books, even if you’ve never tried bookmaking before.
Ready to unlock your creativity and add a unique touch to your space? Let’s dive in!
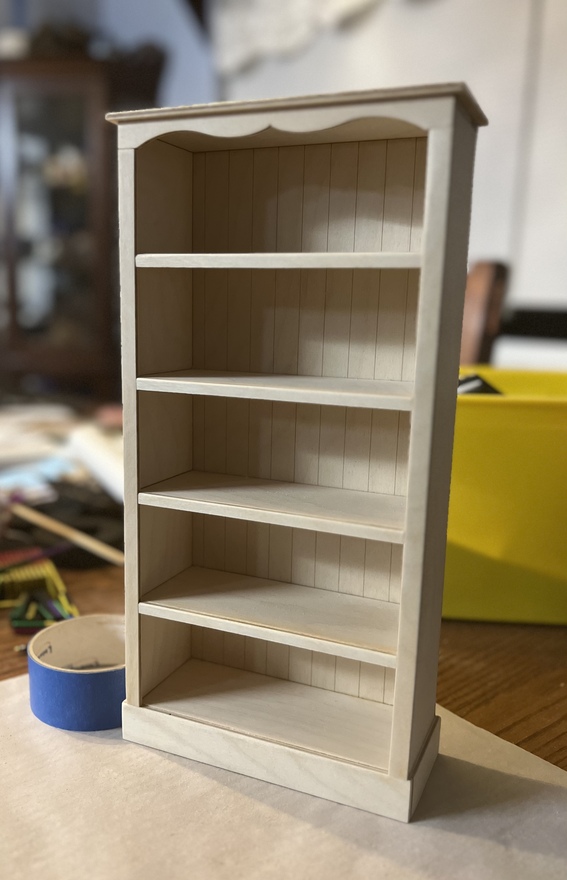
Credit: community.glowforge.com
Materials Needed
Gathering the right materials is the first step to make mini books for your mini bookshelf. These materials help you create sturdy, neat, and beautiful tiny books. Choosing the correct paper, binding supplies, and tools ensures your mini books look professional and last long.
Paper Types
Choose paper that is easy to fold and cut. Lightweight cardstock works well for covers. Regular printer paper is good for pages. You can also use colored or patterned paper for a fun look. Make sure the paper is not too thick or too thin.
Binding Supplies
Binding keeps your mini book pages together. Use glue sticks for a simple binding method. Thread and needle work well for sewing the pages. Small staples or tape can also hold pages securely. Pick a binding method that fits your style and skill level.
Tools And Accessories
Gather scissors or a craft knife for cutting. A ruler helps measure paper accurately. Use a bone folder or a blunt edge to make clean folds. Tweezers help with small details. A pencil and eraser are handy for marking measurements.
Choosing The Right Size
Choosing the right size for mini books is key for a neat mini bookshelf. The size affects how the books fit and look. Too big or too small can spoil the display. Picking the perfect size helps keep your mini library tidy and charming.
Standard Mini Book Dimensions
Standard mini books often measure about 3 inches tall and 2 inches wide. This size fits most mini bookshelves well. It is small enough to handle easily and big enough to hold text or images. These dimensions keep the mini books uniform and easy to arrange.
Customizing For Your Bookshelf
Measure your mini bookshelf before making books. Some shelves need thinner or shorter books. Adjust height and width to match shelf space. Custom sizes make your mini books fit perfectly. This creates a balanced and attractive mini library.
Folding And Cutting Techniques
Folding and cutting are the main steps to make mini books. These steps help shape the pages and give the book a clean look. Simple folding and cutting make the mini book neat and easy to read.
Good folding keeps pages straight and aligned. Precise cutting creates smooth edges. Both steps need care and patience to get the best result.
Folding Pages Neatly
Start by folding the paper in half carefully. Use your fingers or a flat tool to press the fold. This makes a sharp crease that keeps pages flat.
Make sure the edges of the paper match exactly. Align corners before folding to avoid uneven pages. Fold slowly to prevent wrinkles or tears.
For multiple pages, stack them before folding. Press the crease well on all sheets. This keeps the mini book tidy and strong.
Trimming For Precision
Cut the edges to make the pages even. Use a sharp blade or scissors for clean cuts. Trim slowly and follow the lines carefully.
Place a ruler to guide your cuts. This helps keep the edges straight and smooth. Remove any small paper pieces after cutting.
Trim after folding to keep the book size uniform. Check the book’s shape and cut any uneven parts. Neat trimming makes the mini book look professional.
Binding Methods
Binding holds the pages of mini books together. It gives each mini book its shape and durability. Choosing the right binding method makes your mini books look neat and last long. Different methods suit different materials and book sizes. Below are three simple binding types ideal for mini books.
Staple Binding
Staple binding uses metal staples to fasten pages. It works best for thin mini books. Fold the pages in half and staple along the crease. Use a small stapler or a regular one carefully. Press the staples flat inside to avoid sharp edges. This method is quick and keeps pages secure.
Sewn Binding
Sewn binding uses thread to join pages. It looks classic and is strong. Fold pages and punch holes along the spine. Use a needle and thread to sew through the holes. Tie knots tightly at the end to secure the thread. Sewing takes more time but adds charm and durability.
Glue Binding
Glue binding sticks pages together with glue. It works well for books with many pages. Align all pages and clamp them tight at the spine. Apply a thin layer of strong glue along the edge. Let the glue dry completely before handling. This method creates a smooth spine and holds pages firmly.
Creating Covers
Creating covers for your mini books is a fun and important step. The cover protects the pages and gives your book a unique look. Choosing the right materials and decorations helps your mini book stand out. It also makes the book feel special to hold and look at.
Cover Materials
Paper is a popular choice for mini book covers. Cardstock works well because it is thicker and stronger. Fabric can add a soft, textured feel. Thin cardboard or chipboard makes very sturdy covers. Use glue or double-sided tape to attach the cover to the pages. You can also add a thin layer of clear tape for extra protection. Choose materials that match the style of your mini book.
Decorating Ideas
Draw or paint simple designs on your cover. Stickers and stamps add color and interest. Cut shapes from colored paper and glue them on. Use markers to write the book title or author’s name. Add small ribbons or buttons for a unique touch. Keep decorations small to fit the mini size. A well-decorated cover makes your mini book eye-catching and fun.
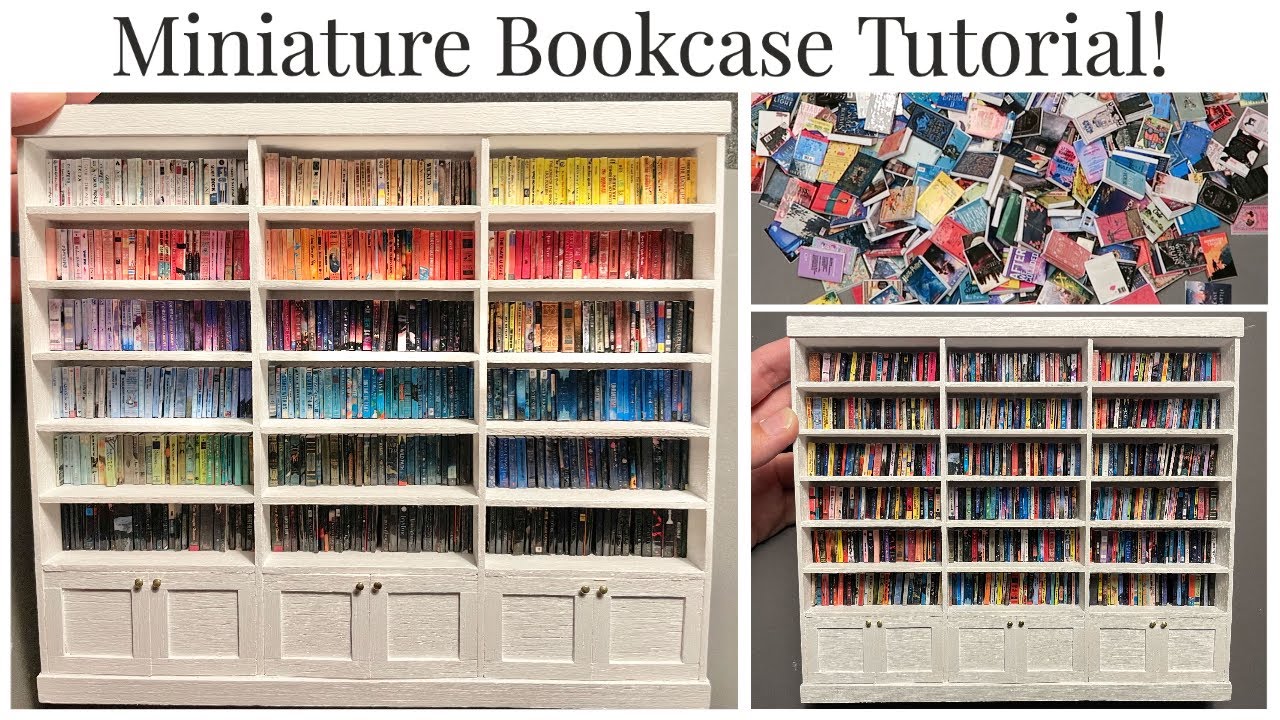
Credit: www.youtube.com
Adding Details
Adding details to your mini books makes them unique and fun. Small touches can bring your tiny creations to life. Focus on clear titles and creative designs. These details help your mini books stand out on the shelf.
Titles And Labels
Start by giving each mini book a clear title. Use simple, bold letters for easy reading. Write titles on the cover or spine. Labels help identify each book quickly. Use markers, stickers, or printed labels. Keep titles short to fit the small space.
Illustrations And Designs
Draw small pictures to decorate covers and pages. Use simple shapes and bright colors. Illustrations make mini books more interesting. Add borders or patterns for extra style. Use colored pencils, markers, or stamps. Keep designs neat and not too crowded.
Organizing Your Mini Bookshelf
Organizing your mini bookshelf makes it easier to find your favorite mini books. A neat shelf looks nice and invites you to explore more. With a little planning, your mini books can fit perfectly and stay safe. Let’s explore how to arrange and store your mini books well.
Arranging By Theme
Group your mini books by theme for easy browsing. Place stories of adventure together. Put all fairy tales in one section. This way, you can pick a mini book by mood or topic fast. Themes also make your shelf look more colorful and lively.
Storage Tips
Keep your mini books away from sunlight to prevent fading. Use small bookends to hold them upright. Avoid stacking too many books on top of each other. Dust your shelf often to keep books clean. Store your mini books in a dry place to avoid damage.
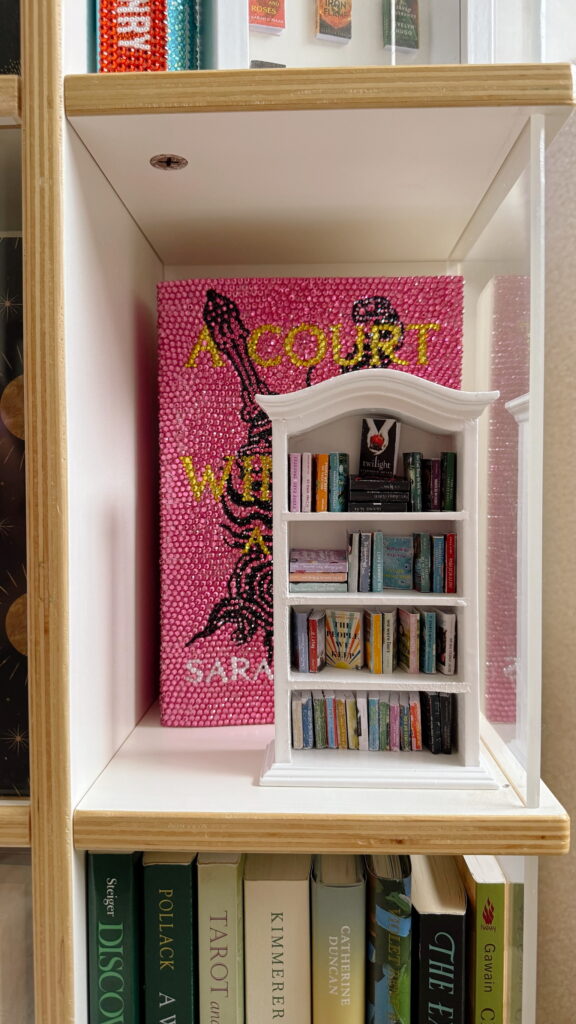
Credit: www.maxieelise.com
Frequently Asked Questions
What Materials Are Needed To Make Mini Books?
You need paper, scissors, glue, and a ruler. Optional items include markers, stickers, and decorative paper. These materials help create small, detailed books perfect for mini bookshelves.
How Do You Fold Paper For Mini Books?
Fold the paper in half or into quarters for pages. Use precise, clean folds to ensure the mini book looks neat and professional.
What Size Is Ideal For Mini Books?
Mini books typically measure 3×4 inches or smaller. This size fits well on mini bookshelves and is easy to handle.
Can Mini Books Be Customized Or Decorated?
Yes, mini books can be personalized with drawings, stickers, or colored paper. Customization adds charm and makes each mini book unique.
Conclusion
Making mini books for your mini bookshelf is a fun and simple craft. You need just a few materials and some patience. Each small book adds charm and personality to your space. Try different sizes, colors, and styles to create your own collection.
Enjoy the process and show off your tiny library with pride. Keep crafting and let your creativity grow with every mini book you make.