Are you tired of searching for the perfect bookshelf that fits your space and style? Imagine having a custom bookshelf made just for you—one that holds all your favorite books and looks exactly how you want it.
Creating your own bookshelf might seem tricky, but with the right steps, you can build something unique and sturdy without any hassle. In this guide, you’ll discover simple tips and easy-to-follow instructions that will turn your idea into a beautiful, functional piece.
Ready to start building a bookshelf that’s truly yours? Let’s dive in!
Planning Your Bookshelf
Planning your bookshelf carefully is the first step to a great custom build. Good planning saves time, money, and effort. It helps create a bookshelf that fits your needs perfectly. This section guides you through choosing materials, measuring space, and designing the layout.
Choosing The Right Materials
Pick materials that match your style and budget. Wood is popular for its strength and look. Plywood offers a smooth finish and is easy to work with. MDF is cheaper but less durable. Think about paint or stain options too. Choose materials that last and fit your room’s feel.
Measuring Your Space
Measure the wall or area where the bookshelf will go. Note the height, width, and depth. Check for any obstacles like switches or vents. Write down all measurements clearly. Double-check to avoid mistakes. Proper sizing ensures the shelf fits well and looks balanced.
Designing The Layout
Decide how many shelves you need. Think about the types of books or items to store. Mix tall and short spaces for variety. Sketch a simple design on paper or use apps. Plan for strong supports to hold heavy books. A good layout keeps things organized and easy to access.
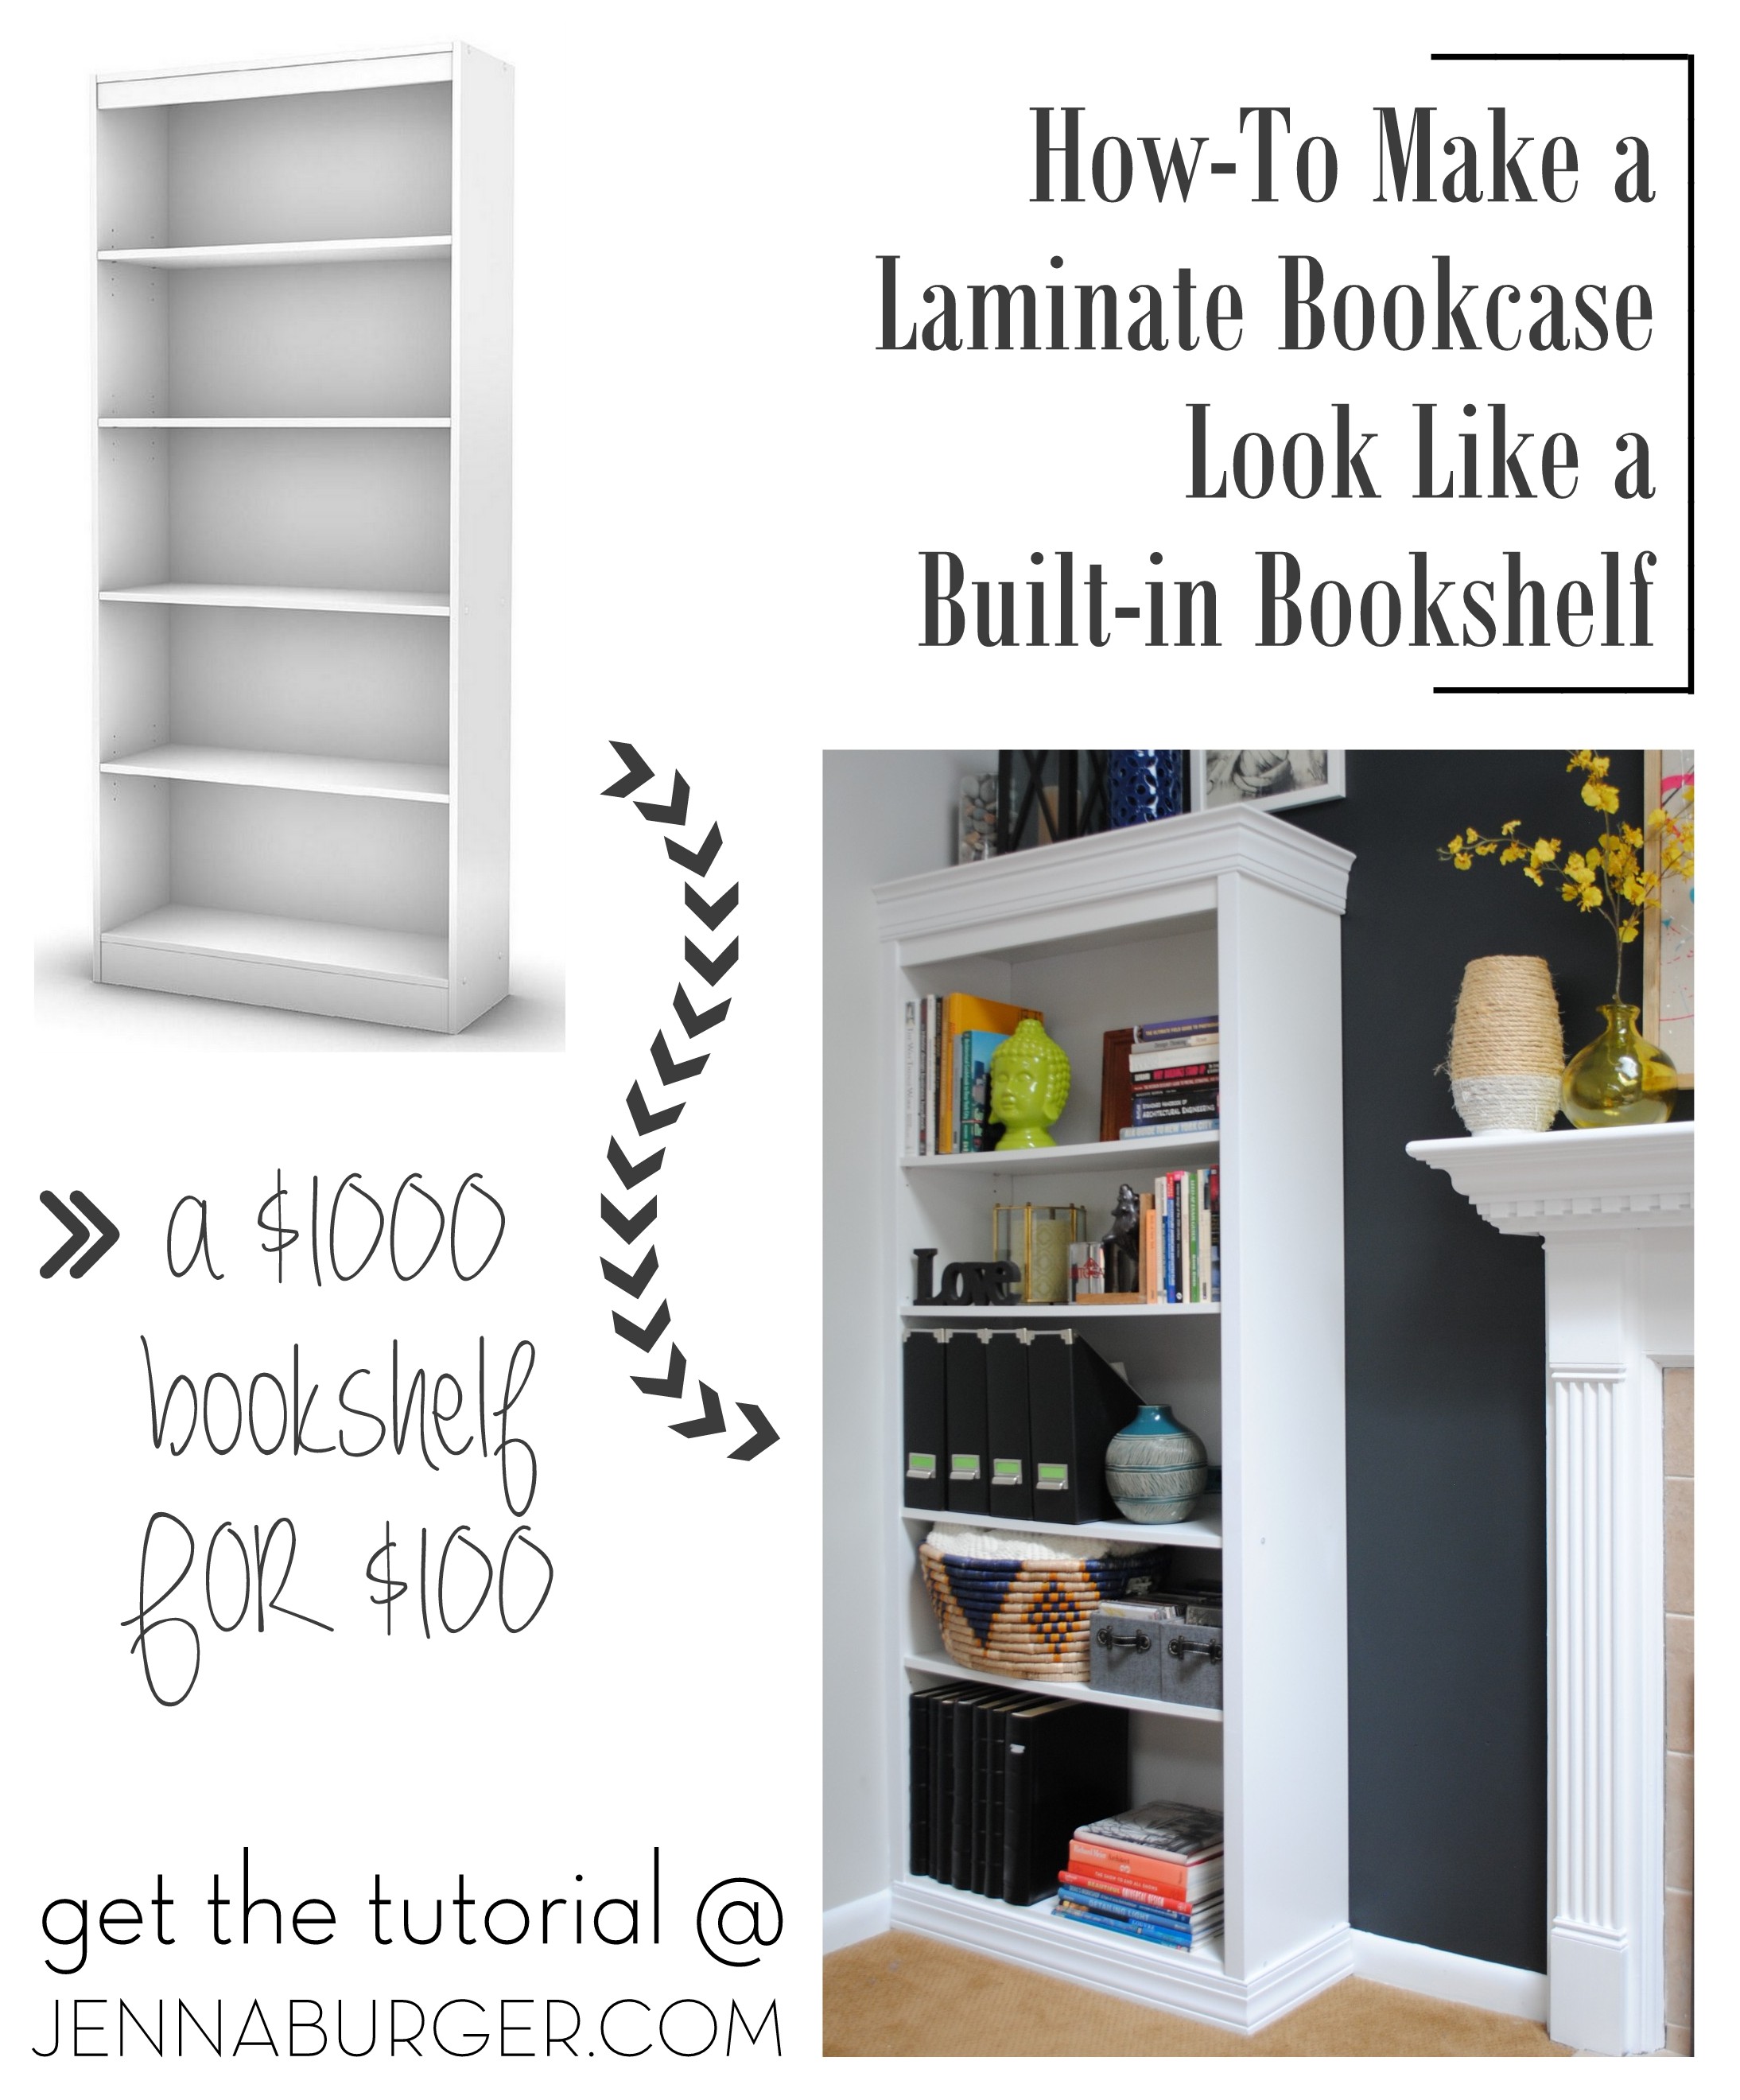
Credit: jennaburger.com
Gathering Tools And Supplies
Before starting your custom bookshelf project, gather all tools and supplies. This step saves time and helps avoid interruptions. Having everything ready makes the building process smooth and more enjoyable.
Essential Tools
Start with basic woodworking tools. A tape measure ensures accurate cuts and measurements. Use a saw to cut wood pieces to size. A drill helps create holes and drive screws. Sandpaper smooths rough edges for a clean finish. A screwdriver is necessary for tightening screws. A level checks that shelves sit straight. Clamps hold wood pieces in place during assembly. Safety gear like gloves and goggles protect your hands and eyes.
Materials Checklist
Choose the right wood for your bookshelf. Plywood or solid wood works well for shelves and sides. Wood screws or nails hold pieces together securely. Wood glue adds extra strength to joints. Paint or stain finishes the bookshelf and protects the wood. Shelf brackets provide support for heavy items. Wood filler hides any gaps or holes. Drop cloths protect surfaces from paint and dust. Sanding blocks help with smooth finishes on corners and edges.
Cutting And Preparing Wood
Cutting and preparing wood is a key step in making a custom bookshelf. It sets the foundation for strong and neat shelves. Careful cutting ensures all pieces fit perfectly. Preparing wood well also helps avoid rough edges and splinters. Follow these steps to make your wood ready for assembly.
Marking Measurements
Start by measuring the wood pieces for your bookshelf. Use a tape measure to get exact lengths. Mark the cutting lines clearly with a pencil. Double-check each measurement before marking. Straight, visible lines guide your saw for accurate cuts. Take your time to avoid mistakes.
Safe Cutting Techniques
Always wear safety goggles and gloves before cutting. Use a saw suited for your wood type and size. Keep the wood steady on a flat surface. Cut slowly along the marked lines for clean edges. Avoid rushing to prevent slips and accidents. Proper cutting keeps the wood intact and safe.
Sanding For Smooth Edges
After cutting, sand all edges with medium-grit sandpaper. Sanding removes splinters and rough spots. Move the sandpaper in the direction of the wood grain. Check for smoothness by running your hand along edges. Finish with fine-grit sandpaper for a polished feel. Smooth edges improve the bookshelf’s look and safety.
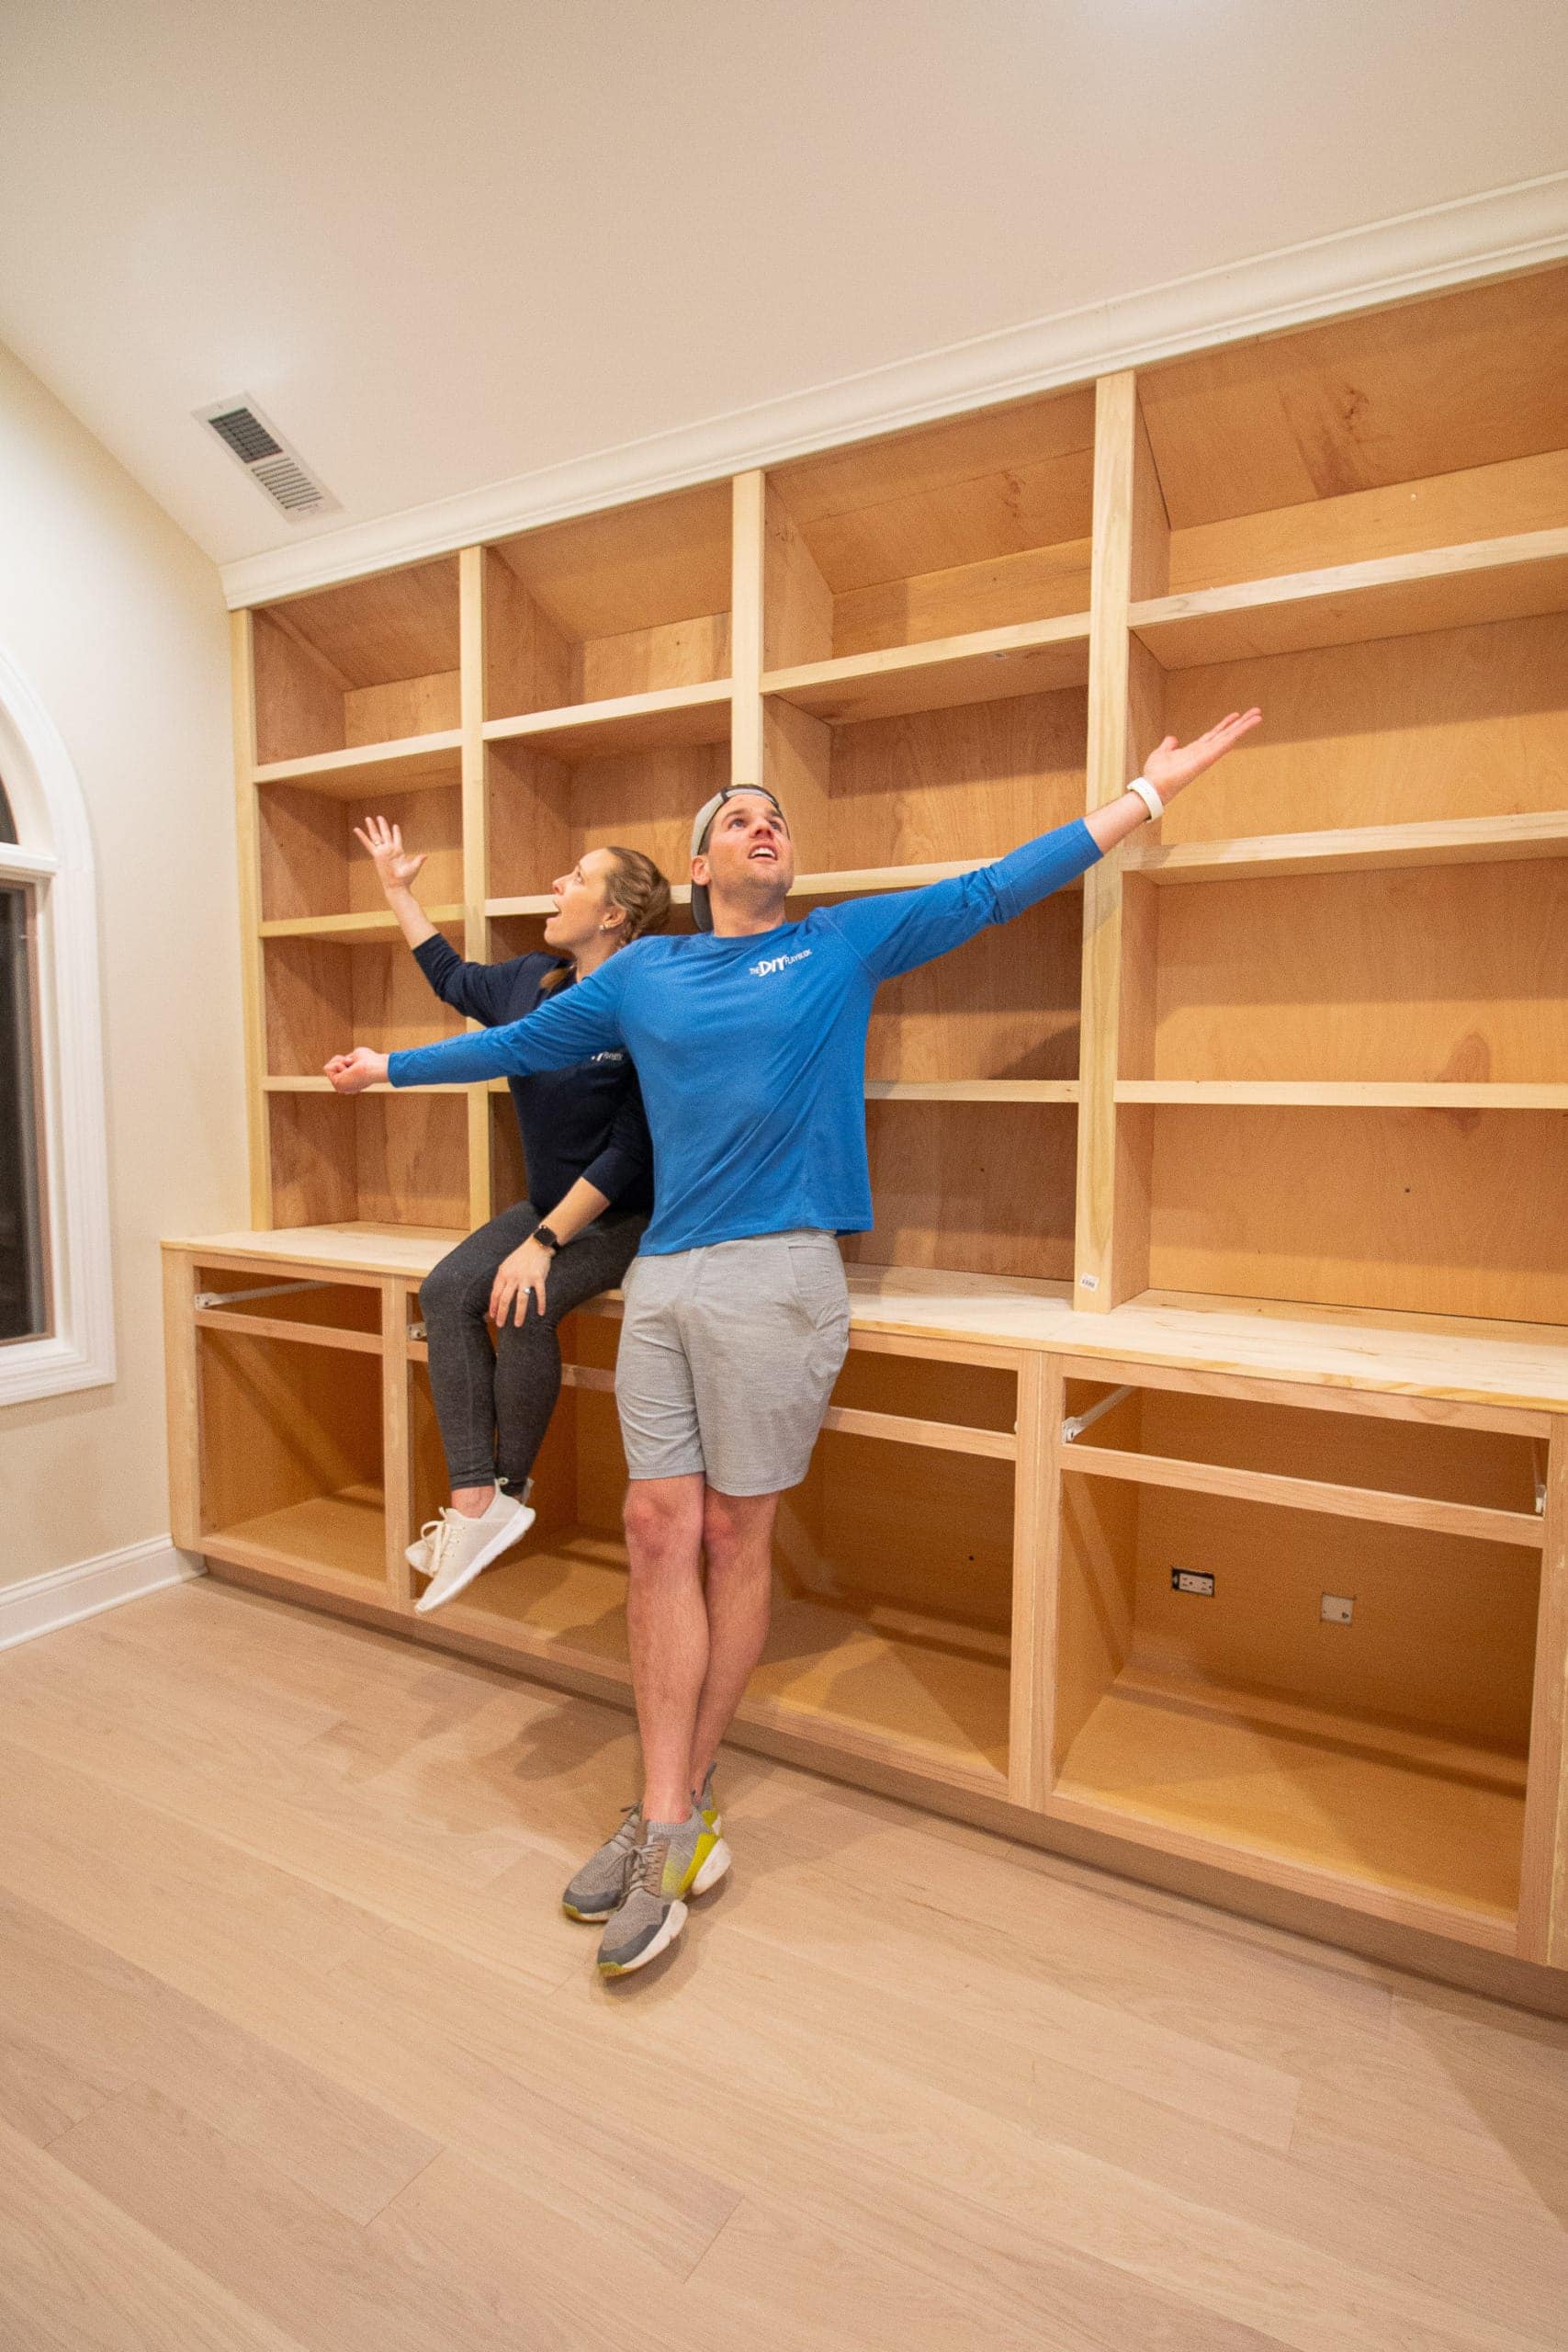
Credit: thediyplaybook.com
Assembling The Frame
Building the frame is the first big step in making a custom bookshelf. This part gives your shelf its shape and strength. A strong frame keeps the bookshelf stable and holds the weight of your books. Take your time to fit the pieces carefully. A well-assembled frame makes the rest of the work easier and better.
Joining Techniques
Choose the right joining method for your frame. Common ways include butt joints, dado joints, and pocket holes. Butt joints are simple but need support to stay strong. Dado joints fit pieces into grooves for a snug fit. Pocket holes hide screws and create solid connections. Each joint type offers different strength and looks. Match your skills and tools to the best option.
Securing With Screws And Glue
Use screws and glue together for a sturdy frame. Glue holds the wood tight and stops movement. Screws add strength and keep parts fixed. Drill pilot holes to avoid splitting the wood. Clamp the pieces after applying glue to keep them in place. Let the glue dry fully before moving on. This step ensures the frame will last long and support your books well.
Adding Shelves
Adding shelves is an important step in making a custom bookshelf. Shelves hold your books and decor. They need to be strong and spaced right. This helps keep everything organized and easy to find. Careful planning here makes your bookshelf both useful and nice to look at.
Choosing the right shelf height and support ensures your bookshelf lasts long. Let’s explore how to space shelves and install support brackets properly.
Spacing For Books And Decor
Measure the height of your tallest books first. Leave extra space for easy access and air flow. Usually, 12 inches of height works for most books. For decor, add a few inches more. Vary shelf heights for a mix of books and decorations. This keeps your bookshelf interesting and flexible. Avoid shelves that are too close or too far apart. Proper spacing helps prevent damage and clutter.
Installing Support Brackets
Support brackets hold the shelves steady. Choose brackets that fit your shelf size and weight. Metal brackets work well for heavy loads. Attach brackets to wall studs for extra strength. Use a level to keep shelves straight. Mark bracket spots before drilling to avoid mistakes. Secure brackets tightly but do not overtighten. Proper bracket installation keeps your shelves safe and stable.
Finishing Touches
Finishing touches give your custom bookshelf a complete, polished look. They protect the wood and make the shelf last longer. These steps help your bookshelf look great and stay strong over time.
Painting And Staining
Painting adds color and style to your bookshelf. Choose paint that fits your room’s decor. Use a brush or roller for smooth coverage. Let each coat dry before adding another.
Staining shows the wood’s natural beauty. Pick a stain color that matches your taste. Apply it evenly and wipe off extra stain quickly. This brings out the wood grain and adds warmth.
Sealing For Durability
Sealing protects your bookshelf from scratches and moisture. Use a clear sealant like polyurethane or varnish. Apply thin, even coats with a brush. Allow drying time between coats for best results.
Sealing keeps your bookshelf looking new longer. It also makes cleaning easier. Without sealing, wood can get damaged more easily.
Installing Your Bookshelf
Installing your custom bookshelf is a key step to make it sturdy and safe. Proper installation keeps your books and items secure. Follow easy steps to mount your shelf on the wall. A well-installed shelf looks neat and lasts longer. Focus on the right tools and techniques. Safety is important during this process.
Wall Mounting Tips
Find the wall studs using a stud finder. Mark the stud locations clearly. Use a level to keep the shelf straight. Drill pilot holes before screwing in the brackets. Choose strong screws that fit the brackets well. Attach the brackets tightly to the wall. Hang the bookshelf on the brackets carefully. Check the shelf for balance and support.
Safety Considerations
Wear safety goggles and gloves while drilling. Use a sturdy ladder or step stool. Avoid mounting on drywall alone; use studs or anchors. Check the weight limit of the shelf and wall. Keep heavy items on lower shelves for stability. Secure cords and cables away from the shelf area. Double-check all screws and supports before use.
Styling Your Shelf
Styling your custom bookshelf is more than placing books on shelves. It is about creating a space that reflects your personality and adds charm to your room. A well-styled shelf can make your room look organized and welcoming. It brings balance between function and decoration.
Organizing Books
Start by arranging your books in a way that suits your style. You can organize them by size, color, or subject. Placing books vertically saves space and keeps them easy to find. Stacking some books horizontally adds visual interest. Make sure to leave some gaps for a less crowded look. This helps your shelf feel open and neat.
Adding Decorative Items
Decorative items add personality to your shelf. Use small plants to bring freshness and color. Picture frames or small art pieces create a personal touch. Place objects of different shapes and sizes to add depth. Keep balance by not overcrowding the space. Decorative items can highlight your favorite books or empty spots.
:max_bytes(150000):strip_icc()/dominiquegebruinsta-35b11dd4f037417980649e06e17c4027.jpg)
Credit: www.thespruce.com
Frequently Asked Questions
How Do I Start Making A Custom Bookshelf?
Begin by measuring your space and choosing a design style. Gather materials like wood, screws, and tools. Create a simple plan with dimensions before cutting and assembling the pieces carefully.
What Tools Are Needed For A Custom Bookshelf?
You will need a saw, drill, measuring tape, screwdriver, level, and clamps. These tools help cut, assemble, and ensure your bookshelf is sturdy and level.
Which Wood Type Is Best For Bookshelves?
Plywood and hardwoods like oak or maple are ideal. They provide strength, durability, and a smooth finish for painting or staining your bookshelf.
How Can I Ensure My Bookshelf Is Sturdy?
Use quality wood, strong joints, and secure screws or nails. Add brackets for extra support and make sure the shelves are level and evenly spaced.
Conclusion
Building a custom bookshelf can be simple and fun. You only need a few tools and some patience. Measure your space well to fit your design perfectly. Choose the right wood to match your style and budget. Take your time with each step to avoid mistakes.
A handmade bookshelf adds charm to any room. Enjoy the pride of creating something useful and unique. Start your project today and see how it changes your space.