Are you looking to add a simple, sturdy bookshelf to your home without spending a fortune? Building your own basic bookshelf is easier than you might think.
With just a few tools and some straightforward steps, you can create a piece that not only organizes your books but also adds a personal touch to your space. Keep reading, and you’ll discover how to make a bookshelf that fits your style and needs perfectly.
By the end, you’ll have the confidence to start your own project and enjoy the satisfaction of crafting something with your own hands.
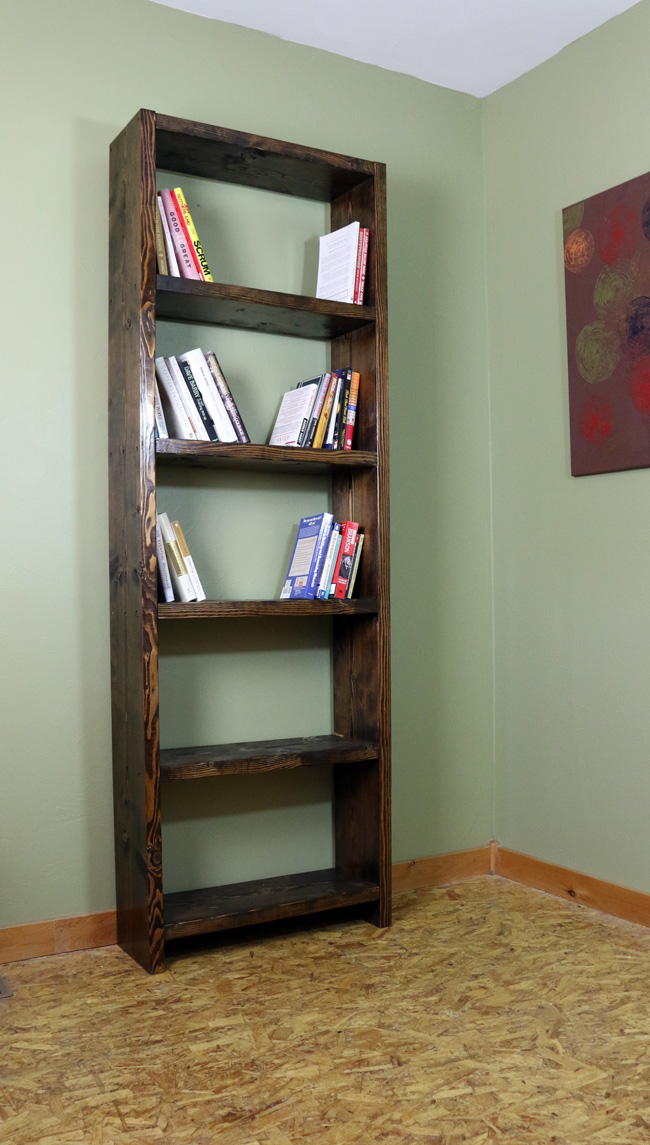
Credit: www.diypete.com
Materials And Tools Needed
Building a basic bookshelf starts with having the right materials and tools. Choosing good wood and the proper tools makes your project easier and stronger. This section covers the wood types, essential tools, and extra supplies needed for your bookshelf.
Wood Types For Bookshelves
Choose wood that holds weight well and looks good. Pine is affordable and easy to work with. Oak is strong and lasts a long time. Birch has a smooth surface and good strength. Plywood is stable and less likely to warp. Avoid soft woods that bend or break easily.
Essential Tools
You need a saw to cut the wood to size. A drill helps make holes and drive screws. Sandpaper smooths rough edges for a clean finish. A tape measure ensures accurate cuts and spacing. A level keeps shelves straight and balanced. Screwdrivers are useful for tightening screws.
Additional Supplies
Wood screws hold the bookshelf parts together firmly. Wood glue adds extra strength to joints. Paint or stain improves the look and protects wood. Brushes or rags help apply finish evenly. Safety gear like goggles and gloves protects your eyes and hands. Clamps hold pieces in place while drying.
Planning Your Bookshelf
Planning your bookshelf is the first step to a successful build. It helps you avoid mistakes and saves time. Thoughtful planning ensures the bookshelf fits your space and needs. Consider the size, style, and safety before you start.
Choosing Dimensions
Decide the height, width, and depth of your bookshelf. Measure the space where you want to place it. Think about the size of your books and items. Leave extra space for taller books or decorations. Keep the dimensions balanced for a strong structure.
Design Styles
Pick a style that matches your room’s look. Simple and modern designs fit most spaces. Classic wood shelves add warmth and charm. Open shelves show off your items. Closed shelves hide clutter and protect books.
Safety Considerations
Make sure your bookshelf stands firmly on the floor. Use anchors to fix it to the wall if needed. Avoid sharp edges or corners. Choose strong materials that hold weight well. Check that shelves are stable and won’t tip over easily.
Cutting The Wood
Cutting the wood is the first step to build a basic bookshelf. It shapes the pieces you need. Accurate cuts ensure the shelf fits well and looks good.
Take your time to cut carefully. It helps avoid mistakes and saves wood. Using the right tools and methods makes this task easier and safer.
Measuring And Marking
Measure each piece of wood twice before cutting. Use a tape measure for accuracy. Mark the cut lines clearly with a pencil. Check the marks to confirm they are straight. Precise measuring helps all parts fit perfectly later.
Safe Cutting Techniques
Wear safety glasses and gloves to protect yourself. Use a stable surface to place the wood. Hold the wood firmly or use clamps. Cut slowly along the marked lines. Keep your hands away from the blade. Always follow the tool’s safety instructions.
Preparing Pieces
After cutting, check each piece for rough edges. Sand the edges to make them smooth. Remove sawdust before assembly. Organize the pieces by size and shape. This makes the next steps faster and easier.
Assembling The Frame
Assembling the frame is a key step in building a sturdy bookshelf. It creates the basic shape and holds everything together. Follow each step carefully to ensure a strong, balanced frame. Use the right tools and materials to make the process smooth.
Joining Side Panels
Start by placing the side panels upright and parallel. Align their edges so they stand straight. Use clamps to hold them steady. Join the panels at the top and bottom with wooden blocks or braces. This forms a solid rectangle for the frame. Make sure the corners are square before securing them.
Attaching Shelves
Measure the distance between shelves and mark the side panels. Position the shelves on the marks for even spacing. Hold each shelf in place with clamps. Check that shelves are level and straight. Attach shelves firmly to the side panels to avoid wobbling.
Using Screws And Nails
Use screws for strong, lasting joints. Pre-drill holes to prevent wood from splitting. Drive screws slowly and deep into the wood. Add nails for extra support, especially at corners. Use a hammer carefully to avoid damaging the wood. This mix of screws and nails keeps the frame firm and stable.
Finishing Touches
Finishing touches give your bookshelf a smooth, polished look. They protect the wood and make the shelf last longer. These small steps improve the overall quality and feel of your project. Below are simple ways to complete your bookshelf.
Sanding Surfaces
Start by sanding all wooden parts. Use fine-grit sandpaper for best results. Sand in the direction of the wood grain. This prevents scratches and rough spots. Wipe dust off with a clean cloth after sanding. Smooth surfaces help paint or stain stick better.
Applying Paint Or Stain
Choose paint or stain based on your style. Paint covers the wood completely. Stain shows the natural wood grain. Apply evenly with a brush or cloth. Let each coat dry fully before adding another. Multiple coats give richer color and better protection.
Adding Protective Coating
Finish with a clear protective coat. Use polyurethane or varnish for durability. This layer guards against scratches and moisture. Apply thin, even coats and allow drying time. Lightly sand between coats for a smooth finish. This step keeps your bookshelf looking good longer.

Credit: www.simplyeasydiy.com
Installing And Maintaining
Installing and maintaining your bookshelf ensures safety and long-lasting use. Proper setup keeps it stable and prevents accidents. Regular care protects the wood and keeps your books neat. Follow these simple steps for a sturdy, tidy bookshelf.
Securing The Bookshelf
Place the bookshelf against a wall for support. Use wall anchors or brackets to fix it firmly. This stops tipping and keeps the shelf steady. Check screws and brackets often to keep them tight. A secured bookshelf is safer for your home.
Organizing Books
Sort books by size, topic, or color. Place heavier books on the bottom shelves. This balances the weight and avoids tipping. Leave some space between books for easy removal. Neat organization makes your shelf look tidy and appealing.
Regular Maintenance Tips
Dust your bookshelf weekly with a soft cloth. Avoid using water or harsh cleaners on wood. Check for loose screws or damaged parts every month. Tighten or repair parts as needed to keep it strong. Clean and maintain your shelf for years of use.

Credit: www.kayunga.go.ug
Frequently Asked Questions
What Tools Do I Need To Make A Basic Bookshelf?
You need a saw, drill, measuring tape, screwdriver, sandpaper, and wood glue. These tools help you cut, assemble, and finish the bookshelf efficiently.
What Type Of Wood Is Best For A Simple Bookshelf?
Pine or plywood are ideal for a basic bookshelf. They are affordable, easy to work with, and sturdy enough to hold books.
How Do I Ensure My Bookshelf Is Sturdy And Safe?
Use strong screws and wood glue at joints. Make sure shelves are level and attach the bookshelf to the wall for added safety.
How Long Does It Take To Build A Basic Bookshelf?
Building a simple bookshelf usually takes 2 to 4 hours. Time varies depending on your skill level and tools available.
Conclusion
Building a basic bookshelf is easier than it seems. With simple tools and clear steps, anyone can do it. You get a useful piece of furniture made by yourself. It saves money and adds a personal touch to your home.
Plus, it feels good to see your work finished. Try this project and enjoy the results. A bookshelf made by your own hands holds more than just books—it holds pride.