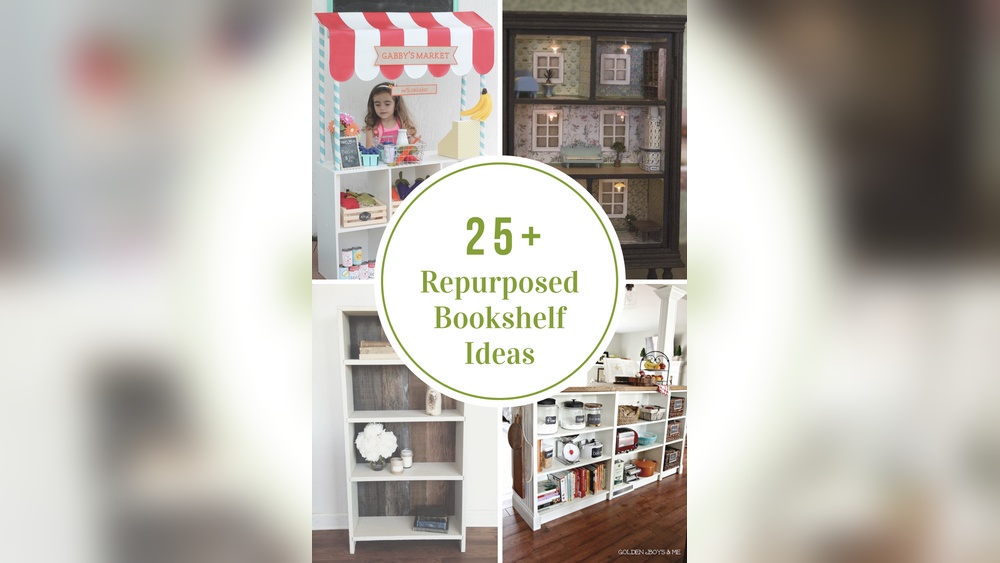
Looking for a unique way to display your favorite books and add charm to your space? Making an apple crate bookshelf is easier than you think, and it gives your room a cozy, rustic touch.
Imagine turning simple wooden crates into a stylish shelf that holds your books, plants, and décor perfectly. In this guide, you’ll discover step-by-step how to create your own apple crate bookshelf with tools you likely already have. Ready to transform your space and impress your friends?
Let’s get started!
Credit: www.etsy.com
Materials Needed
Gathering the right materials is the first step to build an apple crate bookshelf. Using good quality supplies makes your project easier and the final product stronger. This section breaks down the materials needed to create a sturdy, stylish bookshelf from apple crates.
Choosing The Right Apple Crates
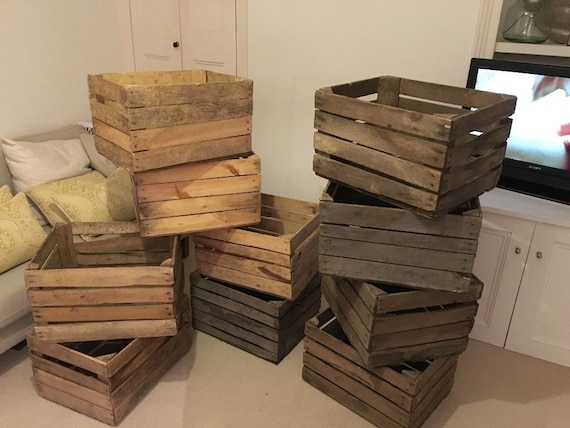
Select crates that are solid and in good shape. Look for wood that is smooth and free of cracks. Size matters. Pick crates that fit well together for a neat shelf.
Old apple crates have a rustic charm. Newer crates might be cleaner and sturdier. Choose based on the look and durability you want. Avoid crates with mold or severe damage.
Additional Supplies And Tools
You will need screws or nails to join the crates firmly. Wood glue adds extra strength. Sandpaper smooths rough edges for safety and a finished look.
Tools include a drill or screwdriver, hammer, and measuring tape. A paintbrush and paint or stain can enhance the shelf’s appearance. Safety gear like gloves and goggles protect you during work.
Preparing The Crates
Preparing the crates is the first step in making an apple crate bookshelf. It helps to create a strong and neat base for your project. Taking time to prepare the crates well will make the bookshelf last longer and look better.
Cleaning And Sanding
Start by cleaning the crates with a damp cloth. Remove dust, dirt, and any sticky spots. Let the crates dry completely before moving on.
Use sandpaper to smooth the surface. Sand all sides of each crate gently but thoroughly. This removes rough patches and splinters. Sanding helps the paint or finish stick better later.
Fixing Damages
Check each crate for cracks or loose nails. Tighten or replace nails if needed. Fill cracks or holes with wood filler. Let the filler dry fully, then sand the spots smooth.
Fixing damages early keeps the crates strong. It also makes the bookshelf safer to use and more attractive.
Designing Your Bookshelf
Designing your apple crate bookshelf is a fun and creative step. It shapes how your bookshelf will look and work. Good design makes it strong and fits your space well.
Think about style and function. A well-planned design saves time and avoids mistakes later. Start by imagining the final piece in your room.
Layout Options
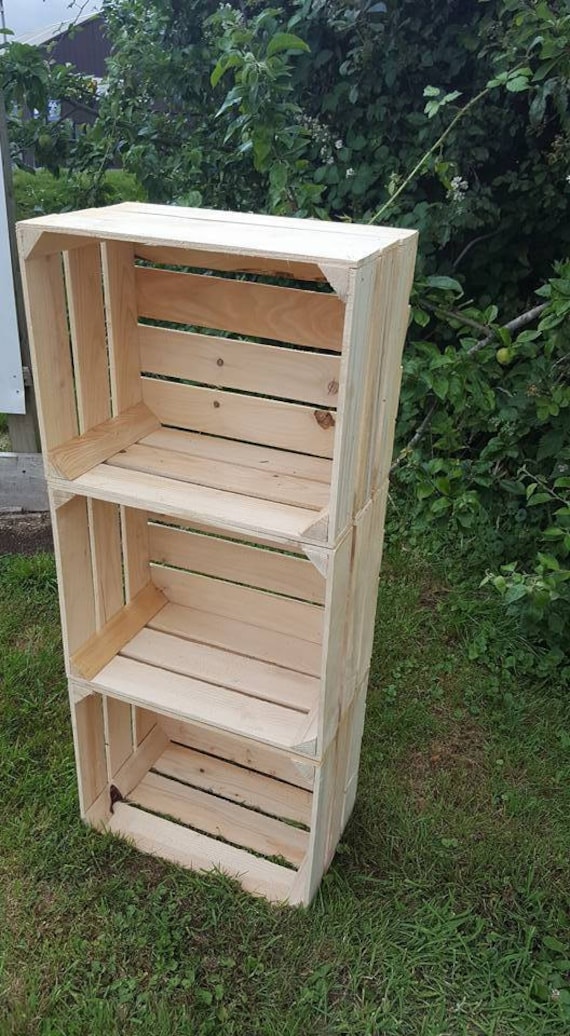
Choose a layout that fits your needs. Stack crates vertically for tall shelves. Lay them side by side for wider storage. Mix both ways for a unique look.
Consider how you want to store books or display items. Open spaces or closed boxes? Symmetrical or random? Simple layouts are easier to build.
Measuring And Planning
Measure your available space carefully. Check width, height, and depth. Leave room for opening doors or walking around.
Plan crate size and number based on these measurements. Draw a sketch with exact numbers. This helps avoid buying wrong crate sizes.
Think about weight. Apples crates are strong but not endless. Plan to support heavier books safely with extra brackets or screws.
Assembling The Crates
Assembling the crates is the key step in making your apple crate bookshelf. It shapes the structure and determines its strength. Take your time and follow each step carefully.
Start by arranging the crates in the pattern you want. Think about the size and how many shelves you need. Keep the design balanced to avoid tipping.
Stacking And Securing
Place one crate on top of another, lining up the edges neatly. Use wood screws to join the crates together. Drill pilot holes first to prevent the wood from splitting.
Secure each joint with at least two screws. Check that all crates are flush and aligned. This will make your bookshelf look clean and professional.
Reinforcing For Stability
Add corner brackets inside the joints for extra strength. Use L-shaped metal braces to hold crates firmly in place. Attach the brackets with small screws on both crates.
For extra safety, fix the whole bookshelf to the wall. Use wall anchors and screws to prevent tipping. This step is important for homes with children or pets.
Finishing Touches
Finishing touches give your apple crate bookshelf a polished look. These steps protect the wood and improve its appearance. Simple actions can make your project last longer and look great in any room.
Painting Or Staining
Choose paint or stain based on your style and room decor. Paint covers the wood completely and allows many color options. Stain shows the wood grain and gives a natural look. Apply paint or stain evenly with a brush or cloth. Let it dry fully before the next step.
Adding Protective Coating
Protective coating keeps the wood safe from scratches and moisture. Use clear polyurethane or varnish for a strong finish. Apply thin coats and let each dry before adding more. This coating helps your bookshelf stay beautiful over time. It also makes cleaning easier.
Credit: www.etsy.com
Styling Your Bookshelf
Styling your apple crate bookshelf lets you show off your personality. It also helps keep your space neat and inviting. You can mix books and decorations for a lively look. The key is balance and simplicity. This section guides you through easy ways to style your shelf.
Arranging Books And Decor
Place books both standing and lying flat. Stack a few horizontally to break the line of vertical books. Use bookends to keep them tidy. Add small decor items like plants or candles between books. Keep some space around objects for a clean look. Group similar items to create harmony. Change items often to keep the shelf fresh.
Maintaining Rustic Charm
Keep the natural wood visible to show the crate’s character. Avoid covering too much of the wood surface. Use simple, natural decor like burlap or woven baskets. Add vintage items like old cameras or jars. Choose warm-colored decorations to match the wood tone. Light dusting keeps the crate looking natural and fresh. This style makes your shelf cozy and welcoming.

Credit: www.ebay.com
Frequently Asked Questions
What Materials Are Needed For An Apple Crate Bookshelf?
You need apple crates, sandpaper, wood screws, drill, wood stain or paint, brushes, and mounting hardware. These materials help build a sturdy and attractive bookshelf from apple crates.
How Do You Prepare Apple Crates For Shelving?
Start by sanding crates to smooth rough edges. Then, apply wood stain or paint for a finished look. Proper preparation ensures durability and a polished appearance for your bookshelf.
How Can I Securely Mount The Apple Crate Bookshelf?
Use strong wall anchors and screws suited for your wall type. Attach mounting hardware firmly to each crate. Secure mounting prevents accidents and keeps the bookshelf stable.
Can I Customize The Size Of The Apple Crate Bookshelf?
Yes, arrange and stack crates in various configurations to fit your space. Customizing lets you create shelves that match your room’s dimensions and style.
Conclusion
Building an apple crate bookshelf is simple and fun. You only need basic tools and a little patience. This project saves money and adds charm to any room. Each shelf can hold books, plants, or decorations. You create a unique piece that fits your space perfectly.
Try different finishes or colors to match your style. Enjoy your new bookshelf and the pride it brings. Start your project today and see how easy it is!