Looking to add a stylish touch to your space without cluttering it? A simple floating bookshelf could be just what you need.
Imagine your favorite books neatly displayed on your wall, saving floor space and giving your room a modern look. You don’t need to be a woodworking expert or spend hours on complicated projects. In this guide, you’ll learn easy steps to create your own floating bookshelf that looks great and holds your books securely.
Ready to transform your room and impress your friends? Let’s get started!
Materials Needed
Building a floating bookshelf is easy with the right materials. Having the correct items helps create a strong and stylish shelf. Gather all materials before starting for smooth work.
Wood Selection
Choose wood that is sturdy and looks good. Pine, oak, or maple are great choices. Pick a wood thickness of about 1 inch for strength. Sand the wood smooth to avoid splinters. Select wood with a nice grain for a clean finish.
Hardware Essentials
Get strong brackets or hidden shelf supports to hold the shelf. Use screws that fit the brackets and wood. Wall anchors are needed for drywall installation. Pick screws and anchors that can hold the weight of books. A level helps align the shelf perfectly.
Tools Required
Gather a drill for making holes and driving screws. Use a screwdriver for tightening screws by hand. A tape measure ensures correct shelf length and placement. Sandpaper smooths wood edges and surfaces. A pencil marks drill points on the wall and wood.
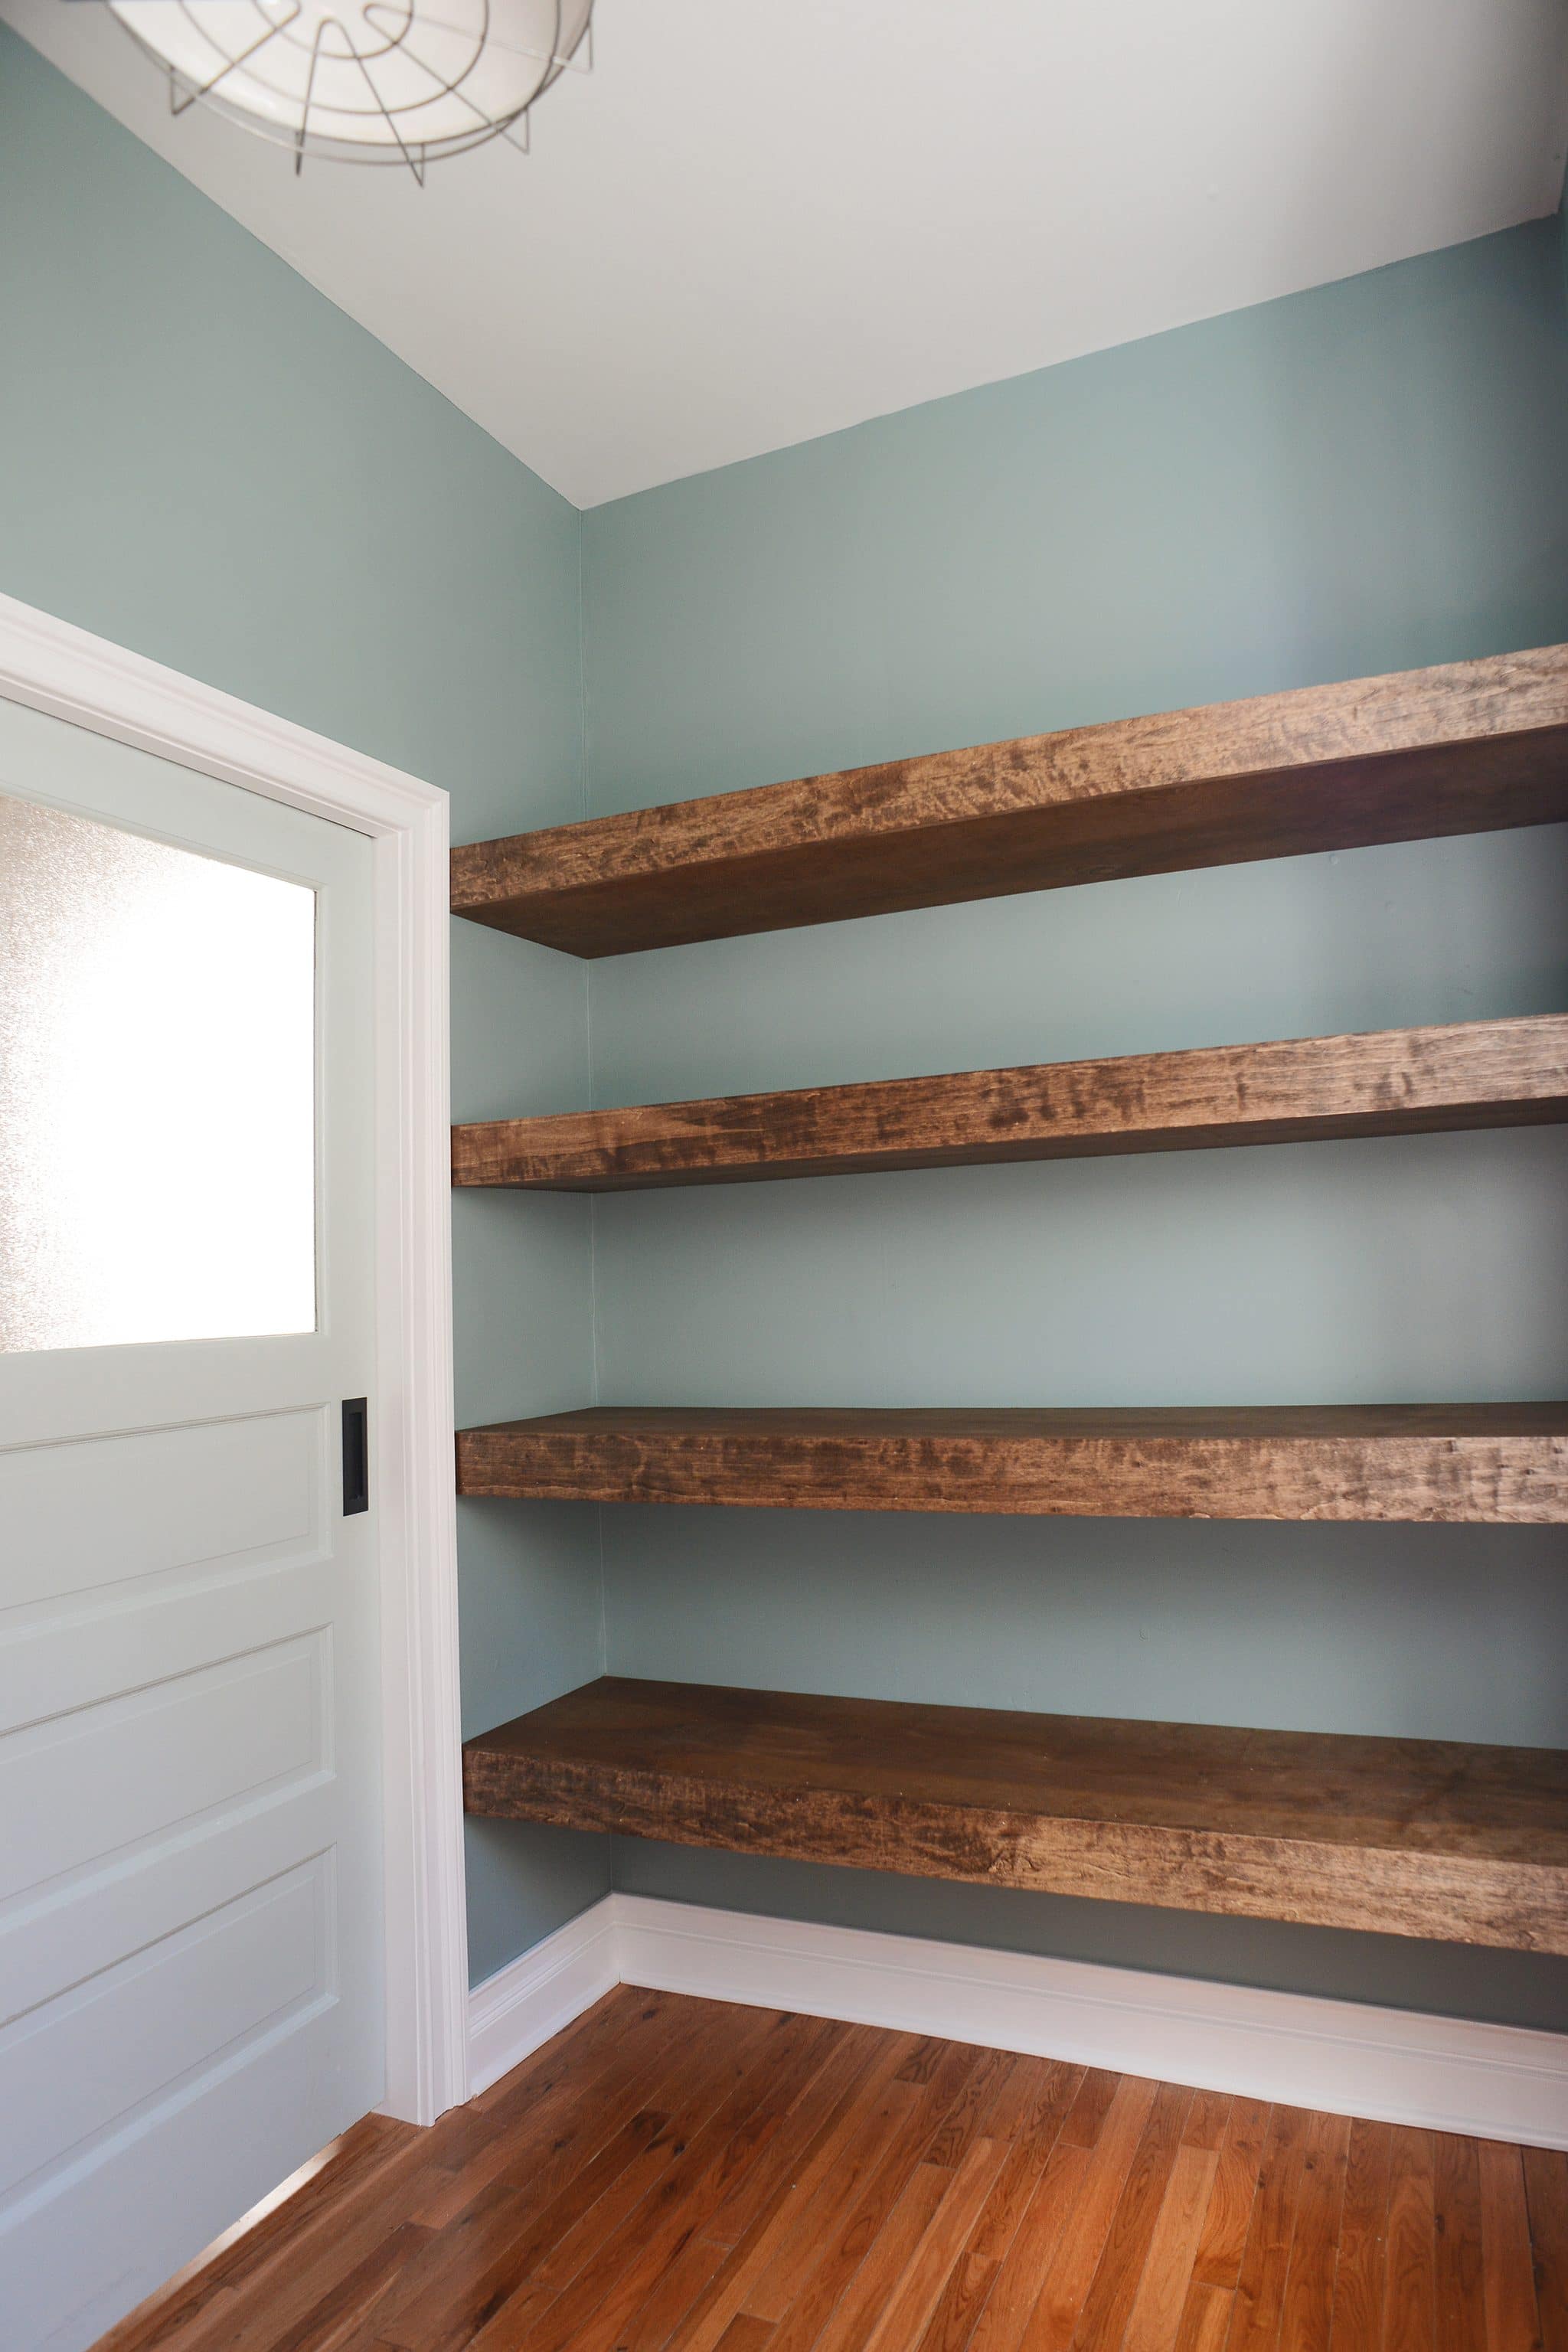
Credit: yellowbrickhome.com
Preparing The Wood
Preparing the wood is the first step in making a simple floating bookshelf. It sets the foundation for a strong and smooth shelf. You will need to measure, cut, and finish the wood carefully. This will help the shelf look neat and last longer.
Measuring And Cutting
Start by measuring the wood to fit your space. Use a tape measure and mark the length clearly. Double-check the marks to avoid mistakes. Use a saw to cut along the lines. Cut slowly and steadily for straight edges. Keep safety in mind and wear protective gear.
Sanding And Finishing
After cutting, sand the wood to remove rough spots. Use fine-grit sandpaper for a smooth surface. Sand all sides and edges evenly. This step prepares the wood for finishing. Choose a finish like paint or varnish. Apply it with a brush in thin coats. Let each coat dry before adding the next. This protects the wood and improves its look.
Assembling The Shelf
Assembling the floating bookshelf brings your project to life. This step requires care and simple tools. Follow each instruction closely to ensure a strong and level shelf. Start by preparing the wall and shelf parts for easy assembly.
Attaching Brackets
Begin by fixing the brackets to the wall. Use a stud finder to locate solid spots for support. Mark the spots clearly with a pencil. Drill holes carefully, matching the bracket holes. Screw the brackets tightly to the wall. Make sure they sit straight and stable. A level tool helps keep the brackets even.
Securing The Shelf
Next, place the shelf onto the attached brackets. Align it so the edges match perfectly. Press down gently but firmly. Use screws or nails to fix the shelf to the brackets. Check that everything stays level and secure. Tighten all fasteners to avoid any movement. Your simple floating bookshelf is ready to hold your favorite books.
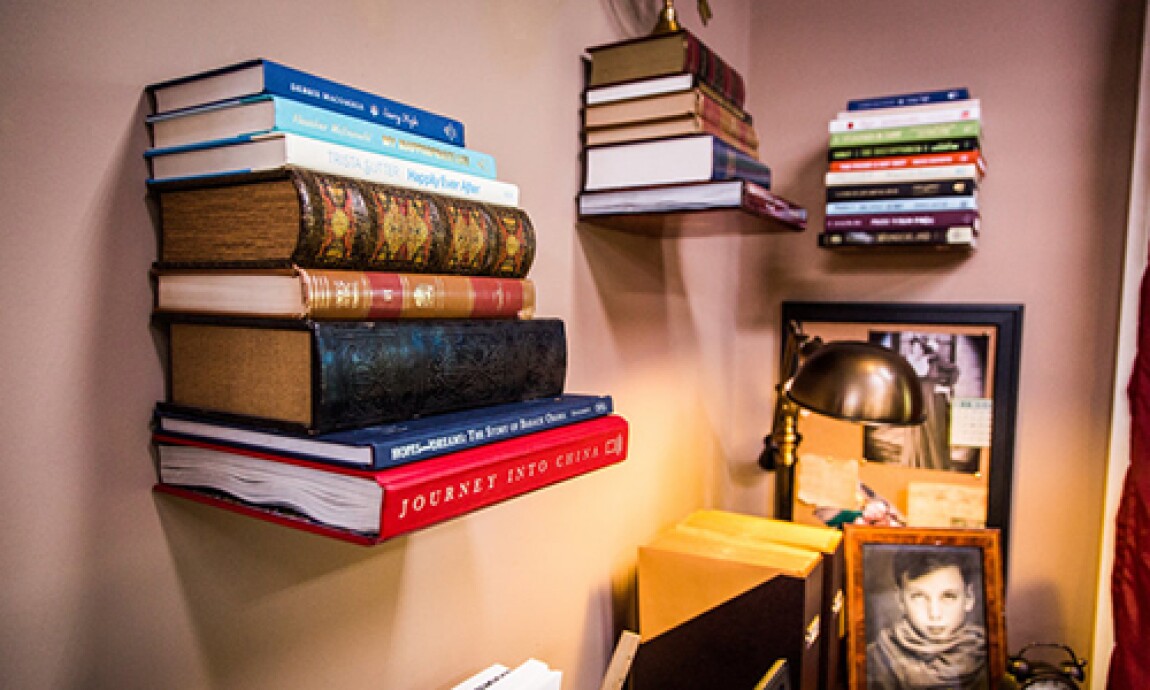
Credit: www.hallmarkchannel.com
Mounting The Bookshelf
Mounting the bookshelf is a key step in creating a simple floating bookshelf. It must be secure and level. This ensures the shelf holds books safely and looks neat on the wall. Follow these steps carefully to mount your shelf with ease.
Locating Wall Studs
Start by finding the wall studs. Studs are wooden beams behind the wall. They hold weight better than drywall alone. Use a stud finder tool for accuracy. Move the tool slowly along the wall. Mark the edges of each stud with a pencil. Aim to fix the shelf brackets into these studs.
Installing Anchors
If you cannot fix directly into studs, use wall anchors. Anchors support the shelf on drywall. Choose anchors rated for the weight of your books. Drill holes in the marked spots. Insert anchors fully into the holes. This step prevents the shelf from falling under heavy load.
Leveling And Fixing
Place the shelf bracket against the wall. Use a level tool to check it is straight. Adjust the bracket until it is perfectly horizontal. Mark screw holes with a pencil. Drill pilot holes for screws. Attach the bracket firmly with screws. Double-check the level once fixed. Repeat for all brackets.
Decorating Tips
Decorating a simple floating bookshelf can make a room feel warm and inviting. Small details change the look and mood of your space. Thoughtful decoration helps show your style and personality.
Choosing the right books and decor creates balance. Keeping the shelf clean and tidy keeps it looking fresh and neat. Both steps make your floating shelf a charming part of your home.
Choosing Books And Decor
Select books with colors that match or contrast the wall. Stack some books horizontally to add variety. Use small plants or candles to bring life to the shelf. Avoid crowding the space. Leave some empty spots for a clean look.
Maintaining The Shelf
Dust your shelf regularly to keep it bright and fresh. Check the brackets to ensure the shelf stays secure. Rearrange books and decor now and then to keep it interesting. Avoid overloading the shelf to prevent damage. A neat shelf lasts longer and looks better.

Credit: www.freeandunfettered.com
Frequently Asked Questions
What Materials Do I Need For A Floating Bookshelf?
You need wood boards, brackets, screws, a drill, a level, and wall anchors. Choose sturdy wood for durability and brackets that support your shelf size.
How Do I Install A Floating Bookshelf Securely?
Locate wall studs, mark bracket positions, and drill pilot holes. Attach brackets firmly to studs, then mount the shelf. Use a level to ensure it’s even.
Can I Customize The Size Of My Floating Bookshelf?
Yes, you can cut wood to any size. Just ensure brackets match the shelf length and weight capacity for safe installation.
How Much Weight Can A Floating Bookshelf Hold?
Weight capacity depends on bracket strength and wall type. Properly installed brackets on studs can hold 20-50 pounds or more.
Conclusion
Creating a simple floating bookshelf is easy and fun. You only need a few tools and materials. The steps are clear and quick to follow. This project adds style and saves space in any room. You can paint or decorate it as you like.
It holds your favorite books neatly and safely. Try building one today and enjoy a tidy, modern look. Small projects like this bring big satisfaction. Give your walls a fresh, new feel now.