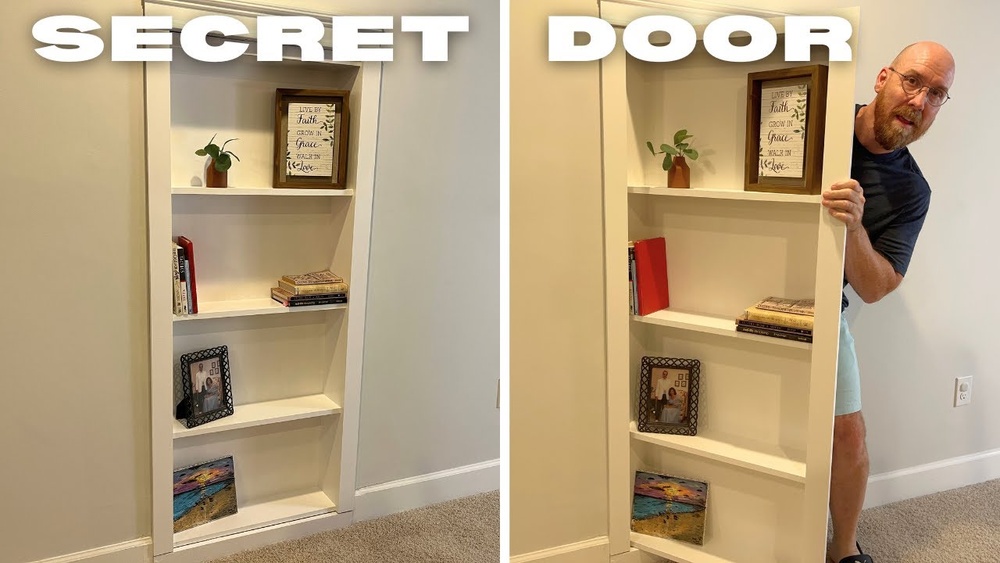
Are you dreaming of a unique bookshelf that fits perfectly in your home? Building a house-shaped bookshelf can turn that dream into reality.
Imagine having a cozy, charming piece that not only holds your favorite books but also adds character to your space. In this guide, you’ll discover simple steps to create your own house bookshelf, even if you’ve never built anything before.
Ready to transform your room and showcase your style? Let’s get started!
Choosing The Right Materials
Choosing the right materials is the first step to building a strong bookshelf. Good materials make the shelf last longer and look better. The type of wood and tools you use affect the final result. Picking the right supplies saves time and effort during the build.
Understanding different woods and essential tools helps you plan well. It also keeps the project within budget. Let’s explore the best wood types and the tools needed for this project.
Types Of Wood
Softwoods like pine are easy to cut and affordable. They work well for light use and simple designs. Hardwoods such as oak, maple, and cherry are stronger and last longer. These woods resist scratches and dents better.
Plywood is another option. It is made from layers of wood glued together. Plywood is stable and less likely to warp over time. Choose a smooth finish plywood for a clean look. Avoid particle board because it is weak and can break easily.
Tools And Supplies Needed
You will need some basic tools to build your bookshelf. A saw is necessary to cut the wood pieces. A drill makes holes for screws and helps with assembly. Sandpaper or an electric sander smooths the edges and surfaces.
Screws or nails hold the parts together securely. Wood glue adds extra strength. A measuring tape and pencil help mark the wood for accurate cuts. A level ensures your shelf stays straight and balanced. These tools keep the build neat and precise.
Designing Your Bookshelf
Designing your bookshelf is the first step in building a perfect storage solution. It helps to plan every detail before you start cutting wood. A clear design saves time and avoids mistakes.
Think about the style and size you want. Consider how you will use the shelves. This will guide your decisions and make the project easier.
Measuring Your Space
Start by measuring the area where the bookshelf will go. Use a tape measure for accuracy. Write down the height, width, and depth.
Check for any obstacles like vents or outlets. Measure twice to be sure. These numbers will help you choose the right size for your bookshelf.
Sketching The Layout
Draw a simple sketch of your bookshelf on paper. Include the overall shape and size. Mark where each shelf will go.
Decide the height of each shelf based on what you plan to store. Leave space for bigger items like books or decorations. This sketch will guide your building process.
Preparing The Workspace
Preparing the workspace is the first step to build a house bookshelf successfully. A clean and organized area helps you work faster and safer. It also keeps your tools and materials within easy reach. Setting up well prevents accidents and saves time during the project.
Safety Precautions
Safety is the top priority in any woodworking task. Wear safety goggles to protect your eyes from dust and wood chips. Use gloves to guard your hands against splinters and cuts. Make sure your workspace is well-lit and ventilated. Keep a first aid kit nearby for emergencies. Avoid loose clothing that can get caught in tools. Always unplug power tools when not in use.
Organizing Tools And Materials
Arrange all tools and materials before you start. Group similar items together for easy access. Place measuring tapes, pencils, and squares on one side. Keep saws, drills, and sanders in another spot. Lay out wood pieces by size and type. Clear any clutter to give yourself plenty of room. A tidy workspace helps maintain focus and efficiency.
Cutting The Wood Pieces
Assembling the frame is the first big step in building a house bookshelf. This part sets the base and shape of your bookshelf. A strong frame means a sturdy shelf that lasts for years.
Take your time to measure and cut wood pieces carefully. The frame usually includes two side panels, a top, and a bottom piece. These parts fit together like a puzzle. Good joining keeps the pieces tight and steady.
Joining Techniques
Use screws or nails for strong joints. Screws hold better but need pilot holes. Nails are faster but less strong. Wood glue adds extra strength to all joints. Apply glue before joining for a tight bond.
Try pocket holes for hidden screws. This method looks clean and holds well. Another way is using dowels. They fit into holes in both pieces for a tight fit. Clamps help keep parts in place while glue dries.
Ensuring Stability
Check the frame for any wobble. Use a square tool to keep corners at 90 degrees. A crooked frame makes shelves uneven. Add a back panel to prevent side-to-side movement.
Attach the back panel with nails or screws. This step greatly improves stability. Make sure all joints are tight and secure. The frame should feel firm and not move when pressed.
Assembling The Frame
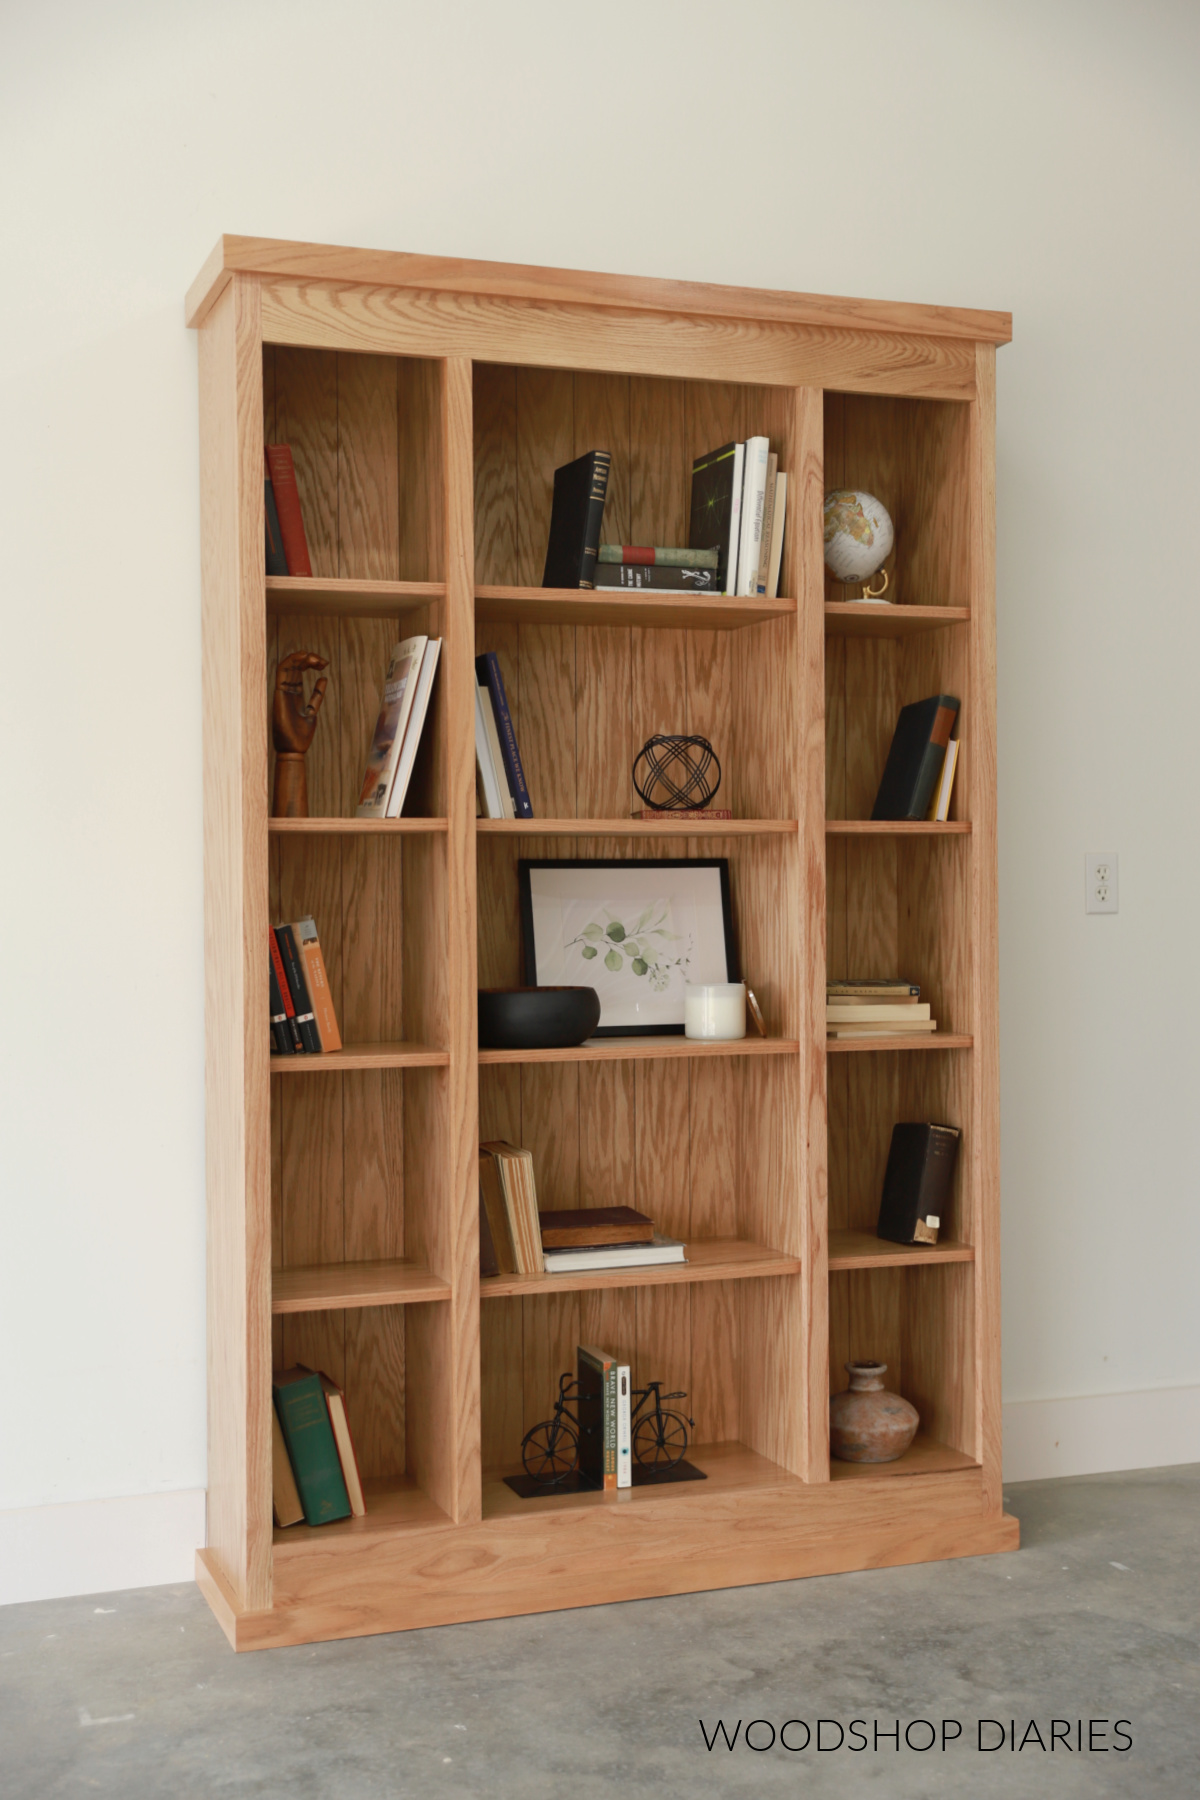
Adding shelves is a key step in building a house bookshelf. Shelves hold your books and decorations. Proper placement and secure fixing keep the shelves strong and stable. This section explains how to space and secure the shelves correctly.
Spacing And Placement
Decide the height of each shelf based on your book sizes. Leave enough space for tall books and small items. Use a tape measure to mark the shelf positions on the side panels. Keep the spacing even for a balanced look. Plan extra space for future books or items. Mark clearly to make installation easier.
Securing The Shelves
Use strong brackets or shelf pins to hold the shelves. Attach brackets firmly to the side panels with screws. Check each shelf is level before fixing it in place. Use a level tool for accuracy. If using shelf pins, drill holes evenly on the panels. Test shelf strength by gently pressing down after installation. Tighten screws if shelves feel loose.
Credit: www.familyhandyman.com
Adding Shelves
Finishing touches make your bookshelf look complete and polished. These final steps protect the wood and enhance its beauty. Taking time on finishing ensures your bookshelf lasts longer and fits your style perfectly.
Sanding And Smoothing
Start by sanding all surfaces with fine-grit sandpaper. Smooth edges and corners carefully. Remove any rough spots or splinters. Wipe dust off with a clean cloth before moving on. Smooth surfaces help paint or stain stick better.
Painting Or Staining
Choose paint or stain based on your desired look. Paint gives bright, solid colors. Stain highlights the natural wood grain. Apply thin, even coats with a brush. Let each coat dry fully before the next. Finish with a clear sealant for extra protection.
Finishing Touches
Installing the bookshelf is the final step to bring your project to life. This stage requires careful attention to ensure safety and stability. Proper installation keeps the bookshelf steady and protects your walls.
Positioning And Anchoring
Choose the perfect spot for your bookshelf. Look for a flat wall free of obstacles. Mark the wall where the bookshelf will sit.
Use a level to check the shelf’s alignment. This prevents tilting or uneven placement. Secure the bookshelf with strong anchors or brackets. Anchors hold the shelf firmly to the wall, avoiding accidents.
Final Adjustments
Check the shelf for any loose screws or gaps. Tighten screws to make the structure solid. Adjust the shelf height if it has adjustable parts.
Clean dust and debris from the surface. This makes the bookshelf ready for your books and decorations. Step back and admire your work. A well-installed bookshelf adds charm and function to your space.
Credit: www.woodshopdiaries.com
Credit: plankandpillow.com
Frequently Asked Questions
What Materials Are Needed To Build A House Bookshelf?
To build a house bookshelf, you need plywood or solid wood, screws, wood glue, sandpaper, paint, and tools like a saw and drill. These materials ensure durability and a smooth finish for your project.
How Long Does It Take To Build A House Bookshelf?
Building a house bookshelf typically takes 4 to 6 hours, depending on your skill level and design complexity. Proper planning and preparation can help you finish the project efficiently.
What Tools Are Essential For Building A House Bookshelf?
Essential tools include a saw, drill, screwdriver, measuring tape, level, clamps, and sandpaper. These tools help you cut, assemble, and finish the bookshelf accurately.
How Can I Customize My House Bookshelf Design?
You can customize by changing shelf sizes, adding paint or stain, incorporating decorative trim, or adjusting the shape. Personal touches make the bookshelf unique and fit your space perfectly.
Conclusion
Building a house bookshelf is a fun and rewarding project. You can create a unique piece that fits your space perfectly. Use the right tools and follow steps carefully. Take your time and measure twice before cutting. Enjoy the process of making something useful and beautiful.
A handmade bookshelf adds charm and storage to any room. Keep practicing, and your skills will improve with each project. Start your bookshelf today and see the difference it makes. Simple, practical, and satisfying.