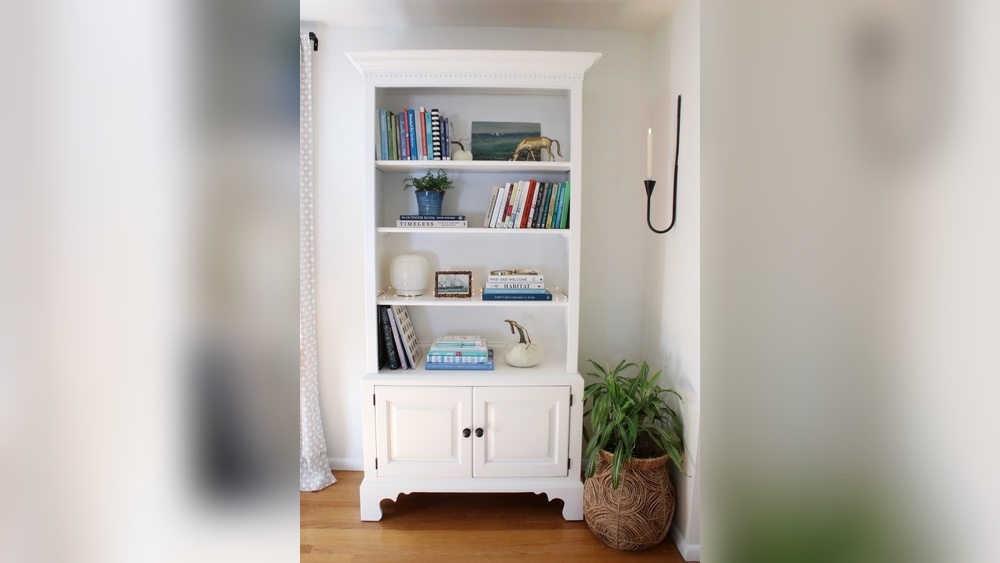
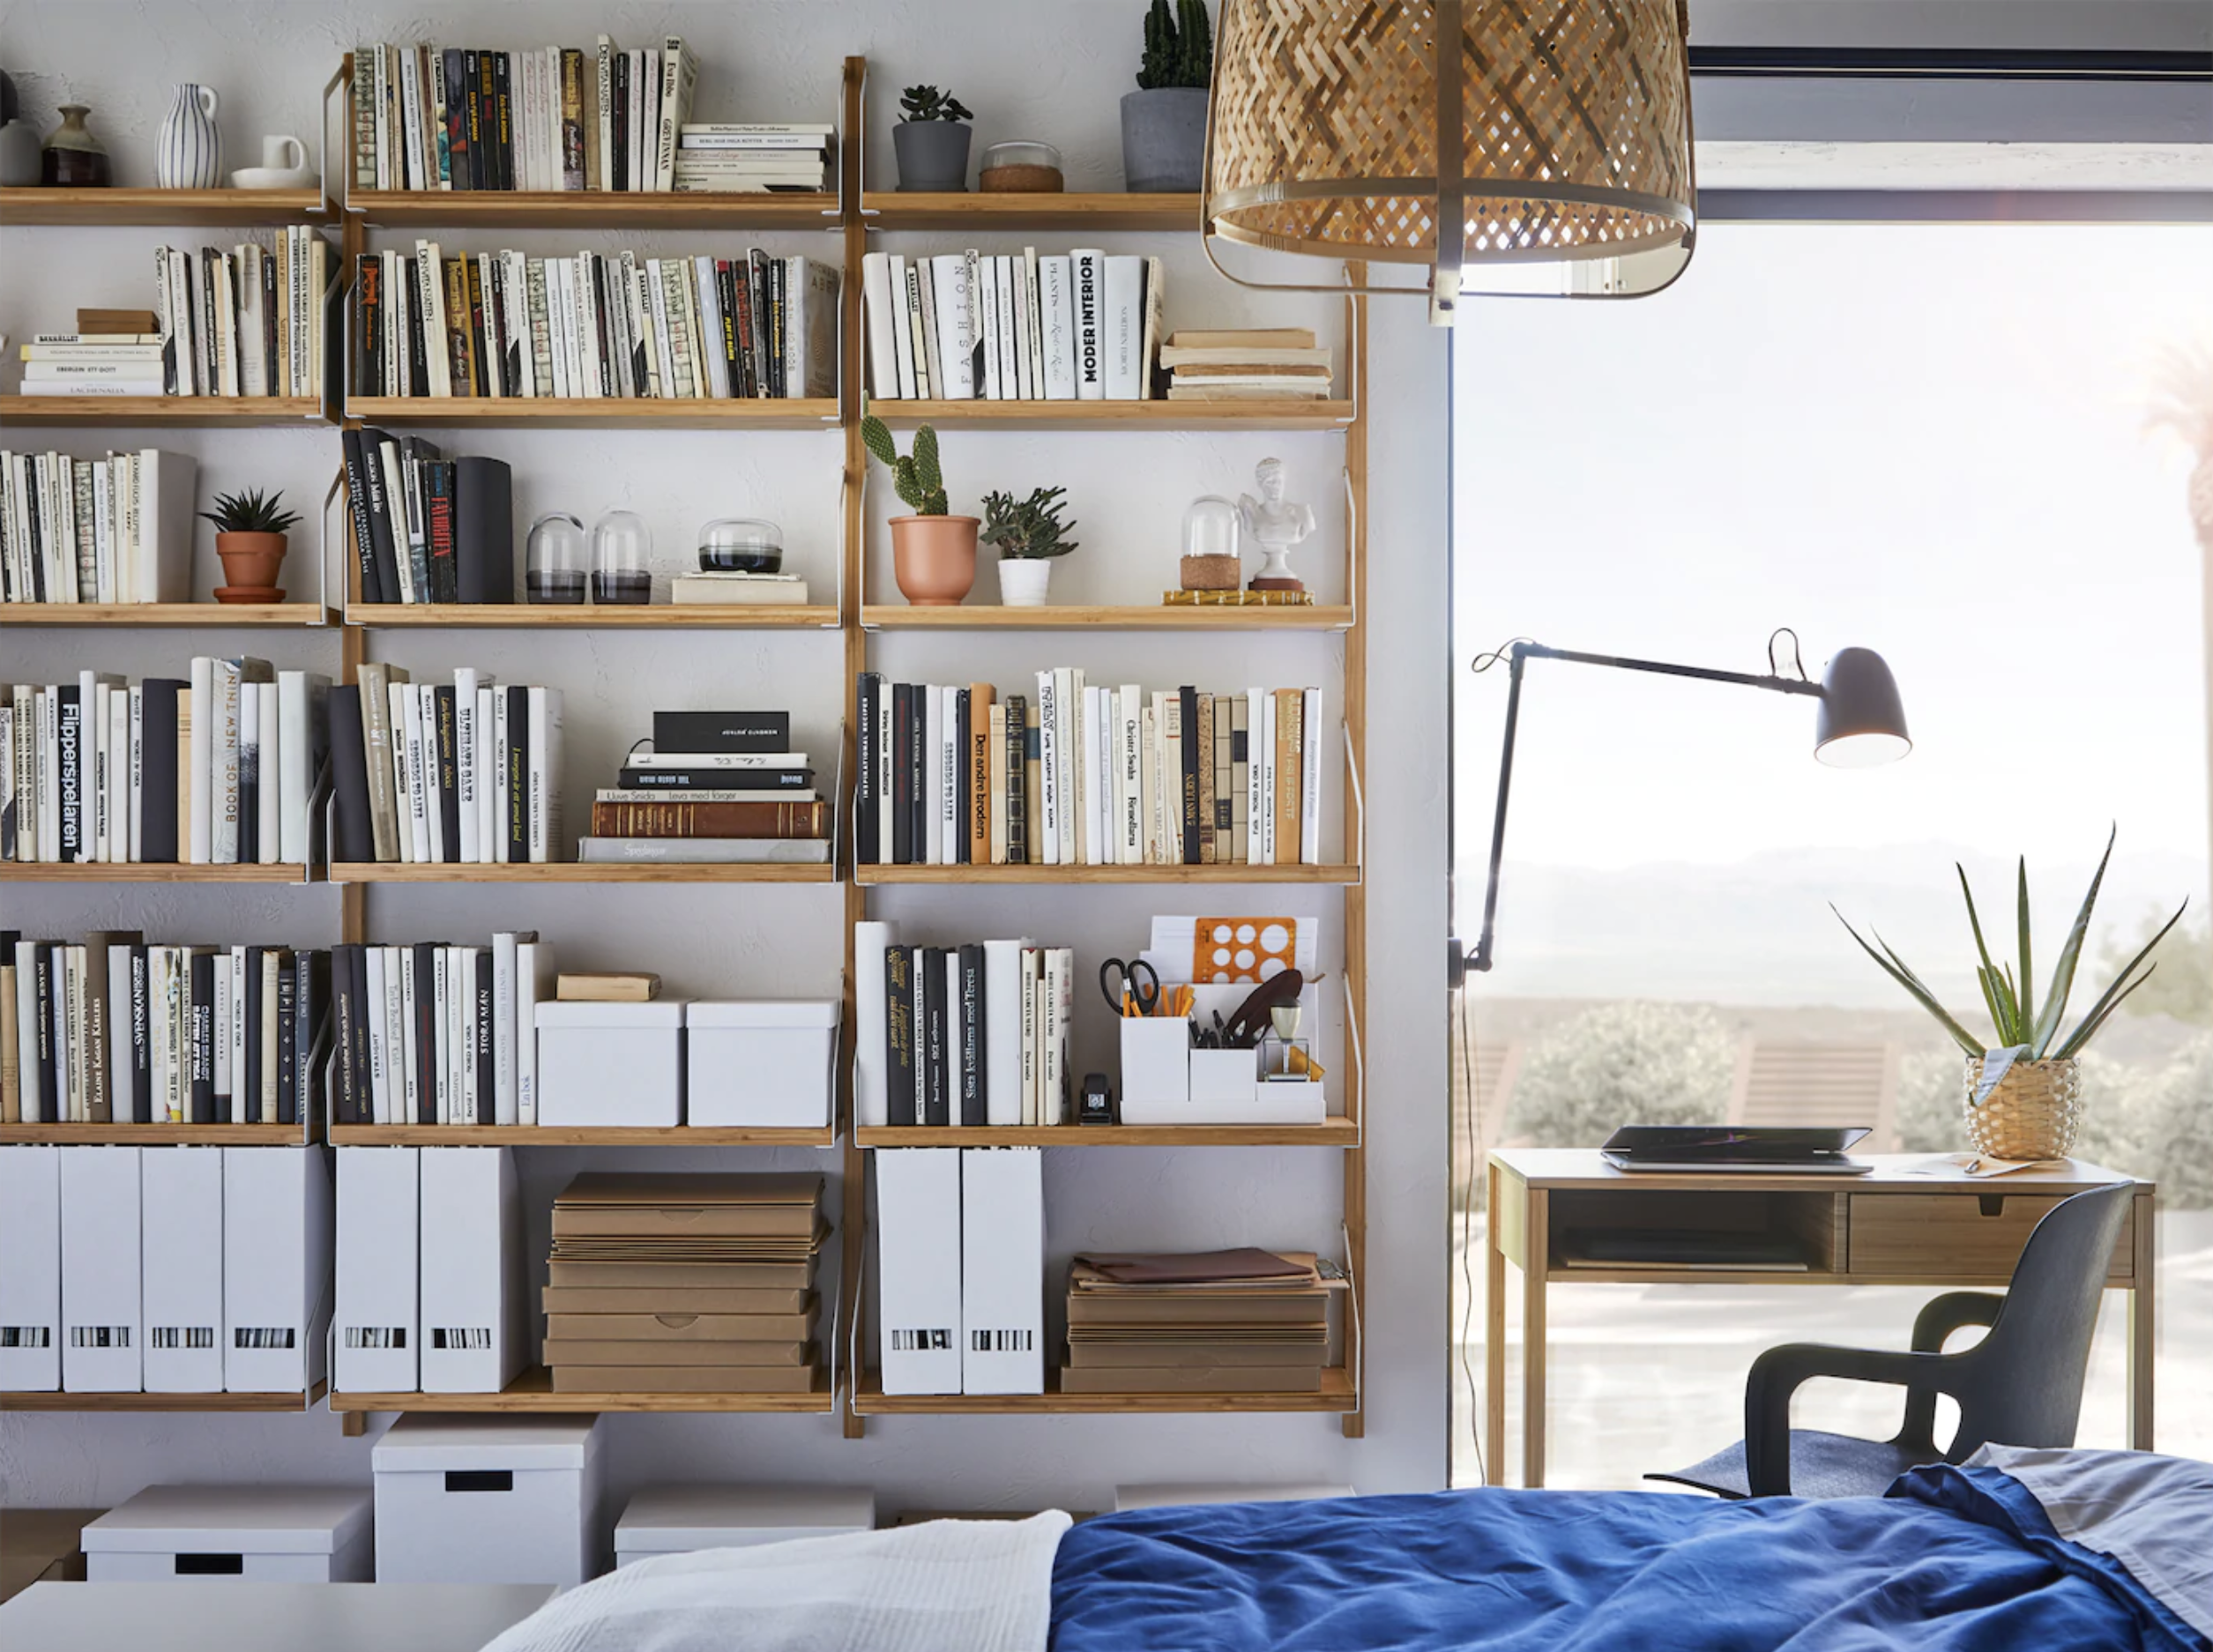
Looking for a way to organize your books without taking up extra space? Imagine turning one of your empty walls into a stylish, functional bookshelf that fits perfectly with your home’s vibe.
You don’t need to spend a fortune or hire a pro. With a few simple tools and easy steps, you can create a wall bookshelf that not only holds your favorite reads but also adds character to your room. Ready to discover how to make a wall bookshelf at home that you’ll be proud of?
Keep reading—you’re just moments away from transforming your space.
Materials And Tools Needed
Gathering the right materials and tools is the first step to build a wall bookshelf. The right items make the process easier and the final product strong and stable.
Choose quality materials that fit your space and style. Use tools that are safe and suitable for woodworking. Prepare everything before starting to save time and avoid mistakes.
Materials Needed
- Wood boards (plywood or solid wood)
- Wood screws
- Wall anchors
- Wood glue
- Sandpaper (medium and fine grit)
- Wood stain or paint (optional)
- Paintbrush or cloth for staining
- Measuring tape
- Level
- Pencil
Tools Required
- Power drill with drill bits
- Screwdriver
- Hand saw or circular saw
- Clamps
- Stud finder
- Safety goggles
- Dust mask
- Work gloves

Credit: www.youtube.com
Choosing The Right Wall Space
Choosing the right wall space is the first step to making a great wall bookshelf at home. The right spot makes your shelf useful and looks good in your room. It also keeps your books safe and easy to reach.
Think about the size of the wall. It should be big enough for the shelf you want. A wall that is too small will make your shelf look crowded. A large wall gives more room for books and decorations.
Consider the light in the area. A wall near natural light is good for reading and finding books. Avoid walls that get too much direct sunlight. Too much sun can damage your books over time.
Check the wall material. Drywall, brick, or wood need different tools and anchors. Make sure your wall can hold the weight of your shelf and books. Strong walls are safer and last longer.
Assessing Wall Size And Shape
Measure the width and height of your wall space. Write down these numbers before buying materials. Look for a flat, even surface. Avoid walls with many switches or outlets.
Considering Room Function And Traffic
Pick a wall that fits your room’s use. A quiet corner is good for reading areas. Avoid busy walls near doors or walkways. This keeps the shelf safe from bumps.
Checking Wall Strength And Material
Know what your wall is made of. Use a stud finder to locate beams inside the wall. Studs give strong support for heavy shelves. Use the right screws and anchors for the wall type.
Designing Your Bookshelf
Designing your wall bookshelf is the first step toward a perfect DIY project. A well-planned design helps your bookshelf fit the space and your needs. It also makes building easier and faster. Focus on style and size before starting any cuts or assembling.
Think about how you want the bookshelf to look and what it will hold. This helps in choosing the right materials and layout. A clear design plan saves time and prevents mistakes.
Selecting The Style
Choose a style that matches your room’s decor. Simple, modern, rustic, or classic—each style gives a different feel. Consider open shelves for easy access or closed shelves for a neat look. Decide if you want floating shelves or a bookshelf with a frame. Your choice affects both the look and the build process.
Measuring Dimensions
Measure the wall space carefully before buying materials. Know the height, width, and depth you want for the shelf. Leave some space around the bookshelf for a balanced look. Think about the size of your books and items to store. Correct measurements ensure the shelf fits well and holds your items safely.
Preparing The Wood
Preparing the wood is an important step in making a wall bookshelf at home. Good preparation helps the wood last longer and look better. It also makes the assembly easier. Take your time to do it right.
Cutting To Size
Measure the wood pieces carefully before cutting. Use a pencil to mark the exact size needed. Cut the wood with a saw, following the marks closely. Keep the edges straight and clean. Use safety gear like gloves and goggles during cutting.
Sanding And Smoothing
After cutting, sand the wood to remove rough spots. Start with coarse sandpaper to smooth large bumps. Then use finer sandpaper for a soft finish. Sand along the wood grain to avoid scratches. Clean the dust with a dry cloth before assembly.
Assembling The Shelf
Assembling the wall bookshelf is a key step. It brings all the cut pieces together to form a sturdy structure. Careful assembly ensures the shelf holds weight and looks neat. Follow simple steps to join and secure each part properly.
Joining The Pieces
Start by arranging the wood pieces on a flat surface. Match the sides and shelves according to your design plan. Use wood glue along the edges to hold pieces together temporarily. Press firmly and wipe off any extra glue. Clamps help keep the pieces tight while drying. Check alignment to avoid gaps or uneven edges.
Securing With Screws
Once glued, reinforce the joints with screws. Pre-drill small holes to prevent wood splitting. Drive screws slowly and straight into the wood. Use a screwdriver or drill with a proper bit size. Screws add strength and keep the shelf stable. Cover screw heads with wood filler for a smooth finish.
Mounting The Bookshelf
Mounting the bookshelf securely is key to keeping your books safe. A well-mounted shelf holds weight without wobbling or falling. This step takes some care but is not hard to do. Follow simple instructions to mount your shelf on the wall.
Locating Wall Studs
Find the studs inside your wall to hold the shelf firmly. Use a stud finder tool for easy and quick locating. Studs are wooden beams behind the drywall. Mark the stud spots with a pencil. Mounting on studs gives your shelf the strongest support.
Using Anchors And Brackets
Use anchors if you cannot mount directly on studs. Anchors help spread the shelf weight evenly on drywall. Choose anchors that fit your wall type and shelf weight. Attach sturdy brackets to the wall with screws and anchors. Then, place the bookshelf on the brackets and secure it tightly. This setup keeps the shelf stable and safe for heavy books.
Finishing Touches
Finishing touches give your wall bookshelf a polished, complete look. These small steps protect the wood and enhance its beauty. They make your shelf stand out and match your room style. Focus on painting or staining first, then add decorative elements for a personal touch.
Painting Or Staining
Painting or staining your bookshelf protects the wood from damage. Choose a paint color that fits your room’s decor. Use light coats for an even finish and avoid drips. Staining shows the wood grain and adds warmth. Apply stain with a cloth and wipe off extra. Let it dry fully before placing books or items on the shelf.
Adding Decorative Elements
Decorative elements make your bookshelf unique and stylish. Add small trim pieces or molding for a classic look. Use stencils to paint patterns or shapes on the shelves. Attach wallpaper or fabric to the back for color and texture. Consider small hooks on the sides for hanging items. These touches reflect your style and brighten the space.
Credit: www.realhomes.com
Safety Tips
Building a wall bookshelf at home can be rewarding and fun. Safety must be your top priority during the process. Taking the right precautions helps avoid accidents and damage. Follow these simple safety tips to keep yourself and your project safe.
Wear Protective Gear
Always wear safety glasses to protect your eyes from dust and debris. Use gloves to guard your hands against splinters and sharp tools. Ear protection helps reduce noise from power tools. These items keep you safe and comfortable.
Use Tools Properly
Read instructions for all tools before use. Use the right tool for each task. Keep tools sharp and in good condition. Handle power tools with care and never rush. Proper use prevents injuries and ensures better results.
Secure The Work Area
Clear your workspace of clutter and obstacles. Work in a well-lit area to see clearly. Keep children and pets away from the work zone. A tidy space helps prevent trips and falls.
Check Wall Strength
Ensure the wall can hold the bookshelf’s weight. Use a stud finder to locate strong support points. Avoid mounting on weak drywall alone. Proper support keeps the shelf stable and safe.
Handle Materials Carefully
Lift wood and heavy parts with care. Avoid sudden movements to prevent dropping materials. Store unused tools and materials safely. Careful handling protects you and your materials.
Maintenance And Care
Keeping your wall bookshelf in good shape helps it last longer. Regular care keeps the wood strong and the shelf looking neat. Small efforts prevent big problems later.
Dust and dirt can build up quickly on shelves. Cleaning often stops damage and keeps books safe. Use gentle methods to protect the wood and finish.
Cleaning Your Wall Bookshelf
Use a soft cloth to wipe dust from the shelves. Avoid wet cloths that might harm the wood. A dry or slightly damp cloth works best for cleaning.
Do not use harsh chemicals or sprays. They can damage the surface and color of the shelf. Choose mild soap solutions if needed, then dry immediately.
Checking For Loose Screws And Joints
Look at screws and brackets regularly. Tighten any loose parts to keep the shelf stable. Loose joints can cause the shelf to sag or fall.
Use a screwdriver to make small adjustments. Check the wall anchors as well. Strong attachments keep your shelf safe and secure.
Protecting Wood From Moisture And Sunlight
Keep the shelf away from damp places like bathrooms. Moisture can warp wood and cause mold. Avoid placing the shelf where sunlight hits directly.
Sunlight can fade the color and dry out the wood. Use curtains or blinds to reduce direct sun exposure. Maintaining ideal conditions helps the shelf last longer.

Credit: www.youtube.com
Frequently Asked Questions
What Materials Do I Need To Make A Wall Bookshelf?
You need wood planks, screws, brackets, a drill, a level, sandpaper, and paint or varnish. Choose sturdy wood for durability. These materials ensure your bookshelf is strong and looks great on your wall.
How Do I Attach A Wall Bookshelf Securely?
Use wall anchors or studs to secure brackets firmly. Drill pilot holes and use a level to align shelves. Proper attachment prevents the bookshelf from falling and supports the weight of your books safely.
Can I Customize The Size Of My Wall Bookshelf?
Yes, you can customize size based on your wall space and needs. Measure your wall area first. Cut wood planks accordingly. Custom sizing allows your bookshelf to fit perfectly in any room.
How Long Does It Take To Build A Wall Bookshelf?
Building a wall bookshelf typically takes 2 to 4 hours. Time varies with design complexity and experience level. Proper planning and preparation can reduce build time significantly.
Conclusion
Making a wall bookshelf at home is simple and rewarding. You save money and add style to your space. Follow clear steps and use basic tools. You can customize the size and color to fit your room. This project gives your books a neat, organized place.
Enjoy the satisfaction of building something useful yourself. Try it and see how easy and fun it can be!