Are you looking to give your bookshelf a stylish, finished look? Adding crown molding on top is a simple way to transform an ordinary shelf into a stunning piece of furniture.
You might think it’s complicated, but with the right steps, you can do it yourself and save money. In this guide, you’ll discover easy-to-follow tips that make mounting crown molding on your bookshelf a breeze. Ready to upgrade your space and impress your guests?
Keep reading, and you’ll learn exactly how to get it done right.
Tools And Materials Needed
Mounting crown molding on top of a bookshelf requires specific tools and materials. Having everything ready makes the project easier and faster. This section lists the key tools and supplies you need. Understanding these will help you complete the task with confidence and precision.
Essential Tools
You need a miter saw to cut the molding at perfect angles. A measuring tape helps measure lengths accurately. Use a level to keep the molding straight. A nail gun or hammer is necessary to secure the molding. Safety goggles protect your eyes from debris. A stud finder locates the wall studs for firm attachment.
Choosing The Right Crown Molding
Select molding that fits your bookshelf style and size. Lightweight molding is easier to handle and install. Consider the material—wood or MDF works well. Pick a profile that matches your room’s decor. Make sure the molding height suits the bookshelf’s top.
Additional Supplies
Wood glue adds extra strength to joints. Caulk fills any gaps for a clean finish. Sandpaper smooths rough edges after cutting. Paint or stain matches the molding to your bookshelf. Painter’s tape protects surfaces during painting. Use wood filler to cover nail holes for a neat look.
Preparing The Bookshelf
Preparing the bookshelf is the first step to mount crown molding perfectly. This step ensures the molding fits well and looks smooth. A clean, measured surface helps avoid mistakes. Take your time to prepare carefully. This makes the whole project easier and better.
Measuring The Space
Measure the top edge of the bookshelf where the molding will go. Use a tape measure for accuracy. Write down the length and width of the space. Check corners for any irregular shapes. Measure twice to avoid cutting errors. Accurate measurements save time and materials.
Cleaning And Sanding Surfaces
Clean the bookshelf surface to remove dust and dirt. Use a damp cloth and wait for it to dry. Sand the top edge lightly with fine sandpaper. This helps the molding stick better. Wipe away dust after sanding. A smooth surface gives a neat finish.
Cutting The Crown Molding
Cutting crown molding is a key step for a perfect fit on top of your bookshelf. Precise cuts ensure the molding sits flush and looks professional. This process takes patience and the right tools. Focus on measuring correctly and cutting cleanly. Understanding angles and corners will help avoid gaps and uneven edges.
Measuring And Marking Cuts
Start by measuring the length of the bookshelf top. Use a tape measure for accuracy. Mark the molding piece with a pencil where it needs to be cut. Double-check your measurements before making any cuts. Mark the molding on the inside edge to keep the trim tight against the wall. Clear marks guide your saw and prevent mistakes.
Using A Miter Saw For Angles
A miter saw is essential for cutting crown molding angles. Set the saw to 45 degrees for most corners. Cut slowly to avoid splintering the wood. Always cut the molding upside down on the saw. This position aligns the cut with the wall and ceiling angle. Practice on scrap pieces before cutting your final molding.
Handling Inside And Outside Corners
Inside corners require coping or precise miter cuts. Coping fits one piece over the other for a tight joint. Outside corners need two mitered cuts meeting at a sharp angle. Check both corners for tight fits before nailing. Small sanding adjustments can fix minor gaps. Take your time for clean, smooth corner joints.
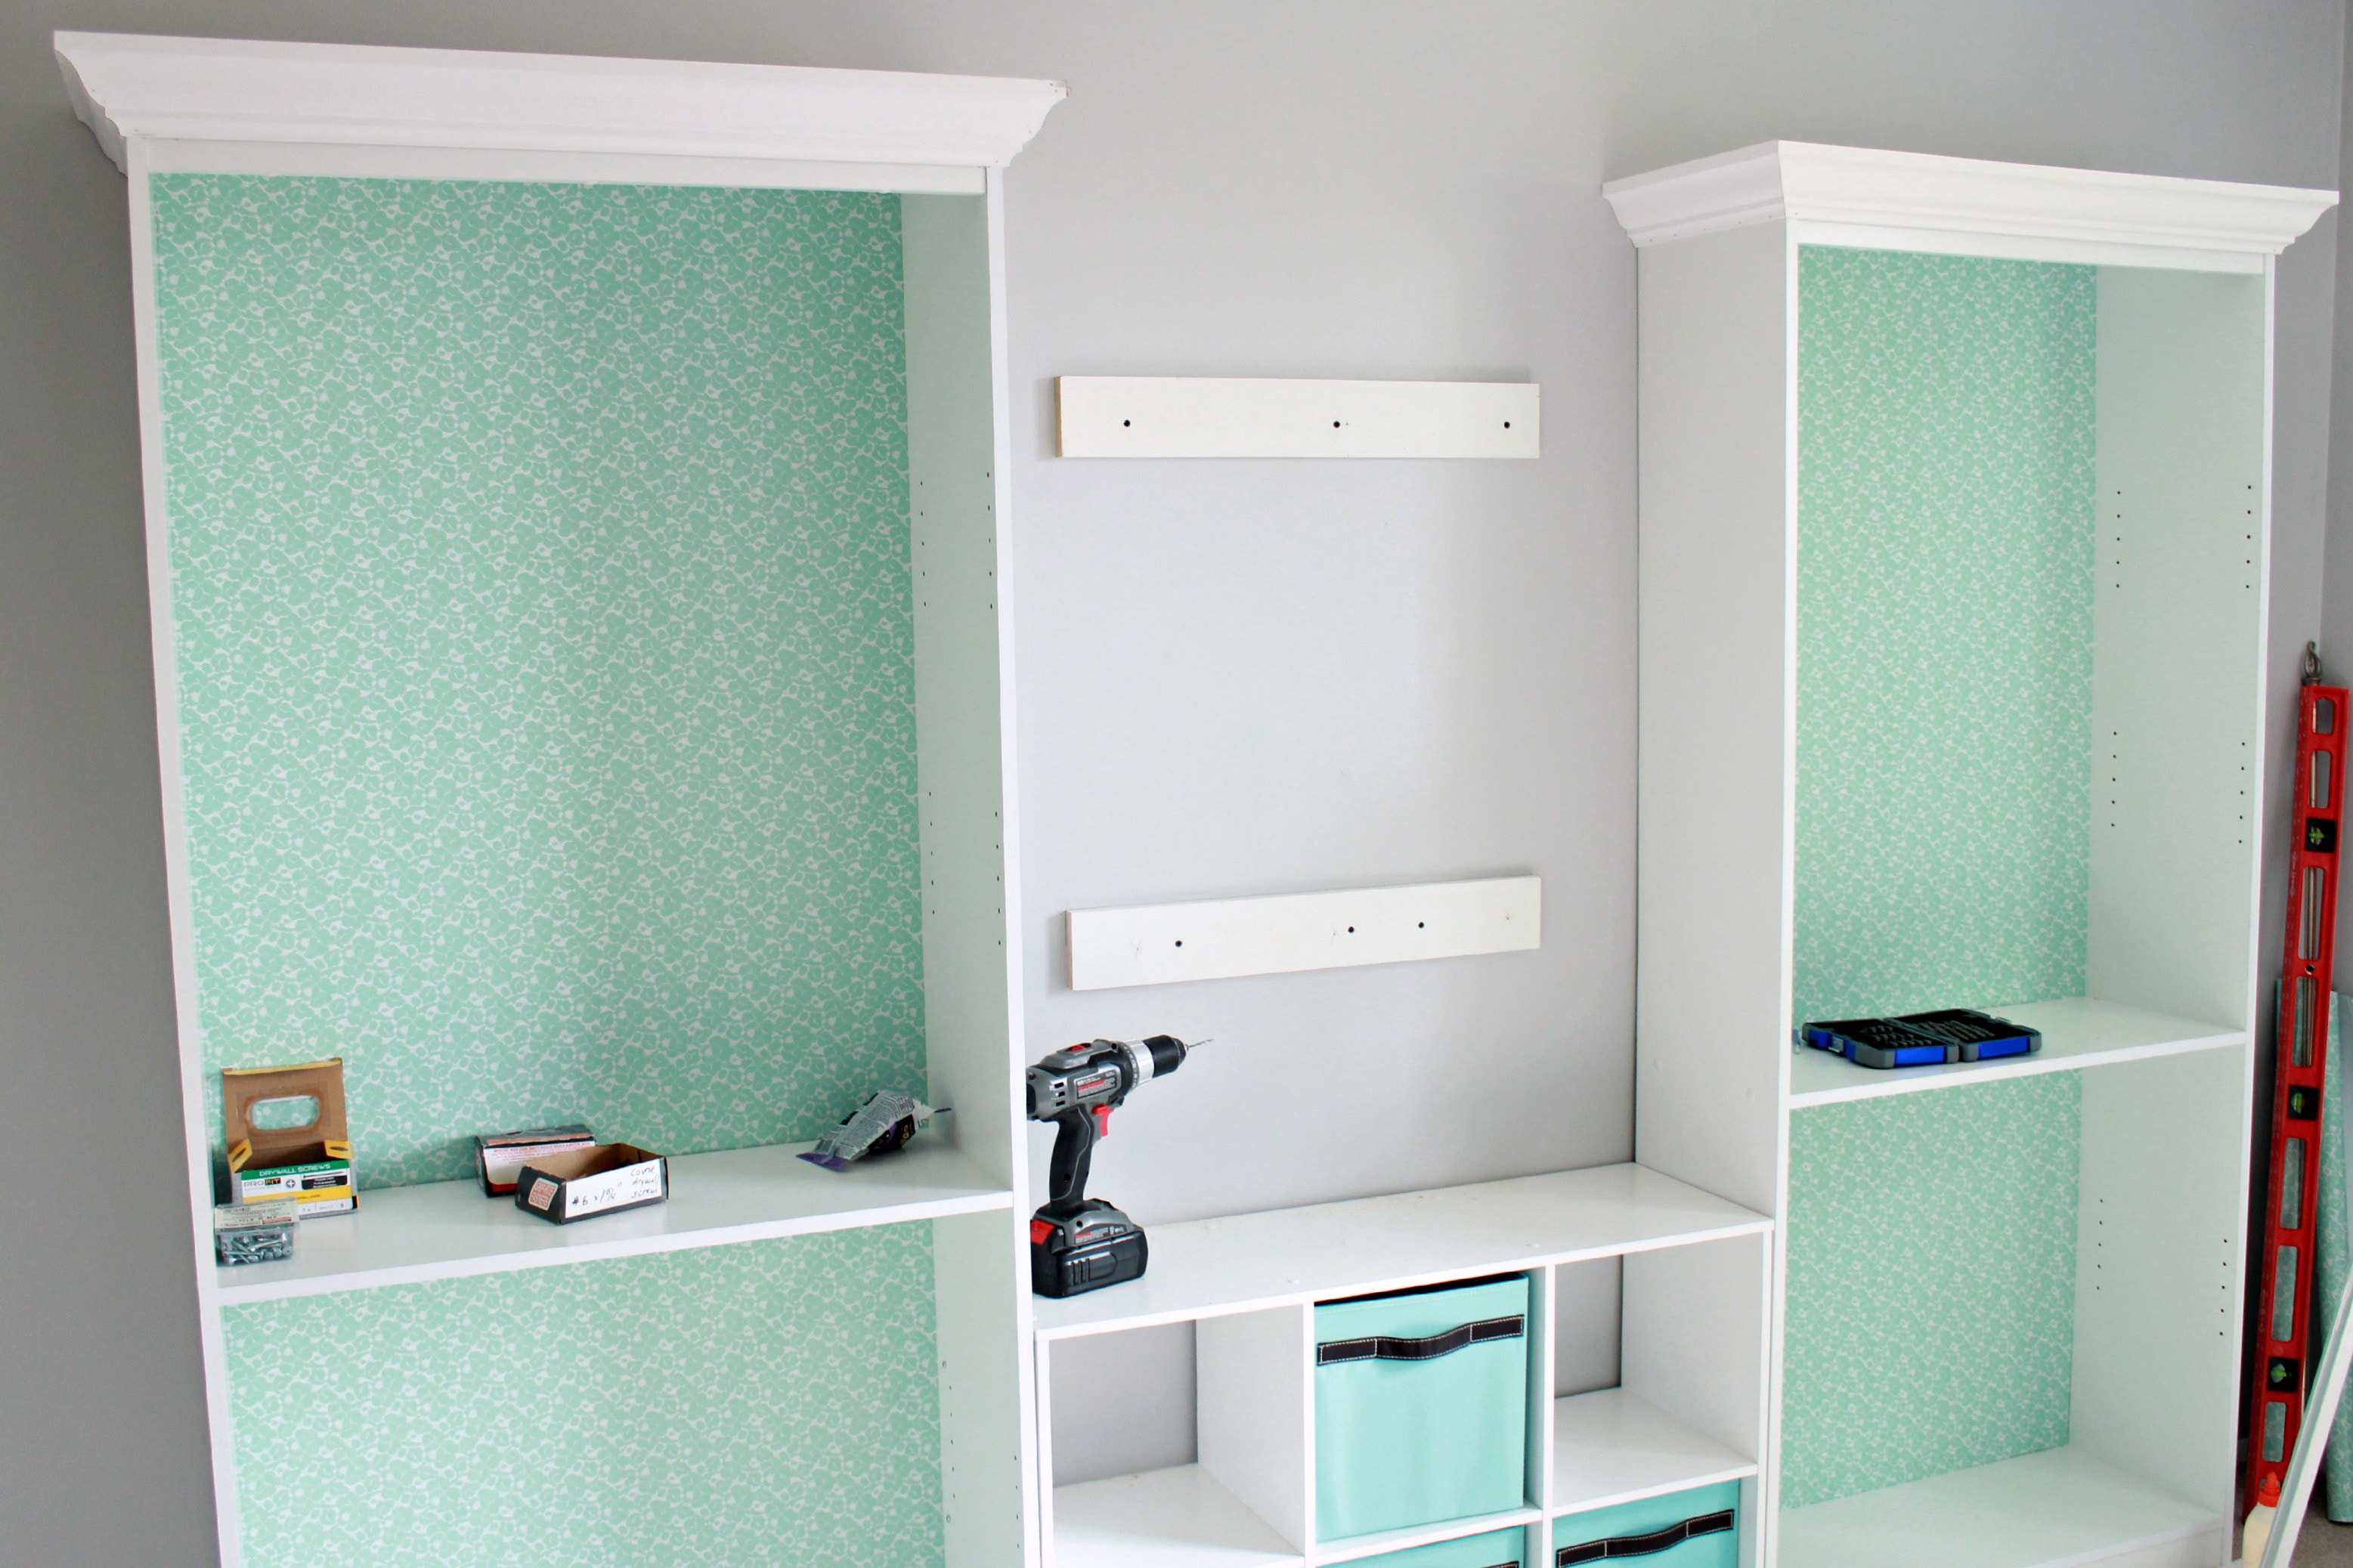
Attaching The Molding
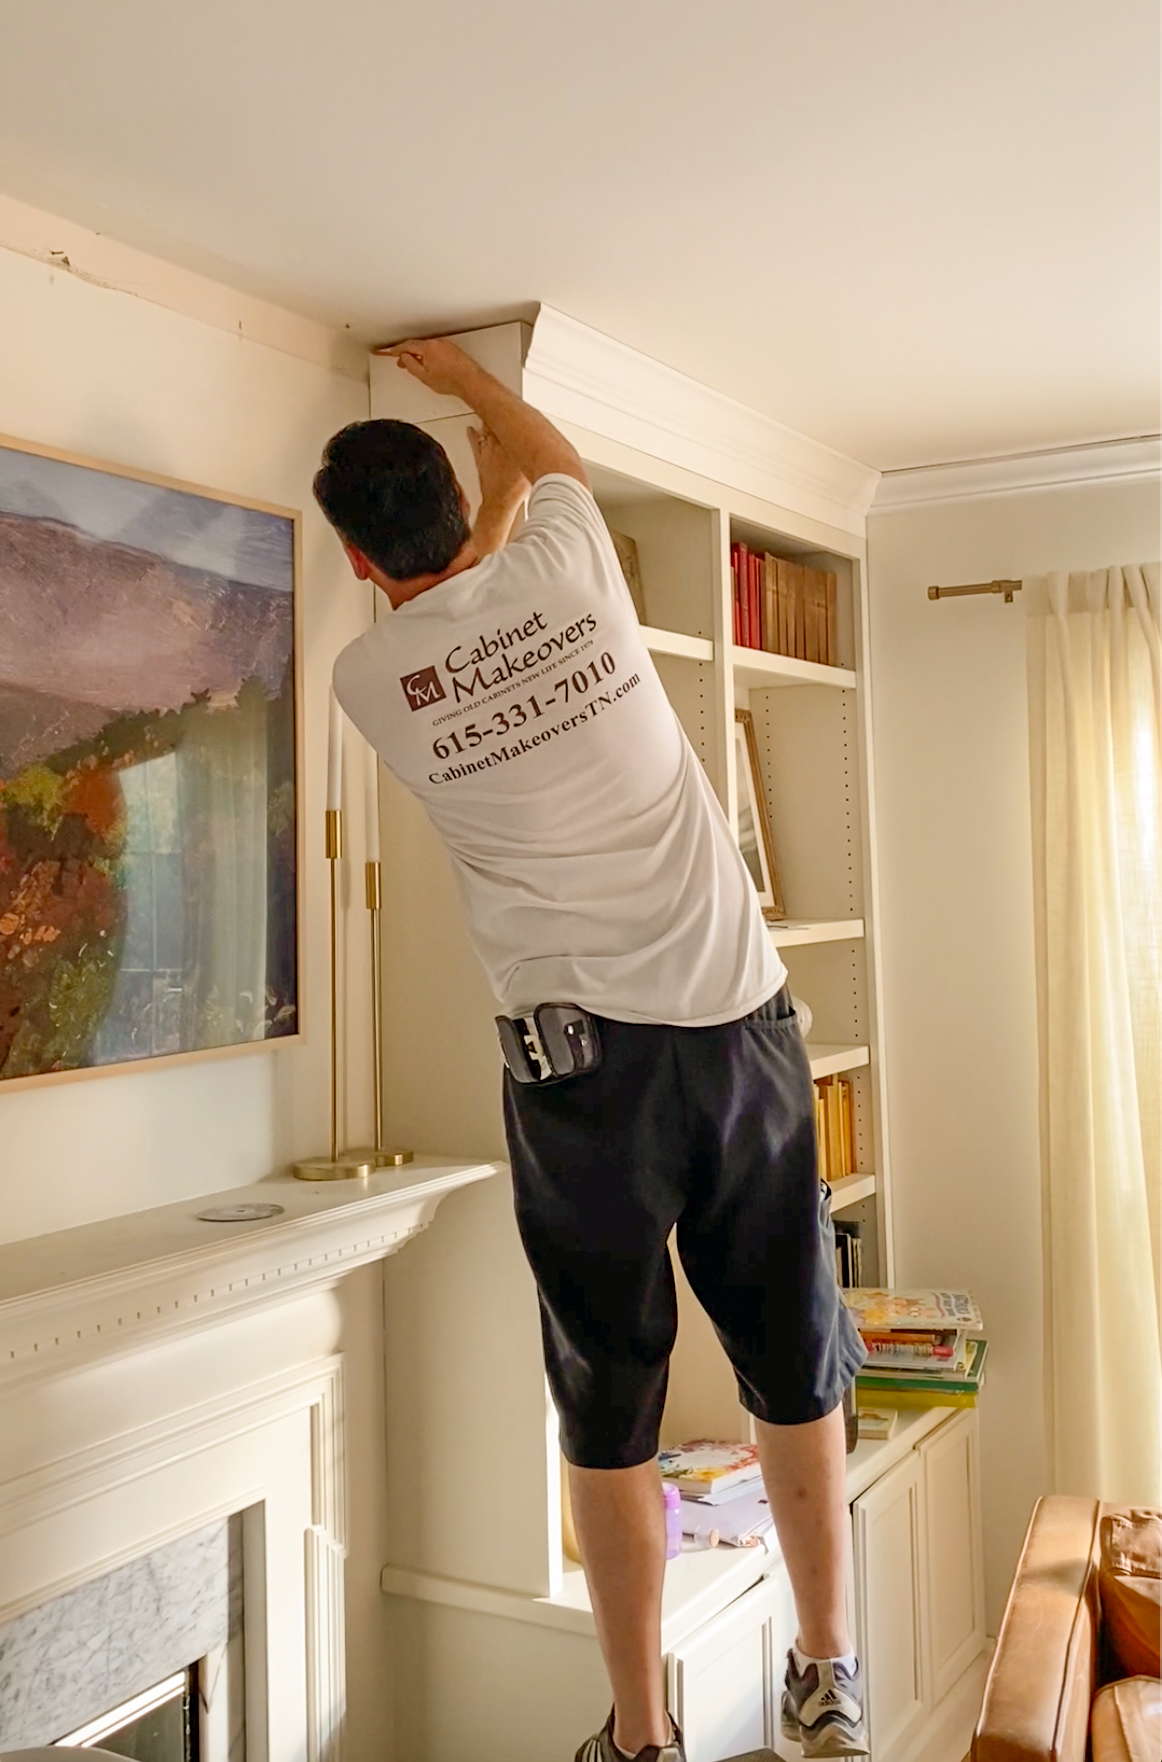
Attaching crown molding to the top of a bookshelf is a key step. It gives the bookshelf a polished, finished look. Careful attachment ensures the molding stays secure over time. This section explains how to position, nail, and add extra support using adhesives.
Positioning The Molding
Start by holding the molding piece against the top edge of the bookshelf. Align it so the molding’s bottom edge meets the bookshelf’s top surface. Check that the molding fits tightly against the wall and bookshelf corners. Mark the spots where the molding meets the bookshelf. These marks help guide your nails or screws. Make sure the molding is level before proceeding.
Nailing Techniques
Use a nail gun or hammer with finishing nails to attach the molding. Drive nails into the thicker parts of the molding and into the bookshelf frame. Space nails about 12 inches apart for a strong hold. Countersink nails slightly below the molding surface to hide them later. Fill nail holes with wood filler for a smooth finish. Avoid nailing too close to edges to prevent splitting.
Using Adhesives For Extra Support
Apply wood glue or construction adhesive to the back of the molding before nailing. The glue adds strength and reduces the chance of gaps. Spread the adhesive evenly to cover the entire contact area. Press the molding firmly against the bookshelf after applying glue. Hold the molding in place until the glue sets or use clamps if needed. Adhesives help keep the molding secure even in humid conditions.
Finishing Touches
Finishing touches make your crown molding look complete and polished. They hide small imperfections and give a smooth, clean look. These steps protect the wood and prepare it for painting or staining. Spend time on these details for the best results.
Filling Gaps And Nail Holes
Fill any gaps between the molding and bookshelf with wood filler. Use a putty knife to press the filler into nail holes. Let it dry fully before moving on. This step hides nails and small cracks for a seamless look.
Caulking And Sanding
Apply a thin line of paintable caulk along edges and joints. Smooth it with a wet finger or tool. Once dry, sand the caulked areas gently with fine sandpaper. Sand any rough spots on the molding too. This creates an even surface ready for paint or stain.
Painting Or Staining
Choose paint or stain that matches your bookshelf or room decor. Use a small brush for clean edges and corners. Apply thin, even coats for best coverage. Let each coat dry before adding another. This step enhances the molding’s look and protects it from damage.
Credit: inhonorofdesign.com
Common Mistakes To Avoid
Mounting crown molding on top of a bookshelf can change the whole look of a room. Avoiding common mistakes helps get the best results. These errors often cause poor fit and look, wasting time and materials. Learn what to watch out for to make your project smooth and neat.
Incorrect Measurements
Measuring wrong is the biggest mistake. Even a small error causes gaps or overlaps. Measure twice before cutting. Use a good tape measure and mark clearly. Check the bookshelf width and molding length carefully. Always cut a little less at first. You can trim more if needed.
Poor Alignment
Misaligned molding looks sloppy and unprofessional. Keep the molding level with the bookshelf top. Use a level tool to check. Hold the molding in place before nailing or gluing. Make sure all corners meet tightly. Fix any uneven spots right away to avoid big gaps.
Ignoring Surface Preparation
Skipping prep leads to weak bonding and uneven fit. Clean the bookshelf top well. Remove dust, dirt, and grease. Sand the surface lightly for better glue hold. Check for bumps or old paint. Fix any damage before mounting the molding. A smooth surface keeps the molding secure and straight.
Tips For A Professional Look
Getting a professional look when mounting crown molding on top of a bookshelf takes care and precision. Small details can make a big difference in the final appearance. Follow simple tips to ensure your molding looks neat and polished.
Choosing Complementary Molding Styles
Select molding that fits the style of your bookshelf. A simple bookshelf pairs well with plain, clean molding. Ornate bookshelves match better with detailed, carved designs. Choose a style that enhances your room’s look without overpowering it. Keep the size of the molding in balance with the bookshelf size.
Matching Finish With Bookshelf
Use paint or stain that matches the bookshelf’s color. This creates a smooth, unified look. Test colors on a small piece before applying. Matte or semi-gloss finishes work best for molding. Avoid shiny finishes that stand out too much. Consistent finish ties the molding and bookshelf together visually.
Maintaining Consistent Angles
Cut molding pieces at precise angles to fit corners perfectly. Use a miter saw or angle guide for accuracy. Check each cut before installation. Keep all angles uniform to avoid gaps or overlaps. Proper angles give the molding a seamless, high-quality look. Take time to measure twice and cut once.

Credit: www.remodelandolacasa.com
Credit: justagirlandherblog.com
Frequently Asked Questions
How Do I Prepare A Bookshelf For Crown Molding?
Clean the bookshelf surface and remove any dust or debris. Measure the top edge precisely. Ensure the bookshelf is sturdy and level before installation.
What Tools Are Needed To Mount Crown Molding On A Bookshelf?
You need a miter saw, measuring tape, nail gun or hammer, wood glue, level, and pencil for marking cuts.
Can I Install Crown Molding Without Professional Help?
Yes, with basic carpentry skills and the right tools, you can install crown molding yourself. Take accurate measurements and work carefully.
How Do I Cut Crown Molding For Inside Corners On Bookshelves?
Use a miter saw set at 45 degrees to cut the molding. Make sure to cut opposite angles for a perfect corner fit.
Conclusion
Mounting crown molding on a bookshelf adds style and charm. It fits well with many room designs. Use the right tools and measure carefully. Take your time to get clean, tight corners. Paint or stain the molding to match the shelf.
Small details make a big difference in looks. Enjoy your new, polished bookshelf with pride. This simple step brings warmth and character to your space. Try it yourself and see the change.