Looking to give your small bookshelf a fresh, stylish upgrade? Adding a wood top is a simple way to transform your piece into something unique and functional.
Imagine having a sturdy, attractive surface perfect for displaying your favorite items or even doubling as extra workspace. In this guide, you’ll discover easy steps to add a wood top that fits perfectly with your bookshelf and your style. Ready to turn your ordinary shelf into a standout feature?
Keep reading, and you’ll be surprised at how simple and rewarding this project can be.
Choosing The Right Wood
Choosing the right wood for your small bookshelf top is very important. The wood must be strong and look good. It should match the style of your room and the shelf itself. Picking the right wood makes your bookshelf last longer and look better.
Types Of Wood For Bookshelves
Hardwoods like oak, maple, and cherry are popular choices. They are strong and can hold weight well. Softwoods like pine are lighter and cheaper. They may dent more easily but can still work well. Choose a wood that fits your budget and style.
Wood Thickness And Size
Thickness affects strength and appearance. A wood top between ¾ inch and 1 inch thick is usually good. Thicker wood looks sturdy and lasts longer. Make sure the wood size fits your shelf perfectly. Measure carefully before cutting or buying.
Selecting Wood Finish
Wood finish protects the surface from scratches and spills. You can use varnish, oil, or paint. Varnish gives a shiny and strong surface. Oil keeps the wood looking natural and smooth. Paint offers many color options. Pick a finish that suits your taste and use.
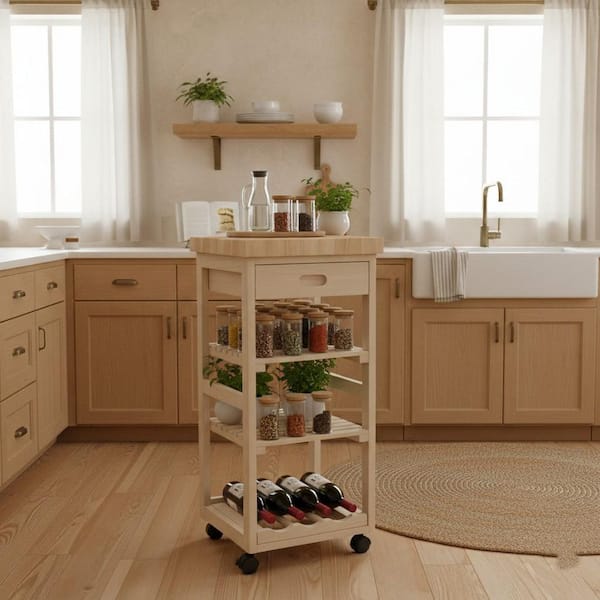
Credit: www.homedepot.com
Measuring Your Bookshelf
Measuring your bookshelf is the first step before adding a wood top. Precise measurements ensure the new top fits well. Take your time and use the right tools to get accurate numbers. Proper measuring helps avoid mistakes and extra work later.
Taking Accurate Dimensions
Start by measuring the width of the bookshelf. Use a tape measure and note the distance from one side to the other. Measure the depth from front to back. Check the height if you want the wood top to match or extend beyond the bookshelf. Write down all measurements clearly.
Considering Overhang And Fit
Decide if you want the wood top to overhang the edges. A small overhang adds style but too much can cause imbalance. Usually, a half-inch overhang on each side looks good. Make sure the top is not too wide to avoid falling off. Plan the fit carefully for a neat finish.
Preparing The Wood Top
Preparing the wood top is the first step in giving your small bookshelf a fresh, new look. A well-prepared wood top fits perfectly and lasts longer. It also improves the overall appearance and feel of the bookshelf.
Careful preparation helps avoid problems during installation. It also ensures your wood top looks smooth and polished. Follow these steps to get the best results.
Cutting To Size
Measure the bookshelf’s top surface carefully. Mark the wood piece to match these measurements. Use a saw to cut the wood straight and clean. Make sure the edges are even and fit the shelf perfectly. A good fit prevents gaps and wobbling.
Sanding For Smoothness
Sand the entire wood surface using medium-grit sandpaper. This removes rough spots and splinters. Next, use fine-grit sandpaper for a smooth finish. Sand the edges and corners too. Wipe off dust with a clean cloth. Smooth wood helps stain or paint stick better.
Applying Stain Or Paint
Choose a stain or paint color that matches your room. Apply a thin, even coat with a brush or cloth. Let it dry completely before adding another layer. Two or three coats give the best coverage. Finish with a clear sealant for extra protection and shine.
Attaching The Wood Top
Attaching the wood top to a small bookshelf is an important step. It gives the piece a finished look and adds strength. This part requires care to ensure the top is secure and looks neat. Follow simple steps to attach the wood top safely and correctly.
Choosing The Right Fasteners
Select fasteners that fit the wood thickness. Screws work well for a strong hold. Use wood screws that are not too long. Avoid nails as they may loosen over time. Consider using corner brackets for extra support.
Positioning The Wood
Place the wood top evenly on the bookshelf. Check that edges line up perfectly. Use clamps or weights to keep it still. Mark the spots where you will drill holes. This helps prevent mistakes and keeps the top straight.
Securing The Top Safely
Drill pilot holes before screwing to avoid wood splitting. Drive screws slowly and straight into the holes. Tighten screws until the top is snug, not too tight. Remove clamps once the top feels solid. Check for any sharp edges and sand if needed.
Finishing Touches
Adding a wood top to your small bookshelf is almost done. The last steps make it look great and last longer. These finishing touches protect the wood and keep your shelf neat.
Sealing The Wood
Sealing the wood stops water and dirt from damaging it. Use a clear wood sealant or varnish. Apply thin coats with a brush. Let each coat dry fully before the next. This process keeps the wood smooth and strong.
Adding Protective Pads
Protective pads stop scratches on your new wood top. Stick felt pads on the bottom corners. They also stop the shelf from sliding. This simple step keeps your furniture and floor safe.
Maintaining Your Wood Top
Clean the wood top with a soft, dry cloth. Avoid harsh cleaners that can harm the finish. Wipe spills immediately to prevent stains. Regular care keeps the wood looking fresh and new.

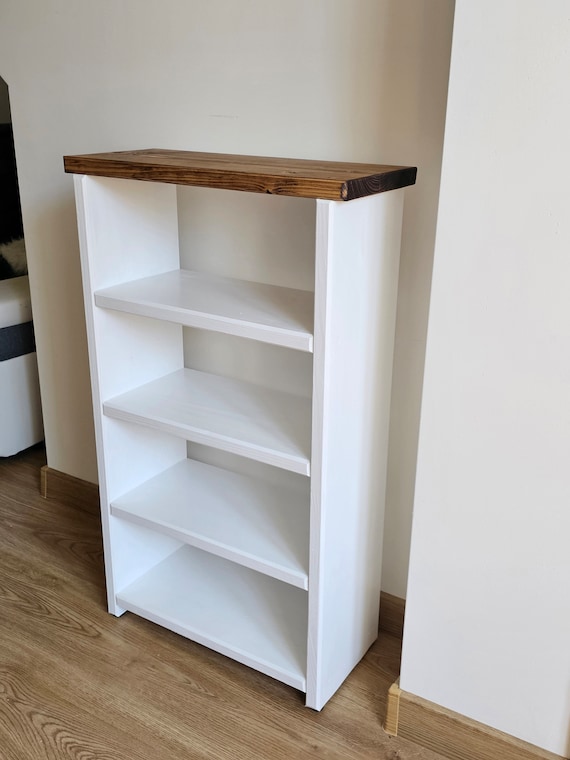
Credit: www.amazon.com
Common Mistakes To Avoid
Adding a wood top to a small bookshelf can refresh its look and add extra strength. Avoiding common mistakes helps the project go smoothly. These errors often lead to poor fit, weak attachment, or rough surfaces.
Focus on careful steps to get the best results. Watch out for these common pitfalls.
Incorrect Measurements
Measuring wrong is a top mistake. Too large or too small wood tops look bad and don’t fit well. Always measure twice, cut once. Use a tape measure and mark clearly. Check the bookshelf’s width and depth carefully.
Skipping Sanding
Skipping sanding makes the wood rough and unfinished. Sanding smooths the surface and removes splinters. It also helps paint or finish stick better. Use medium-grit sandpaper first, then fine grit for a soft feel.
Using Wrong Fasteners
Using the wrong screws or nails can damage wood or cause weak joints. Choose fasteners made for wood and the right length. Too long screws may split the wood. Too short ones won’t hold the top firmly. Pre-drill holes to avoid cracks.
Creative Upgrade Ideas
Adding a wood top to a small bookshelf can change its look and feel. Creative upgrades make your bookshelf stand out. These ideas help you add style without much work. Each idea fits different tastes and room designs.
Try a simple change or a bold statement. Choose what suits your space and personality best.
Adding Decorative Trim
Decorative trim adds detail to the wood top. It makes the bookshelf look neat and finished. Choose trim with simple lines or classic shapes. Attach it carefully for a clean look. Paint or stain the trim to match the wood top. This small touch can lift the whole piece’s style.
Using Reclaimed Wood
Reclaimed wood brings character and history to your bookshelf. It often has unique marks and colors. These make your wood top one of a kind. Sand the wood smooth for safe use. Seal it with clear finish to keep its look. Using reclaimed wood also helps the environment.
Incorporating Color Accents
Color accents add fun and personality to your bookshelf. Paint the wood top or just the edges. Choose colors that match your room’s theme. Soft pastels create calm, bright colors add energy. You can also use stencils for patterns. Color makes the wood top pop and draw attention.
Credit: www.etsy.com
Frequently Asked Questions
How Do I Measure Wood For A Small Bookshelf Top?
Measure the bookshelf’s width and depth accurately. Add 1-2 inches for overhang if desired. Use a tape measure for precise cuts.
What Type Of Wood Is Best For Bookshelf Tops?
Choose hardwoods like oak, maple, or cherry for durability. Softwoods like pine are budget-friendly but less durable. Consider wood grain and finish.
How Do I Attach A Wood Top Securely?
Use wood glue and screws for a strong hold. Pre-drill holes to prevent splitting. Clamp the top until the glue dries fully.
Can I Finish The Wood Top Myself?
Yes, sanding and applying stain or paint is easy. Use a clear sealant for protection. Finish enhances wood beauty and durability.
Conclusion
Adding a wood top to a small bookshelf is simple and fun. It can change the look and make your shelf stronger. You only need a few tools and materials. Measure well and choose the right wood for your space.
Take your time to sand and finish the wood for a smooth surface. This small project can add charm to any room. Try it yourself and enjoy a fresh, new shelf today. Easy steps lead to great results.