Are you struggling to get your Ellis Bookshelf just right? Whether it’s wobbling, uneven, or not fitting perfectly in your space, adjusting it can seem tricky at first.
But don’t worry—you’re closer than you think to having a sturdy, perfectly aligned bookshelf that looks great and holds your favorite books safely. In this guide, you’ll discover simple, step-by-step tips to adjust your Ellis Bookshelf quickly and easily. Keep reading, and soon your bookshelf will be exactly the way you want it.

Credit: www.harlequin.com
Tools Needed
Adjusting your Ellis Bookshelf is easier with the right tools. Having these tools ready saves time and effort. Each tool serves a simple but important purpose.
Phillips Head Screwdriver
A Phillips head screwdriver is essential for loosening and tightening screws. The Ellis Bookshelf uses Phillips screws for most parts. It fits perfectly and prevents damage to screws.
Level
A level helps check if your bookshelf stands straight. A crooked shelf can cause items to fall. Using a level ensures even placement and stability.
Measuring Tape
Measuring tape is useful for checking shelf heights and spacing. It helps make sure shelves are evenly spaced. Accurate measurements improve the bookshelf’s look and function.
Rubber Mallet
A rubber mallet gently taps pieces into place without damage. It is softer than a hammer and prevents scratches. Use it to adjust tight joints or fit shelves better.
Allen Wrench
Some Ellis Bookshelf parts need an Allen wrench to adjust bolts. This tool fits hexagonal bolt heads. Keep it handy to tighten or loosen these parts safely.

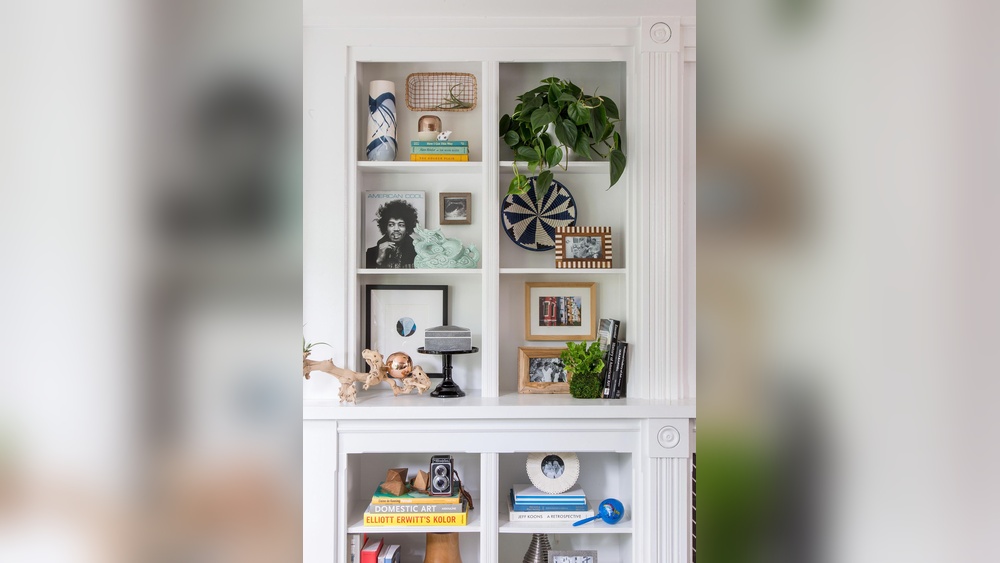
Credit: www.bcda.org
Initial Assembly Tips
Starting the assembly of your Ellis Bookshelf can feel tricky. Clear steps help make it easier and faster. These tips guide you through the first part of putting the bookshelf together. Follow them for a smooth setup.
Preparing well avoids common mistakes. It also saves time and effort. Let’s dive into the key tips for the initial assembly phase.
Gather All Tools And Parts First
Check the box for all parts before starting. Lay them out on a flat surface. Gather tools like a screwdriver or hammer as needed. Having everything ready avoids stops during assembly.
Read The Instructions Carefully
Take time to read the manual fully. Understand each step before you begin. Look at the diagrams closely. This prevents confusion and incorrect assembly later.
Work In A Clear, Spacious Area
Choose a roomy place to build the bookshelf. A clean floor helps prevent parts from getting lost. Space allows you to move freely around the project.
Handle Parts With Care
Wood panels and shelves can scratch or dent easily. Place soft cloth or cardboard under parts. Avoid forcing pieces together. Gentle handling keeps the bookshelf looking new.
Follow The Step-by-step Order
Stick to the order given in the instructions. Skipping steps may cause problems later. Completing each step fully makes the process smoother.
Adjusting Shelf Height
Adjusting the shelf height on your Ellis Bookshelf lets you customize storage space. You can fit taller books or create room for decorative items. This simple process makes your bookshelf more useful and neat.
Locating Shelf Pegs
Start by finding the shelf pegs inside the bookshelf. These small supports hold the shelves in place. Look along the side panels; the pegs fit into holes. Each hole allows you to change the shelf height.
Check both sides to make sure the shelf is level. The pegs must be in the same row on each side. This keeps your shelf steady and balanced.
Moving Shelves Safely
Remove items from the shelf before moving it. This prevents damage or accidents. Carefully lift the shelf to take it off the pegs. Avoid bending or forcing it out.
Place the shelf on a soft surface to protect it. Move the pegs to your desired height next. Insert the shelf back onto the pegs gently. Confirm it is secure and level before loading items again.
Leveling The Bookshelf
Leveling the Ellis bookshelf is key for safety and a neat look. An uneven shelf can wobble or cause items to fall. Take time to adjust it carefully. This guide shows easy steps to make your bookshelf steady.
Checking Floor Surface
Start by inspecting the floor where the bookshelf stands. Floors often have small bumps or dips. Use a small level tool to check flatness. Place the level on different parts of the floor. Notice any tilt or uneven spots. Mark these areas to know where to adjust.
Using Adjustable Feet
Many Ellis bookshelves come with adjustable feet under the base. These help fix uneven floors easily. Turn the feet clockwise to raise one side. Turn counterclockwise to lower it. Check the shelf with a level after each turn. Keep adjusting until the bookshelf sits flat and firm. This prevents wobbling and protects your floor.
Securing The Bookshelf
Securing the Ellis bookshelf is important for safety and stability. A well-secured bookshelf stays upright and protects your books and home. It also prevents accidents, especially in homes with kids or pets. Proper securing methods keep the bookshelf steady on any floor type.
Wall Anchoring Methods
Wall anchoring is the best way to secure the Ellis bookshelf. Use brackets or straps to attach the bookshelf to the wall. Find studs in the wall using a stud finder for a strong hold. Screw the anchors into the studs, not just drywall. Use metal L-brackets or anti-tip straps for better support. Tighten all screws firmly to avoid wobbling.
Preventing Tipping Hazards
Place heavy items on the lower shelves to keep the center of gravity low. Avoid overloading the top shelves with heavy books or objects. Keep the bookshelf away from areas where children might climb it. Teach kids not to climb or hang on the shelves. Regularly check the stability and tighten any loose screws. Use furniture pads under the feet to prevent sliding on smooth floors.

Credit: www.reddit.com
Maintaining Stability
Maintaining stability is key to keeping your Ellis bookshelf safe and sturdy. Proper care prevents wobbling and ensures it holds your books well. Small adjustments can make a big difference in its balance.
Weight Distribution Tips
Place heavier books on the lower shelves. This lowers the center of gravity. Spread items evenly across the shelves. Avoid piling too many books on one side. Keep the middle shelves lighter for better balance. Use bookends to keep books upright and stable.
Regular Checks And Adjustments
Check the bookshelf regularly for any tilting or wobbling. Tighten screws and bolts as needed. Look for loose parts or damaged shelves. Adjust the feet or add shims to level the bookshelf. Make small fixes early to avoid bigger problems. Regular care keeps your bookshelf safe and lasting longer.
Frequently Asked Questions
How Do I Adjust The Height Of Ellis Bookshelf Shelves?
To adjust shelf height, locate the metal pegs inside the bookshelf. Remove shelves and reposition pegs at desired levels. Then, place shelves back securely on the pegs. This allows for customizable storage space and accommodates various book sizes.
Can I Add Extra Shelves To Ellis Bookshelf?
Yes, you can add extra shelves if compatible with the model. Purchase additional shelves from the manufacturer or retailer. Ensure the shelves fit the bookshelf’s dimensions and support weight properly for safety and stability.
What Tools Are Needed To Adjust Ellis Bookshelf?
Typically, no tools are required for basic shelf adjustment. For deeper modifications, a screwdriver might be needed. Always check the assembly guide for specific tool recommendations and follow safety precautions during adjustments.
How Do I Stabilize An Ellis Bookshelf After Adjustment?
After adjusting shelves, ensure all pegs and screws are tight. Place the bookshelf on a flat surface to avoid wobbling. Use wall anchors or brackets if necessary for extra stability and to prevent tipping.
Conclusion
Adjusting your Ellis bookshelf is simple and quick. Follow the steps carefully to avoid damage. Use the right tools for smooth changes. Keep the shelves level for better stability. Check all screws and fittings before use. A well-adjusted bookshelf looks neat and holds items safely.
Small tweaks can make a big difference. Take your time and enjoy organizing your space. Your bookshelf will serve you well with proper care.