
Are you tired of cluttered entryways and coats draped over chairs? A freestanding coat rack can solve that problem and add style to your space.
But how do you build one yourself? Imagine having a custom piece that fits perfectly in your home, made by your own hands. In this guide, you’ll discover simple steps to create a sturdy and attractive coat rack. Keep reading, and by the end, you’ll have the confidence and know-how to build something both practical and beautiful for your home.
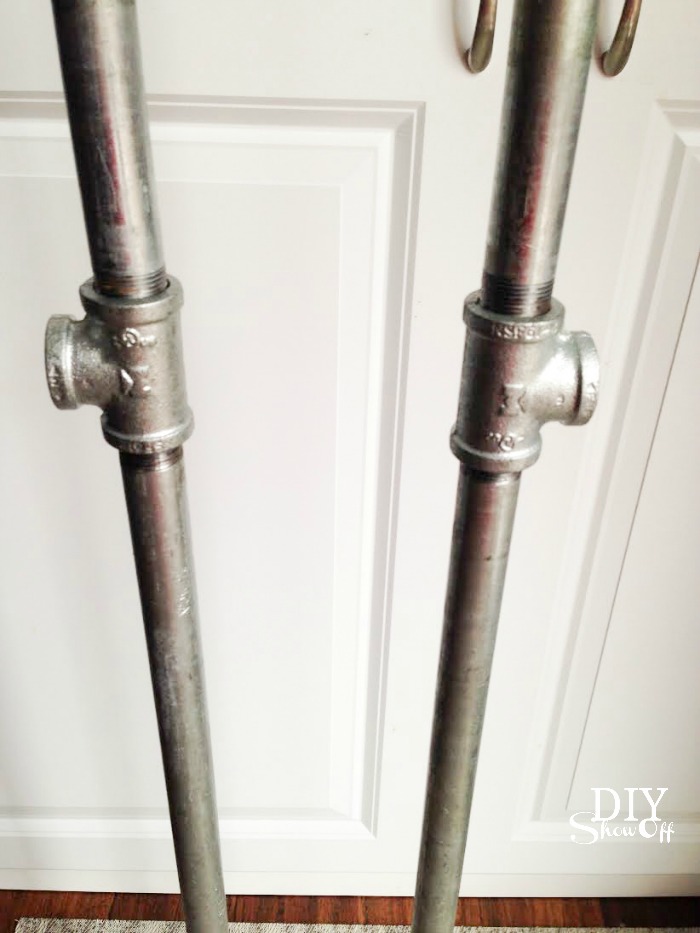
Credit: diyshowoff.com
Materials Needed
Building a freestanding coat rack needs wood, screws, and hooks. You also need a saw, drill, and sandpaper for shaping and smoothing. These basic materials help create a sturdy and functional rack.
Choosing The Right Wood
Start with good wood for a sturdy coat rack. Pine, oak, or maple work well. Pine is soft and easy to cut. Oak and maple are harder but last longer. Pick wood that feels smooth and has no cracks. Proper wood makes your coat rack strong and nice to look at.
Essential Tools
Have these tools ready before you start building. A saw is needed to cut the wood pieces. Use a drill to make holes for screws. Sandpaper smooths rough edges. A measuring tape helps keep parts the right size. Clamps hold wood steady while you work.
Additional Supplies
Besides wood and tools, gather screws or nails for joining parts. Wood glue adds extra strength. Hooks or pegs will hold coats. Paint or stain gives color and protects the wood. A brush or cloth applies finishes evenly. These supplies make your rack functional and neat.
Design Planning
Design planning is the first step to build a freestanding coat rack. It sets the foundation for your project. Careful planning helps avoid mistakes and saves time. Think about how the coat rack will fit in your space and meet your needs.
Focus on style, size, and structure. These factors create a clear plan before starting construction. A good design plan makes the building process smoother and more enjoyable.
Selecting The Style
Choose a style that matches your room’s look. Simple, modern, rustic, or classic designs work well. Consider the materials you want to use, like wood or metal. The style affects both the appearance and stability of the rack.
Pick a style with enough hooks for your coats. Think about extra features like a shelf or umbrella holder. Your style choice guides the rest of the build.
Measuring Dimensions
Measure the space where the rack will stand. Note the height, width, and depth limits. Make sure the rack is tall enough for long coats. Allow enough room for multiple coats without crowding.
Keep proportions balanced. A wide base improves stability. Precise measurements prevent problems during assembly. Accurate dimensions ensure the rack fits perfectly.
Sketching The Blueprint
Draw a clear blueprint of your coat rack design. Include all parts like the base, pole, and hooks. Label each part with exact measurements. Use simple shapes to represent components.
Blueprints help visualize the final product. They guide you step by step through building. A good sketch reduces guesswork and errors. Take your time to make it clear and detailed.
Cutting The Wood
Cutting the wood is a key step in building a freestanding coat rack. It shapes the parts you need for assembly. Accurate cuts ensure a strong and balanced rack. Take your time to measure and cut carefully. Proper preparation here saves effort later. Use good tools and follow safety rules.
Marking Cut Lines
Start by measuring the wood pieces carefully. Use a pencil to draw clear, straight lines. Mark all parts before cutting to avoid mistakes. Double-check your measurements to be sure. Use a ruler or square tool for accuracy. Clear lines guide your saw and keep cuts neat.
Safety Tips For Cutting
Wear safety goggles to protect your eyes from dust and chips. Use ear protection if your saw is loud. Keep your hands away from the blade at all times. Cut on a stable surface to avoid slips. Secure the wood with clamps for better control. Work slowly and do not rush the cuts.
Sanding The Edges
After cutting, the edges can be rough or sharp. Use sandpaper to smooth all cut edges. Sand with even pressure for a clean finish. This step helps prevent splinters and improves look. Choose fine-grit sandpaper for best results. Wipe the wood dust off before assembling.

Credit: registry.ru.ac.ke
Assembling The Base
Assembling the base is the first important step to build your freestanding coat rack. The base holds the entire structure steady. A strong base prevents wobbling and keeps your coat rack safe to use. Follow these steps carefully to create a solid foundation for your rack.
Joining The Legs
Start by preparing the legs of the coat rack. Lay them out evenly on a flat surface. Connect the legs at the center using a wooden block or metal bracket. Make sure the legs form a stable tripod or cross shape. This design helps spread the weight evenly.
Ensuring Stability
Check the angles of the legs. They should be wide enough to support the weight of coats. Adjust the legs to avoid any gaps or loose joints. Place the base on the floor and press down gently. The base should not rock or move. Stability here means your coat rack will stand firm.
Securing With Screws
Use screws to fix the legs firmly to the center block or bracket. Drill pilot holes first to avoid splitting the wood. Tighten screws until they hold the parts tightly together. Avoid over-tightening, which can damage the material. Double-check each screw for a secure fit before moving on.
Building The Upright Pole
Building the upright pole is a key step in making a freestanding coat rack. This part holds the hooks and supports the weight of coats. It must be strong and stable. Using a sturdy wooden or metal pole works best. The pole should be smooth and free of splinters or sharp edges.
Cut the pole to your desired height. Usually, between 5 to 6 feet is ideal. Sand the edges to make them safe to touch. The pole will connect to the base, so prepare both parts for a secure fit.
Attaching The Pole To Base
Start by marking the center of the base. This helps place the pole exactly in the middle. Drill a hole in the base that fits the pole snugly. Insert the pole into the hole.
Use wood glue or strong adhesive inside the hole. This adds extra hold. Secure the pole with screws or bolts. Tighten them firmly but avoid cracking the wood. Check the pole stands straight and does not wobble.
Reinforcing The Structure
Strengthen the coat rack by adding support braces. Attach small wooden blocks or metal brackets where the pole meets the base. Screw the braces tightly to prevent movement.
For extra stability, wrap a metal band around the joint. Tighten it to hold the pole firmly. This helps the rack carry heavy coats without tipping over.
Test the rack by applying gentle pressure. Make sure it stays steady and strong. Reinforcement keeps your coat rack safe and durable for daily use.

Credit: www.redsands.co.za
Adding Coat Hooks
Adding coat hooks is a key step in building a freestanding coat rack. Hooks hold coats, hats, and bags securely. Choosing the right hooks and placing them well makes the rack functional and neat. Mounting the hooks properly ensures they stay strong and last long. Let’s explore how to pick hooks, space them, and attach them to the rack.
Choosing Hook Types
Select hooks that fit the style of your coat rack. Metal hooks are strong and last longer. Wooden hooks match wooden racks nicely. Plastic hooks can work but may break under heavy weight. Double hooks offer more hanging space in less room. Choose hooks with smooth edges to avoid damage to clothes.
Spacing And Placement
Space hooks evenly for a balanced look. Keep at least 6 to 8 inches between hooks. Place hooks at different heights for coats and smaller items. The top hooks can hold hats, while lower hooks hold bags. Avoid placing hooks too close to edges to prevent tipping.
Mounting The Hooks
Mark hook positions clearly on the rack. Use screws or nails that match the hook type. Pre-drill holes to avoid splitting wood. Tighten screws firmly but do not over-tighten. Check each hook for stability before final use. Proper mounting keeps the rack safe and sturdy.
Finishing Touches
Finishing touches give your freestanding coat rack a polished look. These steps protect the wood and improve its appearance. Taking time on these details ensures your rack lasts longer and looks great in any room.
Applying Paint Or Stain
Choose paint or stain to match your room’s style. Paint covers the wood fully and adds color. Stain enhances the natural wood grain and gives a warm tone. Use a brush or cloth to apply evenly. Let the first coat dry before adding a second. Thin, even layers work best to avoid drips.
Sealing The Wood
Sealing protects the wood from moisture and dirt. Use a clear sealant like polyurethane or varnish. Apply with a clean brush in thin layers. Seal all surfaces, including edges and corners. This step prevents the wood from cracking or warping over time.
Drying And Curing Time
Allow the coat rack to dry fully between each step. Drying times vary by product and room conditions. Avoid touching or moving the rack too soon. Curing strengthens the finish and makes it durable. Wait at least 24 hours before use for best results.
Maintenance Tips
Maintaining your freestanding coat rack keeps it strong and looking good. Regular care helps it last longer and stay safe for daily use. Simple steps prevent wear and tear and keep it stable.
Cleaning The Rack
Dust the coat rack often with a soft cloth. Use a damp cloth for sticky spots. Avoid harsh chemicals that can damage the finish. Dry the rack well to stop water marks or rust.
Tightening Loose Screws
Check screws and bolts regularly for looseness. Use a screwdriver or wrench to tighten them. Loose parts can cause the rack to wobble or fall. Tight screws keep the rack sturdy and safe.
Preventing Damage
Place the rack away from direct sunlight and moisture. Use rubber pads under the legs to protect floors. Avoid hanging very heavy items that exceed weight limits. Handle the rack gently to stop scratches and dents.
Frequently Asked Questions
What Materials Are Needed To Build A Freestanding Coat Rack?
You need wood or metal for the frame, screws, a drill, hooks, and a base. Choose sturdy materials for stability and durability.
How Do You Ensure A Coat Rack Is Stable?
Use a wide, heavy base and secure joints tightly. This prevents tipping and supports heavy coats safely.
What Is The Best Design For A Freestanding Coat Rack?
A design with multiple hooks at varying heights works best. It accommodates different coat sizes and maximizes space.
Can I Customize A Freestanding Coat Rack’s Height?
Yes, adjust the height based on user needs. Typical height ranges from 5 to 6 feet for convenience.
Conclusion
Building a freestanding coat rack is simple and fun. You only need basic tools and materials. Follow each step carefully for best results. This project saves space and adds style to your room. You can customize the rack to fit your needs.
It keeps your coats and hats neat and easy to find. Enjoy your new coat rack every day. Try making one yourself and see how easy it can be.
