Have you ever looked at an empty wall and wondered if you could build your own bookshelf? The idea might seem tricky at first, but what if it’s easier than you think?
Imagine having a custom shelf that fits perfectly in your space, holds all your favorite books, and adds a personal touch to your room. You’ll discover just how simple it can be to build a bookshelf yourself. You’ll learn the steps, tools, and tips that make the process smooth and even enjoyable.
Ready to turn your idea into reality? Let’s dive in and see how easy it really is.
Choosing The Right Materials
Choosing the right materials is key to building a strong bookshelf. The materials affect the look, durability, and cost of your project. Picking the best wood, tools, and fasteners helps make the process smooth and the result reliable. This section covers the main choices for building a bookshelf.
Types Of Wood
Wood choice changes the style and strength of your bookshelf. Pine is soft and easy to cut. It costs less and works well for beginners. Oak is hard and lasts long. It looks great but needs more effort to work with. Plywood is a cheaper option. It resists warping and has a smooth surface. Choose wood that fits your budget and skill.
Essential Tools Needed
Basic tools make building a bookshelf simple. A saw cuts the wood to size. A drill makes holes for screws. Sandpaper smooths rough edges. A tape measure ensures parts fit right. A screwdriver or power drill drives screws. These tools help you build the shelf safely and accurately.
Selecting Fasteners And Adhesives
Screws hold the parts tightly together. Choose screws that fit your wood thickness. Nails are faster but less strong. Wood glue adds extra hold and prevents wobbling. Use glue along with screws for best results. Pick fasteners that match your wood and tools.
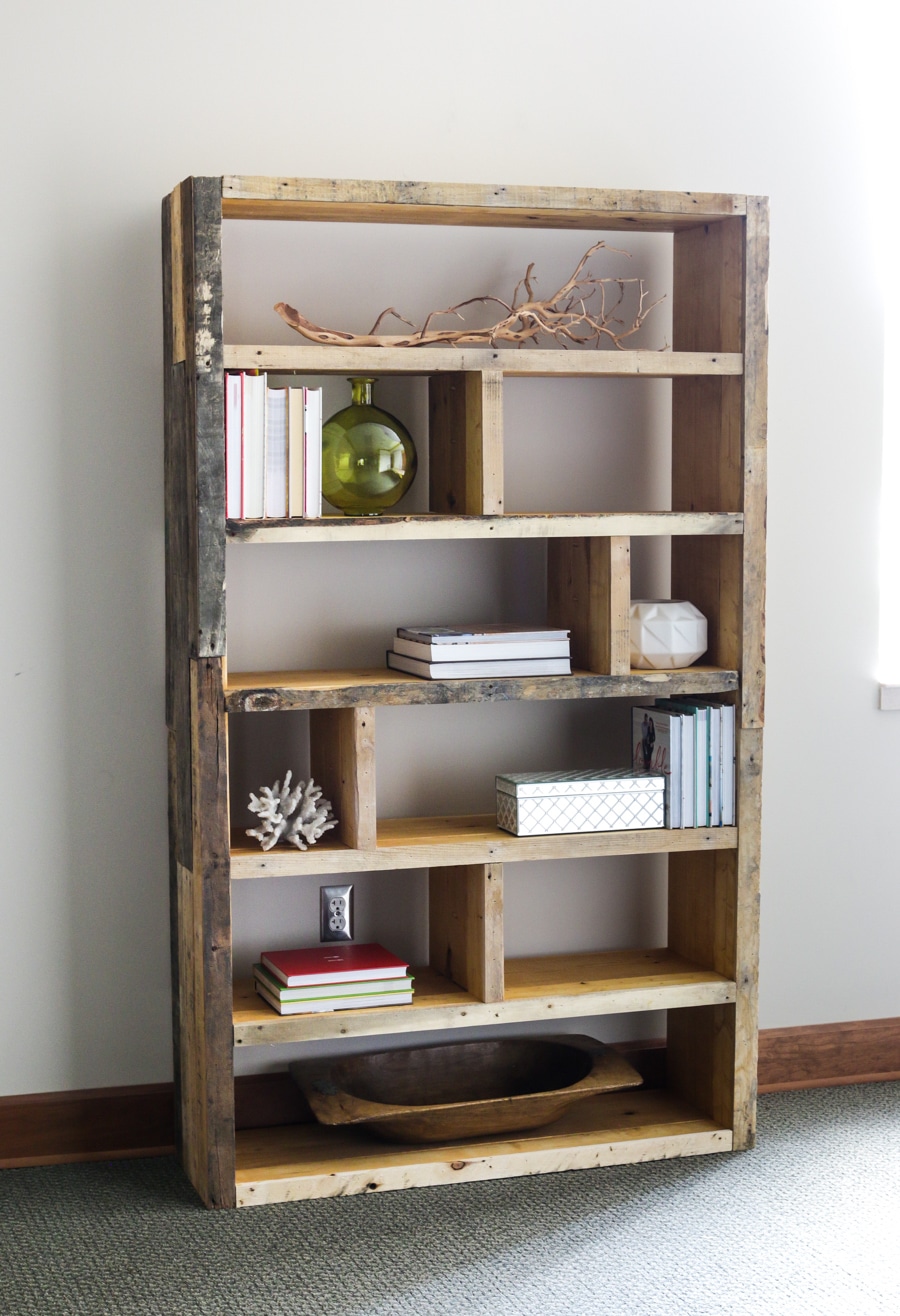
Credit: jenwoodhouse.com
Planning Your Bookshelf Design
Planning your bookshelf design is a key step before building. It helps you create a sturdy and useful shelf. Careful planning saves time and materials. It ensures the finished product fits your space and needs.
Start by thinking about size, shape, and strength. These choices affect how well your bookshelf works. A good plan makes the building process smooth and enjoyable.
Determining Size And Dimensions
Measure the space where the bookshelf will go. Note the height, width, and depth available. Think about what items you will put on the shelves. Books, decorations, and boxes need different space. Choose dimensions that fit your room and items well. Leave some extra space for easy access.
Sketching A Basic Layout
Draw a simple sketch of your bookshelf design. Include the number of shelves and their spacing. Mark the overall height and width. Use a pencil and paper or a digital tool. A clear layout helps you see the final shape. It also guides you when cutting and assembling parts.
Considering Weight And Load
Think about how much weight each shelf must hold. Books can be heavy, so strong shelves are important. Use sturdy materials like solid wood or thick plywood. Add supports if needed to prevent sagging. Make sure your design balances strength with style.
Cutting And Preparing Wood
Cutting and preparing wood is the first step in building a sturdy bookshelf. It requires care and attention to detail. Proper preparation ensures your shelf looks good and lasts long. Taking time to measure, cut, and smooth the wood makes the project easier and safer.
Measuring And Marking
Start by measuring the wood pieces precisely. Use a tape measure for accuracy. Mark the wood with a pencil or chalk. Clear marks guide your cuts and prevent mistakes. Double-check measurements before cutting to avoid wasting wood.
Safe Cutting Techniques
Use the right saw for your cuts, such as a handsaw or circular saw. Wear safety glasses and gloves to protect yourself. Cut slowly and steadily along the marked lines. Keep your fingers away from the blade at all times. Secure the wood firmly before cutting to avoid slips.
Sanding For Smooth Edges
Sanding removes rough spots and splinters from cut edges. Use medium-grit sandpaper first, then fine-grit for a smooth finish. Sand along the wood grain for best results. Smooth edges make the bookshelf safer and look more professional. Wipe the dust off before assembly.
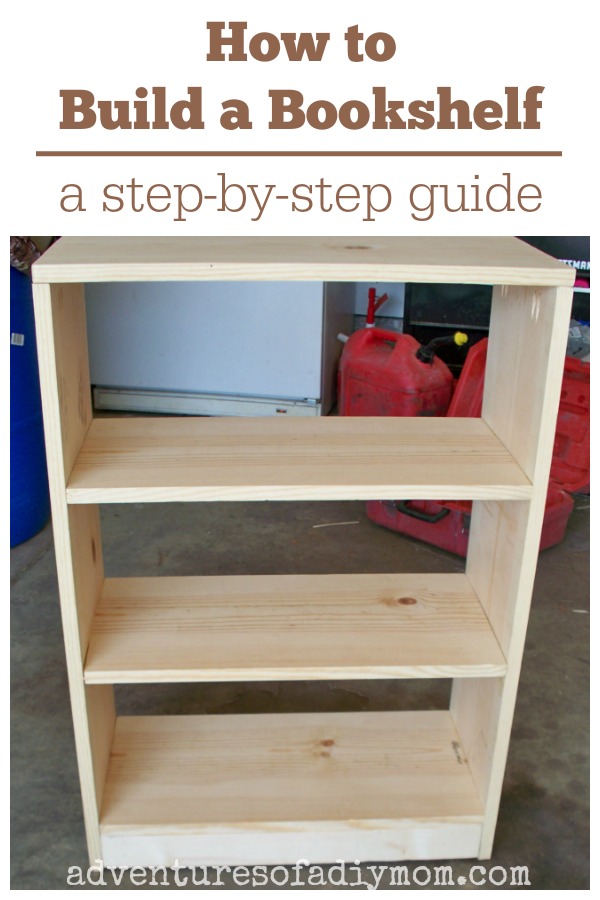
Credit: www.adventuresofadiymom.com
Assembling The Bookshelf
Assembling the bookshelf is the step where everything starts to take shape. It involves putting together different parts to create a strong and functional piece of furniture. This process is simple and requires basic tools and materials. Following clear steps helps to avoid mistakes and makes the task more enjoyable.
Joining The Frame
The first step is to join the frame parts. These usually include the two side panels and the top and bottom pieces. Align the edges carefully and hold them firmly. Use clamps if possible to keep the pieces steady. This creates the basic shape of the bookshelf and ensures it stands straight.
Adding Shelves
Next, place the shelves inside the frame. Measure the distances between shelves to keep them even. Mark the spots before fixing the shelves to avoid errors. Slide or fit each shelf into its place. This step shapes the storage space and supports the weight of books.
Securing With Screws And Glue
Secure the bookshelf by using screws and wood glue. Apply glue along the edges for extra strength. Then, drive screws into the joints to hold everything tight. This combination prevents wobbling and keeps the bookshelf sturdy. Tighten screws carefully to avoid splitting the wood.
Finishing Touches
Finishing touches can change a simple bookshelf into a beautiful piece. They protect the wood and make the shelf look good. Small details can add charm and personality. Let’s explore some easy ways to finish your bookshelf.
Applying Paint Or Stain
Paint or stain gives color and style to your bookshelf. Paint covers the wood completely and offers many color choices. Stain shows the wood grain and adds a natural look. Use a brush or cloth to apply evenly. Let it dry fully before the next step.
Sealing For Durability
Sealing protects your bookshelf from scratches and moisture. It helps the paint or stain last longer. Clear polyurethane or varnish works well for sealing. Apply thin coats and let each dry before adding more. This step makes the shelf strong and easy to clean.
Adding Decorative Elements
Decorative touches make your bookshelf unique. Add trim, molding, or corner brackets for style. Use stencils or decals for patterns or designs. Small knobs or handles can add charm. Choose elements that match your room’s look and your taste.
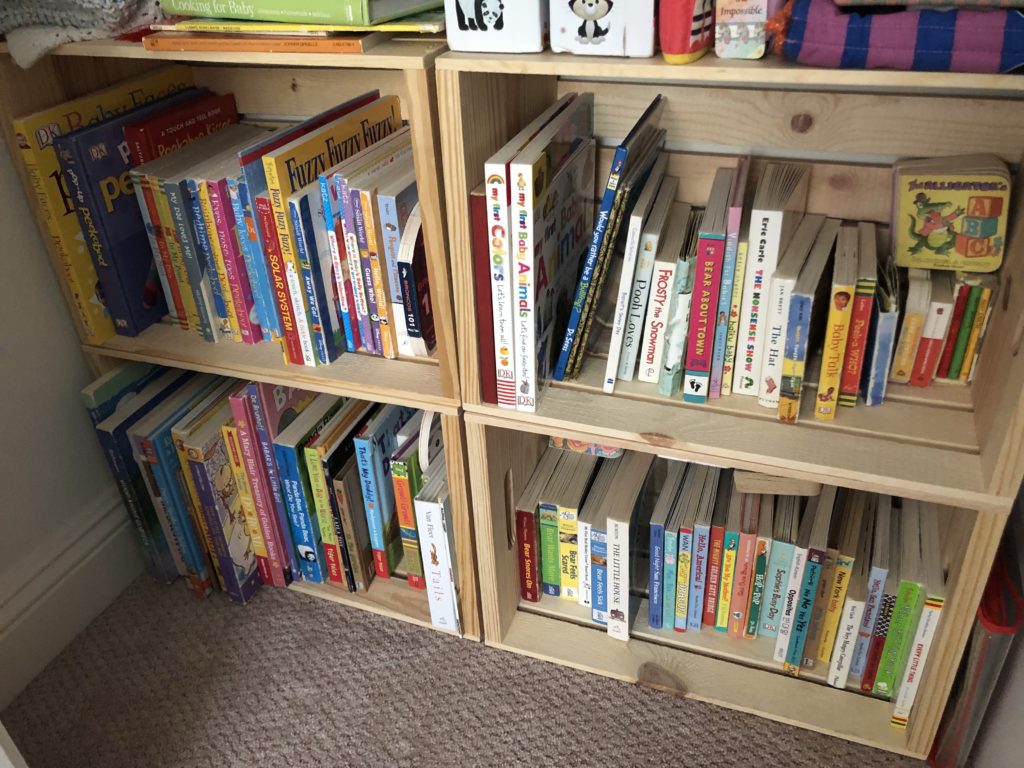
Credit: ecofriendlymama.com
Frequently Asked Questions
How Long Does It Take To Build A Basic Bookshelf?
Building a basic bookshelf typically takes 2 to 4 hours. This depends on your skill level and tools available. Pre-cut materials speed up the process. Beginners may need extra time for measuring and assembly.
What Tools Are Essential For Building A Bookshelf?
Essential tools include a saw, drill, screwdriver, measuring tape, and level. Safety gear like goggles and gloves is also important. These tools help ensure accurate cuts and secure assembly for a sturdy bookshelf.
Can Beginners Build A Bookshelf Easily?
Yes, beginners can build a bookshelf with clear instructions. Simple designs and pre-cut wood make the process easier. Taking time to measure and follow steps carefully improves results and confidence.
What Materials Are Best For A Sturdy Bookshelf?
Plywood and solid wood are best for sturdy bookshelves. They offer durability and support heavy books. Avoid particleboard if you want long-lasting strength and better aesthetics.
Conclusion
Building a bookshelf can be simpler than it seems. With basic tools and clear steps, anyone can do it. Taking your time helps avoid mistakes and keeps things safe. A handmade bookshelf brings pride and fits your space well. Try it yourself and enjoy the process.
You might find it fun and rewarding.
