Are your outdoor furniture pieces looking dull or worn out? Giving them a fresh coat of paint can completely transform your patio or garden space.
But how do you make sure the paint lasts and looks great? In this guide, you’ll discover simple, step-by-step tips to paint your outdoor furniture like a pro. Whether you want to brighten up old wooden chairs or refresh metal tables, you’ll learn exactly what to do to get smooth, long-lasting results.
Ready to give your outdoor space a vibrant new look? Let’s dive in!
Choosing The Right Paint
Choosing the right paint for outdoor furniture is key to a lasting finish. The paint must resist weather, sun, and moisture. It should protect the wood or metal underneath. The right paint also improves the look of your furniture. Understanding paint types, colors, and finishes helps you make the best choice.
Types Of Outdoor Paint
Outdoor paints come in several types. Latex paint is water-based and easy to clean. It dries fast and resists fading. Oil-based paint lasts longer and creates a hard finish. It works well on metal and wood. Chalk paint offers a matte look and needs sealing. Primer is important. It prepares the surface and helps paint stick better.
Color Selection Tips
Choose colors that match your outdoor space. Light colors reflect heat and keep furniture cool. Dark colors hide dirt but may fade faster. Neutral tones blend well with nature. Bright colors add energy and style. Test paint samples on a small area first. Check the color in daylight and shade before deciding.
Paint Finish Options
Paint finishes affect the furniture’s look and durability. Glossy finishes shine and resist dirt. They are easy to clean but show scratches. Satin finish has a soft shine and hides imperfections. It is good for most outdoor furniture. Matte finish looks flat and natural. It is less durable but creates a stylish effect.
Preparing Furniture Surface
Preparing the surface of your outdoor furniture is the first step to a long-lasting paint job. A smooth, clean surface helps paint stick better and look nicer. Taking time to prepare means your furniture will stay beautiful despite weather changes.
Cleaning And Removing Dirt
Start by wiping off dust and loose dirt. Use a brush or cloth to clean all surfaces. For sticky grime, mix mild soap with water and scrub gently. Rinse with clean water and let it dry completely. Dirt stops paint from sticking well.
Sanding Techniques
Sanding smooths rough spots and removes old paint flakes. Use medium-grit sandpaper for worn areas. Sand in the direction of the wood grain or metal surface. Wipe away dust with a damp cloth. Sanding creates a good base for new paint.
Repairing Damages
Check for cracks, holes, or loose parts. Fill small holes with wood filler or putty. Let the filler dry, then sand it smooth. Tighten screws or replace broken parts. Fixing damages keeps furniture strong and ready for painting.
Gathering Essential Tools
Before painting outdoor furniture, gather the right tools. Proper tools make the job easier and the finish smoother. Prepare everything in advance for a neat workspace and faster work.
Brushes And Rollers
Choose brushes with synthetic bristles for outdoor paint. They hold paint well and spread it evenly. Use small brushes for tight corners and detailed areas. Rollers cover large flat surfaces quickly. Foam rollers work best for smooth finishes on wood or metal.
Spray Paint Equipment
Spray paint offers a fast, even coat. Use a spray gun or aerosol cans depending on your project size. Practice spraying on cardboard before applying to furniture. Keep the spray moving to avoid drips and uneven spots. Spray in a well-ventilated area to stay safe.
Protective Gear
Protect yourself with gloves, masks, and goggles. Gloves keep paint off your skin. Masks prevent inhaling fumes and dust. Goggles shield your eyes from splashes. Wear old clothes or a paint apron to avoid stains.

Credit: sincerelysarad.com
Step-by-step Painting Process
Painting outdoor furniture refreshes its look and protects it from weather. The process requires patience and the right steps. Follow these simple steps to paint your furniture like a pro. Each step builds on the previous one for a smooth finish.
Priming The Surface
Start by cleaning the furniture thoroughly. Remove dirt, dust, and old paint flakes. Use a primer designed for outdoor use. Apply a thin, even layer to the entire surface. Primer helps paint stick better and lasts longer. Let the primer dry completely before moving on.
Applying Base Coats
Choose a paint made for outdoor furniture. Use a brush or spray for even coverage. Apply the first coat thinly to avoid drips and runs. Cover every corner and edge carefully. Allow the base coat to dry fully before adding more paint.
Adding Additional Coats
Apply a second coat for a richer, fuller color. Use the same thin layers as before. More coats improve durability and color depth. Wait for each coat to dry before adding the next. Two or three coats usually give the best results.
Drying And Curing Time
Drying means the paint feels dry to touch. Curing means the paint hardens fully. Both are important for outdoor use. Let the furniture dry in a dust-free area. Allow at least 24 hours for drying. Curing can take several days depending on paint type. Avoid using the furniture until curing finishes.
Special Techniques For Unique Looks
Special techniques can give your outdoor furniture a fresh, unique look. These methods add character and style beyond a simple paint job. They help you express your creativity and make your furniture stand out in the garden or patio.
Distressing And Antiquing
Distressing creates a worn, vintage look on your furniture. Start by painting the piece in a base color. After it dries, gently sand edges and areas that get natural wear. This reveals the wood or previous paint layer. Antiquing adds an aged effect using glaze or dark wax. Apply it over the paint, then wipe off the excess. This highlights details and gives depth to the finish.
Stenciling Patterns
Stenciling adds beautiful designs without freehand skills. Choose a stencil with shapes or patterns you like. Secure it on the furniture surface using painter’s tape. Use a small brush or sponge to dab paint over the stencil. Remove the stencil carefully before the paint dries. Repeat the pattern for a balanced, decorative effect.
Using Painter’s Tape
Painter’s tape helps create clean lines and geometric shapes. Apply tape to mark off areas before painting. Paint inside or outside the taped sections for sharp edges. Let the paint dry a little before peeling the tape. This technique works great for stripes, blocks, or chevron patterns. It adds modern style and precision to your project.
Maintaining Painted Furniture
Maintaining painted outdoor furniture keeps it looking fresh and extends its life. Dirt, dust, and weather can wear down the paint over time. Regular care helps protect the color and finish. Small repairs stop damage from getting worse. Simple steps make your furniture last through many seasons.
Cleaning Tips
Use a soft cloth or sponge with mild soap and water. Avoid harsh chemicals or abrasive cleaners. Rinse well to remove soap residue. Clean dirt and pollen regularly to prevent buildup. Dry the furniture with a clean towel to stop water spots. Clean painted surfaces gently to keep the paint intact.
Touch-up Methods
Check painted furniture for chips or scratches often. Lightly sand the damaged area to smooth it out. Use paint that matches the original color. Apply thin layers and let each dry fully. Avoid thick coats that can peel later. Touch-ups keep the furniture looking neat and protect wood beneath.
Seasonal Care Advice
Cover furniture during heavy rain or snow. Store pieces indoors or in a dry place if possible. Inspect paint for cracks or peeling before each season. Repaint areas that show wear to prevent damage. Keep furniture away from direct sun to avoid fading. Seasonal care helps maintain color and strength over time.
Common Mistakes To Avoid
Painting outdoor furniture can refresh your space and protect your pieces. Avoiding common mistakes helps your paint job last longer. Many people rush or miss key steps. This leads to peeling, cracking, or fading paint. Know what to avoid for a smooth finish.
Skipping Surface Prep
Surface prep is the first and most important step. Dirt, grease, and old paint stop new paint from sticking. Sanding rough spots smooths the surface. Clean the furniture with soap and water. Let it dry completely before painting. Skipping prep causes paint to peel fast.
Using Wrong Paint Type
Outdoor furniture needs special paint made for outside use. Regular indoor paint fades and chips quickly. Use paint labeled for outdoor or exterior use. Choose paint that resists water and sun damage. This helps keep colors bright and protects the wood or metal.
Ignoring Weather Conditions
Weather affects how paint dries and lasts. Painting on a hot, sunny day can cause paint to dry too fast. Cold or humid days slow down drying and cause smudges. Pick a mild day with low humidity. Avoid painting before rain or strong winds. Proper weather ensures a smooth, durable finish.

Credit: acookandherbooks.com
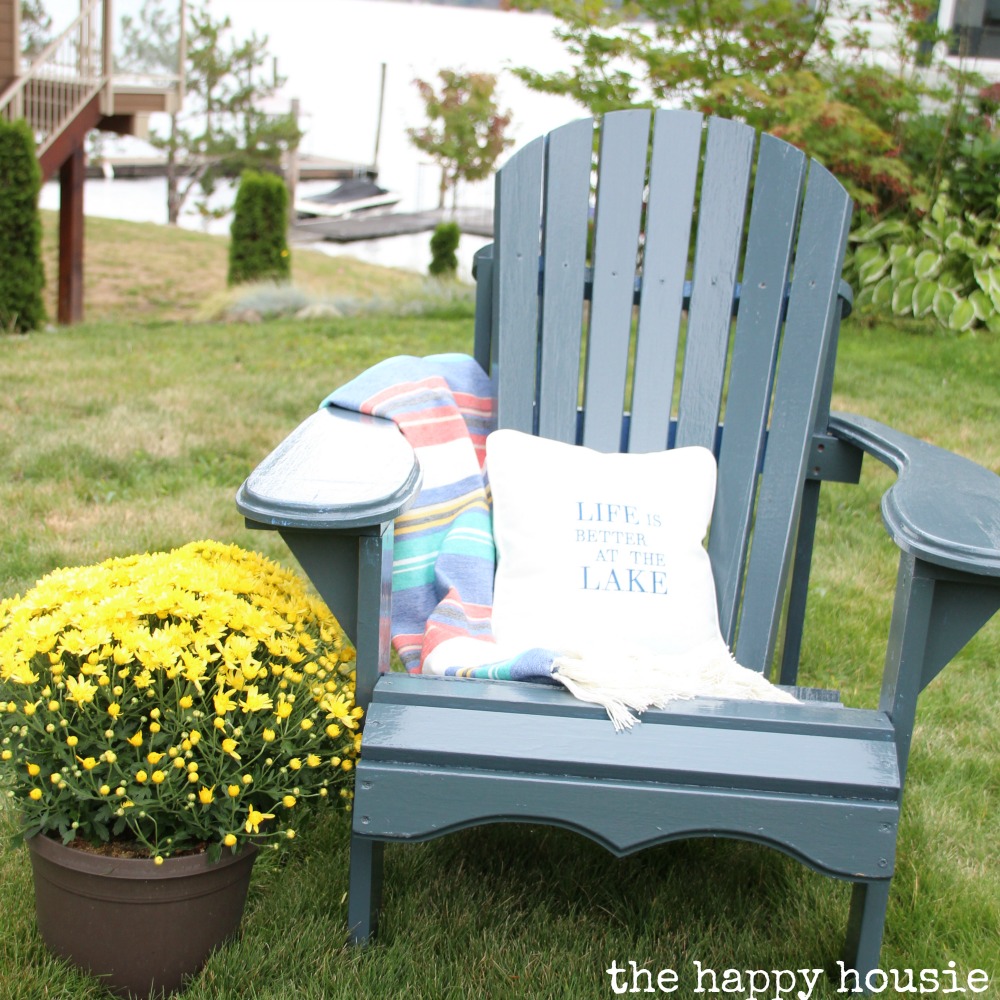
Credit: www.thehappyhousie.com
Frequently Asked Questions
How Do I Prepare Outdoor Furniture For Painting?
Clean the surface thoroughly and remove dirt or old paint. Sand rough areas for smoothness. Allow drying before painting.
What Type Of Paint Is Best For Outdoor Furniture?
Use exterior-grade paint or specially formulated outdoor furniture paint. These resist weather damage and fading.
How Many Coats Of Paint Are Needed On Outdoor Furniture?
Apply two to three thin coats for even coverage. Let each coat dry before applying the next.
How Long Should Outdoor Furniture Paint Dry?
Drying time varies by paint type but usually takes 4 to 6 hours. Follow manufacturer instructions.
Conclusion
Painting outdoor furniture can refresh your space quickly and affordably. Choose the right paint and tools for a smooth finish. Take time to prepare surfaces well for better results. Allow paint to dry fully before use to avoid damage. Regular care will keep your furniture looking fresh longer.
Try painting to add color and protect your outdoor pieces. Simple steps can make a big difference in your yard’s look. Give your furniture a new life with paint today!

