Are you looking to give your bookshelf a unique, timeless look? Antique glazing is a simple and effective way to add character and charm to your furniture.
Imagine turning your plain shelf into a beautiful piece that looks like it has a rich history. In this guide, you’ll learn easy steps to achieve that perfect antique glaze, even if you’ve never tried it before. Keep reading, and you’ll discover how to transform your bookshelf into a stunning focal point in your room.
Choosing The Right Bookshelf
Choosing the right bookshelf is the first step to a beautiful antique glaze finish. The wood and style affect how the glaze looks. Select a shelf that fits your space and taste. Consider the wood type and the design. These choices help the glaze stand out.
Selecting Wood Types
Wood type changes how the glaze shows. Softwoods like pine absorb glaze quickly. This creates a deep, warm color. Hardwoods like oak or maple have tight grains. They give a smoother, polished look. Choose wood that matches your desired finish.
Some woods have natural knots or patterns. These add character under the glaze. Dark woods may hide glaze details. Light or medium woods highlight the glaze better. Always test the glaze on a wood scrap first.
Identifying Suitable Styles
Bookshelf style impacts the antique look. Simple, classic designs work best. Clean lines show the glaze well. Ornate or heavily carved shelves can hide glaze effects. Choose styles with enough flat surfaces.
Vintage or rustic styles blend nicely with antique glaze. Modern designs may not suit this finish. The goal is to enhance the shelf’s charm. Pick a style that fits your room and taste. This makes the final piece more striking.
Gathering Supplies
Before starting to antique glaze a bookshelf, gather all needed supplies. Having the right tools and materials makes the process easier. It also helps achieve a smooth, beautiful finish. Prepare your workspace with good lighting and ventilation. Keep everything within reach to save time and effort.
Essential Tools
Collect brushes of different sizes for detailed and broad strokes. Use a foam brush for smooth application of glaze. Have clean rags or cloths to wipe off excess glaze. Sandpaper helps smooth the wood surface before glazing. A small container or tray holds the glaze during work. Gloves protect your hands from paint and chemicals. Painter’s tape keeps edges neat and clean.
Recommended Glazes And Paints
Choose a clear or tinted glaze designed for wood furniture. Water-based glazes dry faster and clean up easily. Oil-based glazes give a richer color but take longer to dry. Pick paint colors that match your desired antique look. Soft whites, creams, and muted tones work well. Test glaze and paint on a small wood piece first. This avoids surprises and ensures the right color.
Preparing The Surface
Preparing the surface of your bookshelf is the first step in achieving a beautiful antique glaze finish. This step ensures the glaze sticks well and the final look is smooth and even. Take your time to clean, sand, and fix any damage before applying the glaze.
Cleaning And Sanding
Start by wiping the bookshelf with a damp cloth. Remove dust, dirt, and grease. Use mild soap if needed. Let the surface dry completely.
Next, sand the wood gently with fine-grit sandpaper. Sanding removes old finishes and smooths rough areas. Always sand in the direction of the wood grain. Wipe off the dust with a clean cloth after sanding.
Repairing Imperfections
Check the bookshelf for cracks, holes, or dents. Use wood filler to fill small gaps and scratches. Press the filler into the damage and smooth it out with a putty knife.
Let the filler dry fully. Once dry, sand the repaired spots lightly. This step creates an even surface for the glaze. Clean off any dust before moving on.
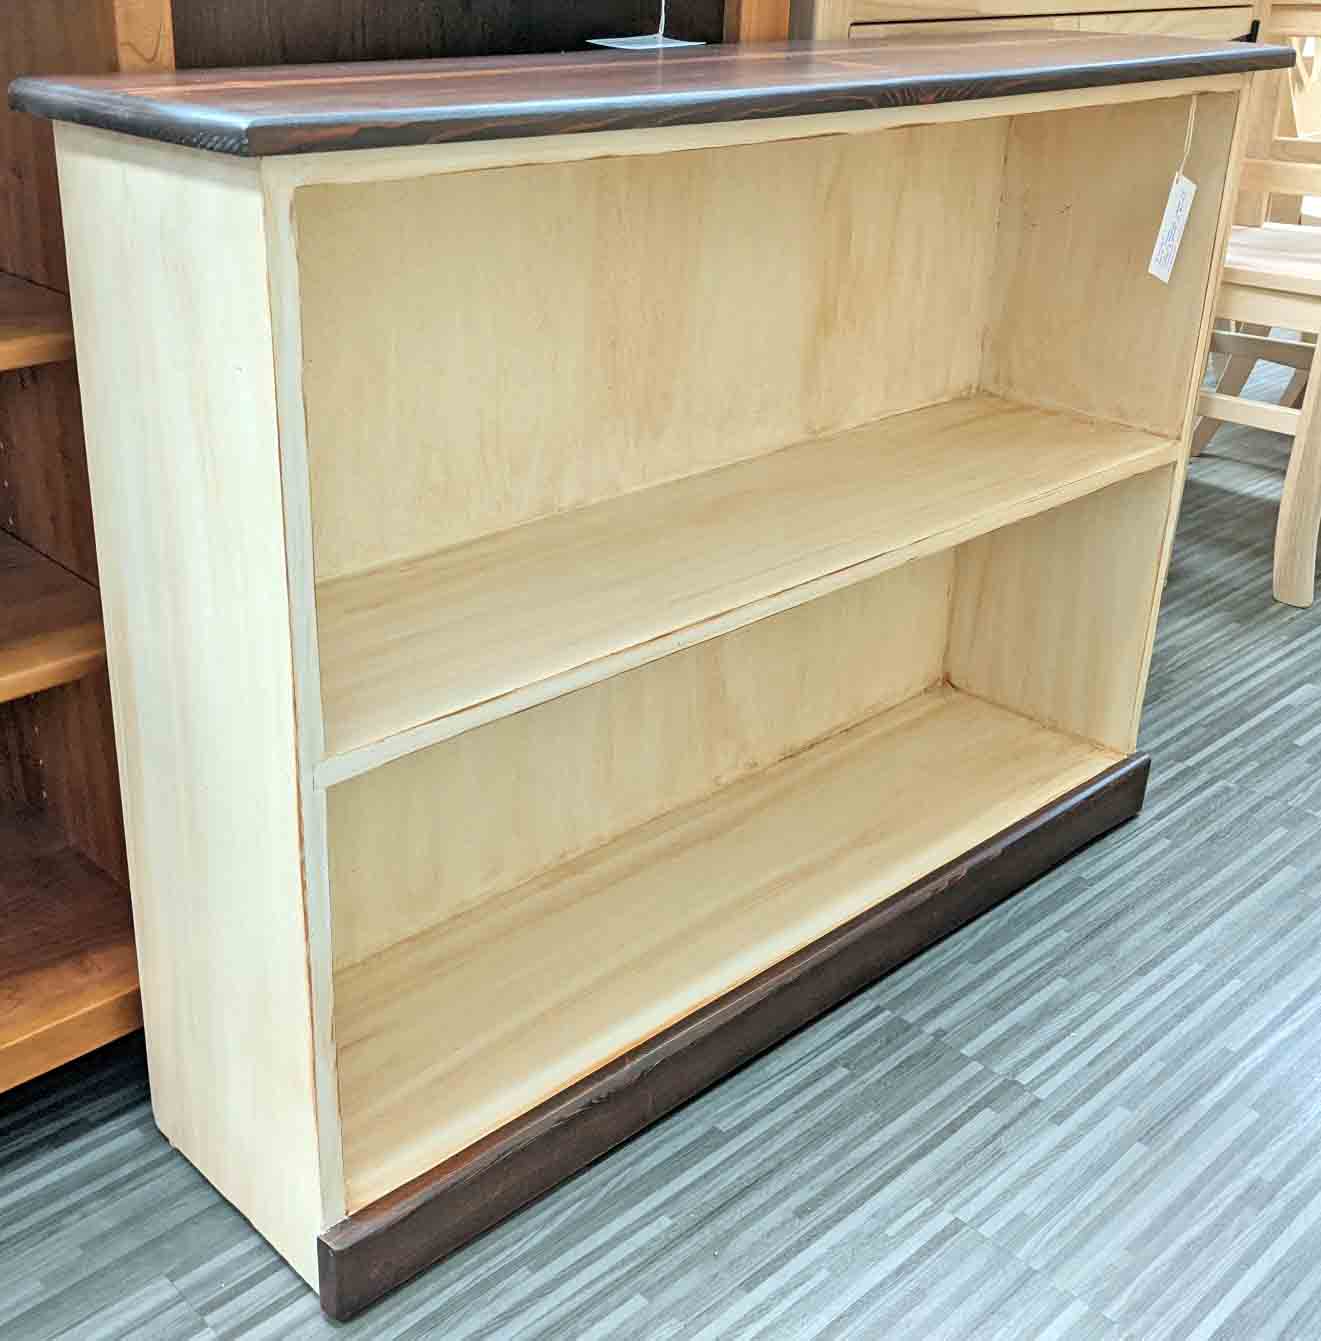
Credit: www.homedepot.com
Applying Base Coat
Applying the base coat is the first step in giving your bookshelf an antique glaze. This layer sets the tone for the entire look. It creates a smooth surface for the glaze to stick to. A good base coat helps the final finish look natural and rich.
Start with a clean, dry bookshelf. Sand it lightly to remove any rough spots. Choose the right paint and tools for an even application. Take your time to get this step right. The base coat is the foundation of your antique finish.
Choosing Base Colors
Pick colors that match the antique look you want. Earthy tones like beige, soft browns, or creamy whites work well. These colors show the glaze better and create depth. Avoid very bright or shiny paints. Matte or satin finishes give the best results. Test a small area first to see how the color looks once dry.
Techniques For Smooth Coverage
Use a high-quality brush or foam roller for smooth coverage. Apply thin, even layers to avoid drips and streaks. Let each layer dry fully before adding another. Light sanding between coats helps remove bumps. Work in the direction of the wood grain for a natural look. Patience during this step makes the antique glaze more effective.
Creating The Antique Glaze
Creating the antique glaze is a key step in giving your bookshelf a vintage look. This glaze adds depth and character to the wood. It highlights the natural grain and makes the piece look aged. The process involves mixing a glaze and applying it carefully. This part needs patience and attention to detail. A good glaze can transform a plain bookshelf into a charming antique piece.
Mixing Glaze Solutions
Start with a clear glaze base. You can buy this at craft stores. Mix it with a small amount of dark paint or stain. Use colors like brown, black, or gray. Stir the mixture well until smooth. Test the glaze on a scrap piece of wood. Adjust the color by adding more paint or glaze. The glaze should be thin but still cover the surface. A well-mixed glaze ensures a natural antique look.
Tips For Even Application
Use a soft brush or cloth to apply the glaze. Work in small sections for better control. Apply the glaze in the direction of the wood grain. Avoid putting on too much at once. Wipe off excess glaze quickly with a clean cloth. This step creates the aged effect by leaving glaze in the wood’s crevices. Let each section dry before moving on. Even application prevents blotches and streaks.
Enhancing The Antique Look
Enhancing the antique look of a bookshelf adds charm and character. It makes the piece feel rich with history and style. Simple techniques can create a worn, aged appearance that looks natural and beautiful.
Using the right methods brings out the beauty of the antique glaze. These techniques highlight the texture and details of the wood. The result is a bookshelf that stands out with a timeless look.
Distressing Methods
Distressing gives the bookshelf a weathered and used look. Light sanding on edges and corners shows natural wear. Small dents or scratches add authenticity. Use steel wool or a wire brush for subtle texture. Avoid overdoing it to keep the look real. The goal is gentle aging, not damage.
Highlighting Details
Highlighting brings focus to the bookshelf’s carved or raised parts. Apply a thin glaze or darker stain over these areas. Wipe off the excess to leave color in crevices. This creates depth and contrast on the surface. Use a fine brush for precision. Highlighting enhances the antique feel and shows off craftsmanship.
Sealing And Protecting
Sealing and protecting your antique glazed bookshelf is crucial. It keeps the finish safe from damage and wear. A good sealant locks in the glaze and adds a nice shine. Protection also helps the wood last longer and stay beautiful.
Selecting Sealants
Choose a sealant that suits your bookshelf’s finish. Polyurethane is strong and water-resistant. It works well for shelves that hold heavy items. Wax gives a soft, natural look but needs reapplying often. Shellac dries fast and enhances the antique look. Pick a sealant that matches your room’s humidity and use.
Applying Protective Coats
Apply the sealant with a clean brush or cloth. Use thin, even coats to avoid drips. Let each coat dry fully before adding another. Usually, two to three coats work best. Lightly sand between coats for a smooth finish. This step makes the surface feel soft and look smooth. Protect your bookshelf with care to keep its antique charm.
Credit: designs.generalfinishes.com
Troubleshooting Common Issues
Troubleshooting is key to a smooth antique glazing process. Small mistakes can affect the final look of your bookshelf. Knowing how to fix common problems saves time and effort. This section covers solutions for uneven glaze and preventing drips or smudges. These tips help keep your project neat and attractive.
Fixing Uneven Glaze
Uneven glaze happens when some areas get too much or too little glaze. Use a soft, dry cloth to gently rub the glaze. This evens out thick spots and blends the glaze smoothly. Work in small sections to control the glaze better. Thin the glaze with water if it feels too thick. Apply thin layers instead of one heavy coat. Let each layer dry before adding the next. This builds an even, rich finish.
Avoiding Drips And Smudges
Drips and smudges ruin the clean look of antique glaze. Apply glaze with a small brush or sponge for better control. Avoid shaking the glaze jar to prevent bubbles that cause drips. Keep your hand steady and use light strokes. Stop painting at the edges to prevent glaze buildup. If drips appear, wipe them immediately with a damp cloth. Work in a dust-free space to stop dust from sticking to wet glaze. Patience helps keep the glaze smooth and flawless.
Styling Your Finished Bookshelf
Styling your finished bookshelf is the final step in creating a beautiful, antique-glazed piece. This stage brings out the charm of the finish and turns your shelf into a focal point. Thoughtful styling highlights the texture and color of the glaze. It also helps blend the bookshelf with your room’s decor.
Decor Ideas To Complement The Finish
Choose items that match the vintage look of the glaze. Old books with worn covers fit perfectly. Small plants add a touch of life and freshness. Use metal or wooden bookends for a rustic feel. Antique picture frames or small sculptures work well too. Keep the arrangement simple to avoid clutter. Let the glaze shine through the decor.
Maintenance Tips For Longevity
Dust the bookshelf regularly with a soft cloth. Avoid harsh chemicals that may damage the glaze. Use mild soap and water for cleaning. Dry the surface immediately after cleaning. Place the bookshelf away from direct sunlight. This prevents fading and cracking. Check for scratches or chips and repair quickly. Proper care keeps the antique glaze looking fresh longer.

Credit: www.amazon.com
Frequently Asked Questions
What Materials Are Needed To Antique Glaze A Bookshelf?
To antique glaze a bookshelf, you need glaze, paintbrushes, sandpaper, a clean cloth, and protective gloves. These materials help achieve an aged, vintage look while protecting the wood surface.
How Long Does It Take To Antique Glaze A Bookshelf?
Antique glazing a bookshelf typically takes 2 to 4 hours. This includes applying glaze, drying time, and any sanding for the perfect aged effect.
Can I Use Any Type Of Glaze For Antiquing?
Not all glazes are suitable for antiquing. Use a water-based or oil-based antique glaze specifically designed for furniture to ensure proper adhesion and finish.
How Do I Prepare A Bookshelf Before Glazing?
Clean the bookshelf thoroughly and sand it lightly to remove old finishes. This preparation ensures the glaze adheres well and creates an even antique effect.
Conclusion
Antique glazing a bookshelf adds charm and a vintage look. The process is simple and fun to try at home. Use the right tools and take your time. Each step helps bring out the wood’s beauty. Your bookshelf will look unique and full of character.
Enjoy the warm, aged effect this technique creates. Now, your bookshelf stands out with style and history. Give it a chance and see the difference yourself.
