Are you ready to give your little one a big-kid bed without buying something new? Turning your toddler’s crib into a toddler bed is a smart, budget-friendly choice.
But if you’re unsure where to start or worried about making mistakes, you’re not alone. This guide will walk you through every step, making the process simple and stress-free. By the end, you’ll feel confident and proud seeing your child happily transition to their new bed.
Keep reading—your toddler’s next big adventure is just a few easy steps away!
Credit: grupoavanti.cl
Tools And Materials Needed
Gathering the right tools and materials makes assembling a toddler bed easier and faster. Preparation helps avoid delays and frustration during the process.
Having everything ready ensures a smooth transition from crib to toddler bed. It also keeps the workspace safe and organized.
Basic Tools Required
Start with simple tools like a screwdriver and an Allen wrench. These are essential for loosening and tightening screws and bolts.
A hammer can help with small adjustments. A measuring tape ensures correct alignment and spacing.
Materials You Will Need
Use the original crib parts such as side rails and slats. You might need additional guardrails for safety.
Check for screws, bolts, and brackets that hold the bed frame together. Replacement parts might be necessary if any are missing or damaged.
Safety Accessories
Install guardrails to prevent falls during sleep. Bed bumpers provide extra protection on sides.
Non-slip pads keep the bed steady on the floor. Secure all edges to avoid sharp corners.
Preparing The Crib For Conversion
Preparing the crib for conversion is the first important step in making a toddler bed. It sets the stage for a safe and smooth transition. Taking time at this stage helps avoid problems later.
Start by understanding which parts of the crib need to change. This helps in knowing what tools and space you need. Also, it keeps the process organized and easy to follow.
Remove The Front Rail
Begin by removing the crib’s front rail carefully. This part usually comes off with a few screws. Use a screwdriver to loosen and remove these screws.
Keep the screws in a small container. You might need them later for reassembly or storage. Removing the front rail creates an open side for your toddler to get in and out easily.
Check For Safety Hazards
After removing the front rail, inspect the crib thoroughly. Look for sharp edges or loose parts. These can cause injuries if not fixed properly.
Check the mattress support and all joints. Tighten any loose screws or bolts. Make sure the crib is stable and sturdy. Safety is the top priority during this conversion.
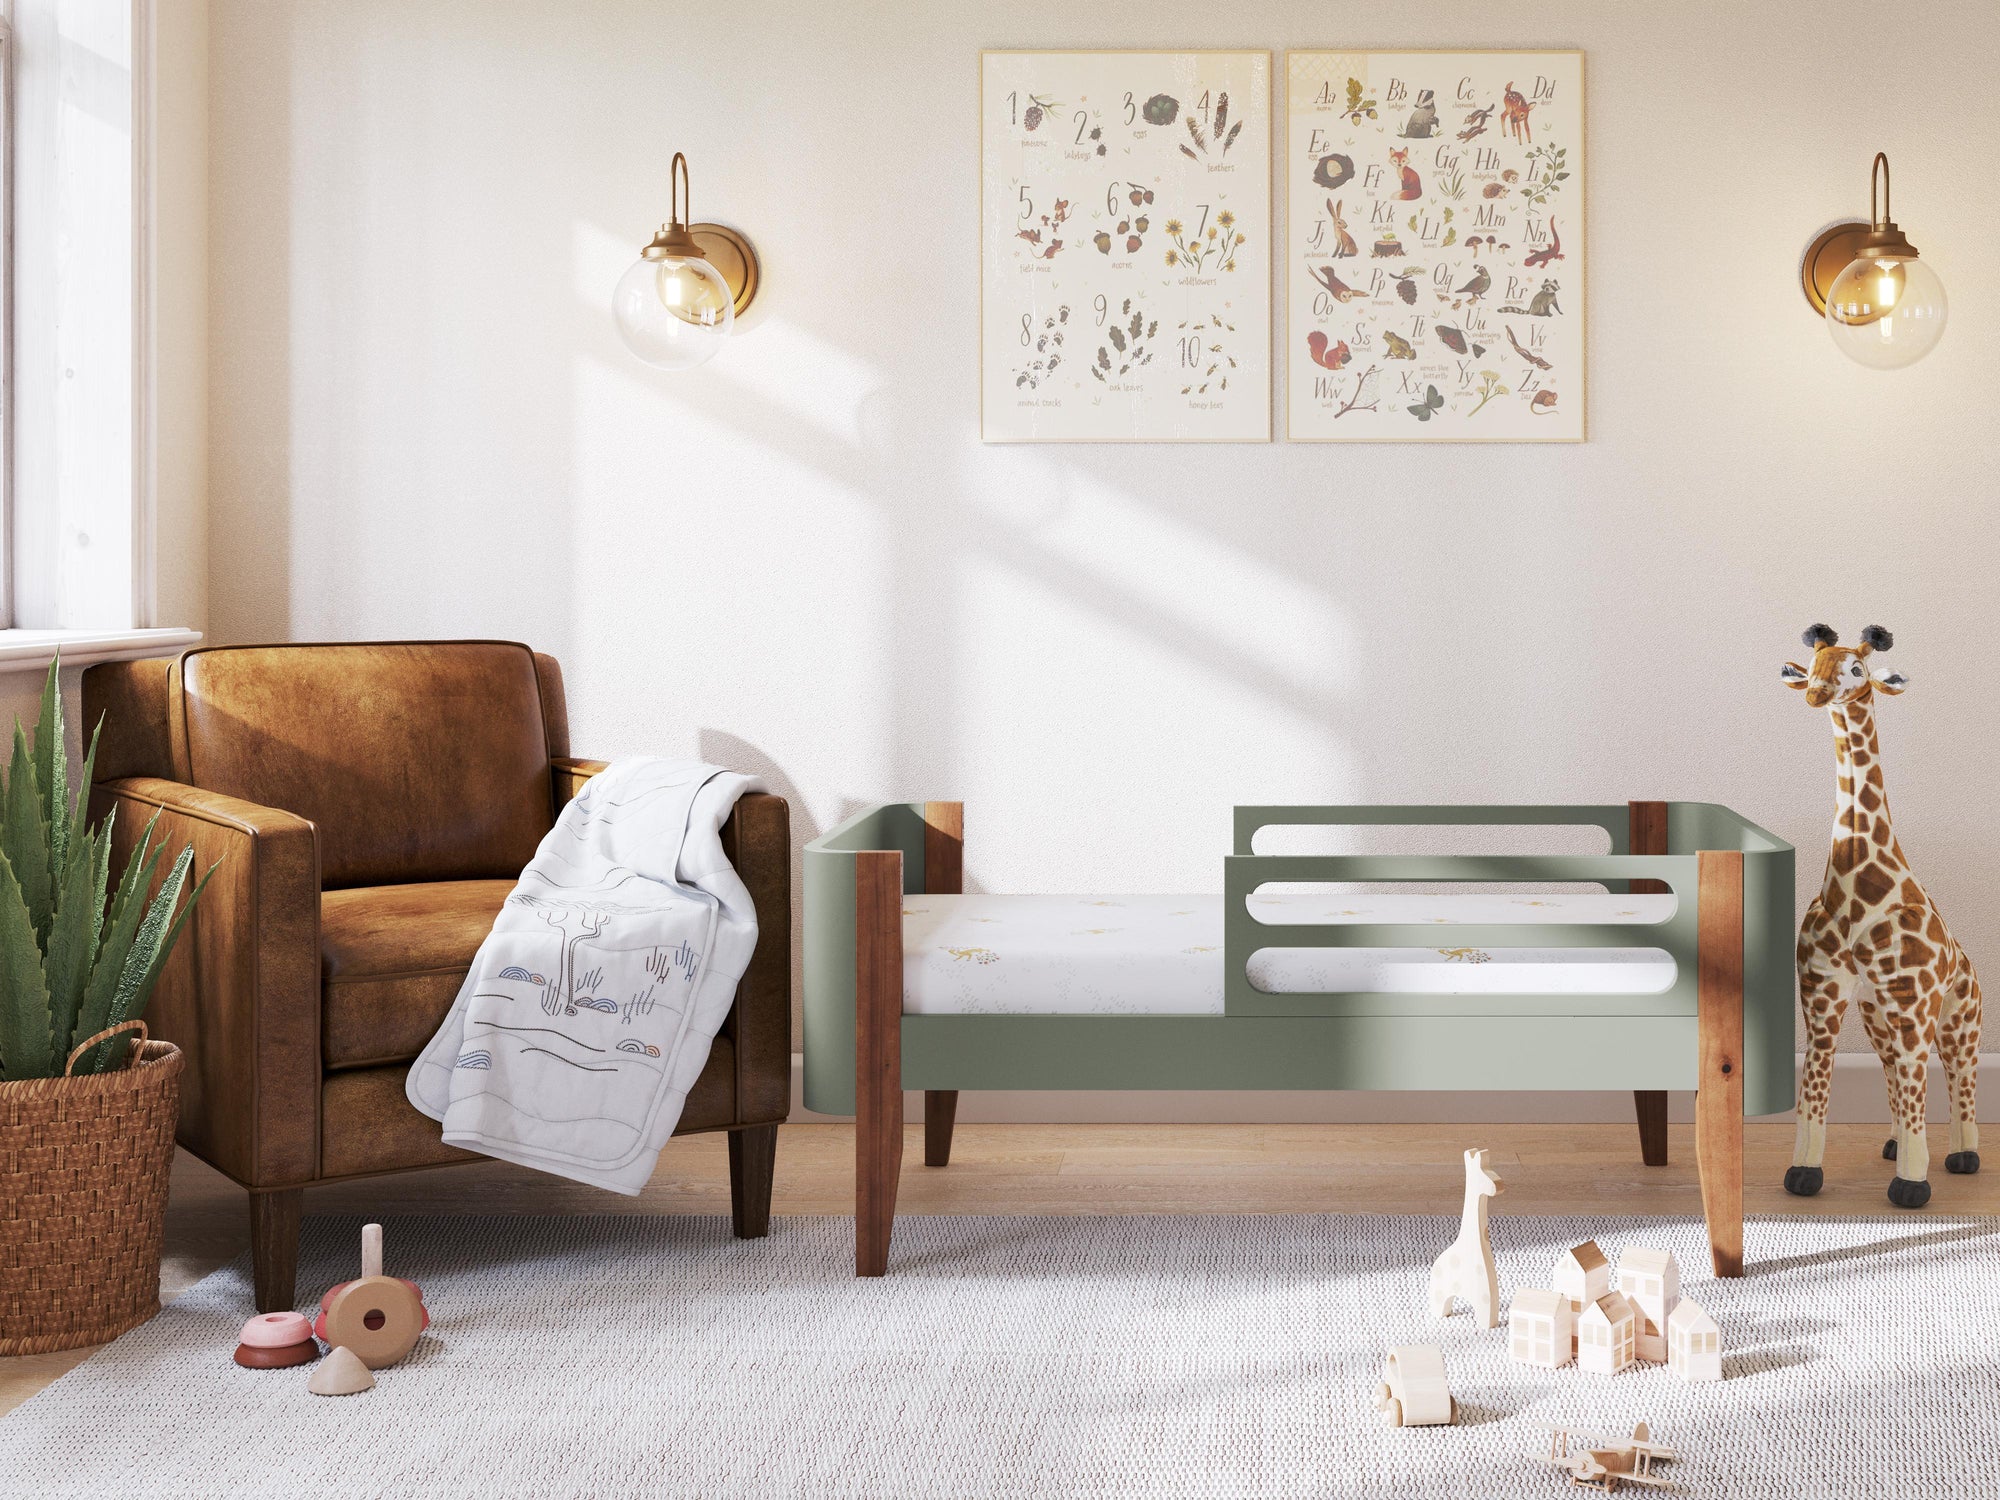
Attaching The Toddler Bed Rail
Attaching the toddler bed rail is a key step in converting a crib. It ensures your child’s safety and comfort during sleep. The rail prevents your toddler from rolling off the bed. Proper attachment keeps the rail stable and secure. Follow each step carefully for a smooth process.
Aligning The Rail
Start by positioning the toddler bed rail next to the crib’s frame. Check that the rail’s holes match the crib’s screw holes. The rail should sit flush with the crib side. Make sure the rail is straight and level. Adjust the rail until it fits perfectly against the bed frame.
Securing The Rail With Screws
Use the screws that came with your crib or rail kit. Insert screws through the aligned holes in the rail and crib frame. Tighten screws slowly to avoid stripping or damage. Check that the rail is firmly attached after tightening. Give the rail a gentle shake to test stability.
Credit: www.nestig.com
Adjusting The Mattress Height
Adjusting the mattress height is a key step when changing a crib into a toddler bed. This step ensures your child sleeps safely and comfortably. A mattress set too high can cause falls. Too low, and it may be hard for your toddler to climb in.
Most cribs have several mattress height settings. These settings help parents adjust the bed as the child grows. Changing the mattress height matches your toddler’s needs. It also makes the bed safer and easier to use.
Locate Mattress Support Brackets
Start by finding the mattress support brackets inside the crib frame. These brackets hold the mattress platform in place. Usually, they are metal or wooden pieces attached to the crib sides. Identifying these parts helps you know where to move the mattress.
Remove The Mattress Platform
Next, remove the mattress platform carefully. Unscrew or unclip the brackets holding the platform. Place the mattress and platform on a soft surface to avoid damage. This step prepares the bed for height adjustment.
Choose The New Mattress Height
Select the mattress height suitable for your toddler’s age and size. Lower settings are best for active toddlers who move a lot. Higher settings work for younger toddlers who need less climbing. Adjust the platform to the chosen height before reattaching.
Reattach The Mattress Platform Securely
Attach the mattress platform back to the crib frame at the new height. Tighten screws or clips firmly to ensure stability. A secure platform prevents movement and keeps your toddler safe during sleep.
Test The Bed For Safety
Place the mattress back and test the bed’s stability. Press down gently to check for wobbling. Make sure the mattress fits snugly without gaps. A safe bed means less risk of injury for your child.
Final Safety Checks
Final safety checks are very important before your toddler uses the bed. These checks help make sure the bed is safe and secure. A safe bed keeps your child protected while sleeping. Take time to carefully review every part of the bed. Look closely for any small issues that could cause harm.
Inspecting For Loose Parts
Check all screws and bolts. Make sure none are loose or missing. Tighten any loose parts with a screwdriver. Look at the mattress support and side rails carefully. Any loose parts can cause the bed to wobble or break. Replace parts that look worn or damaged. A secure bed frame keeps your toddler safe.
Ensuring Stable Assembly
Push gently on the bed from different sides. The bed should not move or shake. Test the bed by pressing down on the mattress area. It must feel firm and steady. Check the floor under the bed for even contact. Use a level tool if needed to confirm stability. A steady bed prevents falls and accidents.
Tips For A Smooth Assembly
Assembling a toddler bed from a crib can feel tricky. Simple tips help make the process easier and faster. Prepare everything before starting. Follow steps carefully for a smooth assembly. Safety is key for your child’s comfort and security.
Gather All Parts And Tools
Check the crib parts before you begin. Make sure all screws, bolts, and panels are present. Have tools ready, like a screwdriver and wrench. This saves time and avoids frustration during assembly.
Read The Instructions Thoroughly
Read the manual carefully before starting the build. Understand each step and look at any diagrams. Clear instructions prevent mistakes and make the process smoother. Take your time to avoid confusion.
Work On A Flat, Clean Surface
Choose a flat area to assemble the bed. A clean space keeps parts organized and prevents damage. It also helps keep small pieces from getting lost. Good lighting improves visibility and accuracy.
Follow Steps In Order
Complete each step before moving to the next. Skipping steps can cause problems later on. Work steadily and check your progress often. This keeps assembly on track and safe.
Secure All Screws And Bolts Firmly
Tighten screws and bolts properly but do not over-tighten. Loose parts can cause instability. Over-tightening may damage the wood or hardware. Check everything twice before finishing.
Test Stability Before Use
After assembly, gently shake the bed to check stability. Make sure it does not wobble or creak. Fix any loose parts immediately. A stable bed keeps your toddler safe while sleeping.

Credit: www.youtube.com
Frequently Asked Questions
How Do I Convert A Crib Into A Toddler Bed?
To convert, remove one crib side and attach the toddler bed rail. Use the crib’s mattress and ensure all hardware is secure. Follow the manufacturer’s instructions carefully for safety and proper assembly.
What Tools Are Needed For Toddler Bed Assembly?
Typically, you need a screwdriver, Allen wrench, and sometimes a wrench. Check the crib’s manual for specific tools required. Having all tools ready makes the assembly process faster and smoother.
Is It Safe To Reuse Crib Parts For Toddler Beds?
Yes, if parts are in good condition and meet safety standards. Inspect for damage or wear before reuse. Always follow safety guidelines and manufacturer recommendations when repurposing crib parts.
When Should I Switch My Child To A Toddler Bed?
Switch when your child climbs out of the crib or shows readiness. Usually between 18 months and 3 years old. Ensure the toddler bed has safety rails to prevent falls.
Conclusion
Assembling a toddler bed from a crib takes time and care. Follow each step slowly and carefully. Use the right tools and parts for safety. Check all screws and bolts tightly. Your child will enjoy the new bed. This simple change helps them grow and feel independent.
Keep the instructions handy for future use. Enjoy this new stage with your toddler.